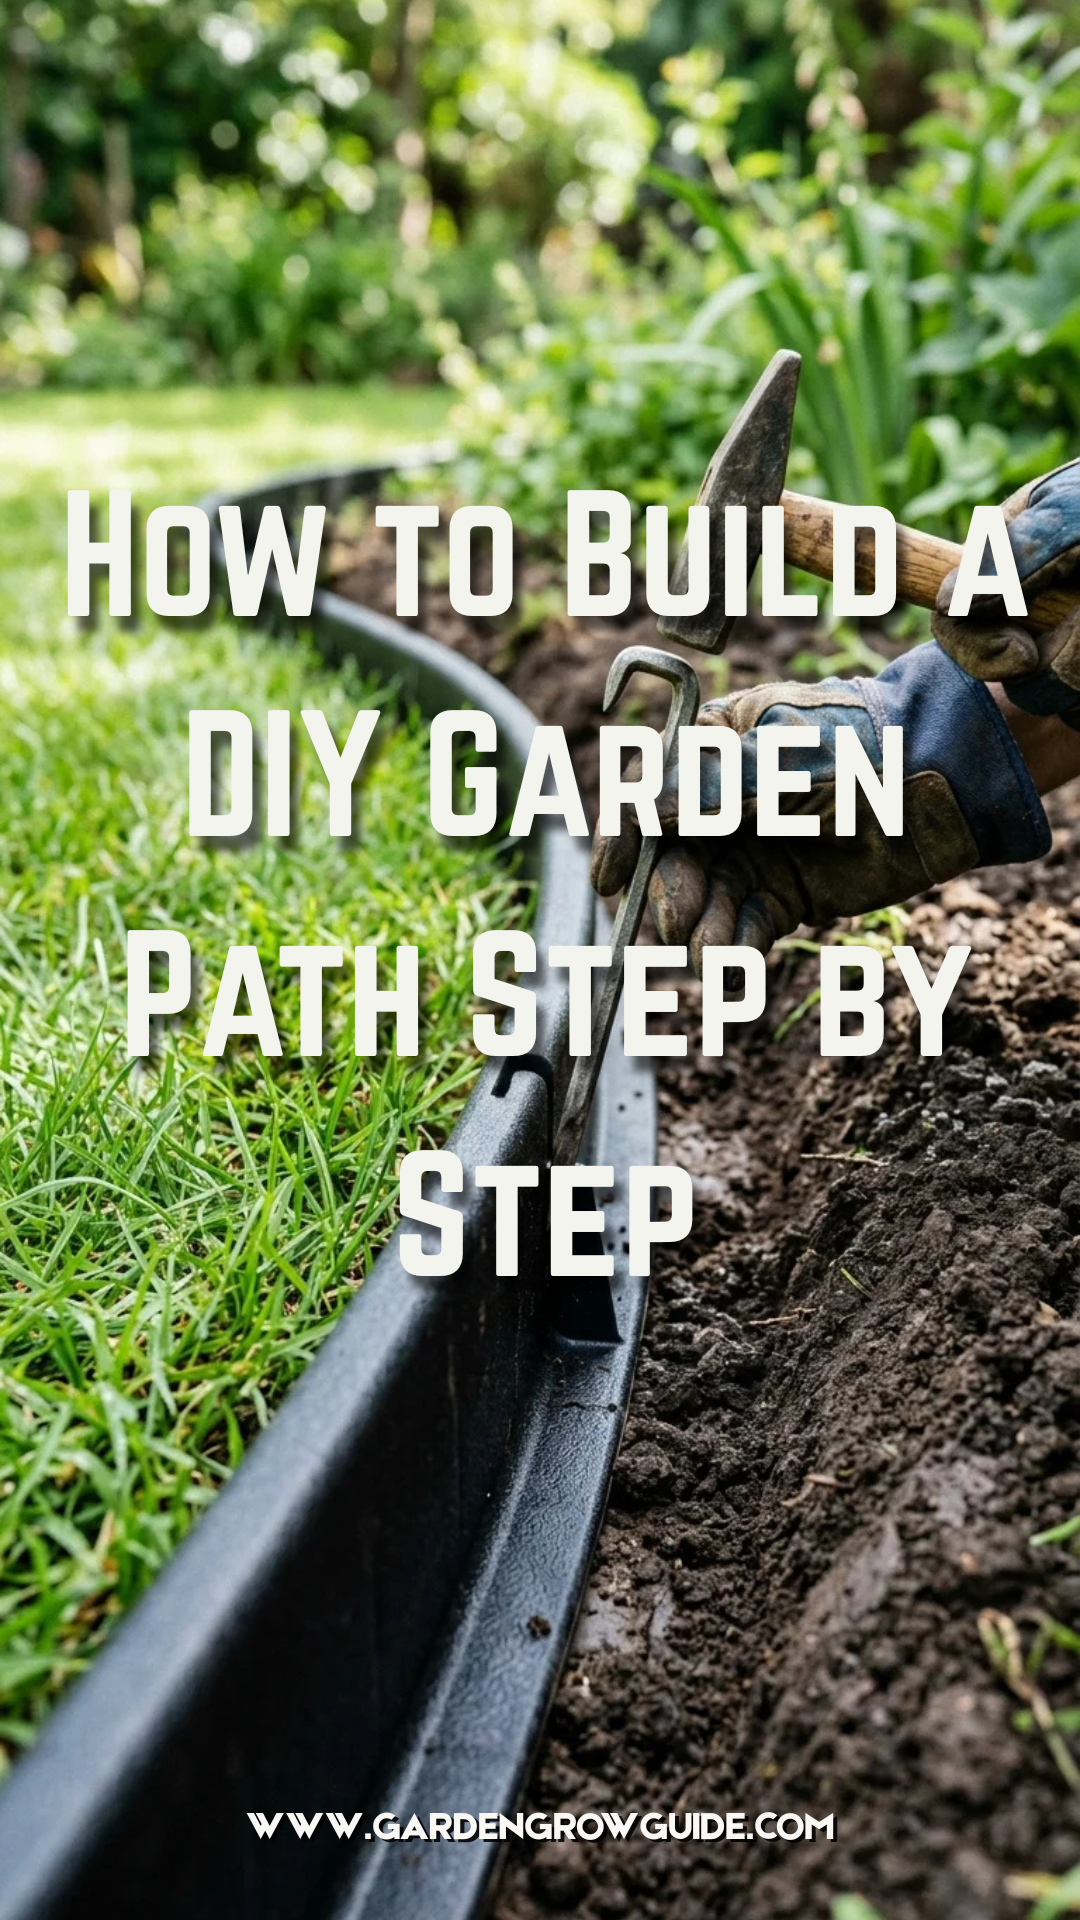
A garden path is more than just a functional way to get from point A to point B; it is the spine of your landscape design. Whether it is a formal brick walkway or a whimsical trail of mulch, a well-constructed path defines spaces, protects your lawn from foot traffic, and adds a layer of professional polish to your outdoor living area. Building your own path is a rewarding DIY project that can be completed over a weekend with the right preparation and materials.
1. Planning
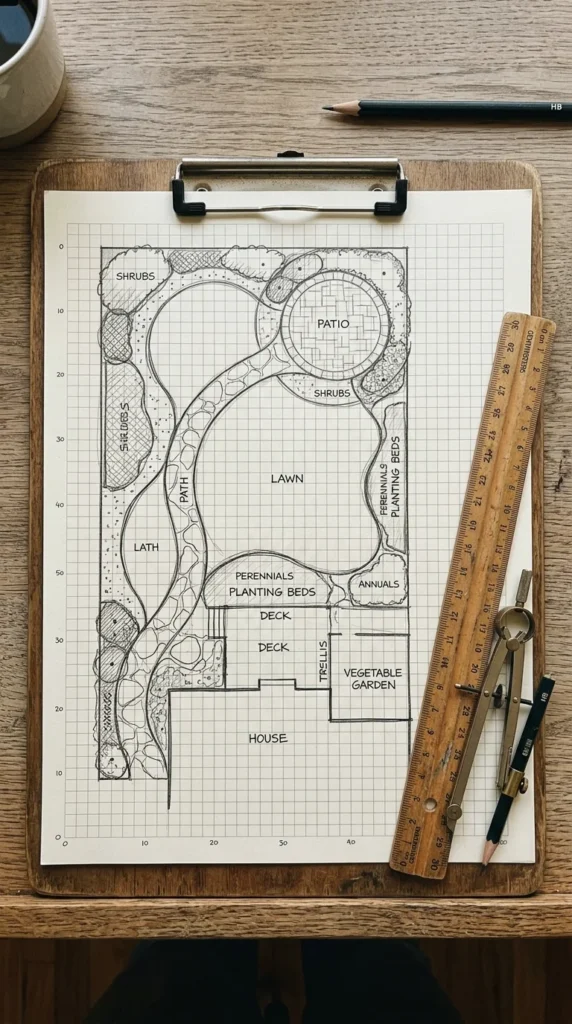
Before you pick up a shovel, you must determine the path’s purpose and “desire lines.” Observation is key: notice where people naturally walk. A path that is too out of the way will likely be ignored. Consider the width; a primary path should be 36 to 48 inches wide to allow two people to walk side-by-side, while a secondary path through a flower bed can be as narrow as 18 inches. Consider the terrain—steep slopes may require steps, while flat areas are perfect for simple gravel or pavers.
2. Layout
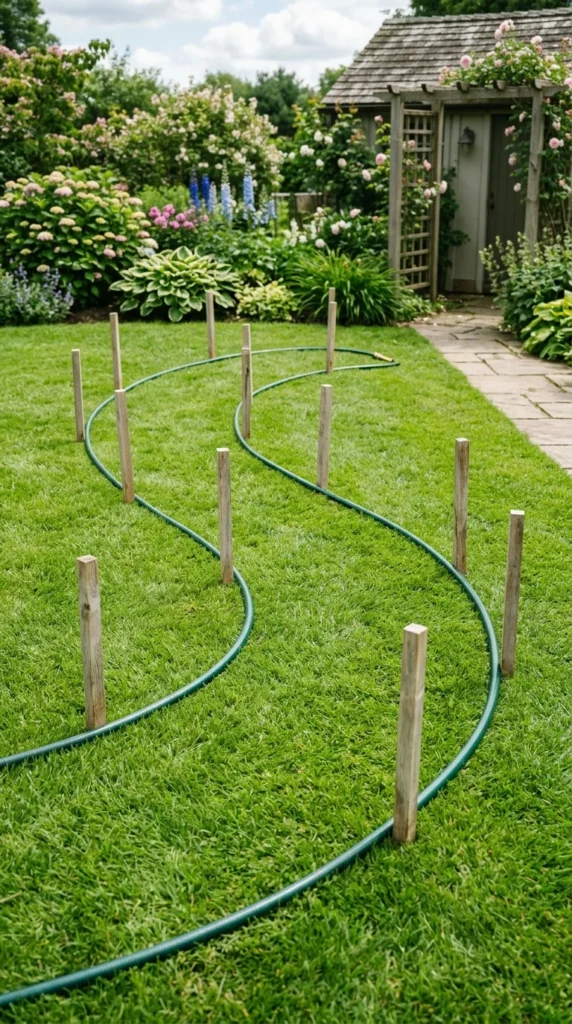
Once you have a plan, it is time to mark the ground. For straight paths, use string lines and batter boards. For organic, winding paths, a garden hose or a heavy rope is the best tool for visualizing the curves. Once you are satisfied with the shape, use bright-colored landscape marking paint to spray the edges directly onto the grass. This gives you a clear “cut line” for when you begin the physical labor.
3. Excavation
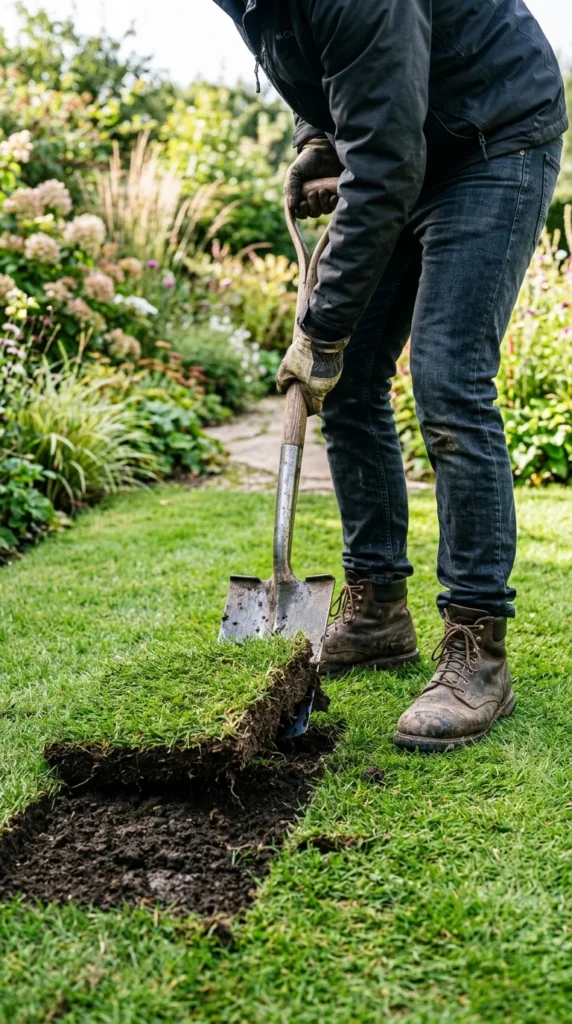
The longevity of your path depends on the depth of your excavation. For most DIY paths, you will need to dig down between 4 and 6 inches. This depth allows for a stable base of crushed stone or sand and the thickness of your chosen surface material. If you are building a simple mulch or gravel path, 3 inches might suffice. Be sure to keep the bottom of your trench as level as possible, but slightly pitched (about 1/4 inch per foot) away from house foundations to ensure proper water drainage.
4. Compaction
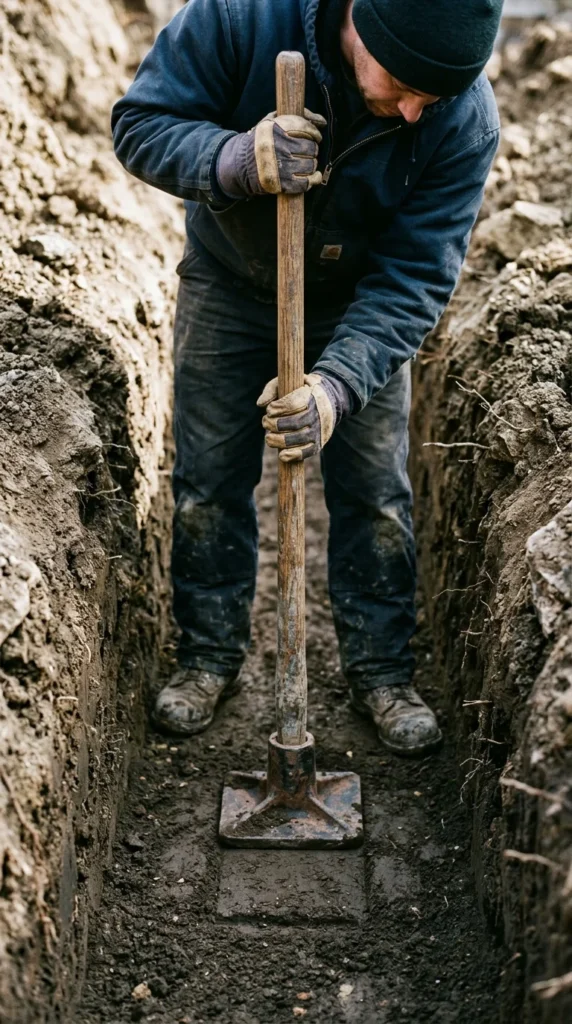
Loose soil is the enemy of a level path. As soil settles over time, it can cause pavers to trip or gravel to sink unevenly. Use a manual hand tamper or, for larger projects, rent a plate compactor to firm up the subsoil. You want the ground to be hard enough that your boots don’t leave deep indentations when you walk on it. This step is often skipped by beginners, but it is the secret to a path that stays flat for years.
5. Barrier
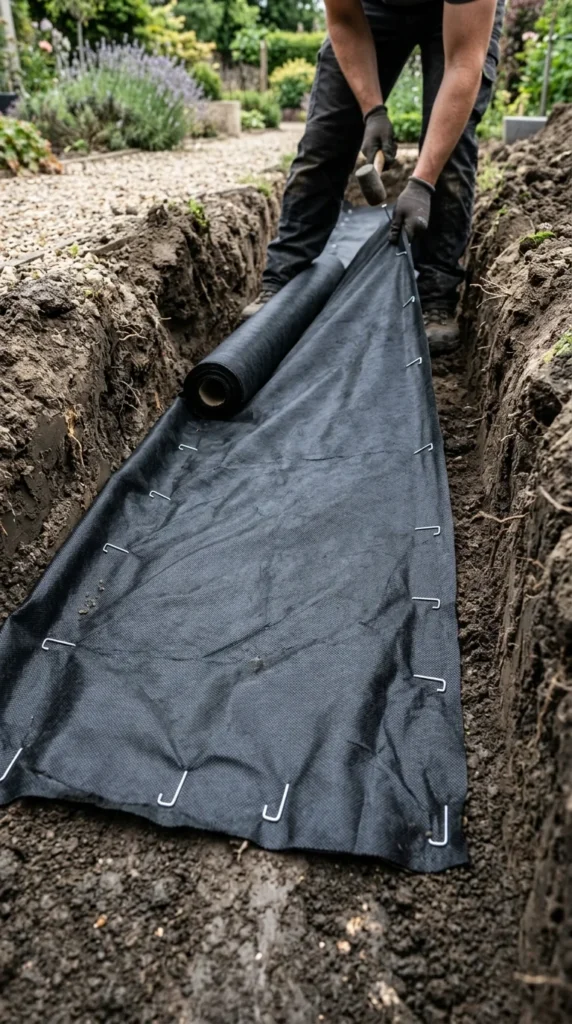
To prevent weeds from poking through your beautiful new path and to keep your base materials from mixing with the native soil, lay down a high-quality landscape fabric. Avoid the thin, plastic-like versions; instead, opt for a woven or non-woven “geotextile” fabric. This allows water to drain through while providing a structural separation layer. Overlap the seams by at least 6 inches to ensure no gaps are left for stubborn weeds to find light.
6. Edging
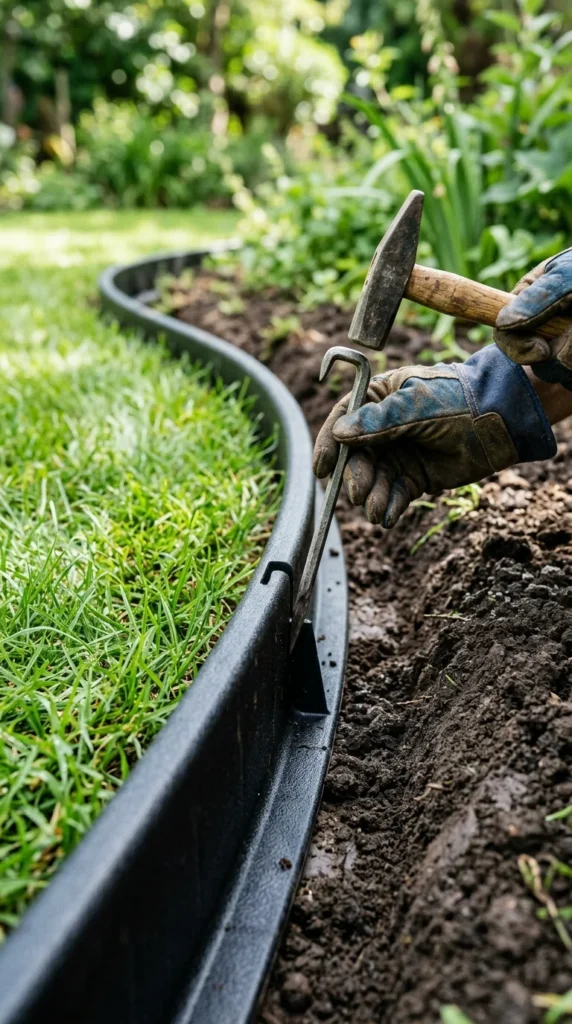
Edging acts as a frame for your path, holding your materials in place and preventing the lawn from encroaching. You can use various materials: recycled plastic, aluminum, pressure-treated timber, or even vertical bricks. If you are using flexible edging, secure it with stakes every 12 to 18 inches. The top of the edging should sit just slightly above the finished height of the path to act as a lip that contains gravel or mulch.
7. Base
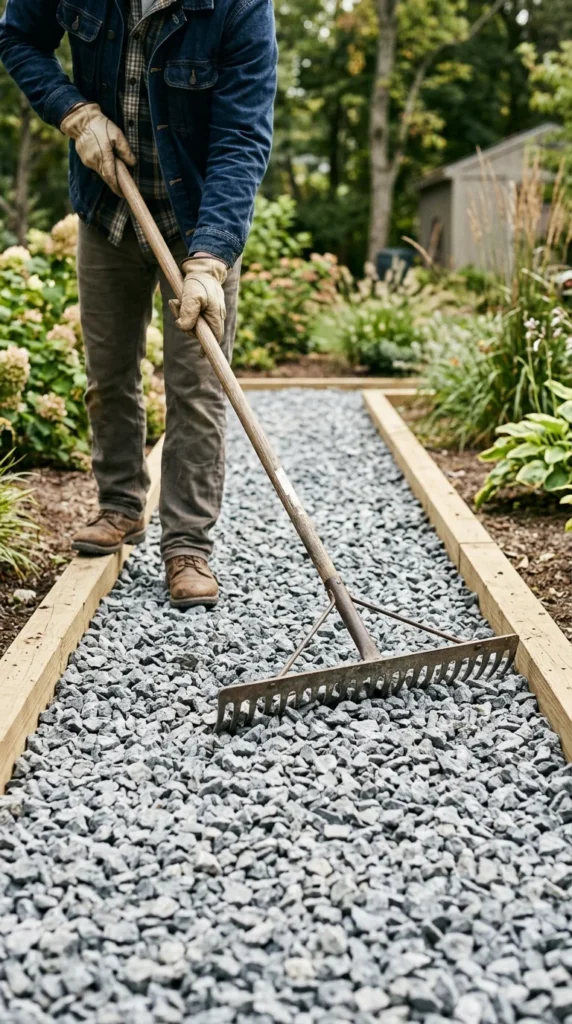
For paths using pavers or heavy stones, a “base” layer is essential. Typically, this consists of 2 to 3 inches of crushed stone (often called “3/4-minus” or “crusher run”). Unlike smooth river pebbles, crushed stone has sharp edges that lock together when compacted, creating a solid, pavement-like surface. Spread the stone evenly and use your tamper or compactor again until the base is rock-hard.
8. Bedding
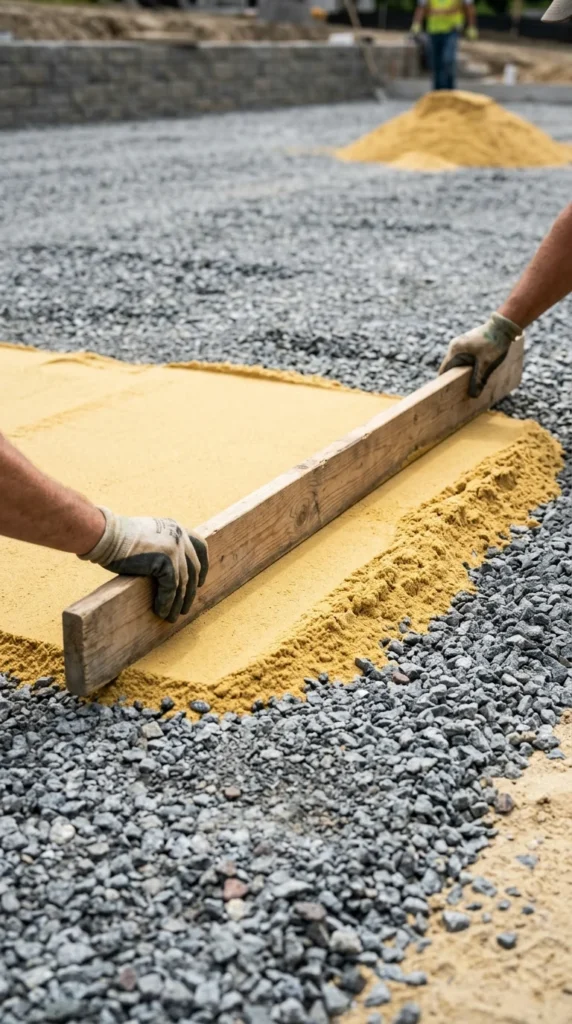
If you are laying pavers, bricks, or flagstones, you need a 1-inch layer of coarse sand on top of your compacted base. This “bedding” layer allows you to wiggle the stones into place and adjust their height individually. Use a “screed” (a straight 2×4 board) to smooth the sand to a uniform thickness. Once the sand is down, do not walk on it; work from the outside or from the stones you have already laid.
9. Pavers
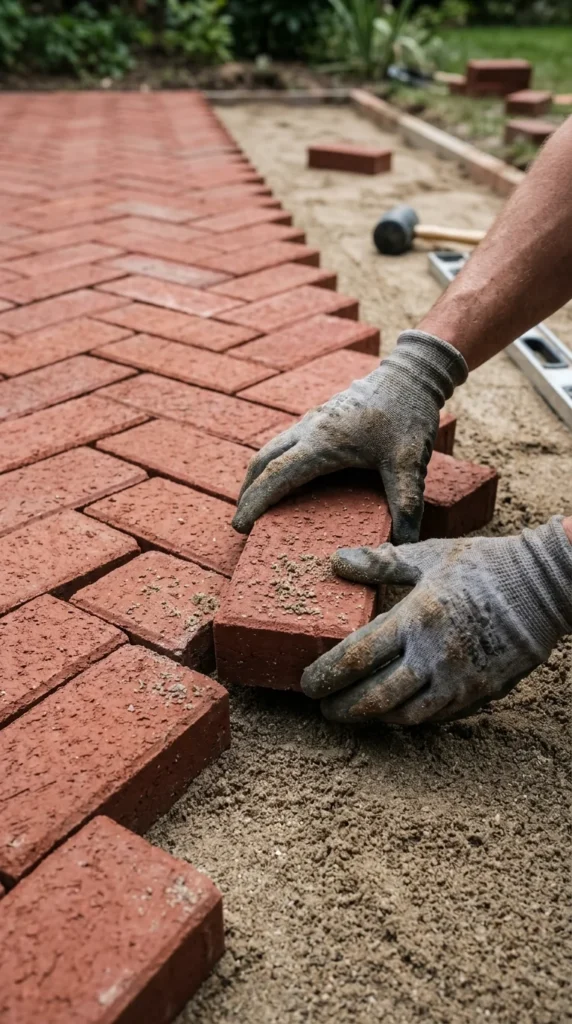
Now comes the most visual part: laying the surface. Start at one end and work your way forward. If you are using natural flagstone, think of it like a puzzle, trying to match shapes to keep the gaps consistent. If you are using manufactured pavers, follow a specific pattern like running bond or basketweave. Use a rubber mallet to gently tap each stone into the sand until it is level with its neighbors. Frequently check your progress with a spirit level.
10. Filling
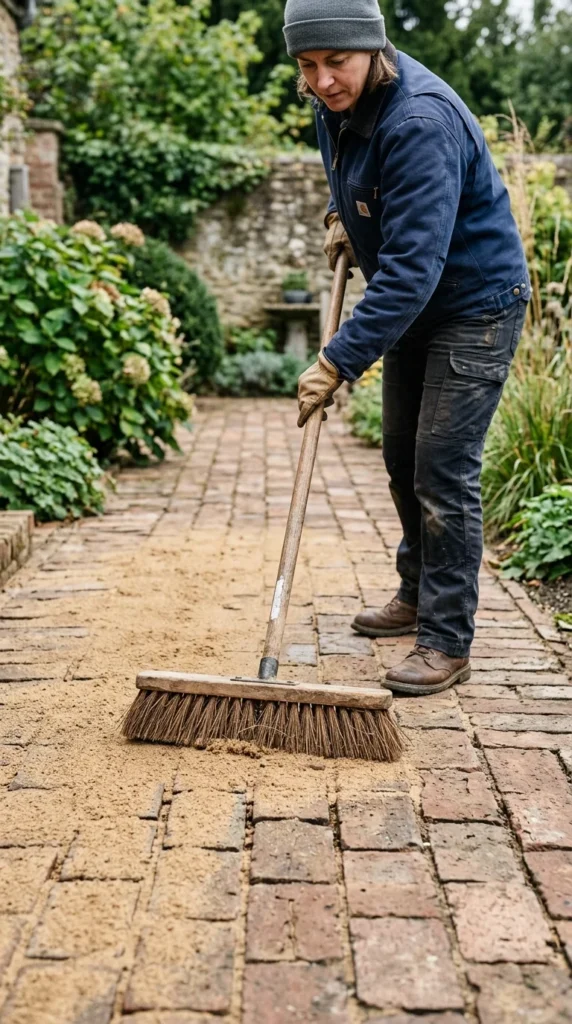
Once all your stones or pavers are set, the gaps need to be filled. For a modern, weed-resistant finish, use “polymeric sand.” This specialized sand contains a binder that, when misted with water, hardens like glue. If you prefer a more natural look, you can use stone dust or even plant “steppable” groundcovers like creeping thyme or moss in the gaps. For gravel paths, simply pour your decorative top stones (like pea gravel or Mexican beach pebbles) and rake them level.
11. Finishing
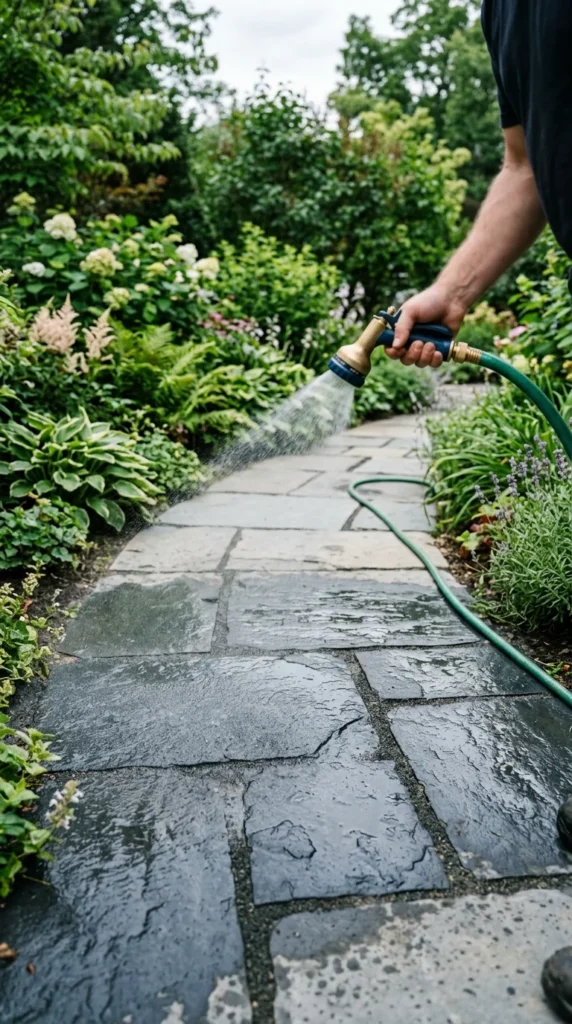
The final step is the “set.” If you used polymeric sand, follow the manufacturer’s instructions carefully: sweep off all excess sand from the surface of the stones before wetting, otherwise, it will stain. Lightly mist the path to activate the hardening agent. Give the path at least 24 hours to dry and cure before walking on it. Finally, backfill the outside of the edging with topsoil and grass seed to blend the new path seamlessly into your yard.
12. Maintenance
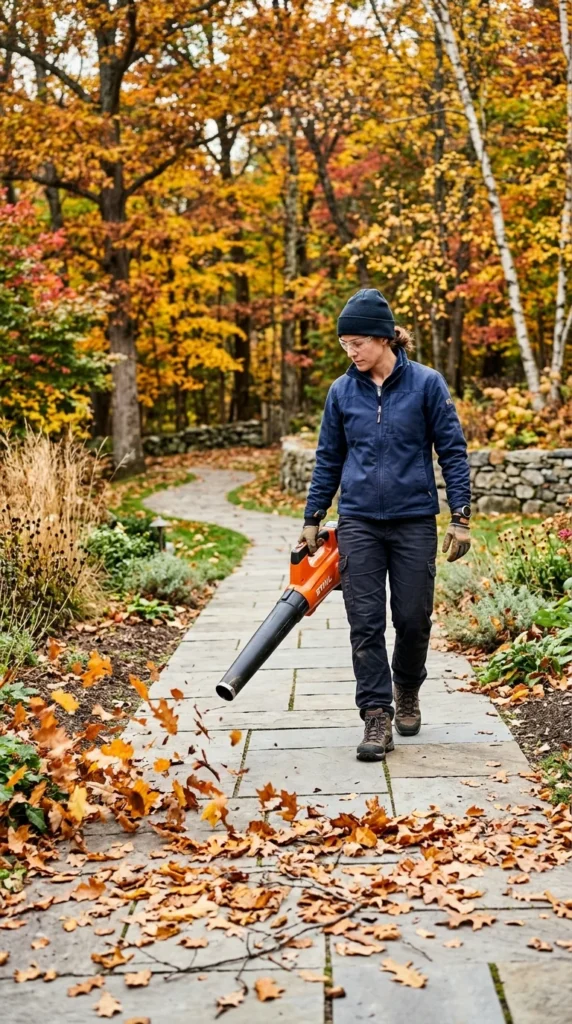
A DIY garden path is relatively low-maintenance, but it does require some care to stay beautiful. For gravel paths, occasional raking will keep the surface even. For paver paths, you may need to top off the sand in the joints every few years. If weeds do appear, pull them early or use a vinegar-based spray to keep the path clear. Regularly trimming the grass along the edging will maintain that “just-installed” professional look.