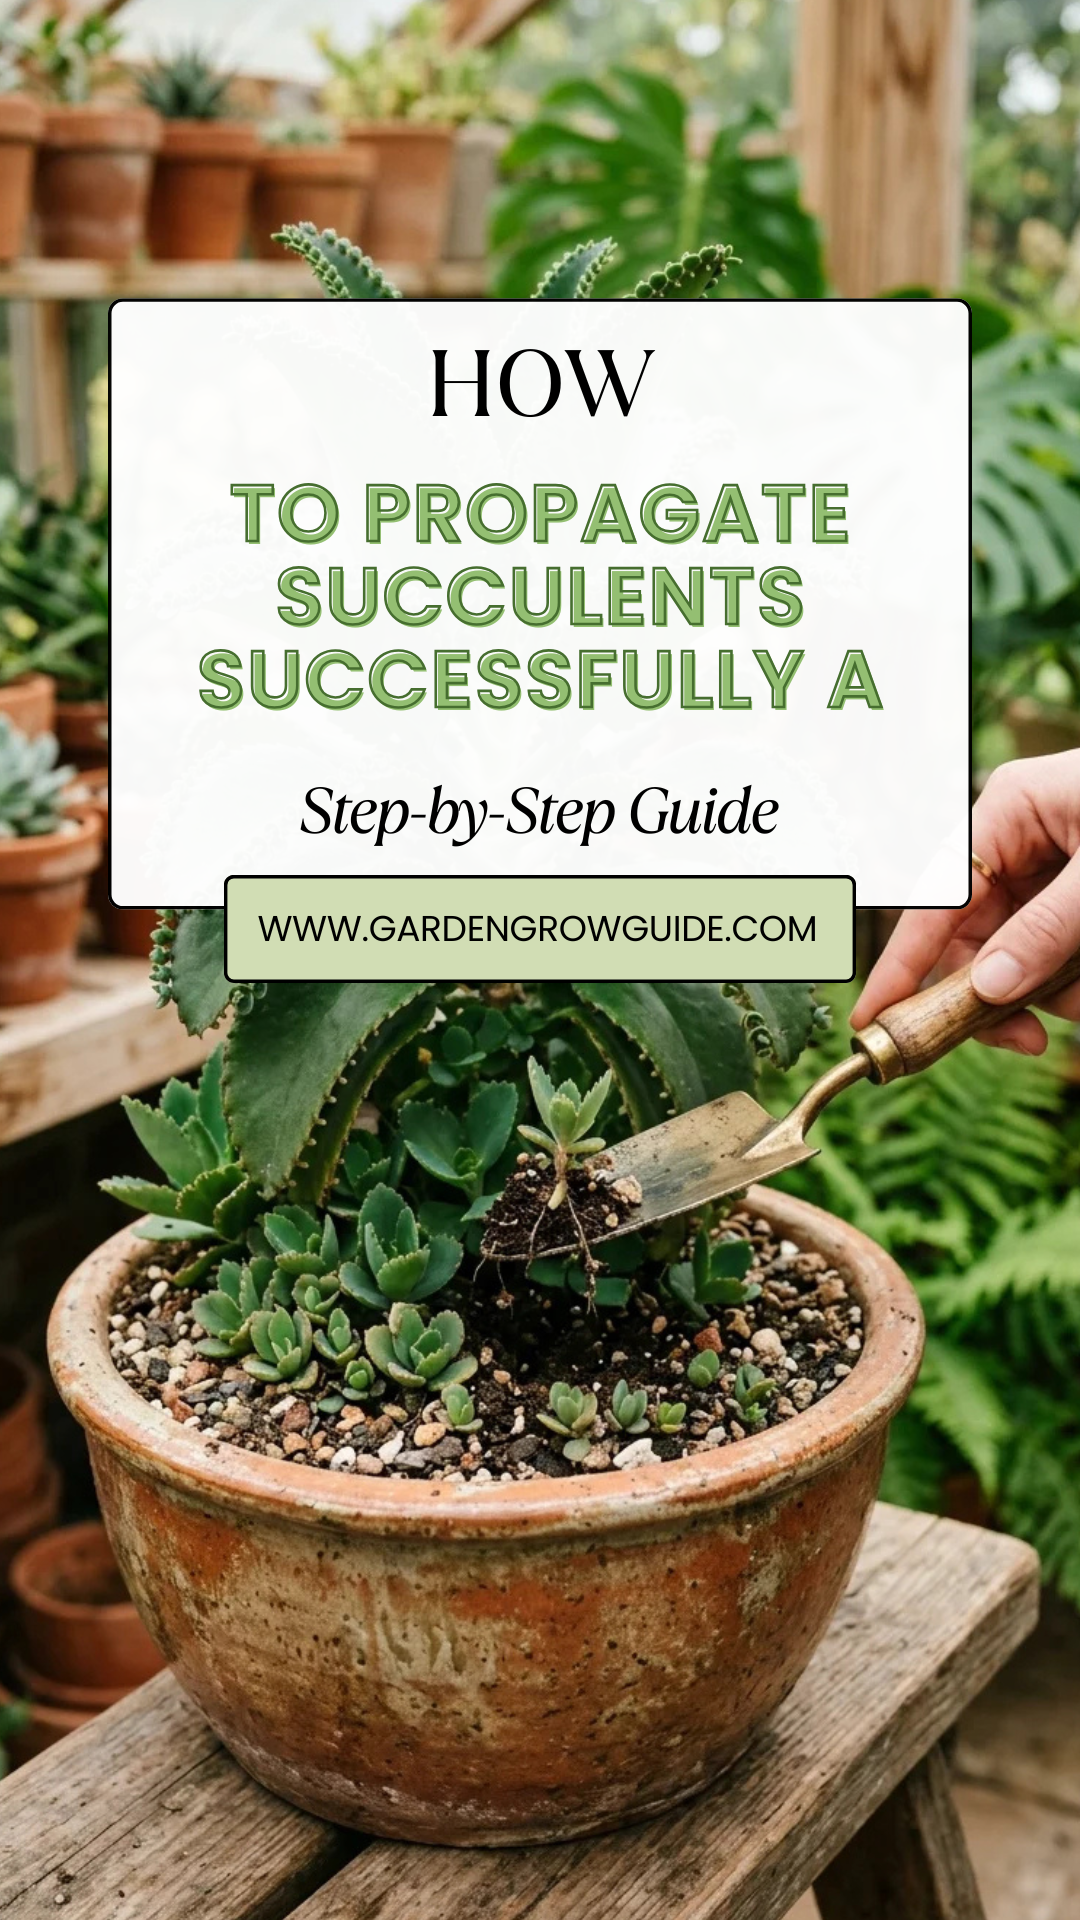
Succulent propagation is often described as a form of botanical magic. It is the process of creating new plants from existing ones, utilizing the natural regenerative abilities of these resilient desert dwellers. Whether you are looking to expand your personal collection, create thoughtful handmade gifts, or rescue a plant that has become “leggy,” mastering propagation is an essential skill for any indoor gardener.
Succulents are uniquely adapted to survive harsh environments, and their ability to grow a whole new root system and foliage from a single leaf or a small stem segment is a testament to their evolutionary ingenuity. This guide explores the most effective methods to ensure your propagation journey is successful.
1. Leaf Pulling
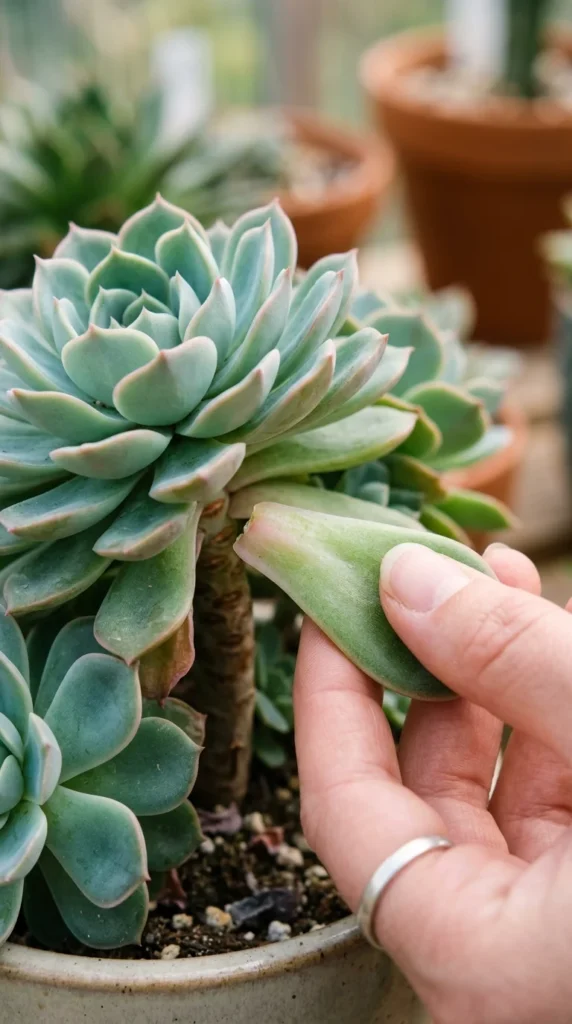
The most common method for propagating genera like Echeveria, Graptopetalum, and Sedum is through leaf cuttings. The secret to success lies in the “clean pull.” If a leaf is snapped in the middle or leaves a piece of itself on the stem, it will likely rot rather than grow.
To perform a leaf pulling, find a healthy, plump leaf at the bottom of the plant. Gently wiggle it back and forth until it “pops” off the stem. The base of the leaf should be U-shaped and completely intact. If the base is jagged, the leaf won’t be able to produce the hormones necessary for new growth.
2. Callous Formation
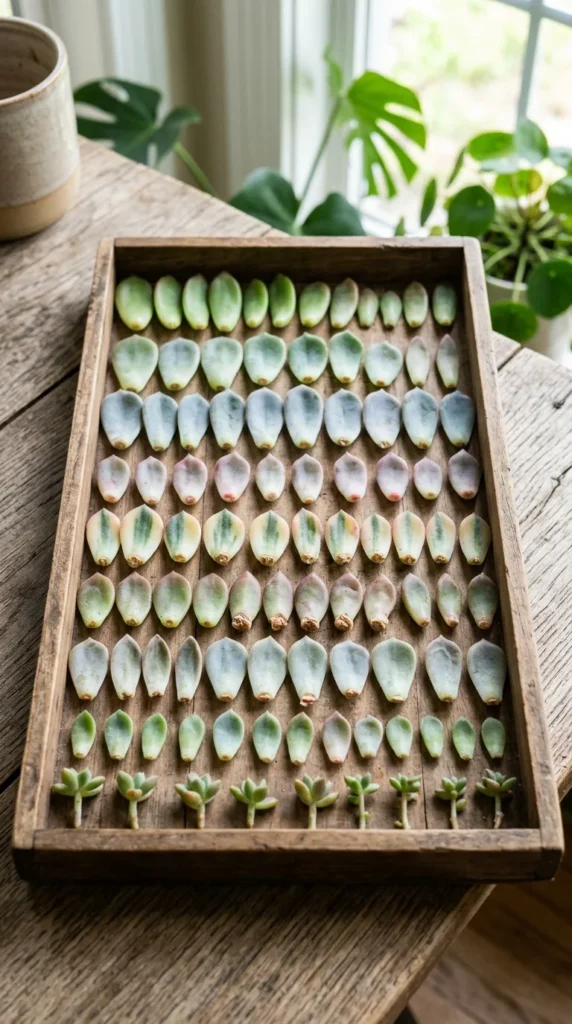
Once you have your leaves or stem cuttings, the most difficult part for many gardeners begins: waiting. You cannot put fresh succulent cuttings directly into soil or water. Because succulents are full of moisture, the raw “wound” is highly susceptible to fungus and rot.
Place your cuttings on a dry paper towel or a tray in a spot with bright, indirect light. Over the next two to five days, the raw end will dry out and form a callous—a protective layer similar to a scab. This callous acts as a barrier, preventing pathogens from entering the plant once it is introduced to a growing medium.
3. Soil Placement
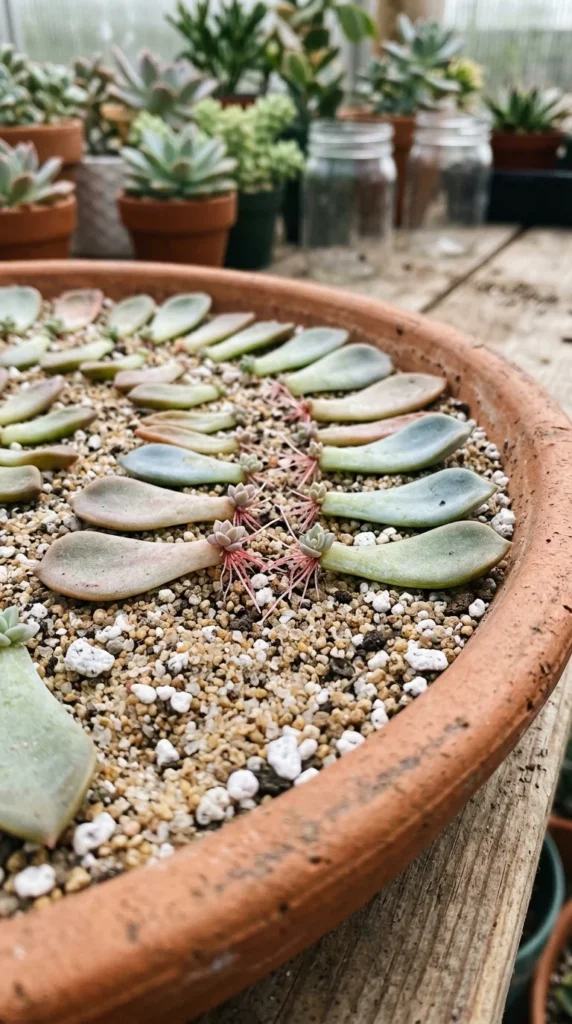
After the callous has formed, it is time to introduce the leaves to soil. Use a well-draining cactus or succulent mix, ideally amended with extra perlite or pumice to ensure maximum aeration. Lay the leaves flat on top of the soil. There is no need to bury them; in nature, these leaves simply fall to the ground and start growing where they land.
During this stage, the leaf needs very little water. In fact, many experts recommend not watering at all until you see tiny pink roots emerging. Once roots appear, you can lightly mist the soil surface every few days to keep the roots hydrated, but avoid soaking the soil, as this can still cause the mother leaf to rot before the baby plant is ready.
4. Stem Cuttings
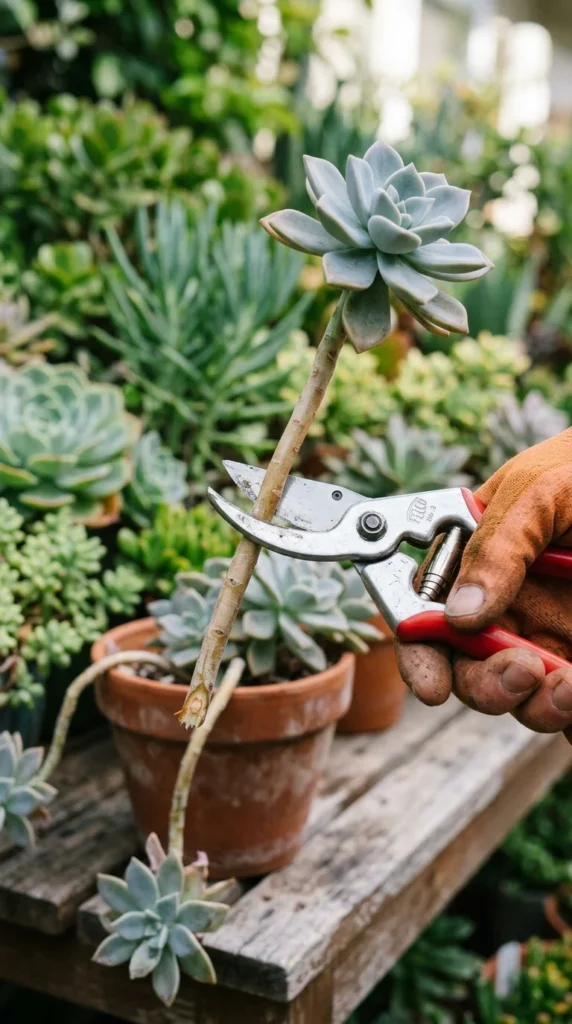
Stem propagation is the fastest way to get a “complete” looking plant. This method is perfect for “leggy” succulents—plants that have stretched out due to a lack of sunlight. By cutting the top off (a process often called “beheading”), you can start a new, compact plant while the old base often produces multiple new offsets.
When taking a stem cutting, use a sterilized blade to ensure a clean cut. Remove the bottom few leaves from the cutting to expose an inch or two of bare stem. Just like leaf cuttings, these must callous for several days before being tucked into dry succulent soil. Within a few weeks, the buried stem will begin to push out a robust root system.
5. Offset Removal
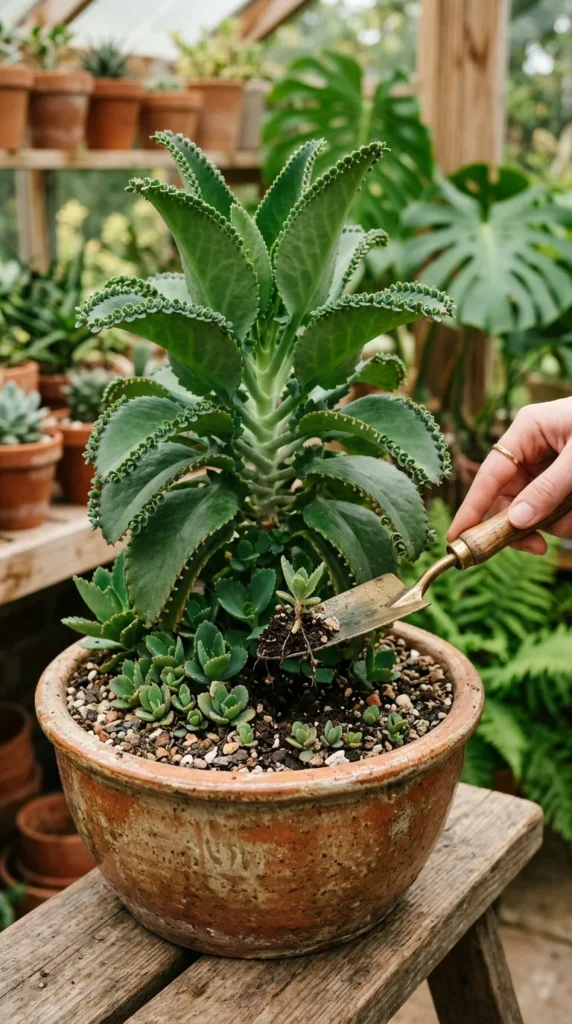
Many succulents, such as Aloe, Agave, and Sempervivum (Hens and Chicks), propagate themselves by producing “pups” or offsets. These are miniature clones that grow from the base of the mother plant, often sharing the same root system.
To propagate offsets, wait until the pup is at least one-quarter the size of the mother plant. This ensures it has enough energy to survive on its own. Gently brush away the soil to see where the pup is attached. Use a clean knife to sever the connection as close to the mother plant as possible. If the pup already has its own tiny roots, it can be potted up immediately; if not, let the wound callous before planting.
6. Water Method
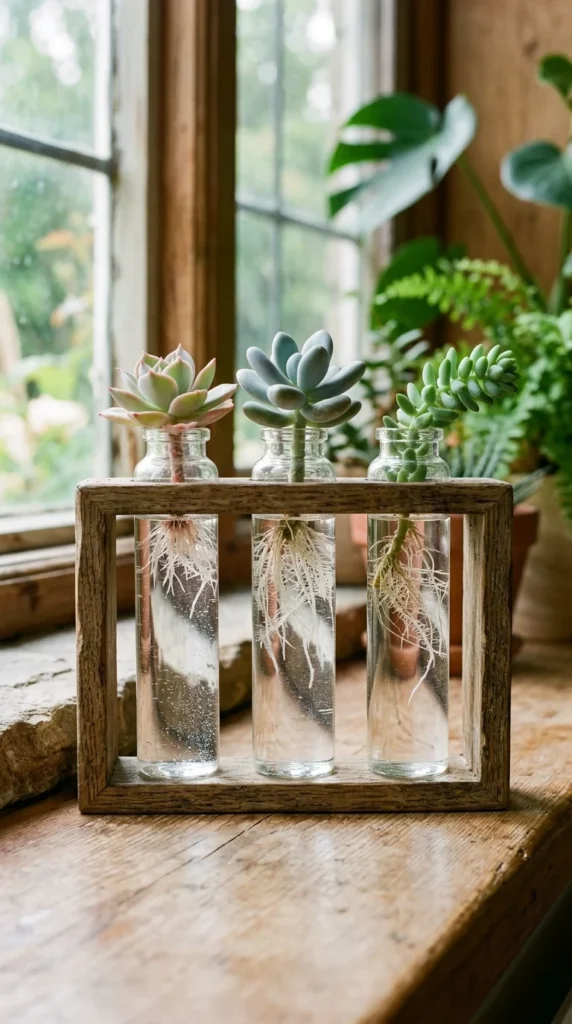
While succulents are drought-tolerant, many enthusiasts prefer water propagation for stem cuttings because it allows them to monitor root growth in real-time. This method involves suspending a calloused stem cutting just above or slightly touching a container of water.
The humidity from the water encourages the stem to reach down and sprout roots. Water-grown roots are structurally different from soil-grown roots (they are more fragile), so when you eventually transition the plant to soil, you must keep the soil slightly moister than usual for the first week to help the plant adapt.
7. Final Potting
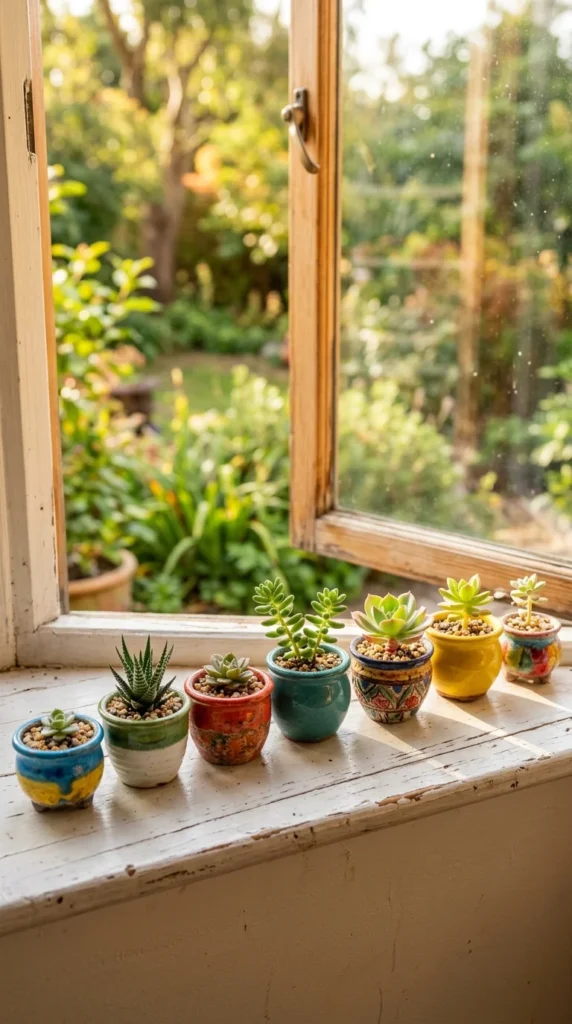
The propagation process is complete once the original “mother leaf” has withered and fallen off naturally. This indicates that the baby plant has absorbed all the nutrients and moisture from the old leaf and is now sustained by its own root system.
At this stage, move your new succulents into their permanent homes. Choose pots with drainage holes and continue to use a gritty, fast-drying soil mix. Gradually transition the young plants to more direct sunlight over the course of two weeks to avoid sunburn.
Essential Tips for Success
To maximize your success rate, keep these expert tips in mind:
- Timing is Everything: Propagation is most successful during the plant’s active growing season (usually spring and summer). Cuttings taken during winter dormancy take much longer to root and are more prone to failure.
- Light Requirements: While mature succulents love direct sun, delicate propagations do best in “bright indirect light.” Think of a spot near a window that gets plenty of light but no scorching afternoon rays.
- The “Soak and Dry” Method: Once your new plants are established, always let the soil dry out completely before watering again. Overwatering is the number one killer of succulents at any stage of life.
- Sterilization: Always clean your cutting tools with rubbing alcohol between plants. This prevents the spread of bacteria or fungal spores that could ruin your entire propagation tray.
By understanding the needs of these fascinating plants, you can turn a single succulent into a sprawling collection. Patience is your greatest tool; soon enough, those tiny leaves and stems will transform into a thriving indoor garden.