Composting is often referred to as “black gold” by gardeners, and for a good reason. It is the natural process of recycling organic matter, such as leaves and food scraps, into a valuable fertilizer that can enrich soil and plants. For a beginner, the idea of managing a pile of decomposing waste might seem daunting or even unpleasant. However, with a basic understanding of the biological process, composting becomes an easy, rewarding, and environmentally friendly habit.
By composting, you significantly reduce the amount of waste sent to landfills—where organic matter often produces methane, a potent greenhouse gas—and instead create a nutrient-dense amendment for your lawn, flower beds, or vegetable garden. This guide will walk you through the essential steps to start your own composting journey from scratch.
1. Location
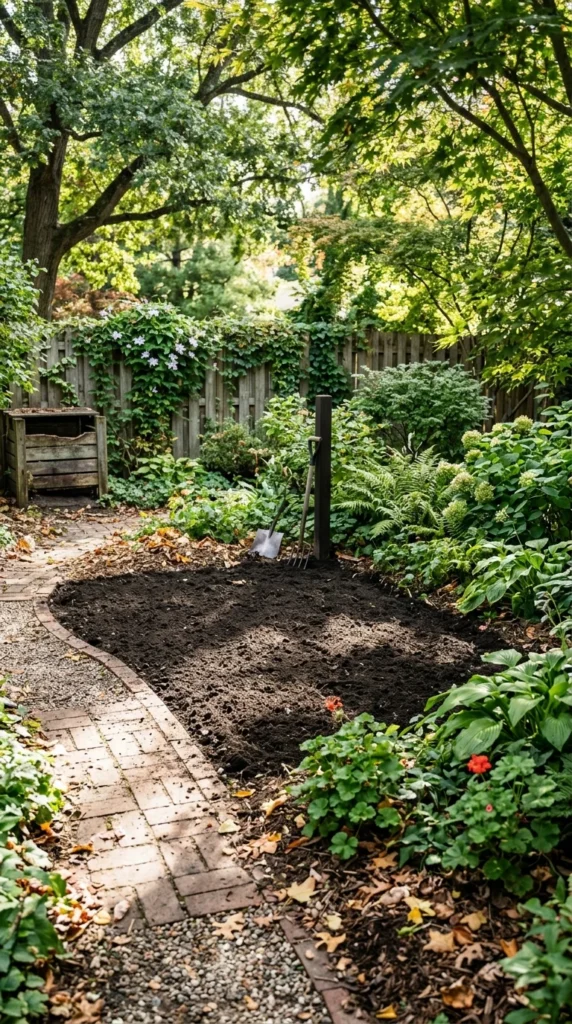
Selecting the right spot for your compost pile or bin is the foundation of success. Ideally, you want a location that is flat and well-drained. Proper drainage ensures that excess water doesn’t pool at the bottom of your pile, which could lead to unpleasant odors and slowed decomposition.
While you might be tempted to hide your compost pile in a remote corner of your yard, convenience is key. If it’s too far from your kitchen, you may find it a chore to deposit scraps. Look for a site that receives a balance of sun and shade. Some sunlight helps warm the pile, speeding up the microbial activity, but too much sun can dry out the materials. Placing it directly on soil rather than concrete or wood allows beneficial organisms like earthworms and microbes to migrate from the ground into your compost.
2. Containers
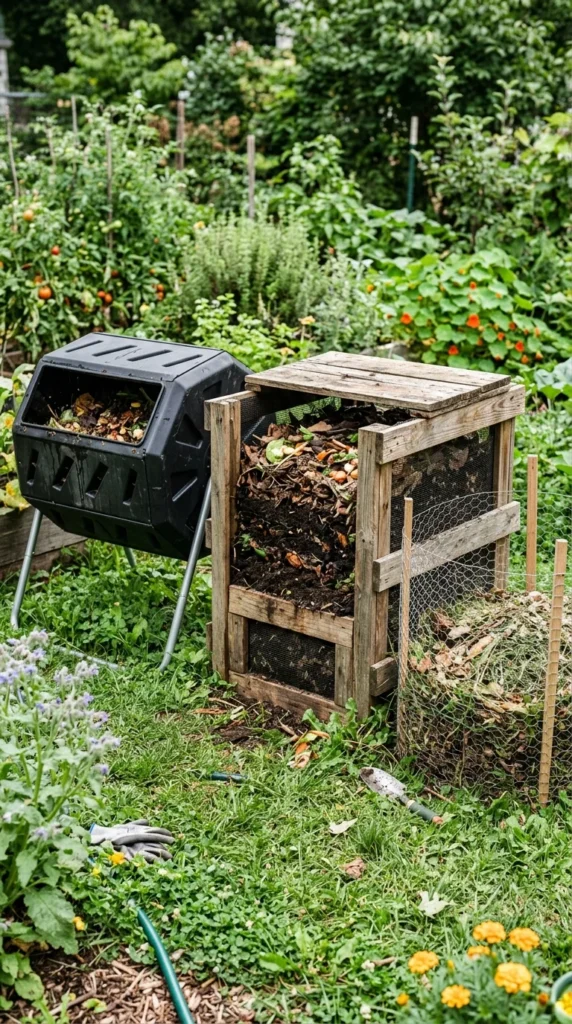
The type of bin you choose depends on your space, budget, and how much “work” you want to put into the process. Beginners often find success with one of the following:
- Stationary Bins: These are usually plastic or wooden enclosures with an open bottom and a lid. They are great for “cold” composting where you simply add materials over time.
- Tumblers: These are sealed containers that can be rotated with a handle. The aeration provided by turning the drum speeds up the decomposition process significantly, often producing finished compost in just a few weeks.
- Open Piles: If you have plenty of space and don’t mind the look, a simple pile on the ground works perfectly fine. It’s easy to turn but can be more accessible to local wildlife.
- Indoor Bins: For those in apartments, small bokashi buckets or worm bins (vermicomposting) allow you to compost kitchen scraps under your sink without any smell.
3. Materials
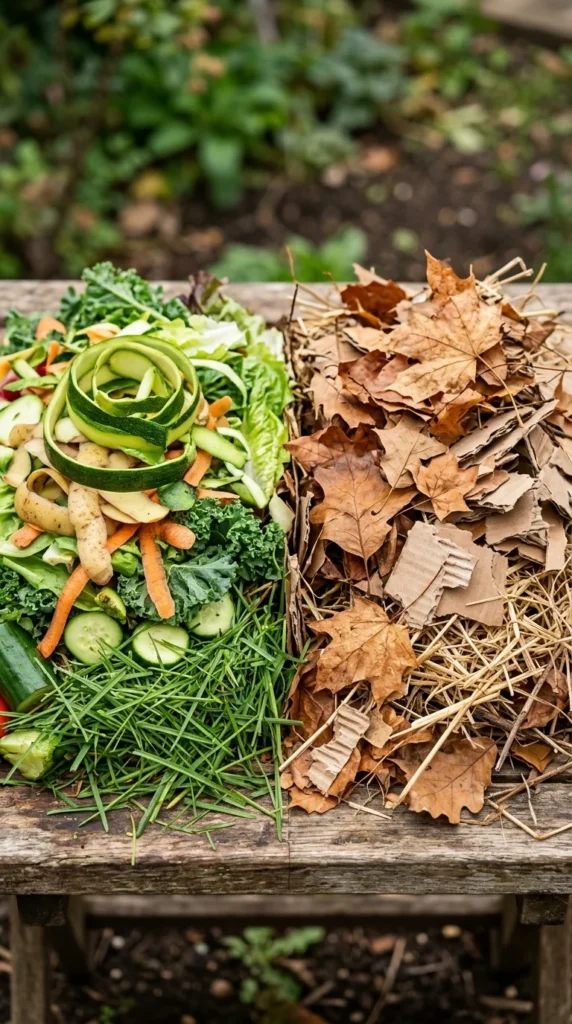
Successful composting relies on a balance of two main types of materials: “Greens” and “Browns.”
Greens (Nitrogen-rich): These materials provide the protein for the microbes to grow and reproduce.
- Fruit and vegetable scraps
- Coffee grounds and filters
- Fresh grass clippings
- Green plant trimmings
Browns (Carbon-rich): These provide the energy for the microbes and help maintain structure and airflow within the pile.
- Dried leaves
- Straw or hay
- Shredded cardboard and non-glossy paper
- Wood chips or sawdust (in moderation)
The golden rule for beginners is to aim for a volume ratio of roughly 3 parts brown to 1 part green. This prevents the pile from becoming too wet or smelly.
4. Layering
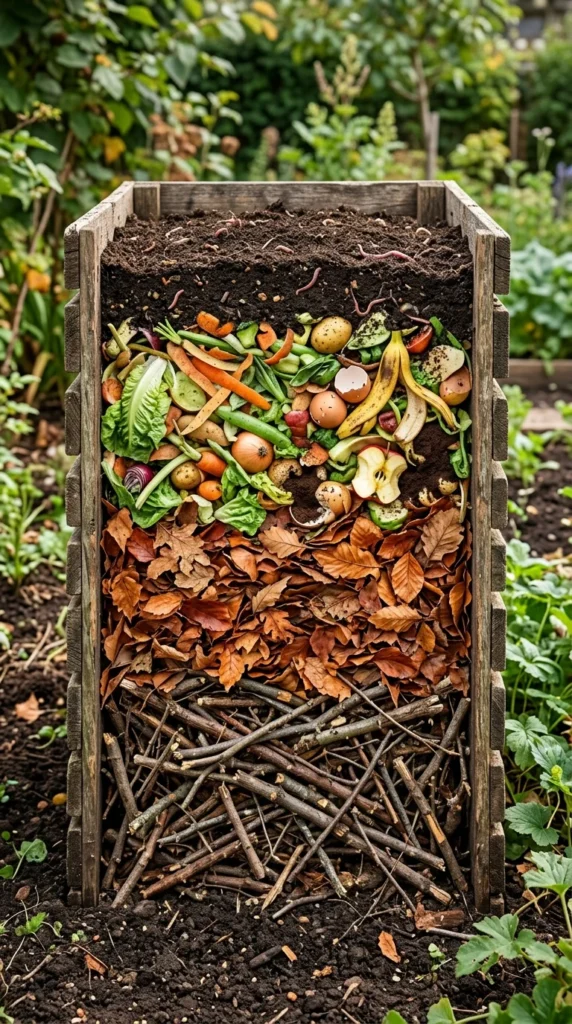
To kickstart the decomposition process, you shouldn’t just throw everything in a heap. Layering helps ensure proper aeration and moisture distribution from day one.
Start with a base layer of coarse materials, like small twigs or straw, about 4 to 6 inches deep. This allows air to circulate at the bottom of the pile. Next, add a layer of greens, followed by a thicker layer of browns. Some gardeners like to add a “starter” layer—a few shovelfuls of garden soil or finished compost—to introduce the necessary bacteria and fungi to the new pile. Continue layering like a lasagna until the bin is full or you run out of materials. Always try to end with a layer of browns on top to help mask odors and keep flies away.
5. Maintenance
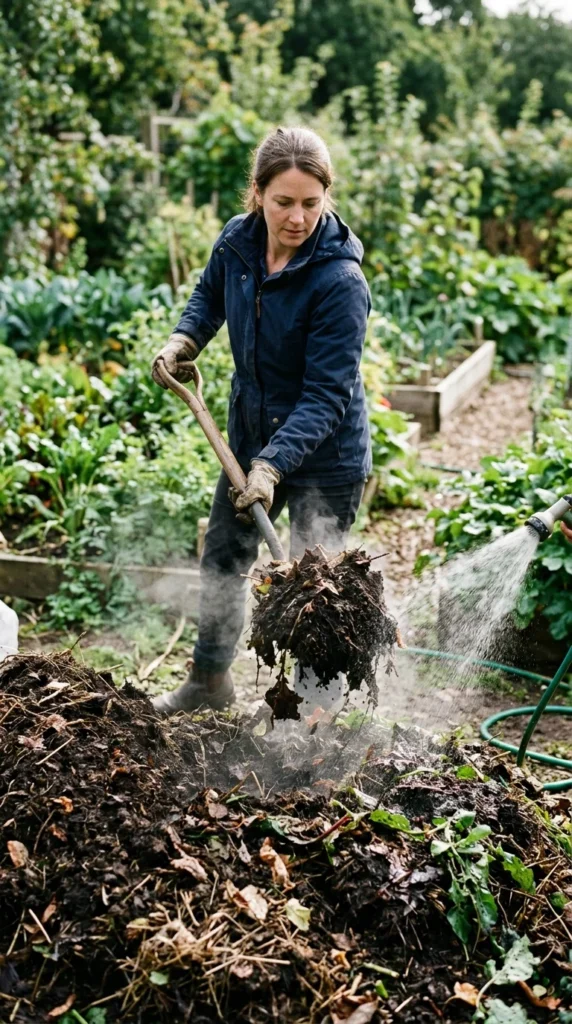
Once your pile is built, it requires minimal but regular maintenance to stay healthy. The two main factors to monitor are oxygen and moisture.
- Aeration: Microbes need oxygen to break down organic matter efficiently. Use a pitchfork or a compost aerator tool to turn your pile once every 1–2 weeks. If you are using a tumbler, give it a few spins every few days. This prevents the pile from becoming “anaerobic,” which is when it starts to smell like rotten eggs.
- Moisture: Your compost should feel like a wrung-out sponge. If it’s too dry, the decomposition will stop; if it’s too wet, it will become slimy. During dry spells, give your pile a light spray with a garden hose. If it’s too wet, add more brown materials like shredded cardboard to soak up the excess moisture.
6. Harvesting
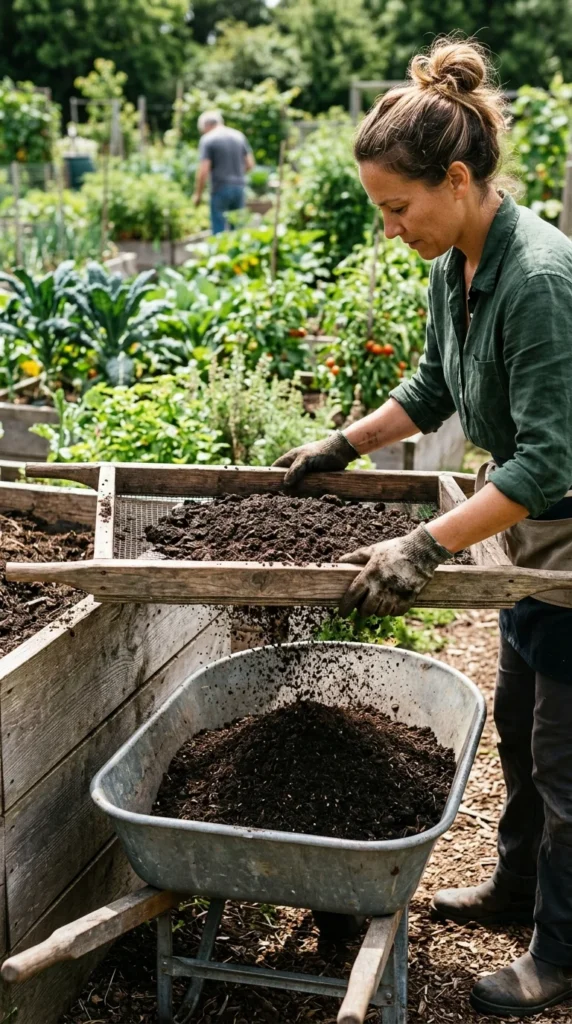
Depending on the weather and how often you turn your pile, your compost will be ready in anywhere from three months to a year. You’ll know it’s finished when it no longer looks like food scraps or leaves. It should be dark, crumbly, and have a pleasant, earthy smell like a forest floor.
To harvest, you can simply scoop the finished material from the bottom of your bin. If there are still large chunks of twigs or eggshells, you can use a simple screen to sift them out and toss the unfinished bits back into your next batch. Spread your finished compost over garden beds, mix it into potting soil, or use it as a top dressing for your lawn. Your plants will thank you for the nutrient boost, and you’ll have the satisfaction of knowing you’ve closed the loop on your household waste.