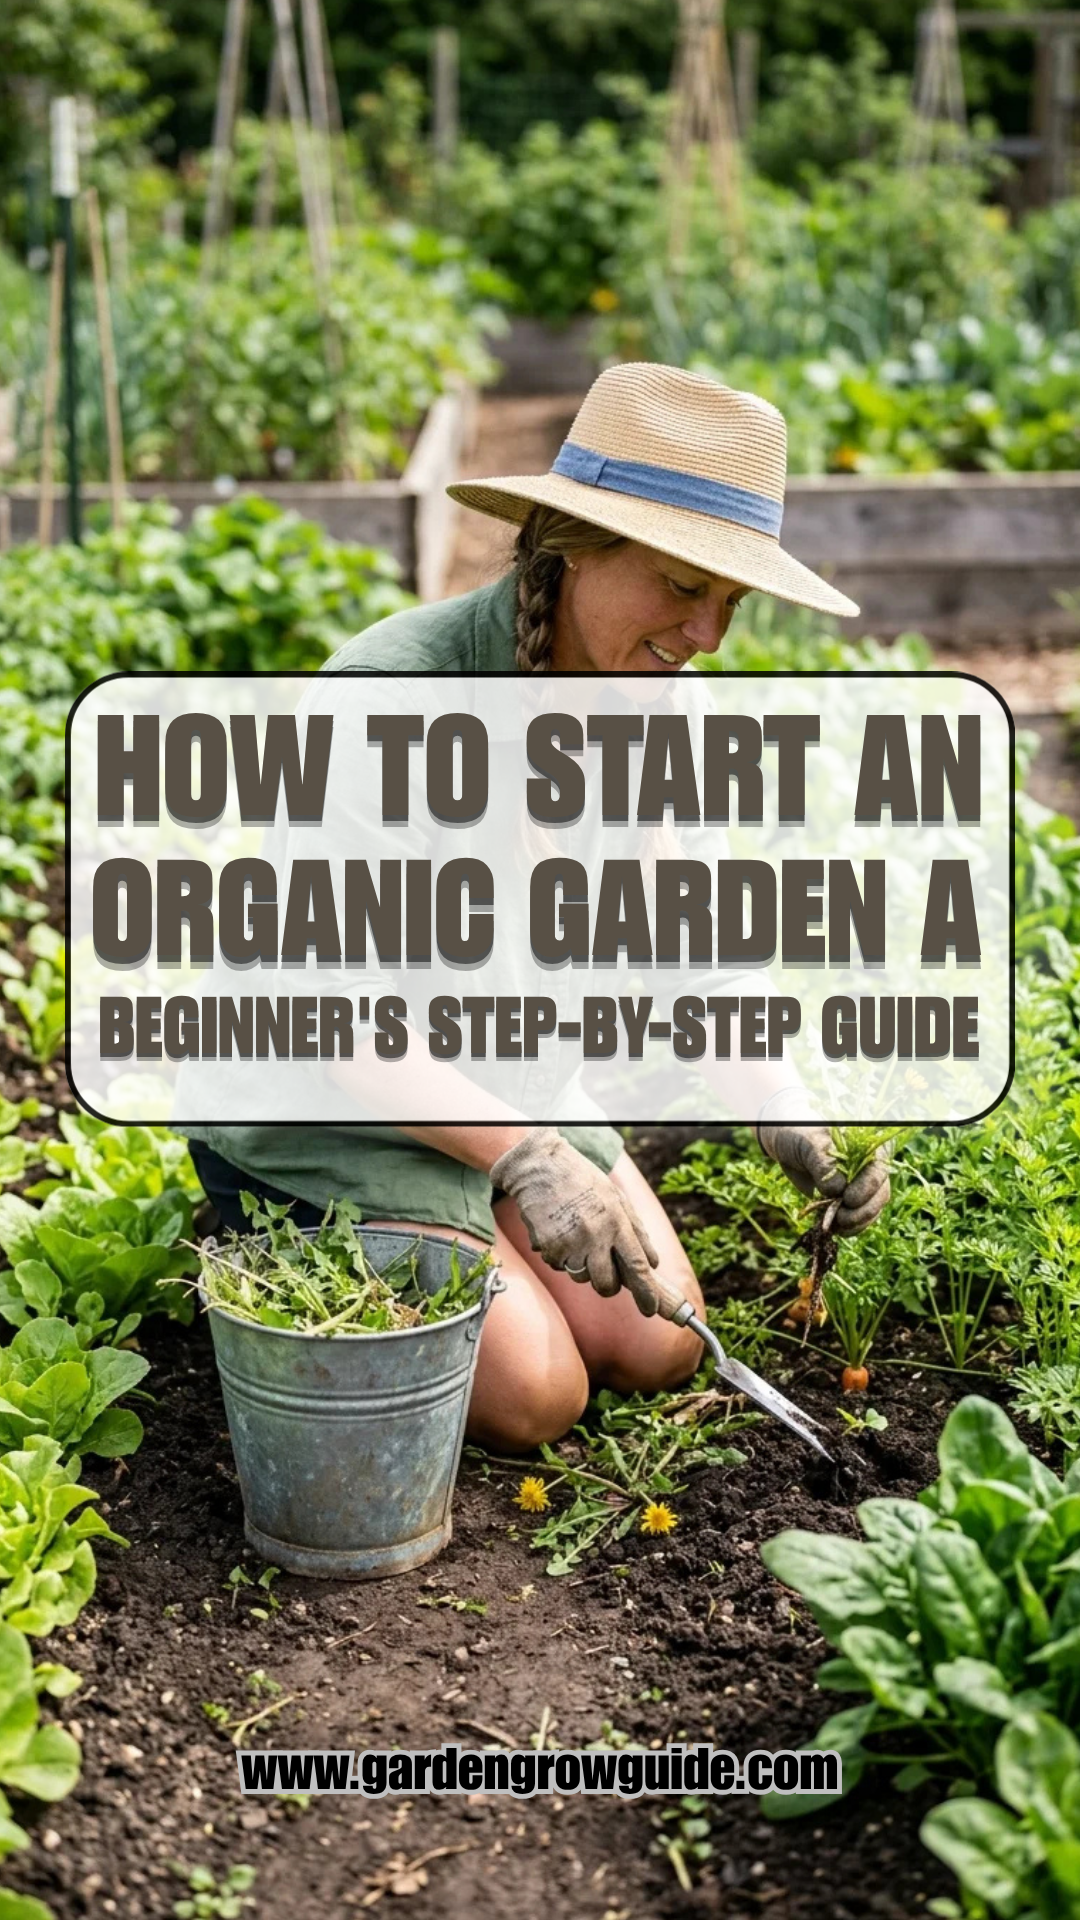
Organic gardening is more than just a hobby; it is a commitment to working in harmony with nature. By avoiding synthetic fertilizers and chemical pesticides, you create a self-sustaining ecosystem that produces healthier food and fosters a safer environment for pollinators. Whether you have a sprawling backyard or a small balcony, starting an organic garden is a rewarding journey toward sustainability and self-sufficiency.
1. Location
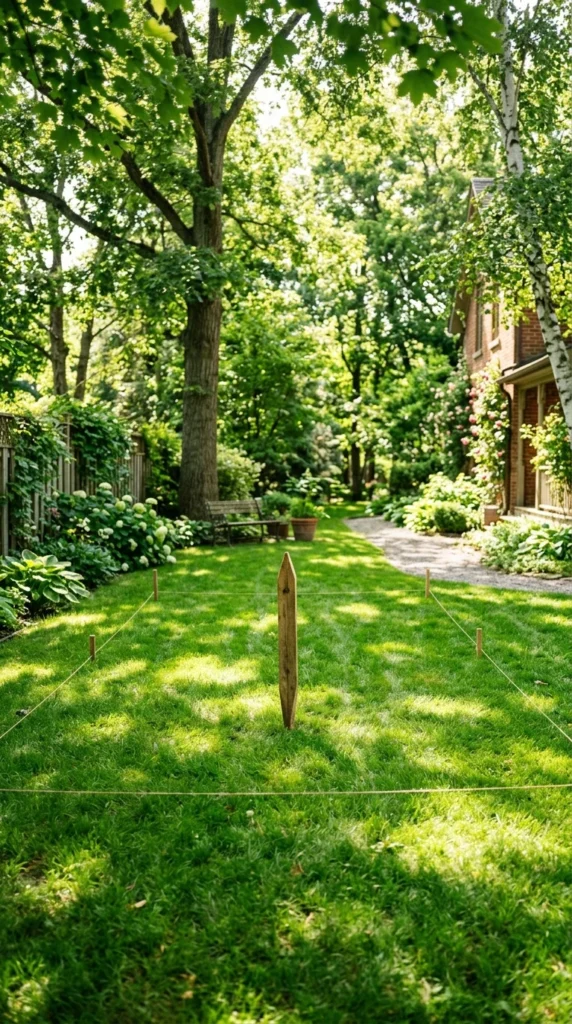
The success of your organic garden begins with choosing the right spot. Most vegetables and herbs require at least six to eight hours of direct sunlight daily to photosynthesize effectively. When selecting a location, observe your yard throughout the day to identify the areas with the most consistent sun exposure.
Beyond sunlight, accessibility is key. You want your garden to be close to a water source to make irrigation easier. Additionally, placing the garden where you can see it daily ensures you won’t forget to weed, water, or check for pests. Consider the topography as well; a level surface prevents water runoff and soil erosion, which can strip your plants of vital nutrients.
2. Soil
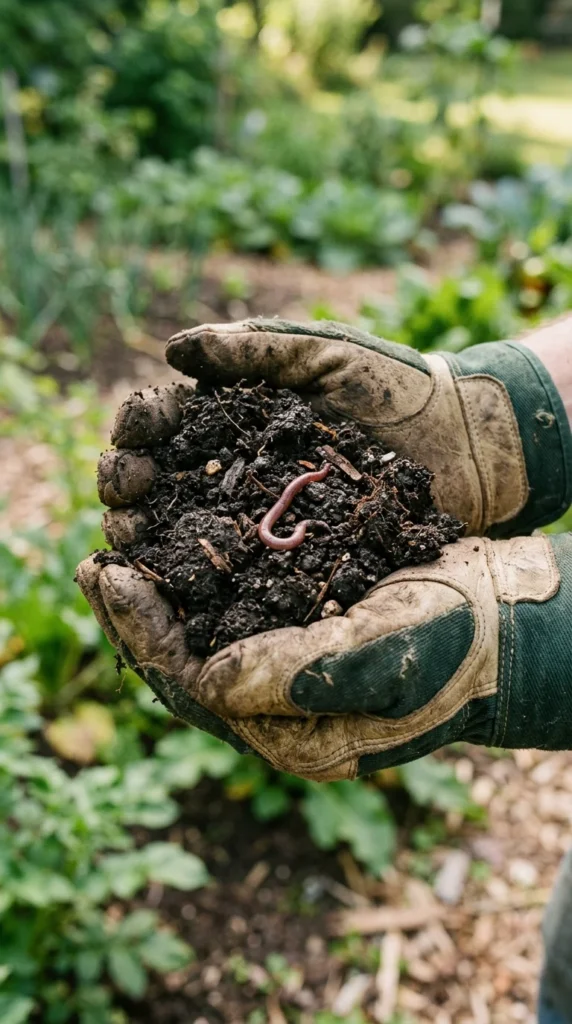
In organic gardening, you don’t feed the plants; you feed the soil. Healthy soil is teeming with microbial life, including fungi, bacteria, and earthworms, which break down organic matter into nutrients that plants can absorb.
The first step is to test your soil. You can purchase a DIY kit or send a sample to a local university extension office. This test will reveal your soil’s pH level and nutrient content. Most vegetables thrive in slightly acidic to neutral soil (pH 6.0 to 7.0). To improve soil structure and fertility, incorporate generous amounts of organic matter such as:
- Compost: Often called “black gold,” it adds nutrients and improves drainage.
- Aged Manure: Provides a nitrogen boost (ensure it is well-composted to avoid burning plants).
- Leaf Mold: Excellent for improving soil moisture retention.
3. Composting
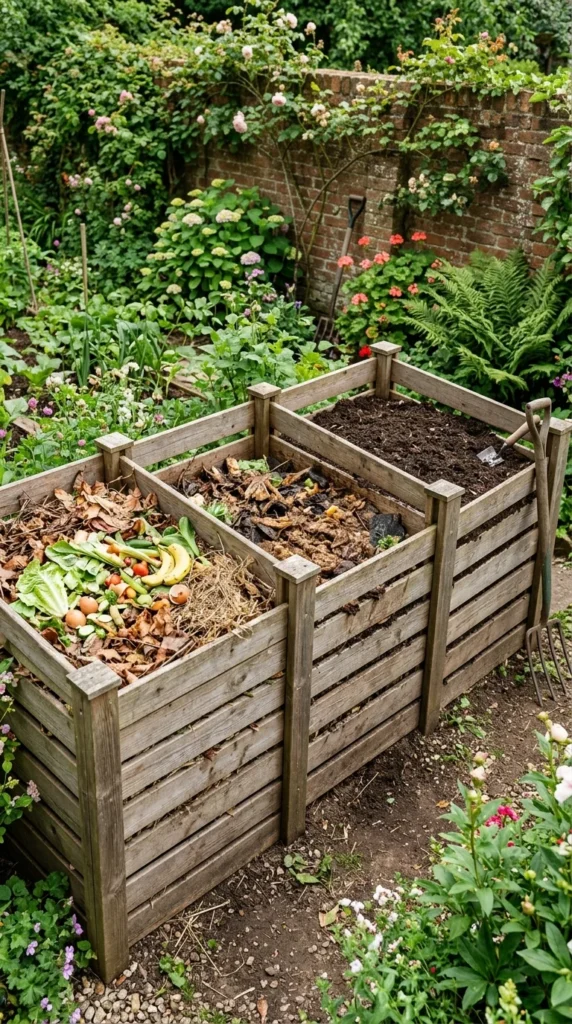
Composting is the cornerstone of organic gardening. It allows you to recycle kitchen scraps and yard waste into a nutrient-rich soil amendment. To start a compost pile, you need a balance of “greens” and “browns.”
- Greens (Nitrogen): Vegetable scraps, fruit peels, coffee grounds, and fresh grass clippings.
- Browns (Carbon): Dried leaves, straw, shredded cardboard, and woody twigs.
Maintain a ratio of roughly three parts browns to one part greens. Keep the pile moist but not soggy, and turn it regularly with a pitchfork to aerate it. Over time, the materials will break down into a dark, earthy substance that you can mix into your garden beds to replenish nutrients naturally.
4. Seeds
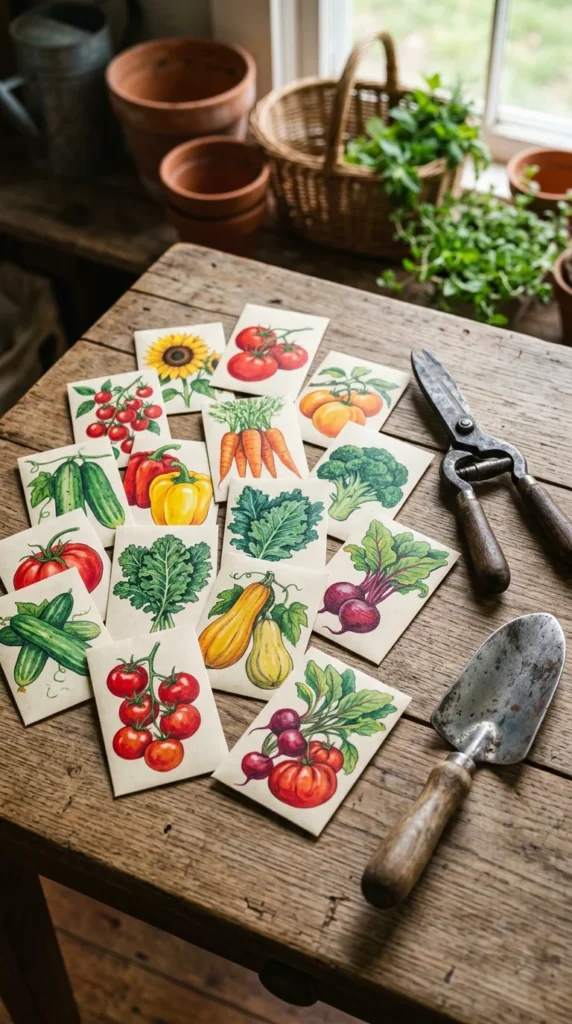
When gardening organically, it is best to start with organic seeds or seedlings. Organic seeds are harvested from plants grown without synthetic chemicals, ensuring that your garden remains true to organic principles from the very beginning.
Consider choosing Heirloom varieties. These are open-pollinated seeds that have been passed down through generations. They are often prized for their superior flavor and genetic diversity. If you are a beginner, look for “easy-to-grow” varieties such as:
- Radishes: Quick to harvest and great for impatient gardeners.
- Zucchini: Highly productive and resilient.
- Leafy Greens: Spinach and lettuce grow well in various conditions.
- Cherry Tomatoes: Generally hardier and more disease-resistant than large beefsteak varieties.
5. Planting
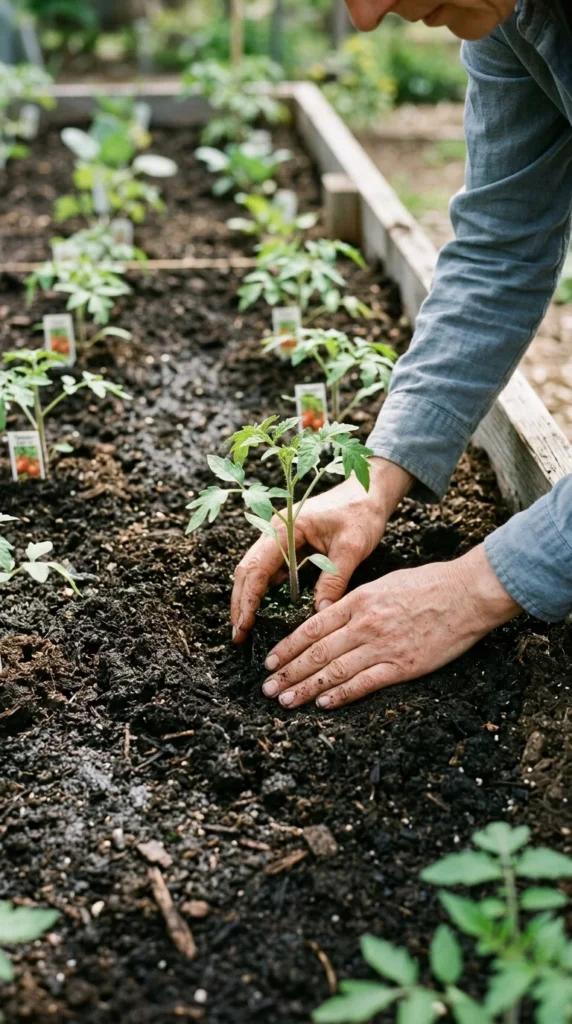
The timing of your planting is dictated by your local climate and “hardiness zone.” Most organic gardeners follow a planting calendar based on the last frost date in the spring.
When you are ready to plant, pay close attention to spacing. Overcrowding plants leads to poor air circulation, which can encourage fungal diseases and competition for nutrients. Follow the instructions on the seed packet for depth and spacing. When transplanting seedlings, handle them gently by the root ball and water them immediately after they are in the ground to reduce transplant shock. This is also the perfect time to install any necessary supports, such as tomato cages or trellises for climbing beans.
6. Watering
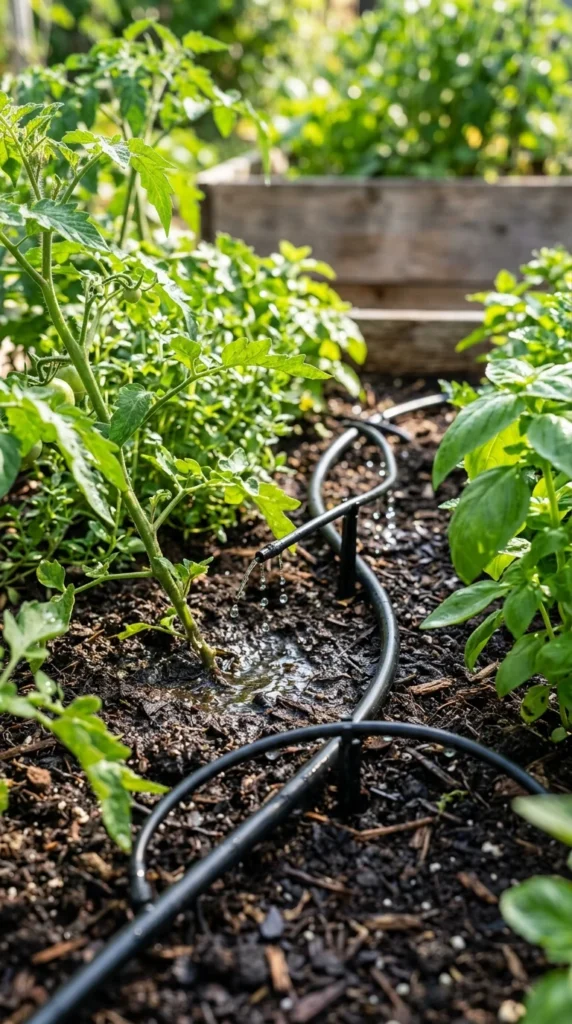
Proper watering is vital for a thriving organic garden. The goal is to keep the soil consistently moist but not waterlogged. The best time to water is in the early morning; this allows the foliage to dry before evening, reducing the risk of mold and mildew.
Avoid overhead watering whenever possible. Instead, apply water directly to the base of the plants using a soaker hose or a drip irrigation system. This ensures the water reaches the roots where it is needed most and minimizes evaporation. If you must water by hand, use a watering can with a rose attachment to provide a gentle shower that won’t wash away the soil or damage delicate young plants.
7. Mulching
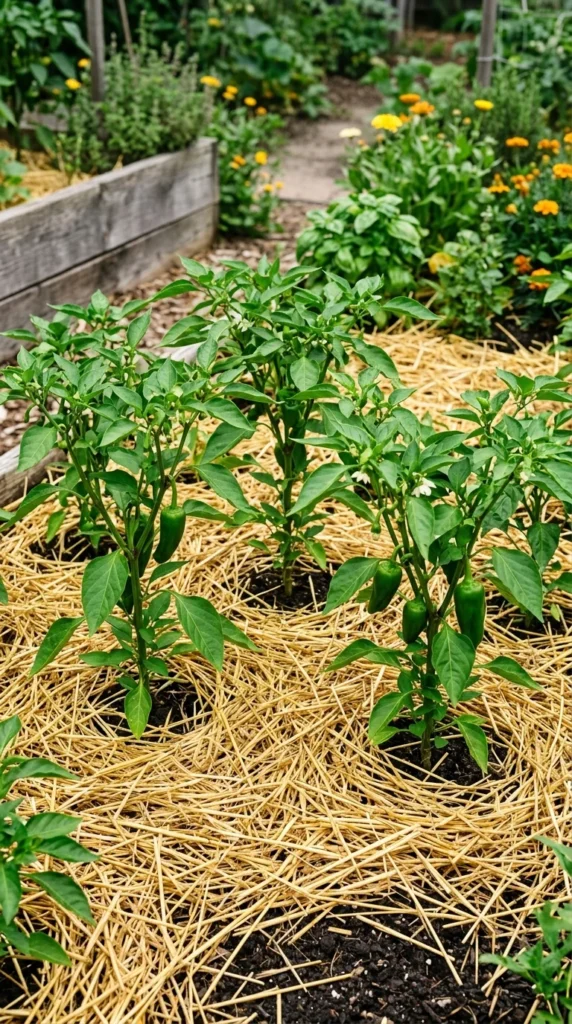
Mulching is a multitasking miracle in the organic garden. It involves covering the soil surface with organic materials to provide several benefits:
- Moisture Retention: Mulch slows down evaporation, meaning you won’t need to water as often.
- Weed Suppression: A thick layer of mulch blocks sunlight, preventing weed seeds from germinating.
- Temperature Regulation: It keeps the soil cooler in the summer and warmer in the winter.
- Soil Improvement: As organic mulch (like straw, shredded leaves, or wood chips) breaks down, it adds organic matter back into the soil.
Aim for a layer of mulch about 2 to 3 inches thick, but be sure to keep it a few inches away from the actual stems of your plants to prevent rot.
8. Maintenance
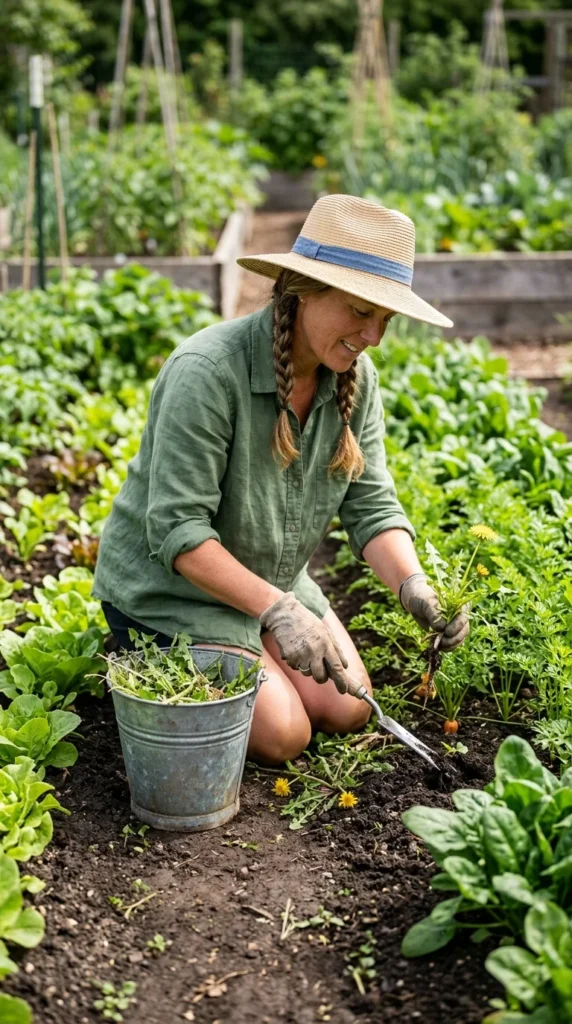
An organic garden requires regular maintenance to stay healthy. This involves “scouting” your garden daily. Look for signs of nutrient deficiencies (like yellowing leaves), wilting, or unusual spots.
Weeding is a continuous task. In an organic system, you avoid chemical herbicides, so manual removal is necessary. Pull weeds when they are small and the soil is damp to ensure you get the entire root. Regular “deadheading” (removing spent flowers) and pruning also help direct the plant’s energy toward producing fruit and vegetables rather than maintaining old growth.
9. Pests
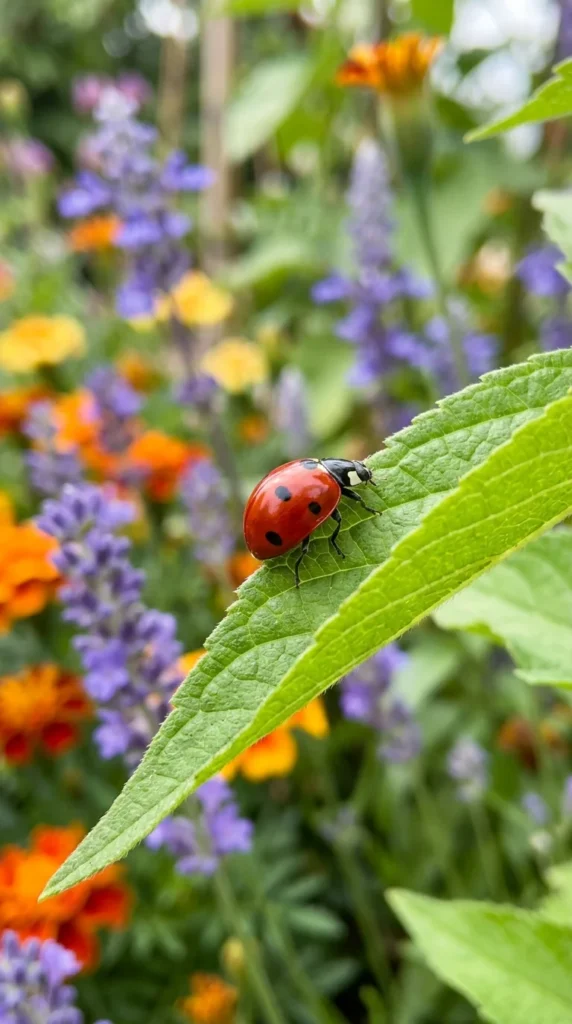
In organic gardening, the presence of insects is not always a bad thing. The goal is to reach a balance where “beneficial insects” control the “pest insects.”
- Beneficials: Ladybugs, lacewings, and predatory wasps eat aphids and mites.
- Companion Planting: Planting certain species together can deter pests. For example, planting marigolds near tomatoes can help repel harmful nematodes, while basil can deter flies and mosquitoes.
- Physical Barriers: Use row covers to protect young plants from cabbage moths or beetles.
- Organic Sprays: If an infestation becomes unmanageable, use mild organic solutions like neem oil or insecticidal soap, but use them sparingly to avoid harming pollinators like bees.
10. Harvesting
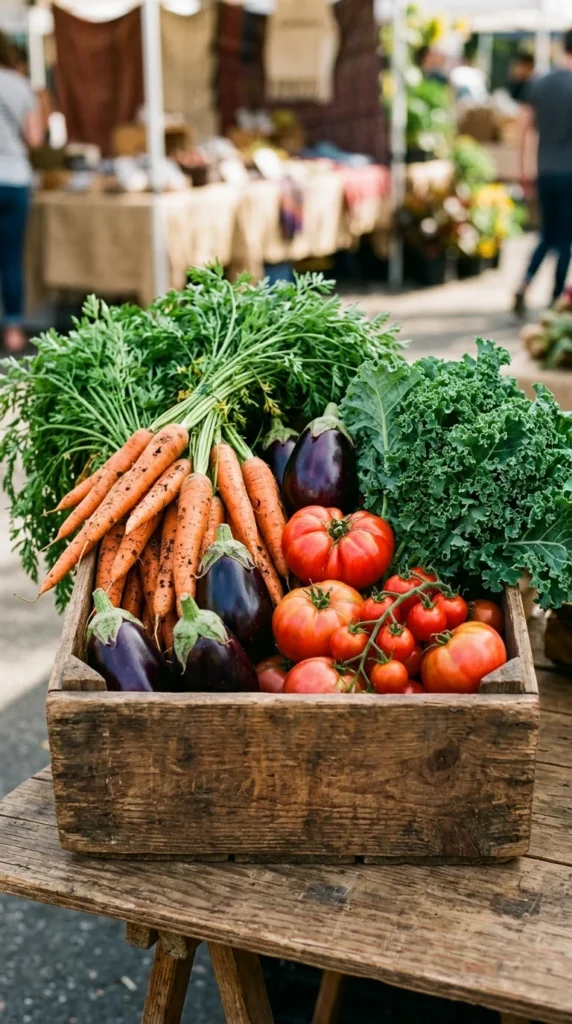
The most rewarding part of organic gardening is the harvest. Harvesting at the right time ensures the best flavor and nutritional value.
- Leafy Greens: Can be harvested as “cut and come again” by taking only the outer leaves.
- Root Vegetables: Harvest when they reach the desired size; leaving them too long can make them woody.
- Tomatoes: Pick when they are fully colored and slightly soft to the touch.
Regular harvesting actually encourages many plants to produce more. After the harvest, remember to return any plant remains (that aren’t diseased) to your compost pile, completing the organic cycle and preparing your garden for the next successful season.