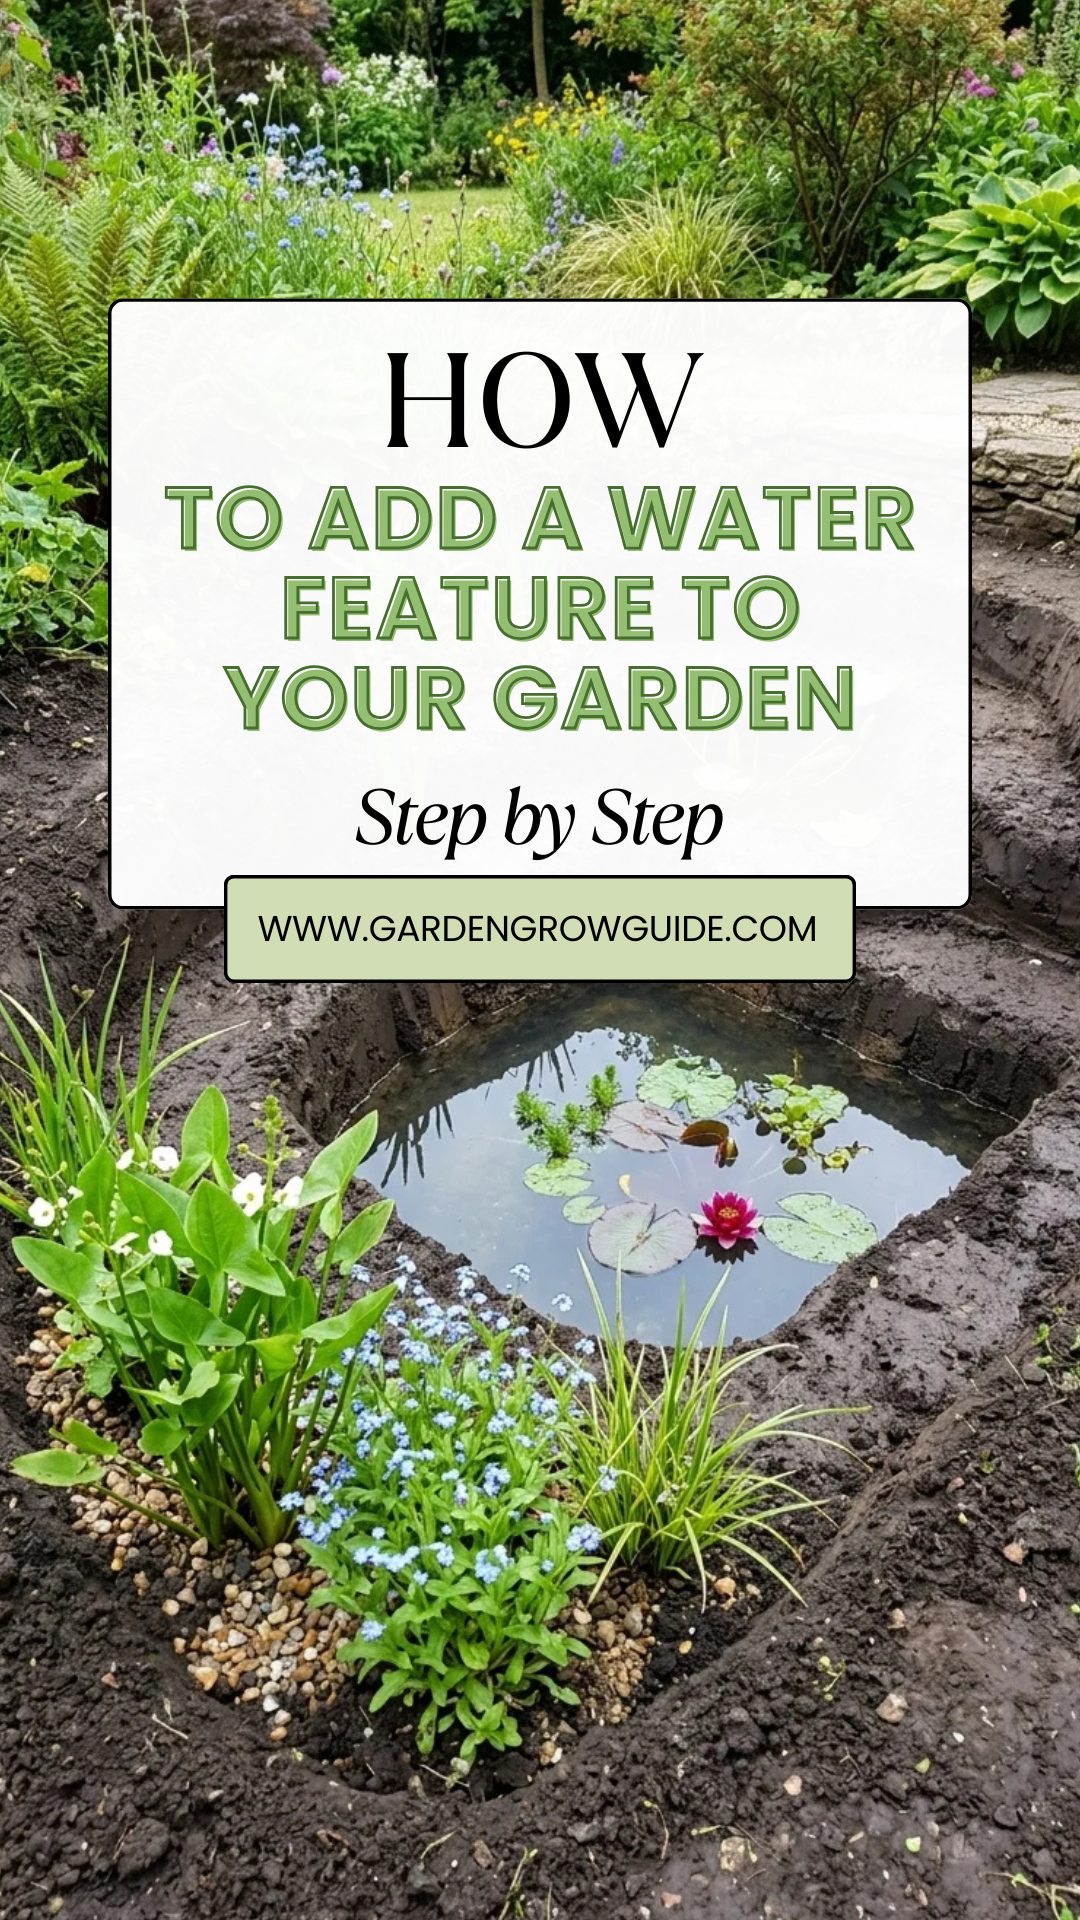
The sound of trickling water has a profound ability to transform a standard backyard into a serene sanctuary. Beyond the aesthetic appeal, water features provide vital habitats for local wildlife, improve air quality through evaporation, and mask unwanted noise from nearby streets. Whether you envision a grand pond with koi or a modest bubbling urn, adding a water feature is one of the most rewarding DIY projects a homeowner can undertake.
Installing a water feature requires careful planning, a bit of physical labor, and an understanding of how water moves and stays clean. This comprehensive guide will walk you through the entire process, ensuring your garden transformation is successful, sustainable, and stunning.
1. Planning
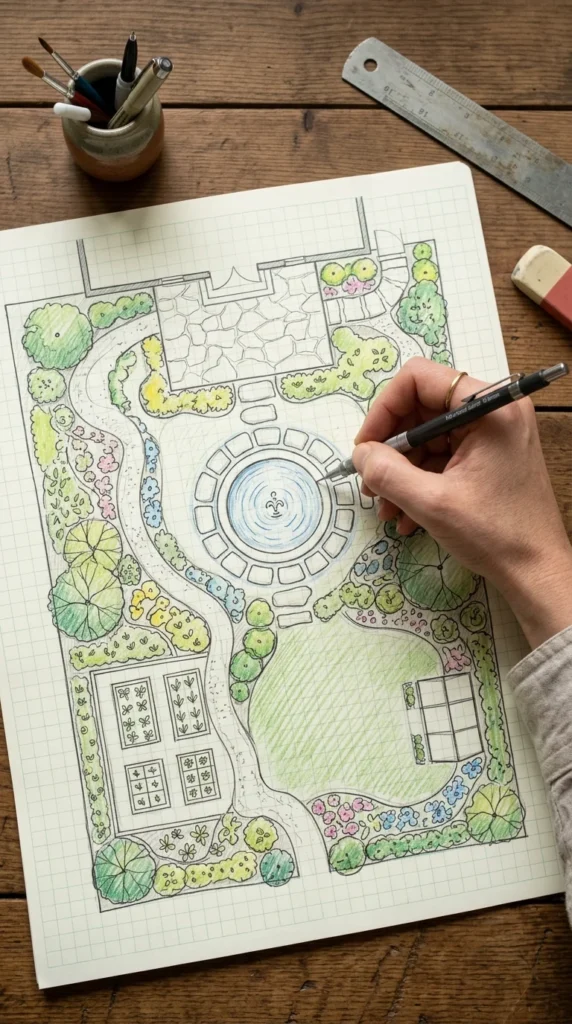
Before picking up a shovel, you must determine the “why” and “where” of your project. The location of your water feature is the most critical factor in its long-term success. You need a spot that is visible from your main seating areas or from inside the house to maximize your enjoyment.
Consider the sun exposure; most aquatic plants need at least six hours of sunlight, but too much sun can lead to excessive algae growth. Avoid placing a pond directly under large deciduous trees, as falling leaves will decay and create a maintenance nightmare. Additionally, you must ensure the site is level and has access to a grounded outdoor electrical outlet for the pump.
2. Tools
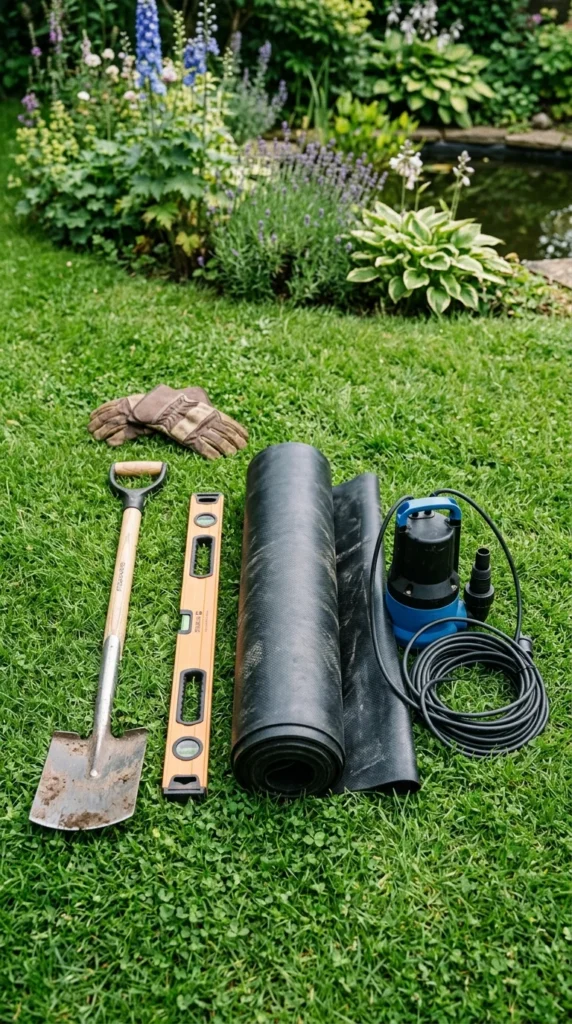
Having the right equipment on hand will prevent mid-project frustration. For a standard garden pond or waterfall, you will need:
- A sturdy spade and a round-point shovel.
- A carpenter’s level or a line level.
- A garden hose.
- Underlayment (to protect the liner from sharp rocks or roots).
- EPDM rubber liner or a pre-formed plastic pond shell.
- A submersible pump rated for the volume of your feature.
- Flexible PVC tubing and hose clamps.
- Large boulders, river rocks, and pea gravel.
3. Excavation
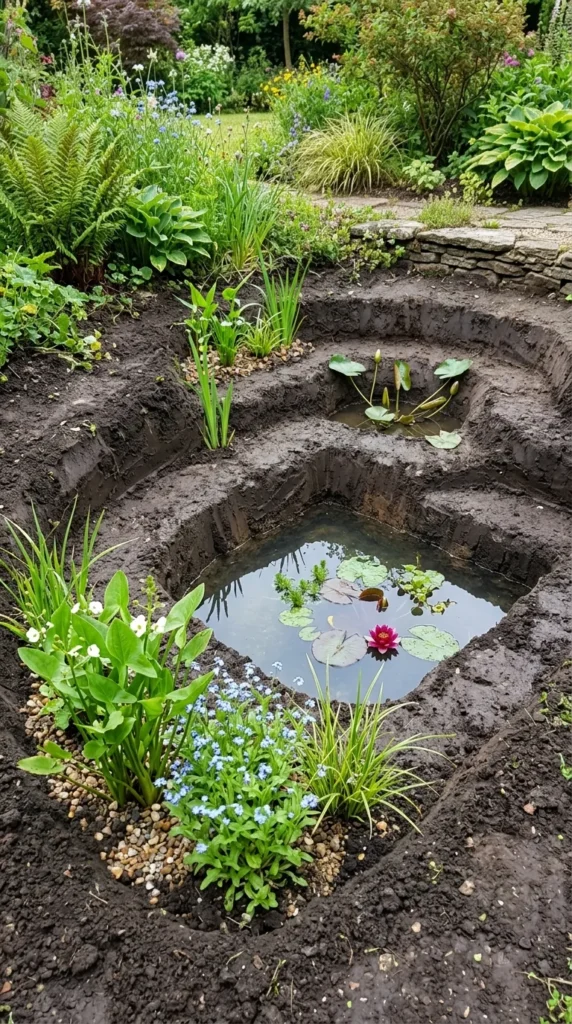
Once you’ve marked the perimeter using a garden hose or spray paint, it’s time to dig. If you are building a pond, don’t just dig a bowl shape. Create “shelves” or tiers at different depths. Marginal plants thrive in shallow water (2–6 inches deep), while the center of the pond should be deep enough to prevent the water from overheating in summer or freezing solid in winter—usually at least 18 to 24 inches.
As you dig, use your level frequently. The entire perimeter of the pond must be level so that water doesn’t spill out over one low side while leaving the liner exposed on the other. Remove any sharp stones or roots from the bottom and sides of the hole to prevent punctures.
4. Underlayment

Never place your rubber liner directly onto the bare earth. Soil shifts, and hidden pebbles or roots can eventually pierce the waterproof membrane. Underlayment acts as a cushion and a barrier. You can purchase professional-grade geotextile underlayment, which is highly recommended for its durability.
In a pinch, some DIYers use a thick layer of damp sand or even old carpeting, but professional underlayment is the safest bet for longevity. Ensure the fabric covers the entire excavated area and extends over the edges by several inches.
5. Lining
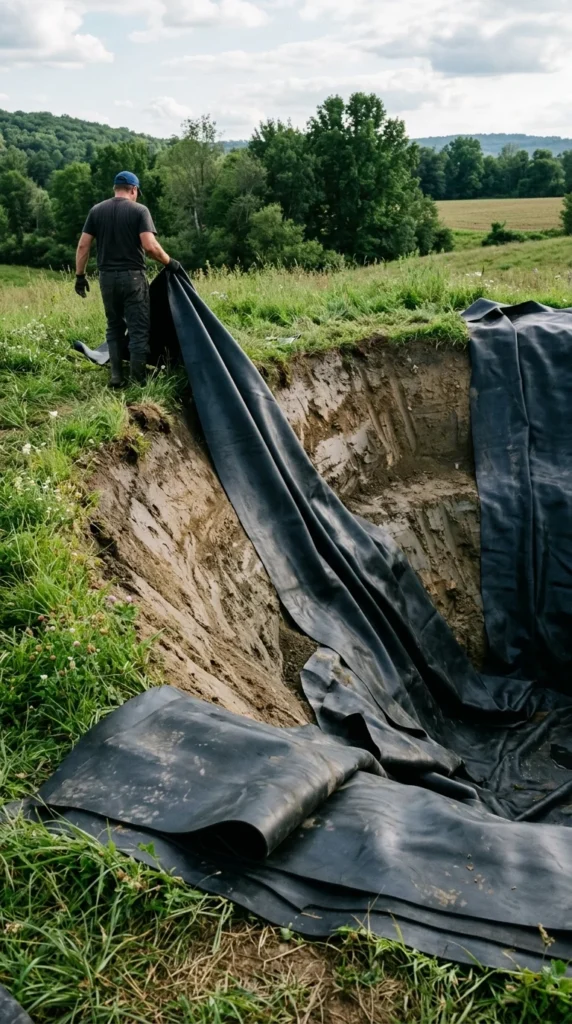
Now, lay the pond liner over the underlayment. Try to do this on a sunny day; the heat makes the rubber more pliable and easier to work with. Center the liner over the hole and start pushing it into the contours of the tiers.
Don’t worry about every single wrinkle; the weight of the water will eventually press the liner against the walls. However, try to fold the liner neatly in corners rather than bunching it. Ensure there is at least 12 inches of overlap around the entire perimeter of the pond to prevent the water from “wicking” out into the surrounding soil.
6. Pump
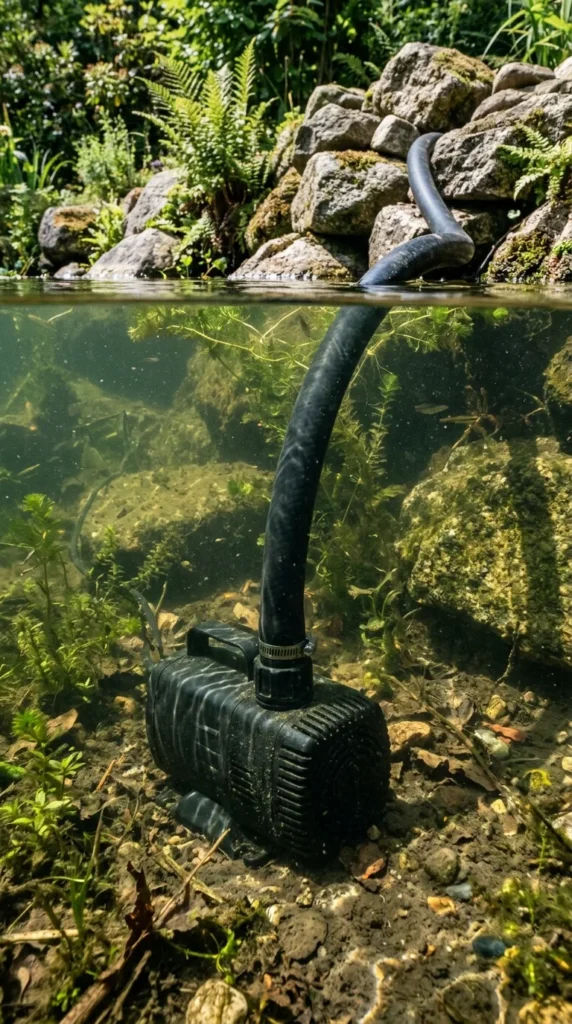
The pump is the heart of your water feature. It keeps the water oxygenated and moving, preventing stagnation and mosquito breeding. Place your pump at the deepest part of the pond, but elevate it slightly on a flat brick or a specialized pump stand. This prevents the pump from sucking up the muck and debris that naturally settles on the bottom.
Connect your flexible tubing to the pump’s outlet. If you are building a waterfall, run this tubing up to the highest point of your rock formation. If you are building a simple fountain, the tubing will lead to the fountain head.
7. Rocks
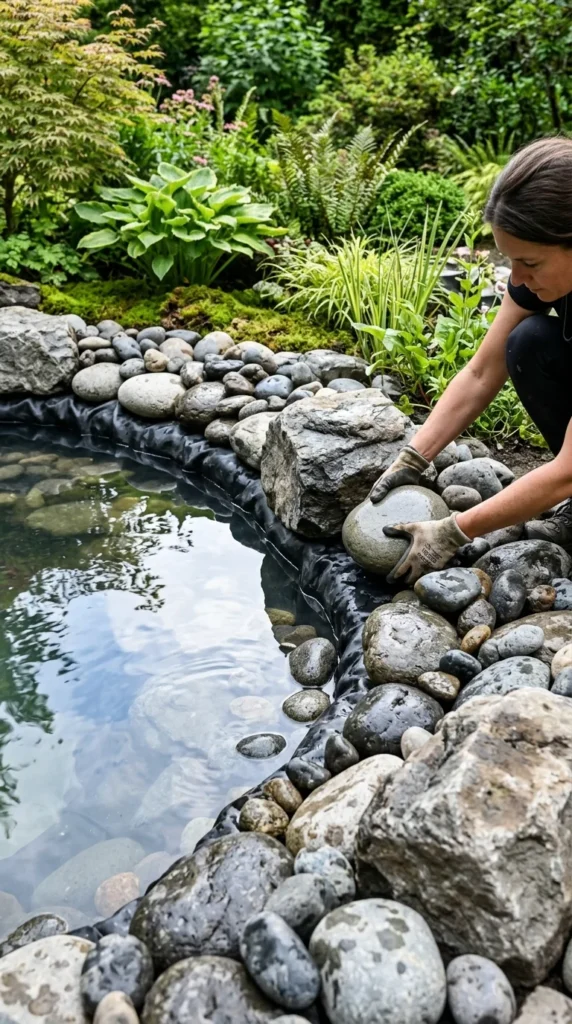
This is where the feature begins to look natural. Start by placing your largest “character” boulders first to anchor the design. Use these to hide the edges of the liner. Follow this by filling in the gaps with medium-sized river rocks and finally a layer of pea gravel on the pond floor and shelves.
The goal is to completely obscure the black rubber liner. When building a waterfall, use flat, slate-like rocks for the “spillway” to create that classic sheet-of-water effect. You can use pond-safe expanding foam to seal the gaps between rocks, forcing the water to flow over the stones rather than behind them.
8. Filling
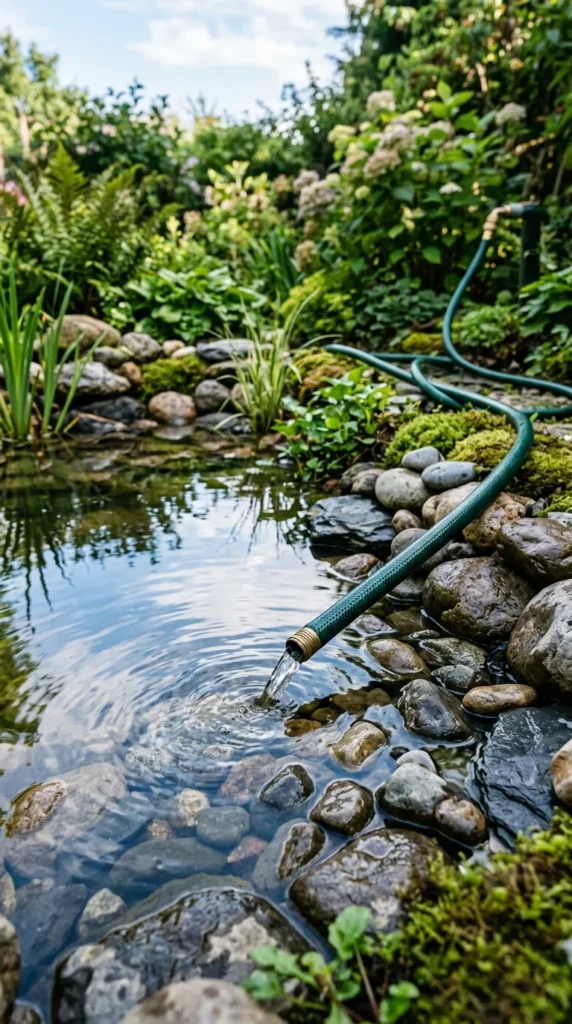
Before you finish the landscaping, fill the pond with water. Do this slowly. As the water level rises, the liner will stretch and settle into place. This is your last chance to make minor adjustments to the level of the pond’s edges.
If you notice water escaping in one area, you may need to build up the edge of the liner slightly or adjust your rock placement. Once filled, let the water sit for at least 24 to 48 hours to allow the chlorine to dissipate before adding any plants or fish. Using a water conditioner can speed up this process.
9. Plants
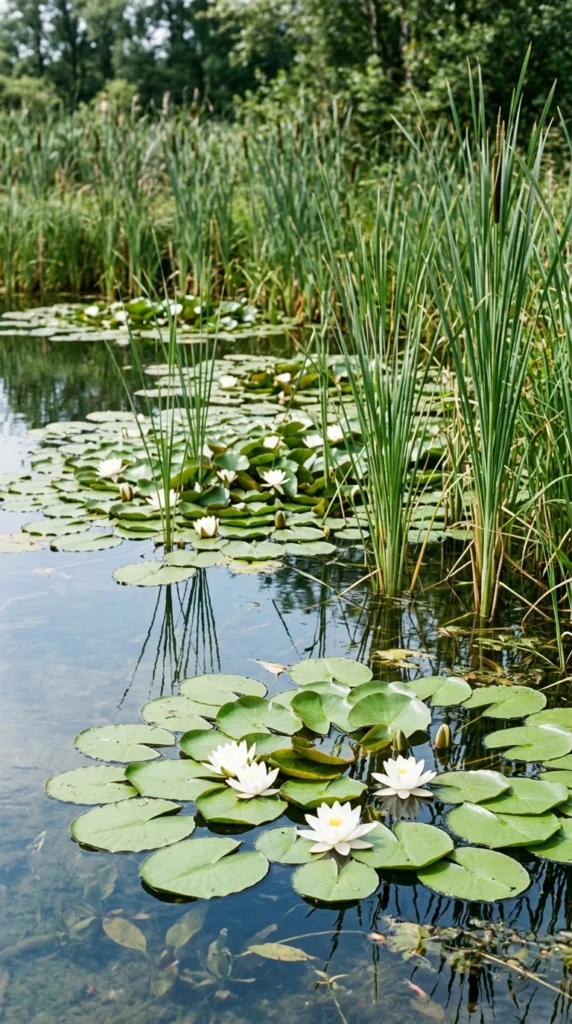
Plants are not just decorative; they are a vital part of the pond’s ecosystem. They provide shade, which keeps water temperatures down and limits algae growth, and they absorb excess nutrients.
Group your plants by their needs:
- Oxygenators: These stay submerged and keep the water clear.
- Floating plants: Such as water lilies, which provide surface cover.
- Marginals: Such as iris or rushes, which sit on the shallow shelves and soften the transition between water and land.
10. Maintenance
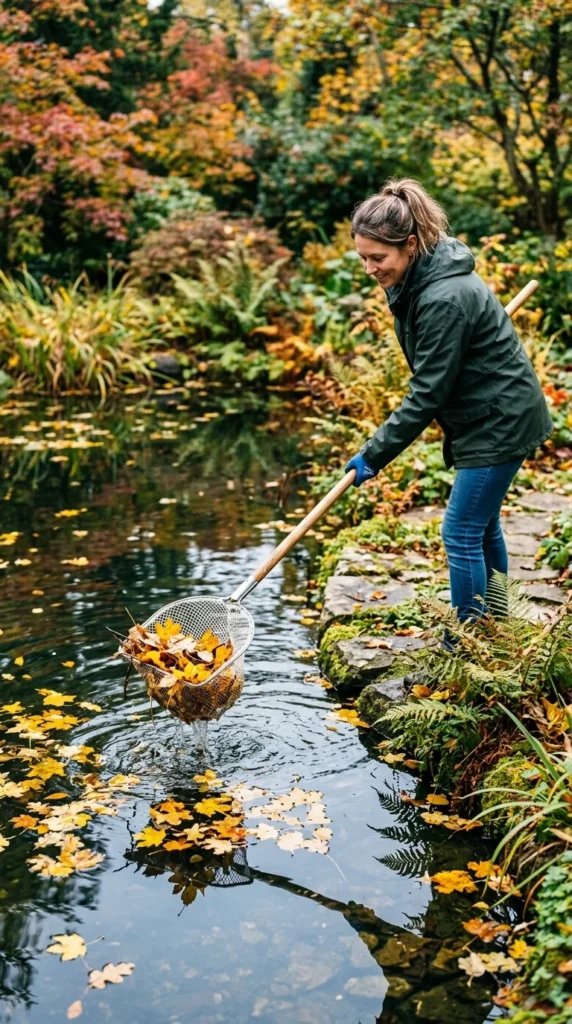
To keep your water feature looking its best, a small amount of regular maintenance is required. During the autumn, use a net to clear out fallen leaves before they sink and rot. Periodically check the pump’s intake to ensure it isn’t clogged with debris.
In the spring, you may need to do a “partial water change,” replacing about 15-20% of the water to refresh the system. If you live in a cold climate, you will need to decide whether to run the pump through winter to prevent the surface from freezing or to shut it down and store the pump indoors until the thaw. With proper care, your garden water feature will provide a peaceful retreat for many years to come.