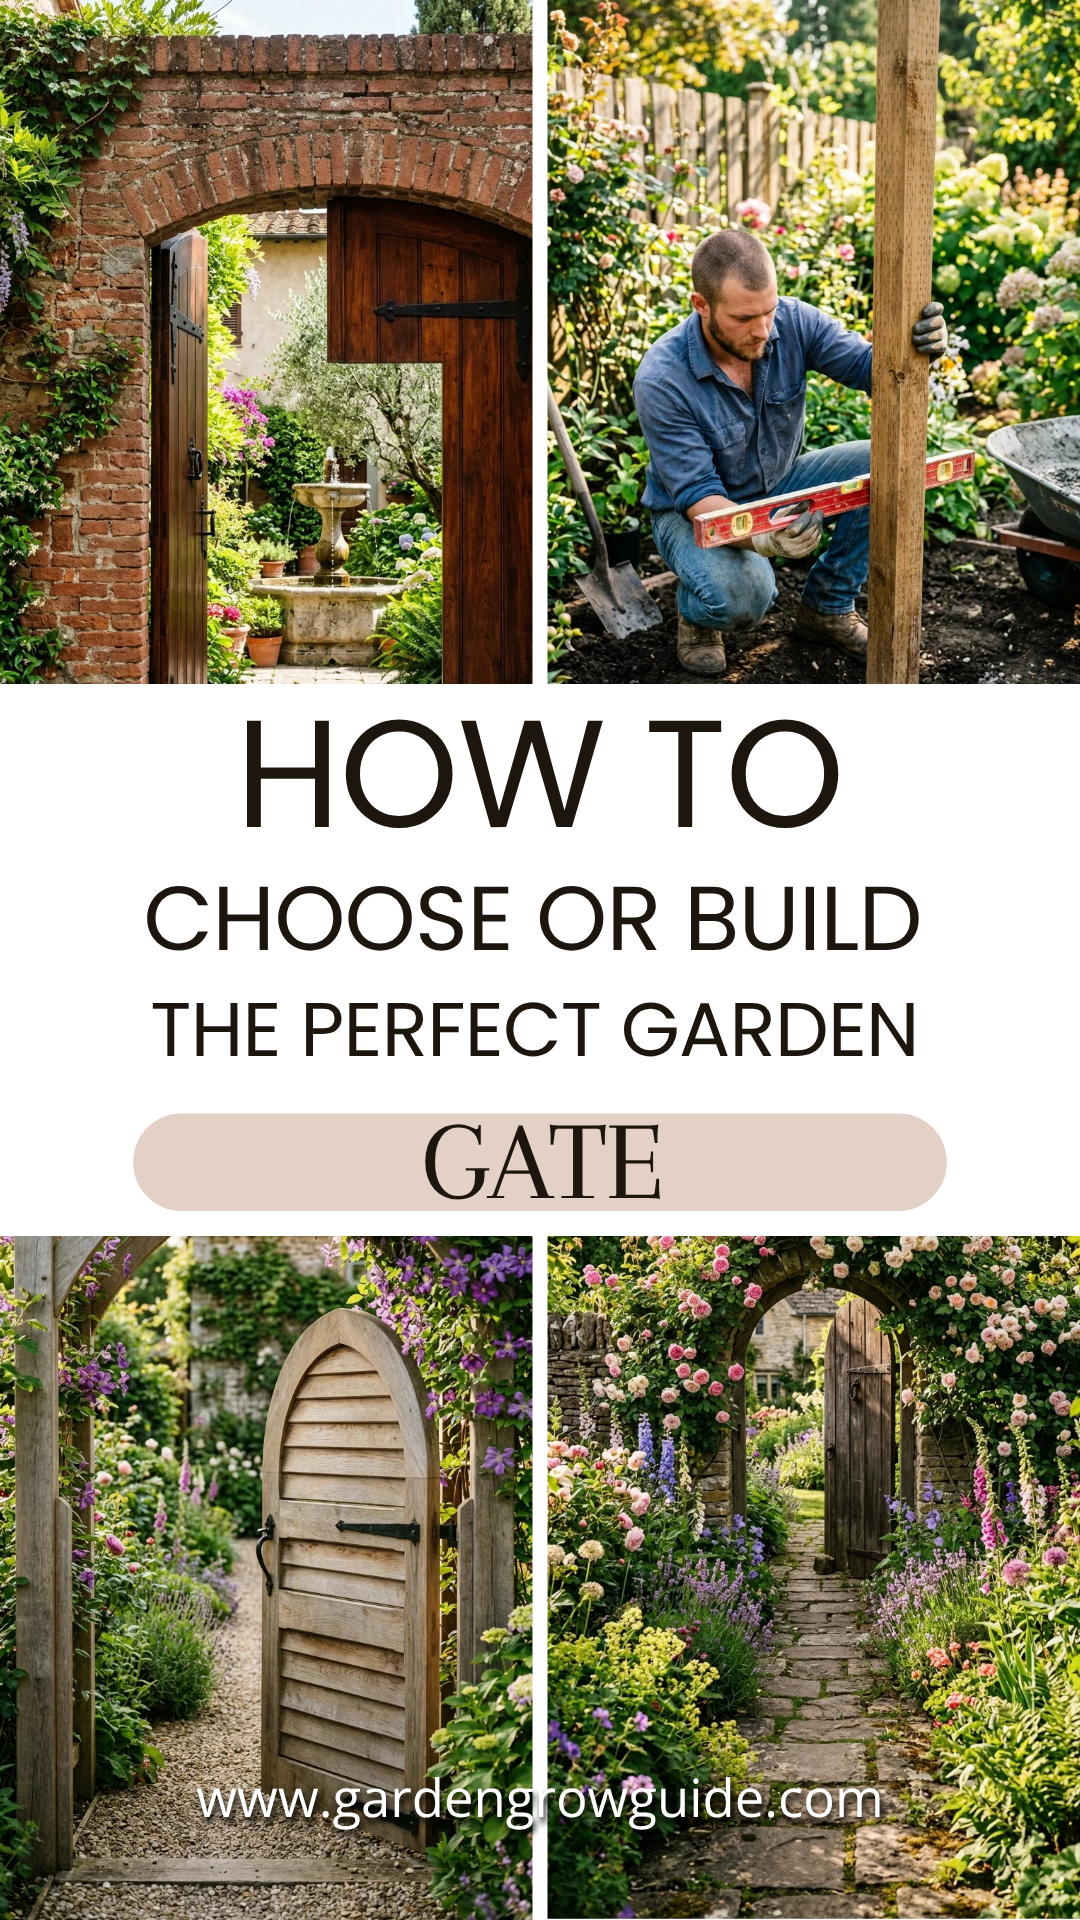
A garden gate is more than just a functional entry point; it is the handshake of your home. It sets the tone for what lies beyond, providing security, privacy, and an aesthetic transition from the public world to your private sanctuary. Whether you are looking to purchase a pre-made gate or embark on a DIY woodworking project, choosing the right gate requires a blend of practical planning and creative vision. This guide explores every facet of selecting, designing, and constructing the ideal garden entrance.
1. Purpose
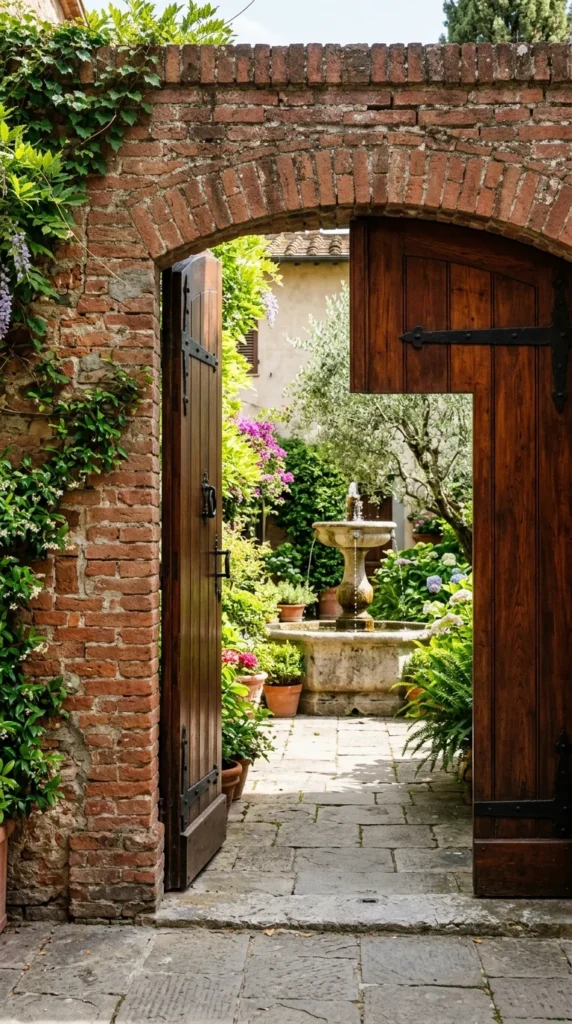
Before looking at styles, you must define what the gate needs to accomplish. If the primary goal is security, you will need a tall, solid structure with a heavy-duty locking mechanism. If the gate is meant to keep a small dog inside the yard, the spacing between pickets is the most critical factor. Alternatively, for a purely decorative “moon gate” or an entry to a vegetable patch, a low, open-slat design might be more appropriate. Defining the purpose helps narrow down the height, opacity, and material requirements immediately.
2. Measurements
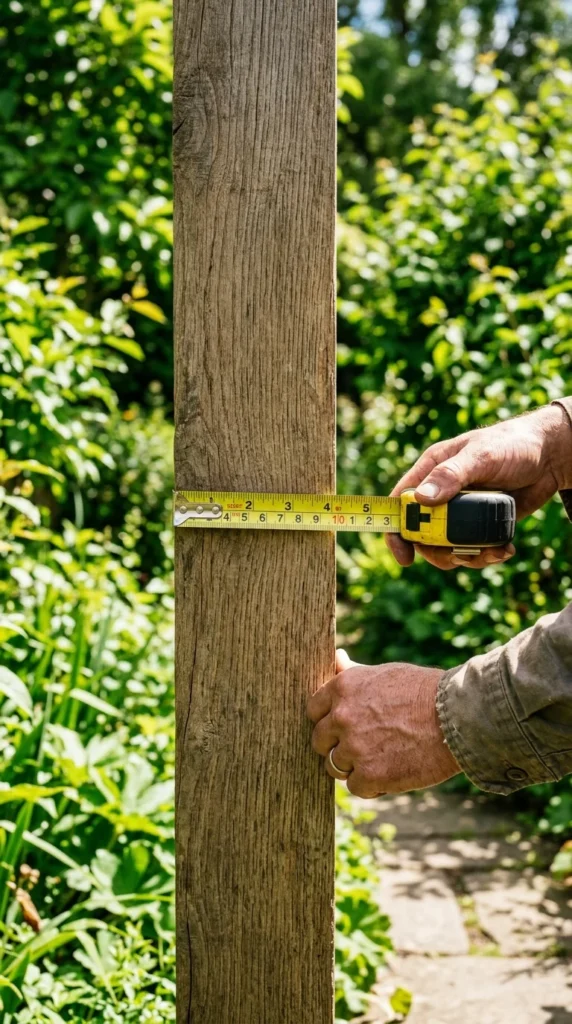
Precision is the difference between a gate that swings effortlessly and one that scrapes the ground. When measuring the opening, always measure at the top, middle, and bottom, as fence posts are rarely perfectly plumb.
- The Gap: Subtract approximately 1/2 inch to 3/4 inch from the total width to allow for “hinge gap” and “latch clearance.”
- Ground Clearance: Ensure there is at least 2 inches of clearance at the bottom to allow for the accumulation of snow, mulch, or shifting soil.
- Post Stability: A gate is only as good as the posts it hangs on. Ensure your posts are set in concrete and are thick enough (usually 4×4 or 6×6) to support the weight of the gate without sagging over time.
3. Wood
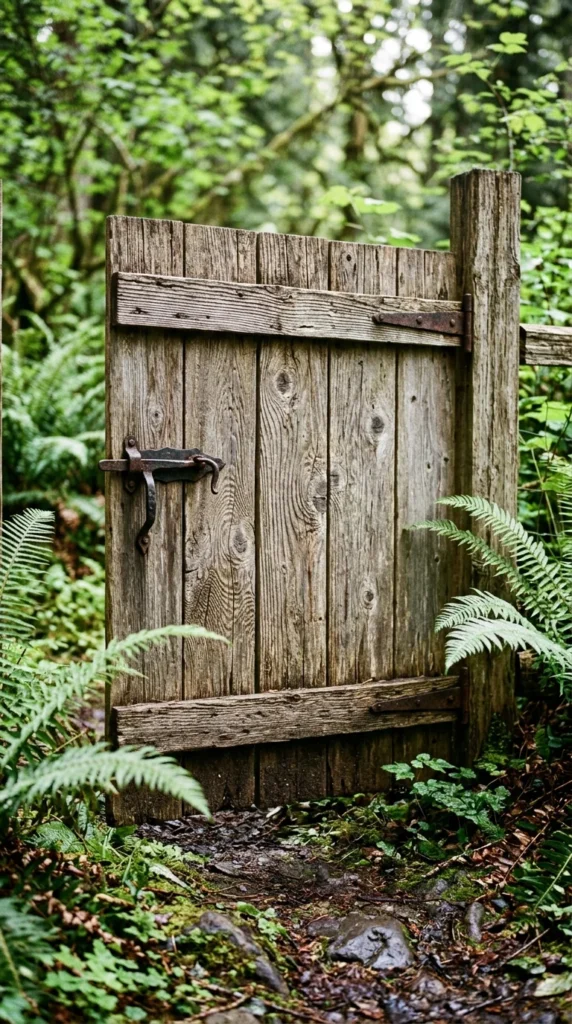
Wood remains the most popular choice for garden gates due to its natural beauty and versatility. However, not all wood is created equal.
- Cedar and Redwood: These are the gold standards. They contain natural oils that resist rot, decay, and insect infestation. They weather to a beautiful silvery-gray or can be stained to maintain their original warmth.
- Pressure-Treated Pine: The most budget-friendly option. It is chemically treated to resist rot but is prone to warping, twisting, and shrinking as it dries.
- Hardwoods: Teak or Ipe are incredibly durable and luxurious but come with a high price tag and require specialized tools for drilling and cutting.
4. Metal
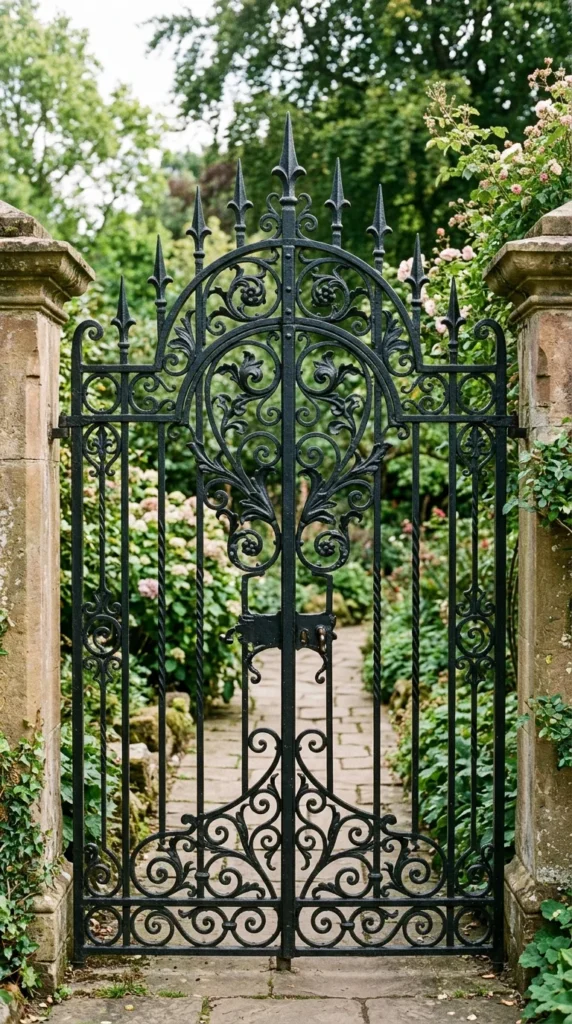
Metal gates offer a sense of permanence and elegance that wood often cannot match.
- Wrought Iron: Classic and heavy, wrought iron provides a timeless look. It requires periodic painting to prevent rust but can last for centuries.
- Aluminum: A modern favorite. It is lightweight, mimics the look of iron, and is naturally rust-resistant. It is an excellent choice for coastal areas where salt air would corrode iron.
- Steel: Often used for modern, industrial designs. It is incredibly strong but must be powder-coated or galvanized to protect against the elements.
5. Vinyl
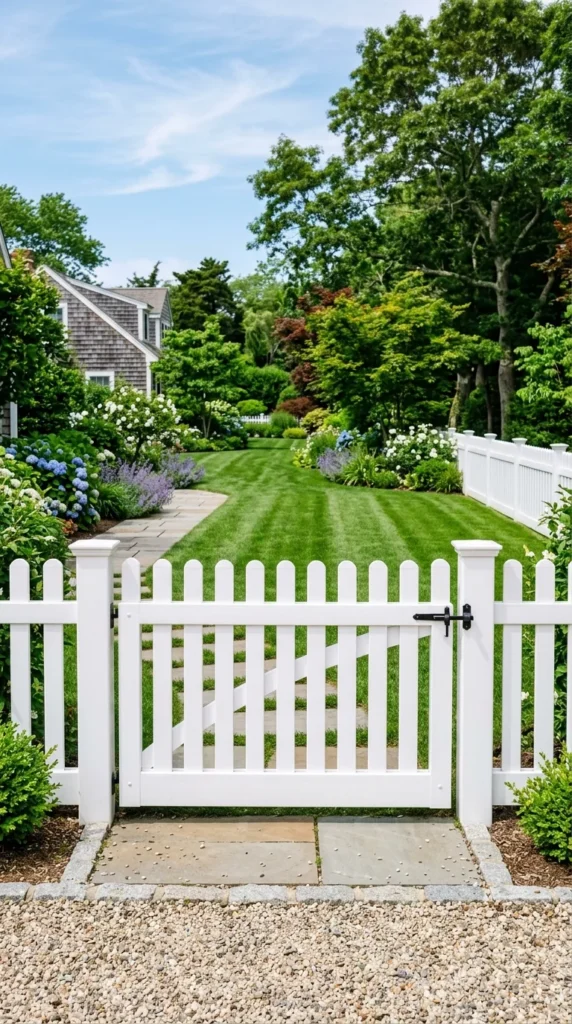
For homeowners seeking low-maintenance solutions, vinyl (PVC) is the leading contender. Modern vinyl gates are designed to resist UV rays, meaning they won’t yellow or become brittle over time. They never require staining or painting—an occasional spray with a garden hose is usually enough to keep them looking new. While they may lack the “soul” of natural wood, their durability and ease of care make them highly practical for busy households.
6. Archways
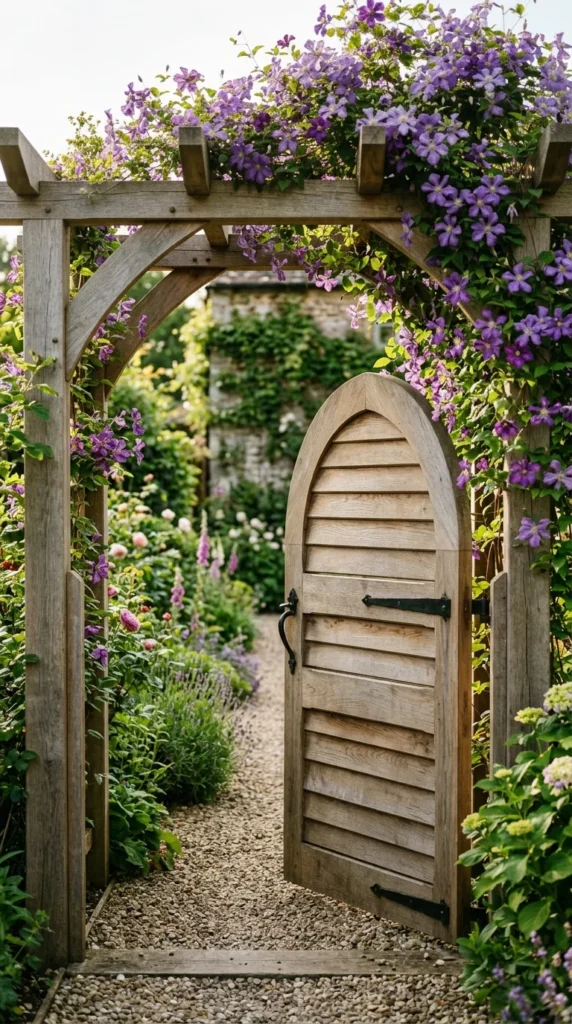
The shape of the top of the gate significantly impacts the visual “feel” of the garden.
- Arched/Cambered Tops: These soften the lines of a fence and draw the eye upward, creating a more inviting, organic feel.
- Flat Tops: These provide a clean, modern look and are the easiest to build for DIY enthusiasts.
- Scalloped Tops: A downward curve that provides a traditional, “picket fence” aesthetic, often used in front yards to maintain visibility.
7. Hardware
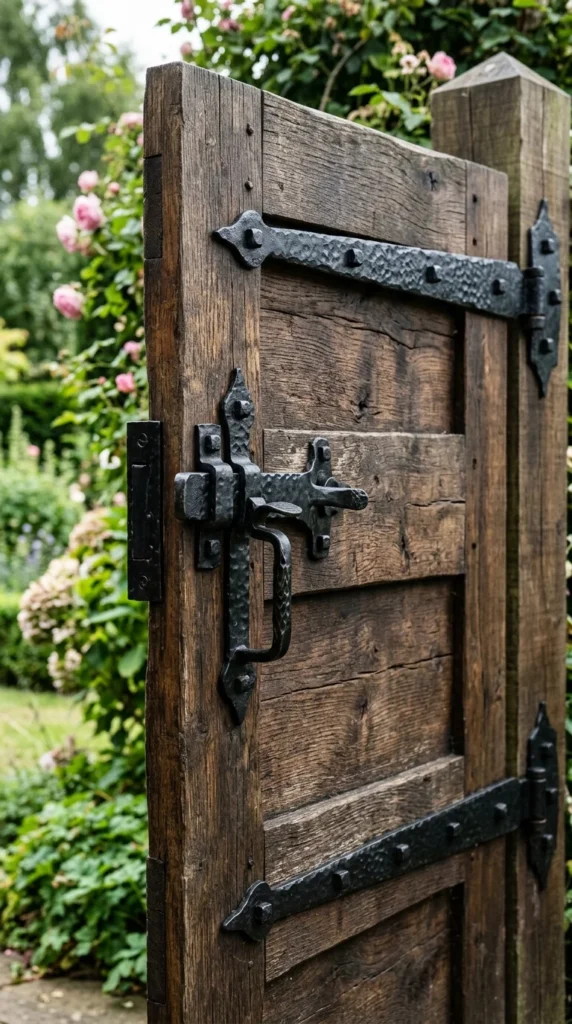
Hardware is the jewelry of your gate, but it also handles the mechanical stress.
- Hinges: For heavy gates, use “strap hinges” that wrap across the horizontal rails to distribute weight.
- Latches: Gravity latches are reliable and easy to use, while thumb latches offer a more traditional look.
- Drop Bolts: Essential for double gates, these pins lock one side into the ground so the other side can latch against it.
- Materials: Always choose stainless steel, galvanized steel, or powder-coated black hardware to ensure it doesn’t leave rust streaks down your beautiful gate.
8. Installation
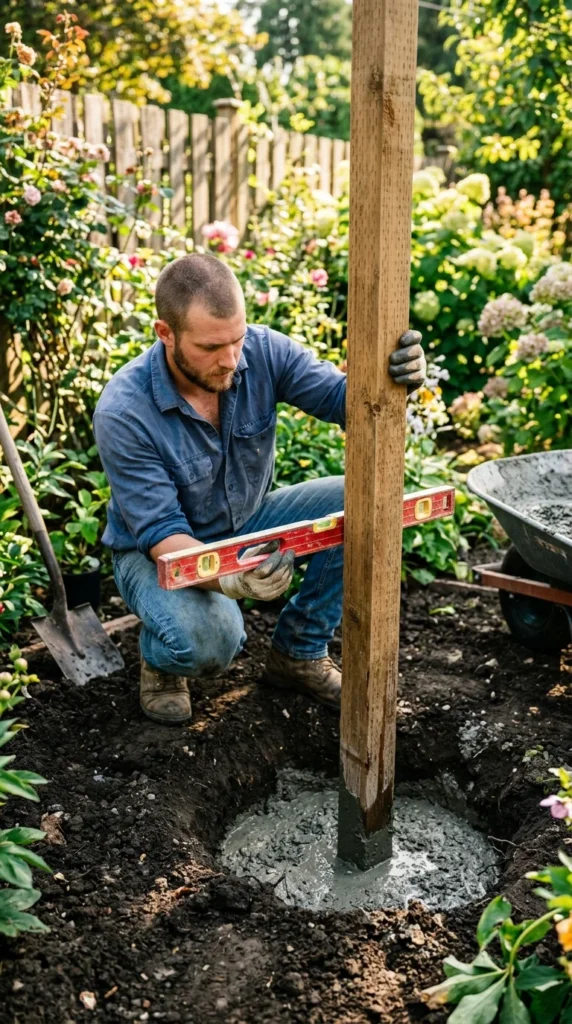
If you are building the gate yourself, the “Z-brace” is your best friend. A gate is essentially a heavy square that wants to turn into a rhombus due to gravity. By adding a diagonal brace that runs from the bottom hinge side to the top latch side, you transfer the weight back to the hinges. This prevents the “sag” that plagues many amateur gate builds. Ensure you use exterior-grade screws and pre-drill your holes to prevent the wood from splitting near the ends.
9. Maintenance
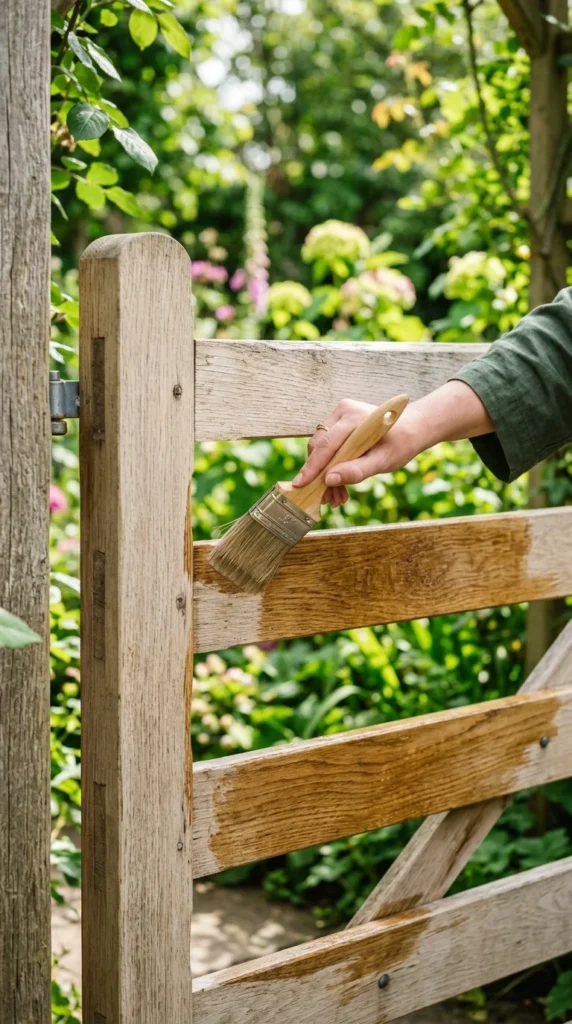
To keep your gate functioning and looking beautiful, an annual maintenance check is necessary.
- Lubrication: Apply a silicone-based lubricant to hinges and latches to prevent squeaking and grinding.
- Tightening: Seasonal temperature changes cause wood to expand and contract, which can loosen screws. Give them a quick turn every spring.
- Refinishing: If you have a wooden gate, re-apply a UV-protectant stain or sealer every 2-3 years. If you notice rust on a metal gate, sand it down immediately and touch it up with a rust-inhibiting paint to prevent the spread of oxidation.
By carefully considering the material, the structural bracing, and the aesthetic style, you can create a garden gate that serves as a beautiful and durable threshold for years to come.