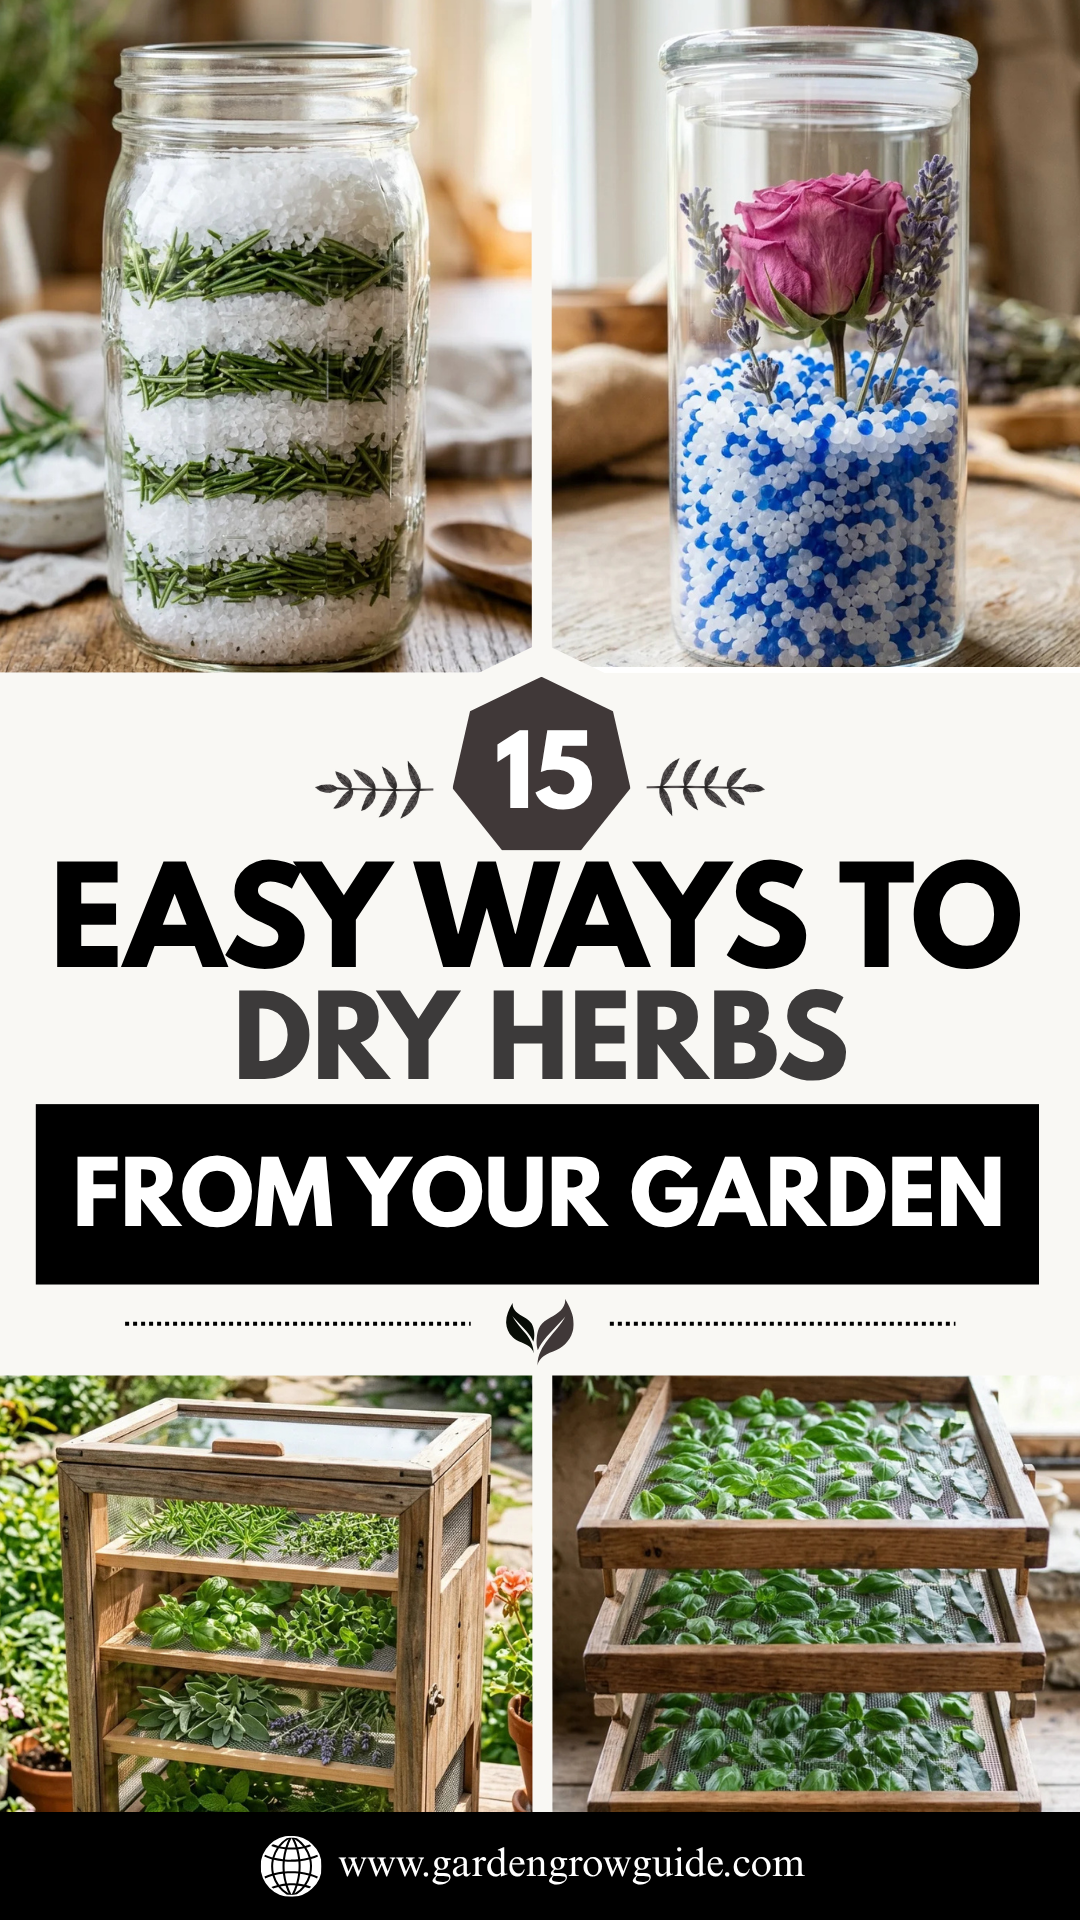
Harvesting herbs at the peak of their flavor is a rewarding experience for any gardener. However, the abundance of a summer garden can often exceed what you can consume fresh. Drying is the oldest and simplest method of food preservation, allowing you to lock in the concentrated essential oils and aromas of your plants for months to come. By mastering various drying techniques—from traditional air-hanging to modern appliance-based methods—you can ensure your pantry is always stocked with high-quality, homegrown seasonings.
1. Air Hanging
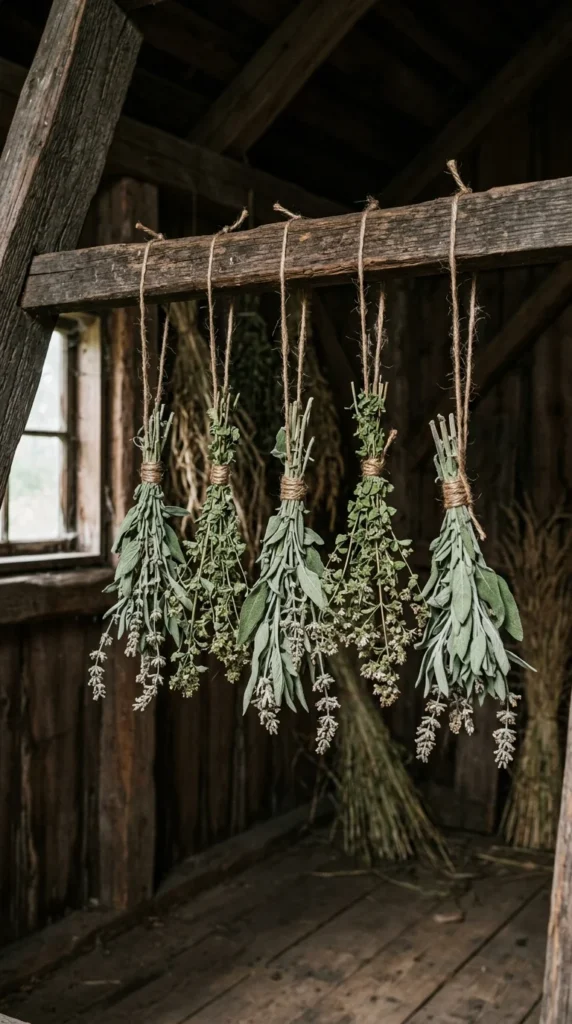
Air hanging is the quintessential method for drying herbs with long stems, such as rosemary, lavender, and mint. This method relies on natural airflow to slowly remove moisture while preserving the aesthetic of the plant. To start, gather small bunches of herbs (about 5-10 stems) and secure the ends with a rubber band or twine. Hanging them upside down ensures that the essential oils flow from the stems into the leaves. Choose a location that is cool, dry, and away from direct sunlight, as UV rays can bleach the color and degrade the flavor. This process typically takes one to two weeks depending on humidity.
2. Screen Drying
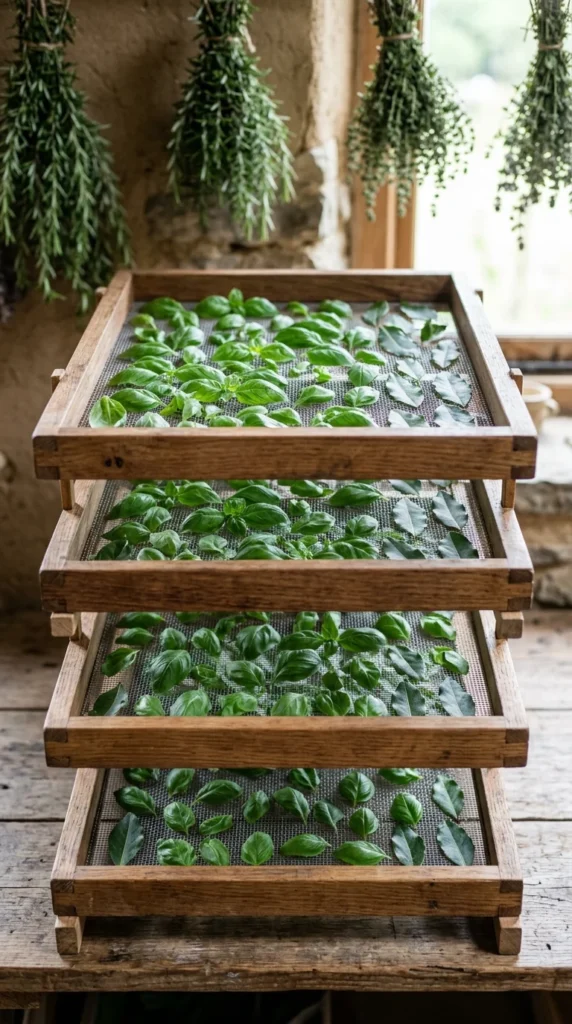
Screen drying is ideal for individual leaves or short-stemmed herbs like basil, parsley, and cilantro. By using a mesh screen—which can be a repurposed window screen or a specialized herb drying rack—you allow air to circulate around all sides of the leaf simultaneously. Spread the herbs in a single layer, ensuring they do not overlap, as contact points can trap moisture and lead to mold. Place the screens in a well-ventilated area. This method is often faster than hanging because of the increased surface area exposure.
3. Microwave Drying
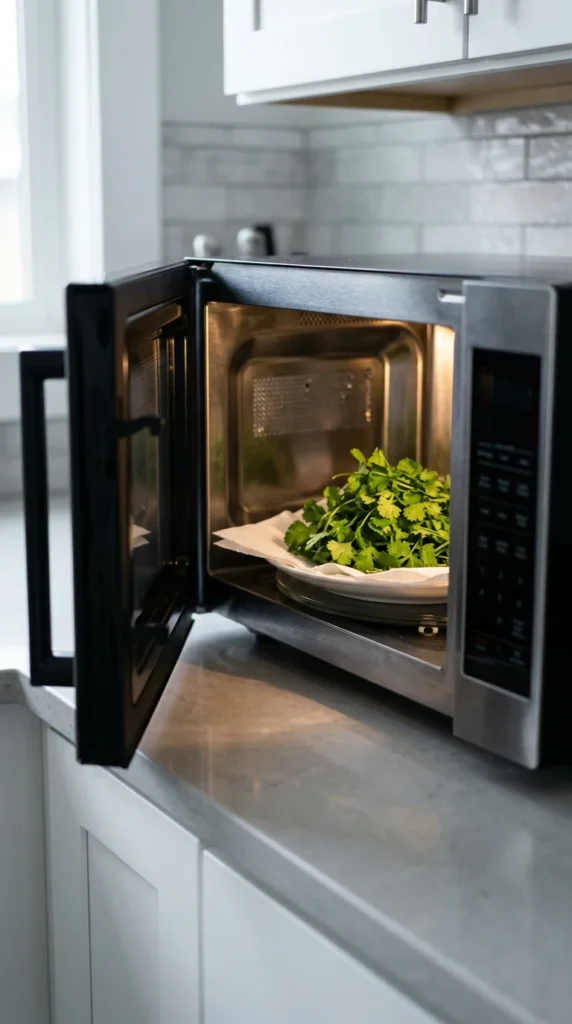
For those in a hurry, the microwave is a surprisingly effective tool for “flash drying” herbs. This method works best for delicate, thin-leaved herbs. Place a single layer of herbs between two sheets of paper towel on a microwave-safe plate. Heat on high for 30-second intervals. After each interval, check the herbs and flip them if necessary. Most herbs will be brittle and dry within 1 to 3 minutes. Because the microwave targets water molecules specifically, it preserves the vibrant green color better than many other heat-based methods.
4. Oven Drying
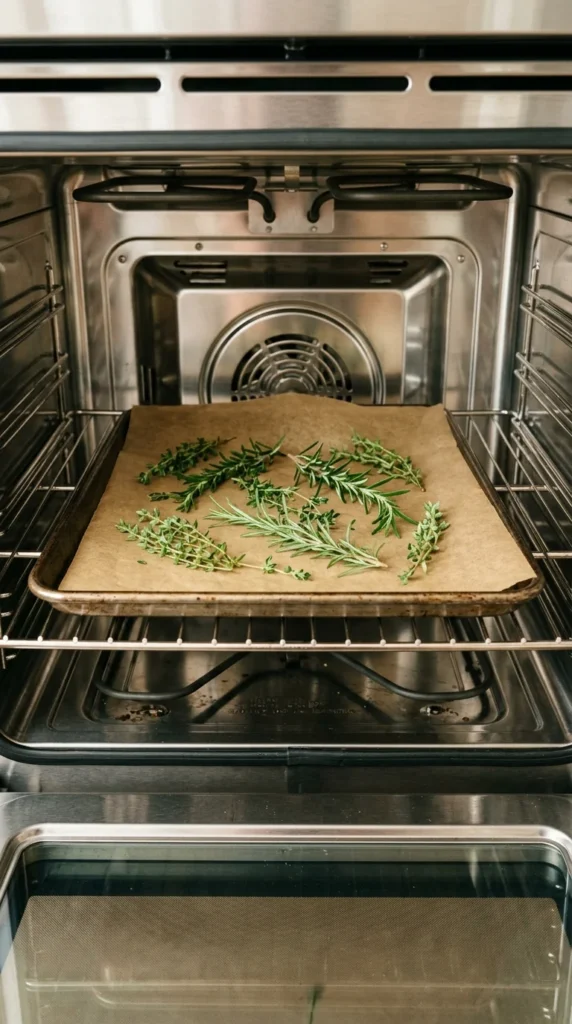
Oven drying is a reliable way to process large batches of herbs quickly. The key is to use the lowest possible temperature setting, ideally between 100°F and 110°F (38°C to 43°C). If your oven doesn’t go that low, keep the door slightly propped open with a wooden spoon to allow heat to escape and air to circulate. Spread the herbs on a parchment-lined baking sheet. This method requires constant monitoring, as herbs can easily brown or “cook,” which destroys their delicate oils. Depending on the herb, it can take anywhere from 1 to 4 hours.
5. Dehydrator
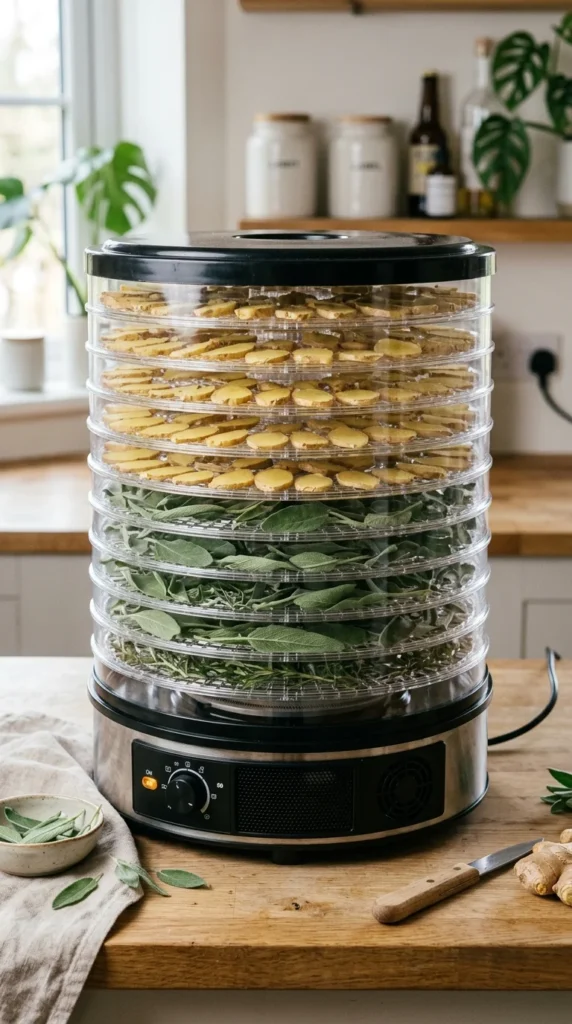
A food dehydrator is the most controlled environment for drying herbs. These machines allow you to set a precise temperature—usually 95°F (35°C) for herbs—and use an internal fan to maintain consistent airflow. This consistency prevents the mold issues associated with air drying in humid climates and avoids the “cooked” flavor of oven drying. Arrange the herbs on the trays in a single layer. Most herbs will dry to a crisp within 2 to 8 hours. It is the gold standard for preserving medicinal herbs where potency is the primary concern.
6. Paper Bagging
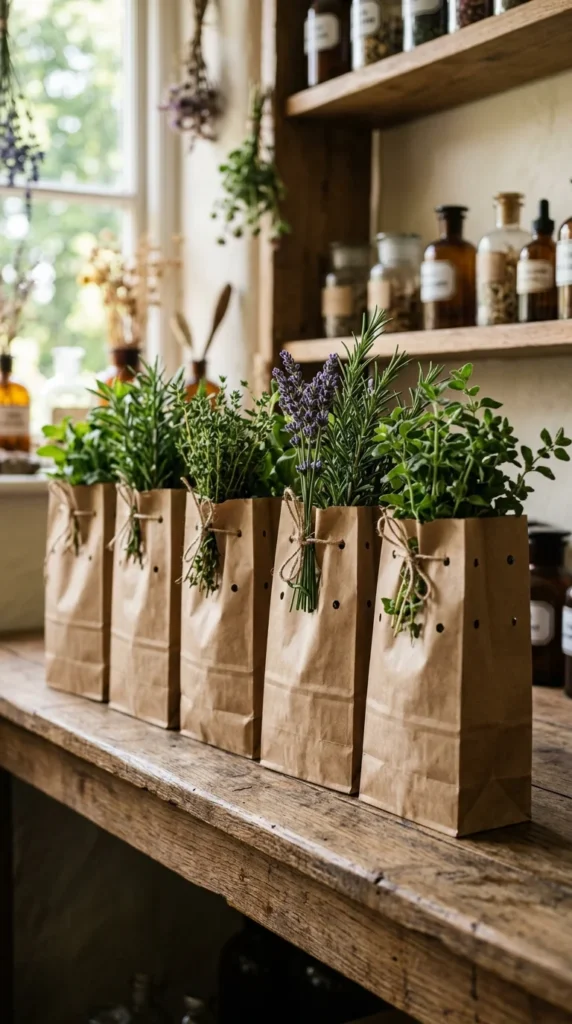
The paper bag method is a variation of air hanging that provides extra protection. By placing the herb bundles inside a paper bag with the stems sticking out of the top, you protect the leaves from dust and light. This is particularly useful for herbs whose seeds you want to collect, such as coriander (cilantro) or fennel, as the bag catches any seeds that drop during the drying process. Punch several small holes in the sides of the bag to ensure adequate ventilation, otherwise, the trapped moisture could cause rot.
7. Refrigerator Drying
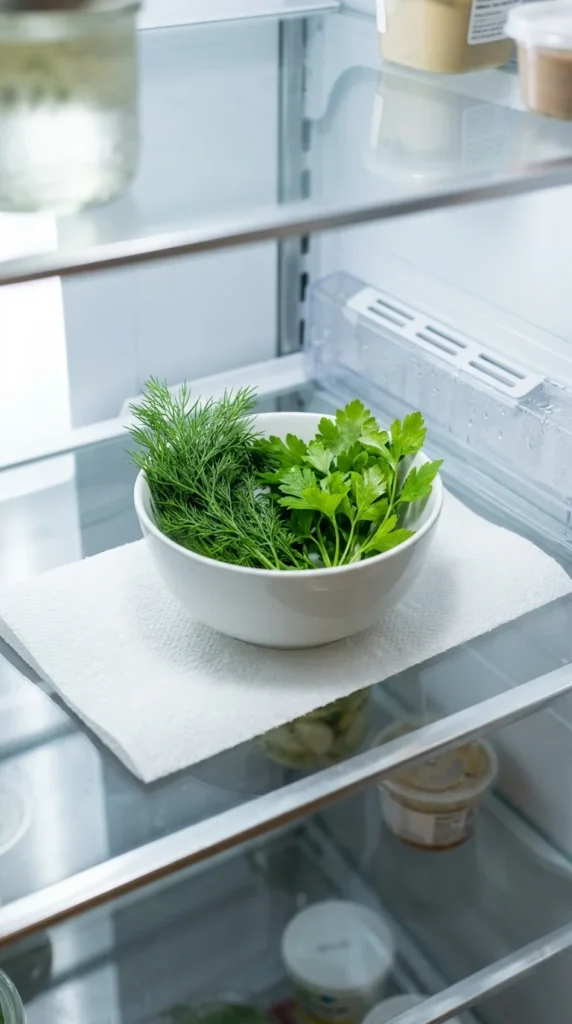
Known as “cold drying,” this method is remarkably effective for herbs that are prone to wilting or turning black, like basil. The refrigerator is naturally a very dry environment because the cooling process removes humidity. Simply place your herbs on a plate or in an open container lined with paper towels and leave them in the back of the fridge. While it takes longer than other methods (up to several weeks), the low temperature preserves the chemical integrity of the herbs beautifully, resulting in a product that tastes very close to fresh.
8. Toaster Oven
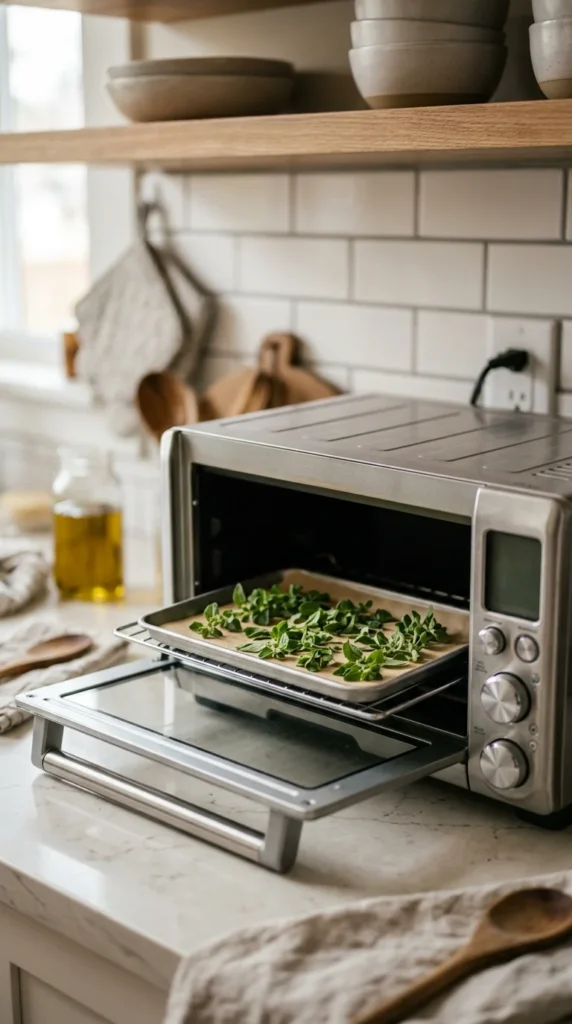
If you only have a handful of herbs and don’t want to heat up your entire kitchen with a full-sized oven, a toaster oven is a perfect alternative. Use the “warm” or “dehydrate” setting if available. Just like with a standard oven, keep the temperature as low as possible and the door slightly ajar. Because the heating elements are much closer to the herbs in a toaster oven, you must watch them extremely closely to prevent scorching.
9. Solar Drying
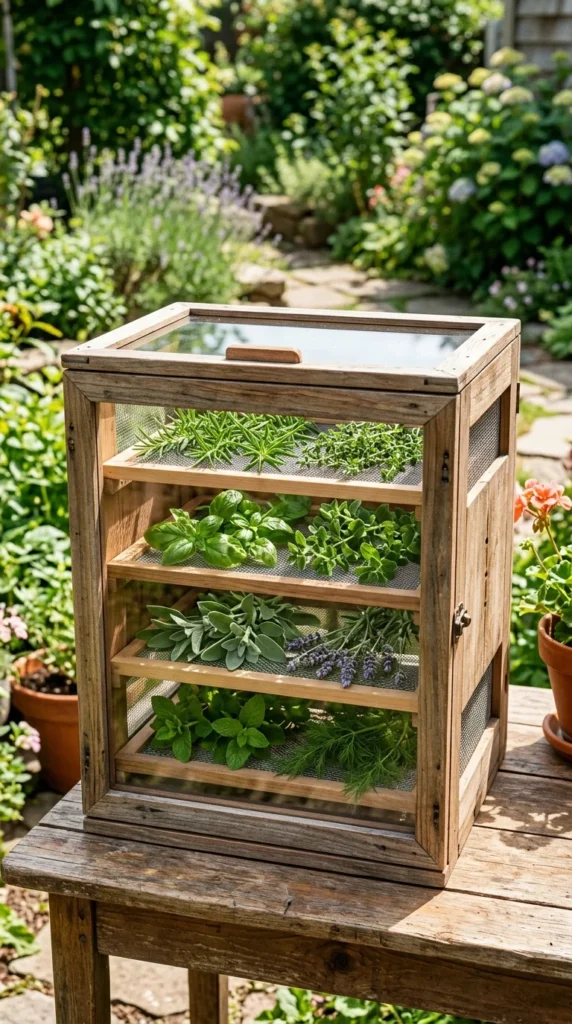
Solar drying harnesses the power of the sun and is ideal for those living in dry, arid climates. You can create a simple solar dryer using a wooden box with a glass or plastic top and vent holes. The sun heats the air inside, which rises and pulls moisture from the herbs. However, you must be careful not to place herbs in direct sunlight, as it can cause significant color loss. The herbs should be placed in a shaded part of the solar box or covered with a light cloth while the surrounding air is heated by the sun.
10. Silica Gel
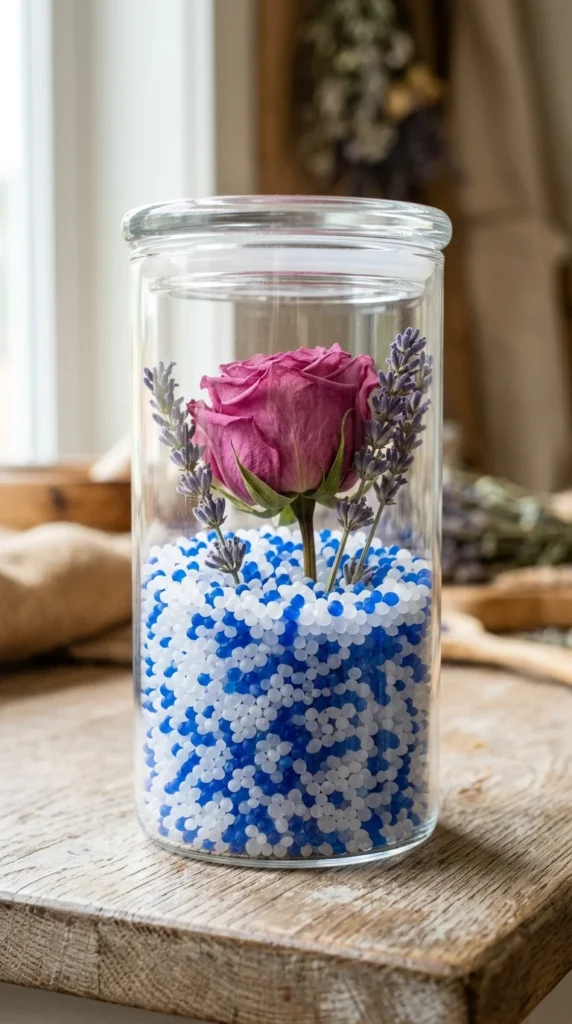
Silica gel is a desiccant that pulls moisture out of anything it touches. While primarily used for flower preservation, it is an “easy” way to dry herbs intended for decorative purposes or potpourri (not for consumption unless the gel is food-grade and thoroughly cleaned). Place a layer of silica gel in a container, lay the herbs on top, and cover them completely with more gel. This method preserves the structural shape and vibrant color of the herb better than almost any other technique.
11. Salt Curing
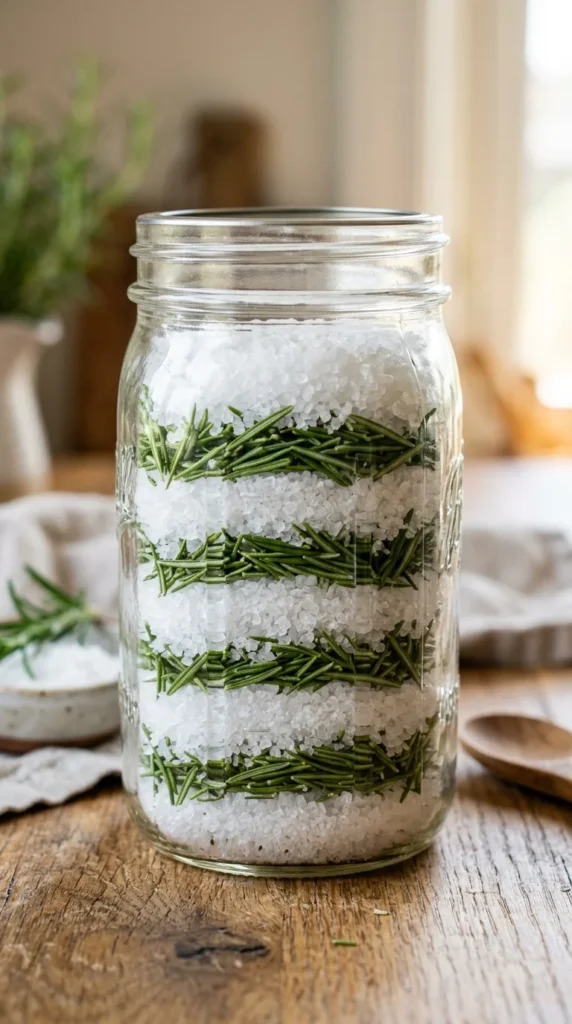
While technically a curing process, salt-drying is a traditional method for preserving herbs like rosemary, sage, and thyme. In a glass jar, alternate layers of kosher or sea salt and fresh herb leaves. The salt draws the moisture out of the leaves while simultaneously becoming infused with the herb’s flavor. After a few weeks, the herbs will be dry and brittle. You can either separate the herbs from the salt or grind them together to create a potent flavored finishing salt for cooking.
12. Car Dashboard
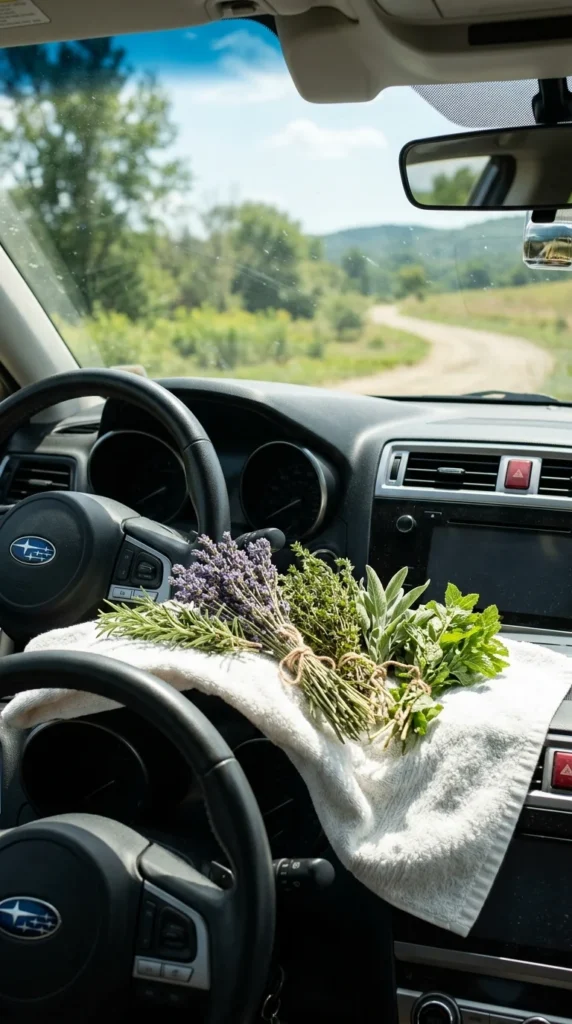
On a hot summer day, the interior of a car becomes a highly effective, improvised dehydrator. The dashboard, located directly under the windshield, acts as a heat trap. Place your herbs on a tray or a clean towel and leave them on the dashboard with the windows cracked slightly to allow moisture to escape. The high heat and low humidity inside the vehicle can dry herbs in a matter of hours. This is a clever “life hack” for gardeners who want to utilize ambient heat.
13. Air Fryer
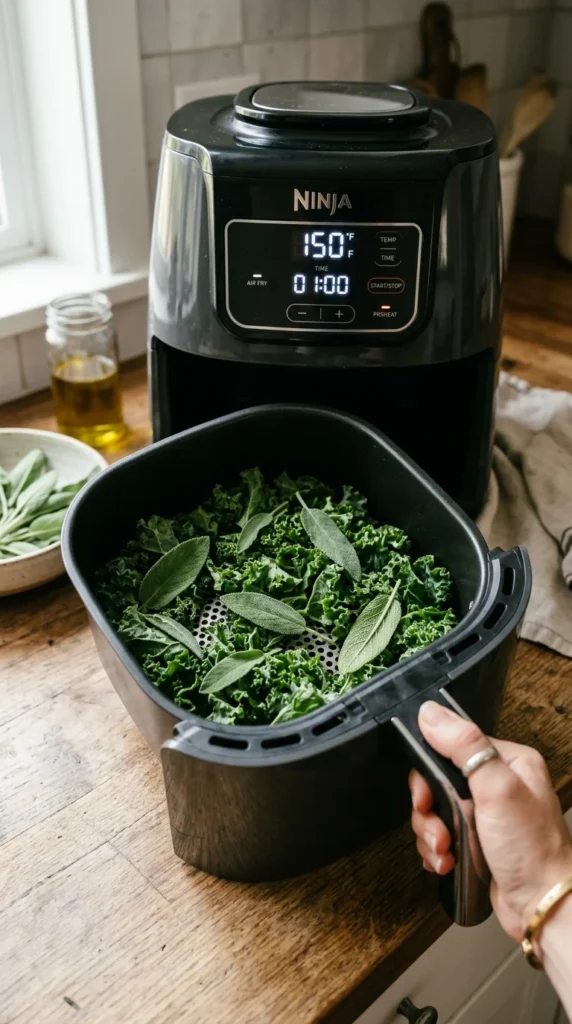
Most modern air fryers come with a “dehydrate” setting that operates at low temperatures with high-velocity air circulation. This makes them incredibly efficient for drying herbs. Because the fan in an air fryer is often more powerful than those in standard dehydrators, you may need to place a small metal rack or a “flying” weight over the herbs to keep them from blowing around the basket. It is one of the fastest ways to achieve a perfectly crisp texture.
14. Attic or Garage Drying
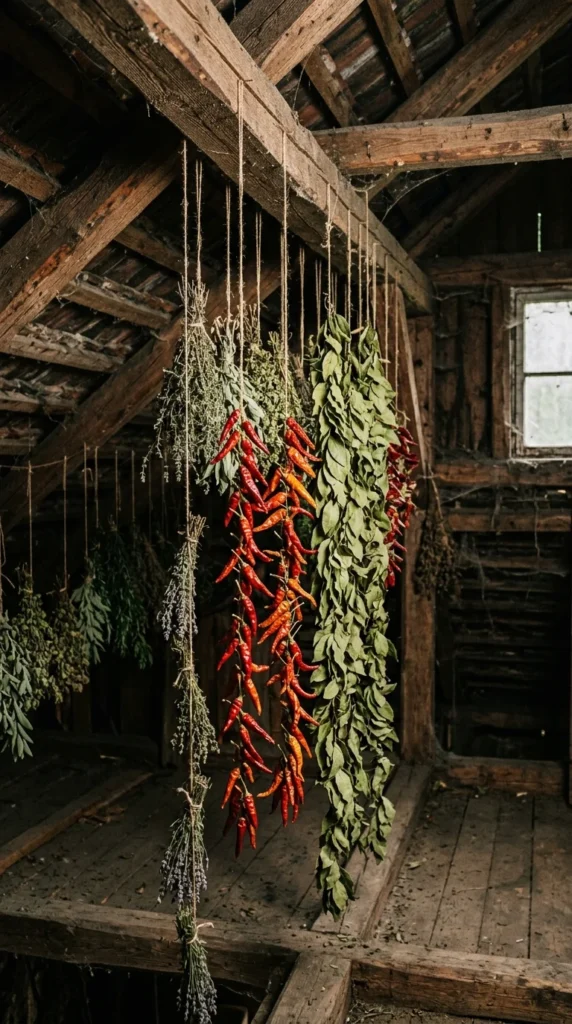
If you have a large harvest and a house with an attic or a detached garage, these spaces can serve as massive drying rooms. During the summer, attics naturally reach temperatures that are perfect for drying plant material. Simply string long lines of twine across the rafters and hang your herb bundles. Ensure the space is dark to preserve the herb’s color. This method is “set it and forget it,” though you should check periodically to ensure no pests have discovered your harvest.
15. Pressed Drying
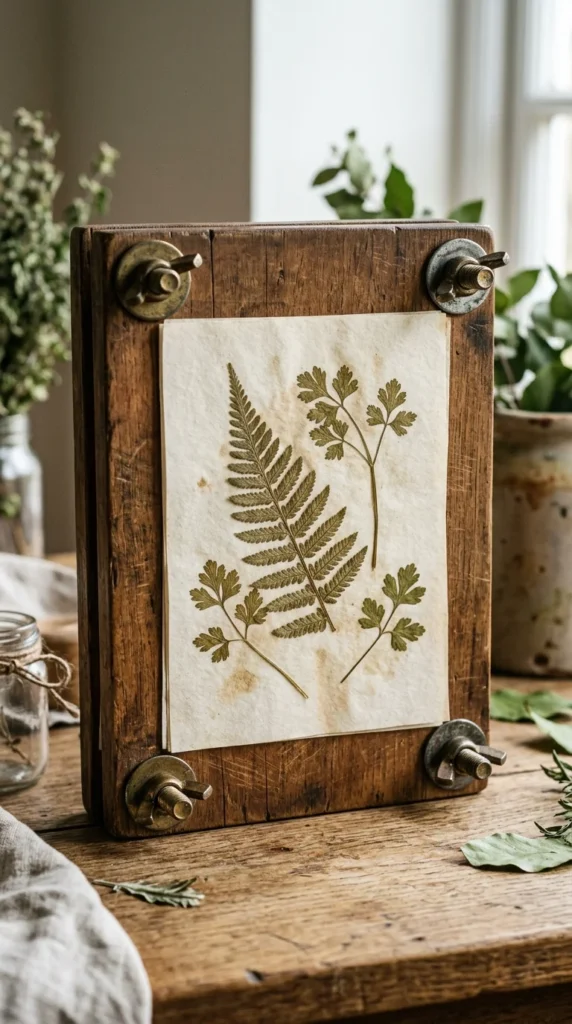
Pressed drying is the best method if you intend to use your herbs for crafts, herbariums, or culinary garnishes that need to lie flat. Place the herbs between sheets of parchment or blotting paper and tuck them inside a heavy book or a professional flower press. Tighten the press or stack more books on top. Over the course of 2 to 3 weeks, the moisture is absorbed by the paper, leaving you with paper-thin, beautifully preserved botanical specimens that maintain their intricate details.