Designing a flower garden is one of the most rewarding endeavors a homeowner can undertake. It is a harmonious blend of art and science, requiring an understanding of biology, ecology, and aesthetics. A well-planned garden does more than just boost curb appeal; it creates a sanctuary for local pollinators, provides a therapeutic outlet for the gardener, and transforms an ordinary backyard into a living masterpiece. Whether you are working with a vast estate or a small urban plot, the principles of design remain the same. This guide will walk you through the essential steps to create a floral landscape that flourishes year after year.
1. Define Style
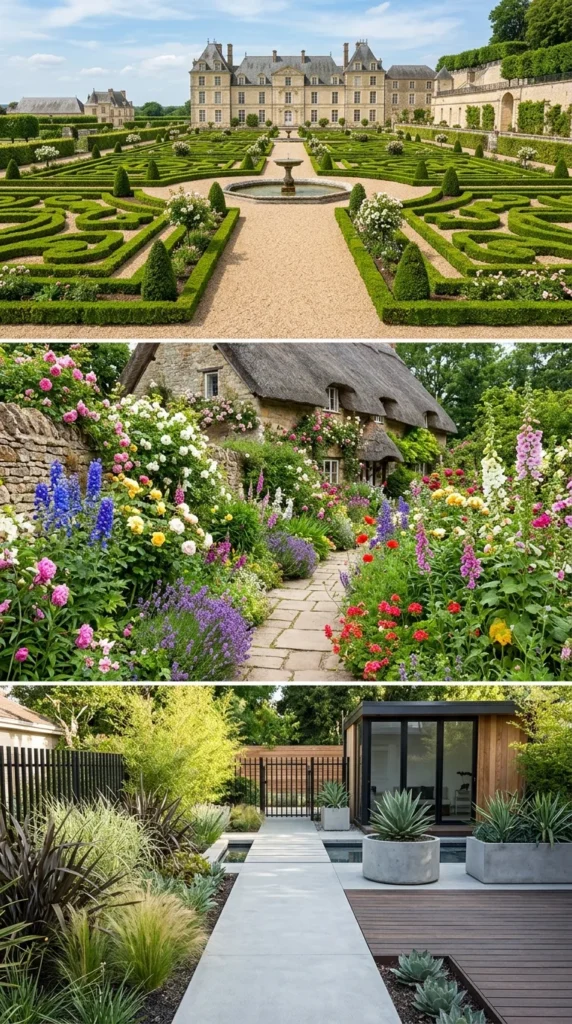
Before you dig your first hole, you must decide on the “vibe” or style of your garden. A cohesive theme prevents the landscape from looking cluttered or accidental. Common styles include:
- Cottage Gardens: Characterized by a “controlled chaos” look, these gardens feature dense plantings, a mix of edibles and flowers, and traditional materials like picket fences.
- Formal Gardens: These rely on symmetry, straight lines, and geometric shapes. They often feature clipped hedges and a limited color palette.
- Modern/Minimalist: Focuses on bold textures, architectural plants, and clean lines. Often uses a monochromatic color scheme.
- Pollinator/Wildflower Gardens: These prioritize native species designed to attract bees, butterflies, and birds, often having a more naturalistic, meadow-like appearance.
2. Evaluate Site
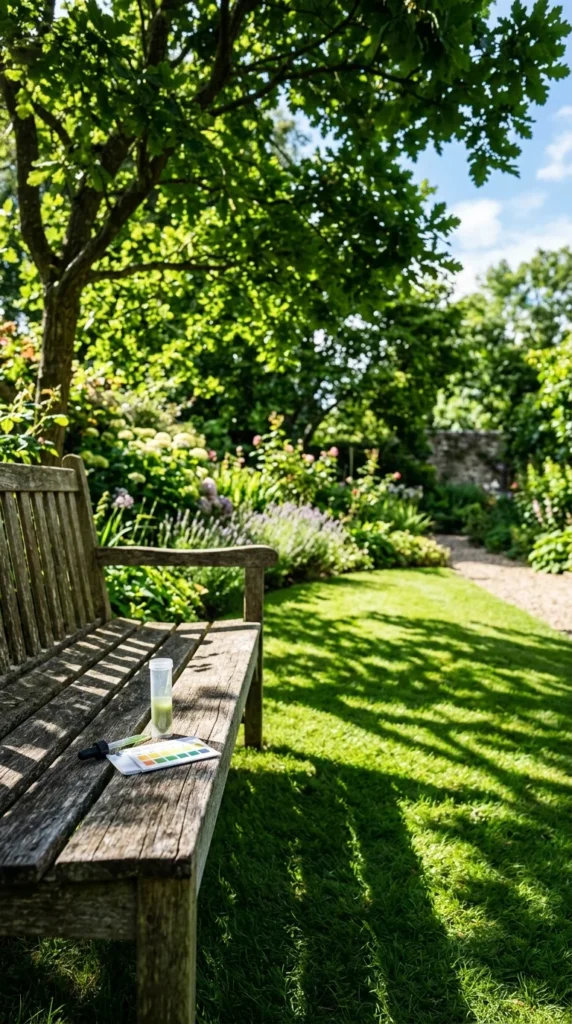
Your garden’s success depends entirely on “Right Plant, Right Place.” You must conduct a thorough audit of your environment:
- Sunlight: Observe your yard throughout the day. “Full sun” means at least 6 hours of direct light. “Partial shade” is 3–6 hours, and “Full shade” is less than 3 hours.
- Soil Quality: Is your soil sandy, clay-heavy, or loamy? Perform a squeeze test: if it crumbles immediately, it’s sandy; if it stays in a hard ball, it’s clay. Ideally, it should hold its shape but crumble easily when poked.
- Drainage: After a heavy rain, check for standing water. Most flowers dislike “wet feet” and require well-draining soil to prevent root rot.
- Hardiness Zone: Consult a plant hardiness zone map to ensure the flowers you choose can survive the winter temperatures in your specific region.
3. Draft Layout
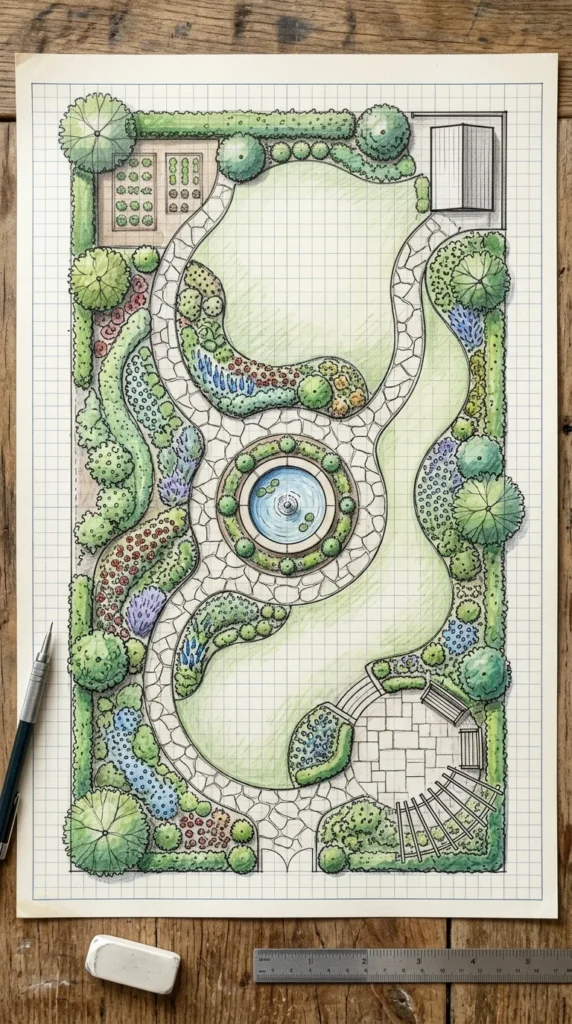
Mapping your garden on paper (or a digital app) saves time and money. Start by sketching the permanent fixtures: your house, large trees, fences, and utility lines.
- Create Focal Points: Every garden needs an anchor. This could be a specimen tree (like a Japanese Maple), a large birdbath, an arbor, or a tall perennial.
- Define Edges: Use curves for a natural look or straight lines for a modern feel. Use materials like brick, stone, or plastic edging to keep grass from creeping into your beds.
- Pathways: Ensure your paths are wide enough for a person (at least 3 feet) and lead to a destination, such as a seating area or a hidden corner of the garden.
- Layering: Plan for a “stadium seating” effect. Place the tallest plants in the back (or center of a circular bed), medium plants in the middle, and low-growing groundcovers at the front.
4. Select Plants
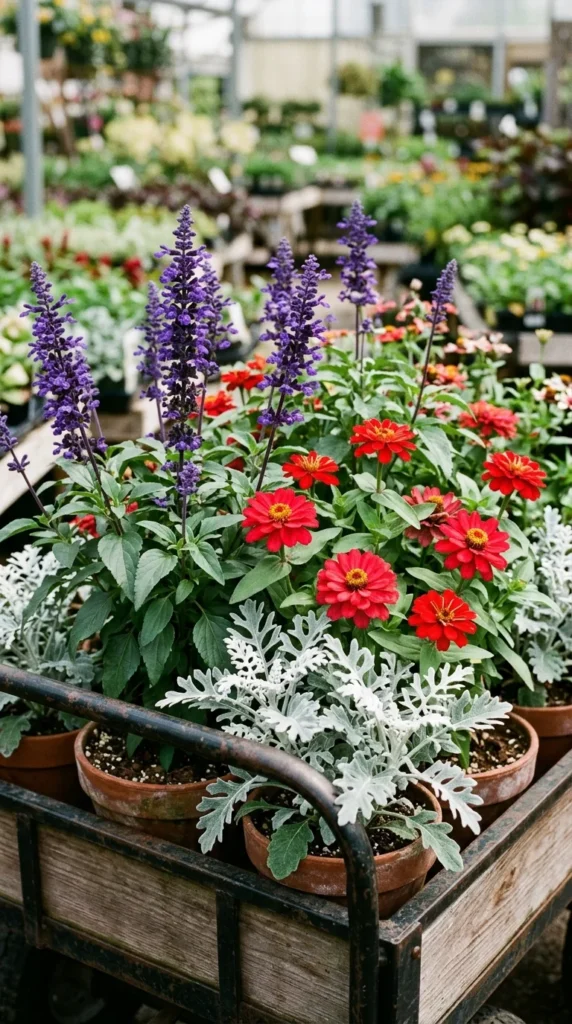
Choosing plants is the most exciting part, but it requires strategic thinking regarding color theory and bloom times.
- Perennials vs. Annuals: Perennials come back every year but usually have shorter bloom windows. Annuals live for one season but provide non-stop color. A 70/30 mix of perennials to annuals is often ideal.
- The Power of Three: Plants look best when grouped in odd numbers (3, 5, or 7). This creates a sense of rhythm and prevents the garden from looking like a disorganized collection of single specimens.
- Color Schemes:
- Complementary: Colors opposite each other on the wheel (e.g., blue and orange).
- Analogous: Colors next to each other (e.g., pink, purple, and blue) for a soothing effect.
- Monochromatic: Different shades of a single color for a high-end, sophisticated look.
- Bloom Succession: Choose plants that bloom at different times (spring bulbs, summer perennials, and autumn asters) so your garden never has a “dead” month.
5. Prep Soil
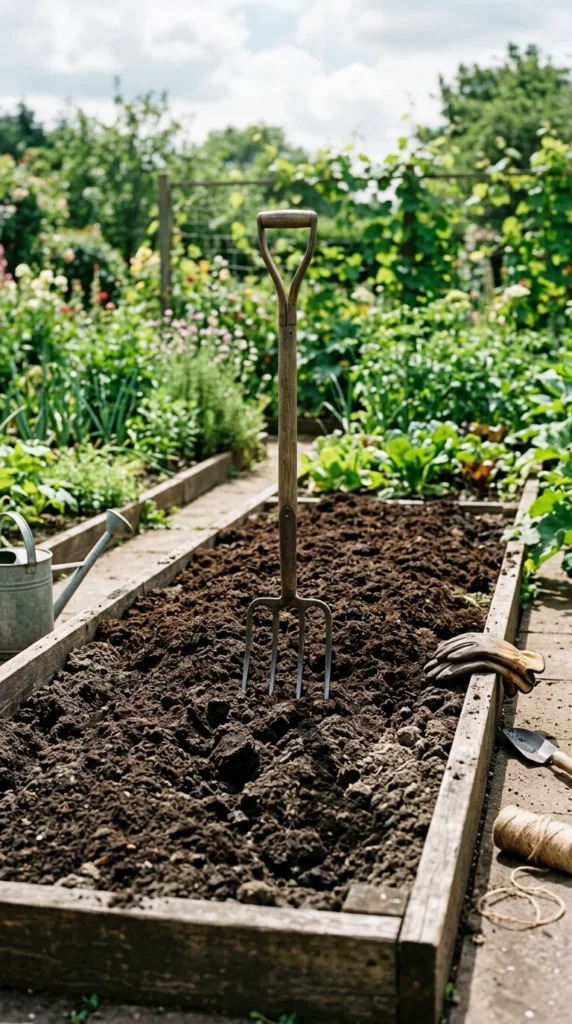
Great gardens are grown from the ground up. Do not skip this step!
- Clear the Area: Remove all grass and weeds. You can do this manually or use the “smothering” method by placing cardboard over the grass and covering it with mulch for several weeks.
- Amend with Organic Matter: Mix in 2–4 inches of high-quality compost, aged manure, or leaf mold. This improves drainage in clay soil and water retention in sandy soil.
- Fertilize Wisely: Use a slow-release organic fertilizer to provide a steady stream of nutrients to young roots without burning them.
- Till Gently: Avoid over-tilling, which can destroy soil structure and wake up dormant weed seeds. Simply turning the top 6–8 inches of soil is usually sufficient.
6. Execute Planting
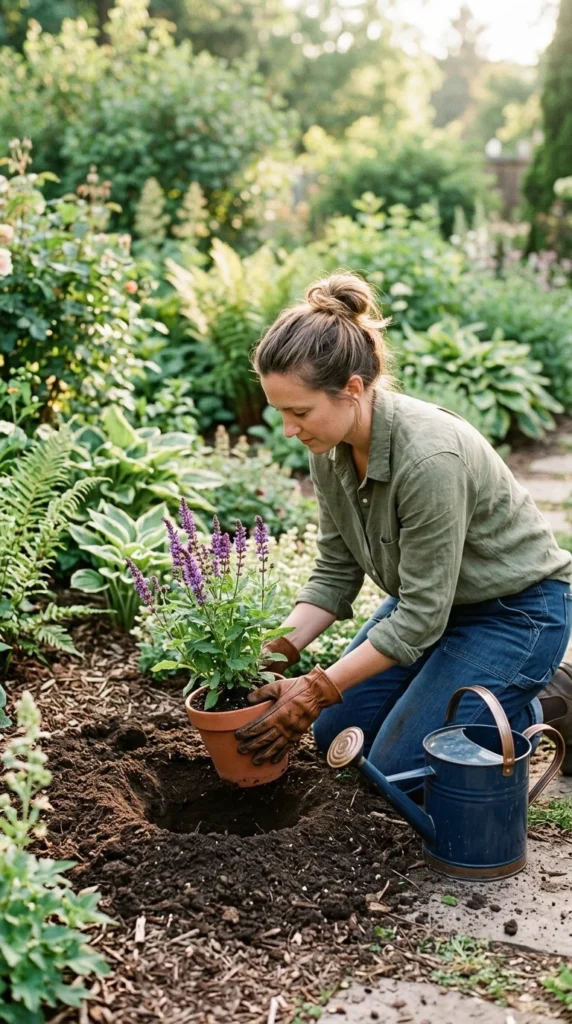
When it’s time to put plants in the ground, proper technique ensures they take root quickly and healthily.
- Check the Depth: Dig a hole twice as wide as the plant’s container but no deeper. The top of the root ball should be level with the surrounding soil surface.
- Tease the Roots: If the plant is “root-bound” (roots circling the inside of the pot), gently tease them outward so they can grow into the new soil.
- Spacing: Follow the spacing instructions on the plant tag. It may look sparse at first, but plants need room to breathe and reach their mature size. Overcrowding leads to poor air circulation and fungal diseases.
- The First Soak: Water each plant immediately after planting to settle the soil around the roots and remove air pockets.
7. Routine Care
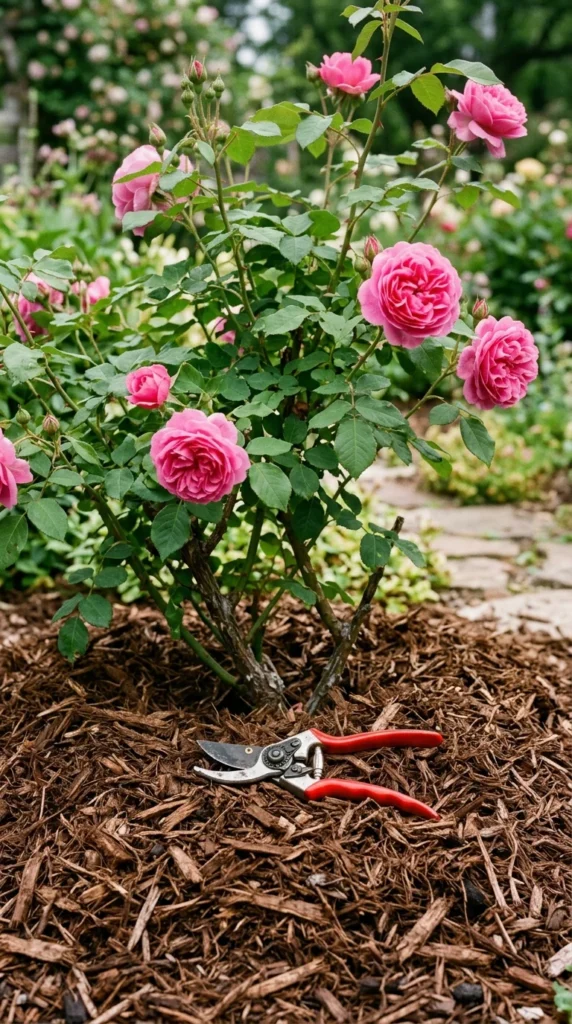
A beautiful garden is a living entity that requires ongoing attention. Maintenance ensures your hard work pays off for seasons to come.
- Mulching: Apply a 2-inch layer of organic mulch (like shredded bark or straw). This suppresses weeds, regulates soil temperature, and keeps moisture from evaporating.
- Deadheading: Remove faded flowers. This prevents the plant from putting energy into seed production and encourages it to produce more blooms.
- Staking: Tall, top-heavy flowers like Delphiniums or Peonies may need support from bamboo stakes or metal cages to prevent them from flopping over after a rainstorm.
- Deep Watering: It is better to water deeply once or twice a week than to give a light sprinkle every day. Deep watering encourages roots to grow further down into the earth, making the plants more drought-resistant.
By following these steps, you will create a garden that is not only visually stunning but also ecologically sound and manageable. Remember that gardening is a journey, not a destination—don’t be afraid to move plants that aren’t happy or try new varieties as your style evolves.