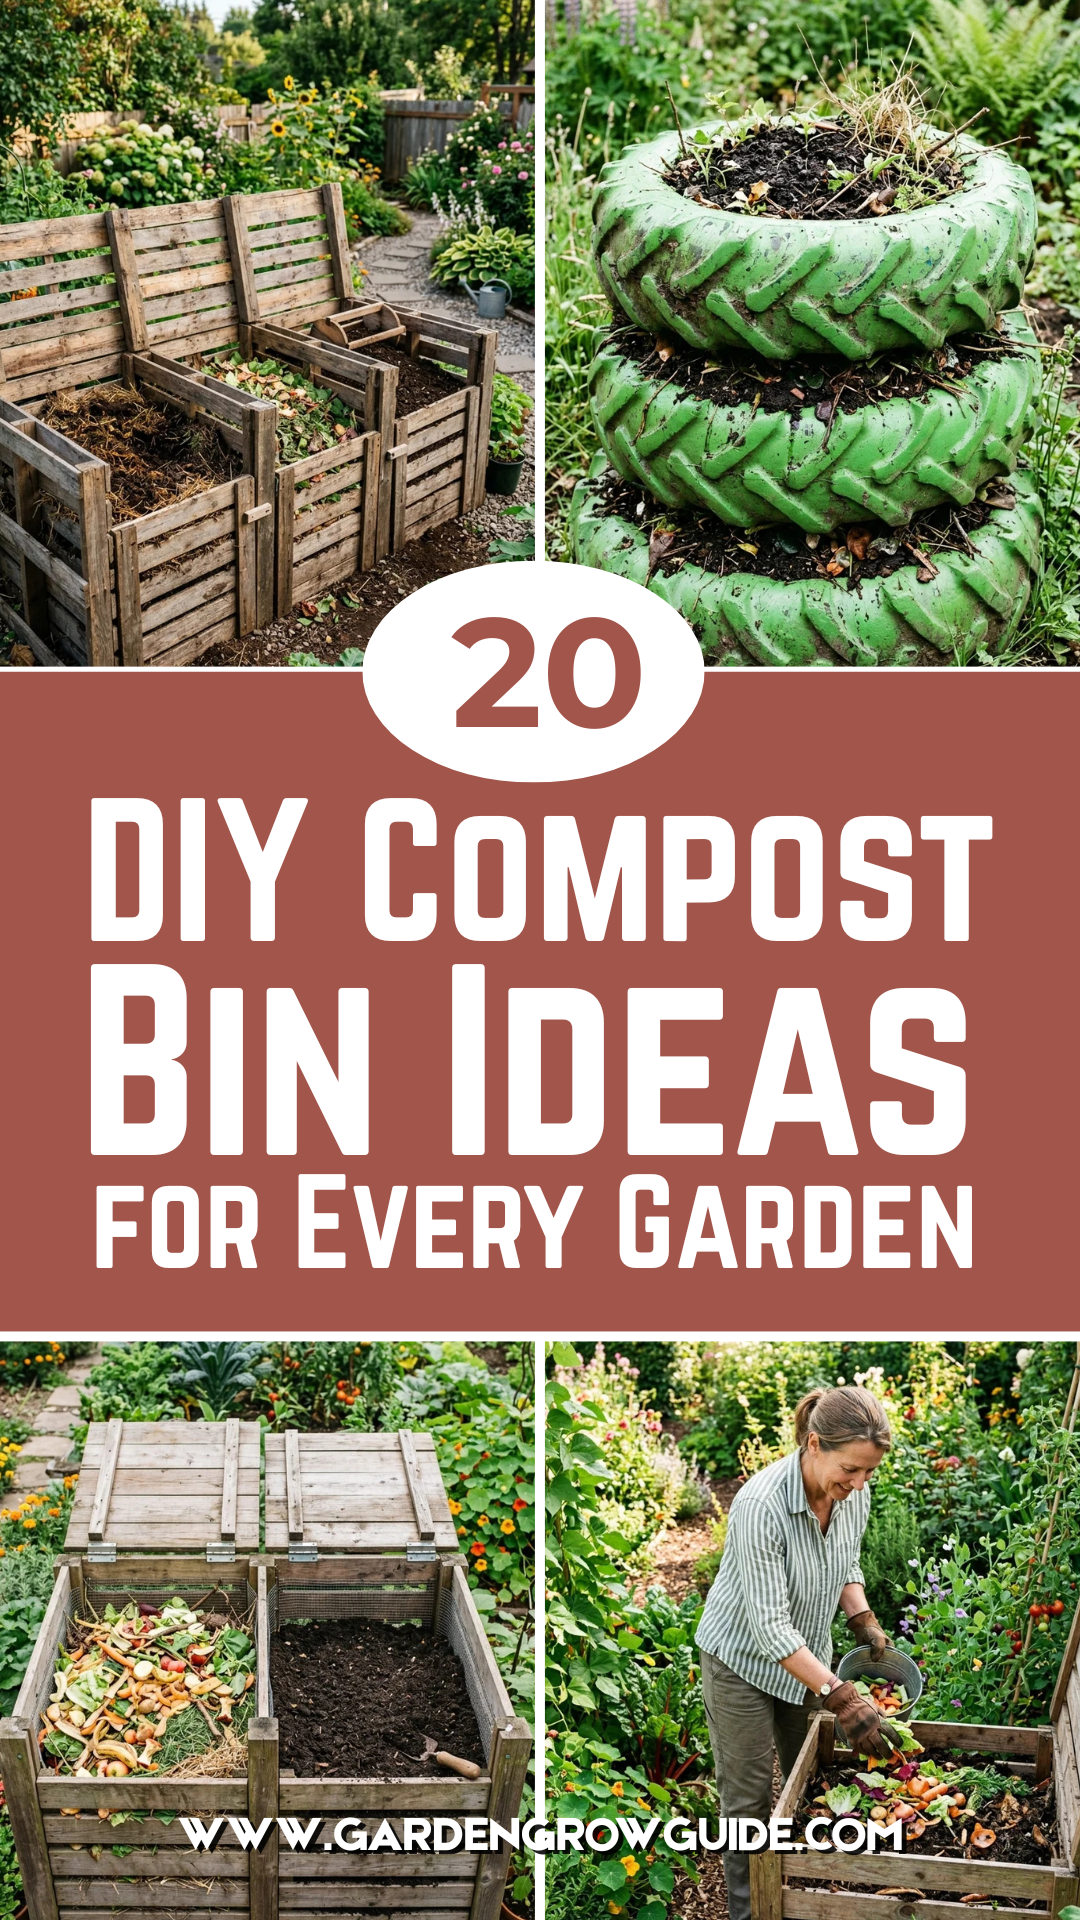
Composting is the cornerstone of sustainable gardening. It transforms kitchen scraps and yard waste into “black gold”—a nutrient-rich soil conditioner that improves soil structure and promotes plant health. While commercial composters are widely available, building your own allows you to customize the size, look, and functionality to fit your specific needs. Whether you have a sprawling rural backyard or a tiny urban balcony, there is a DIY solution for you. Here are 20 creative and effective DIY compost bin ideas to get you started.
1. Pallet Bins
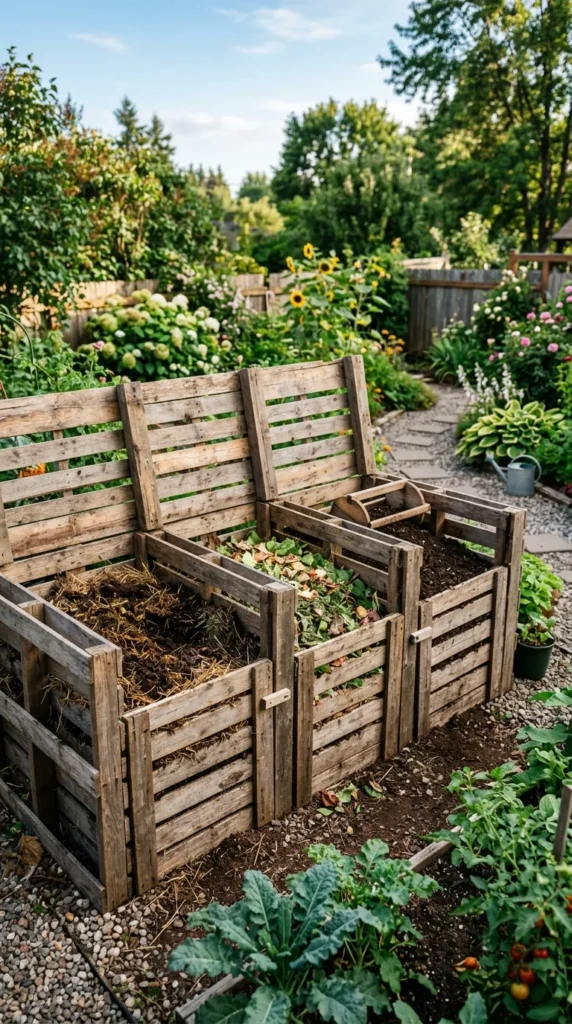
Shipping pallets are one of the most popular materials for DIY composters because they are often free and perfectly sized for a large compost pile. By standing four pallets on their ends and securing them with wire or screws, you create a sturdy, well-ventilated square. For more advanced gardeners, a three-bin system using seven or eight pallets allows for “batch” composting: one bin for fresh waste, one for actively decomposing material, and one for finished compost ready to use.
2. Plastic Totes
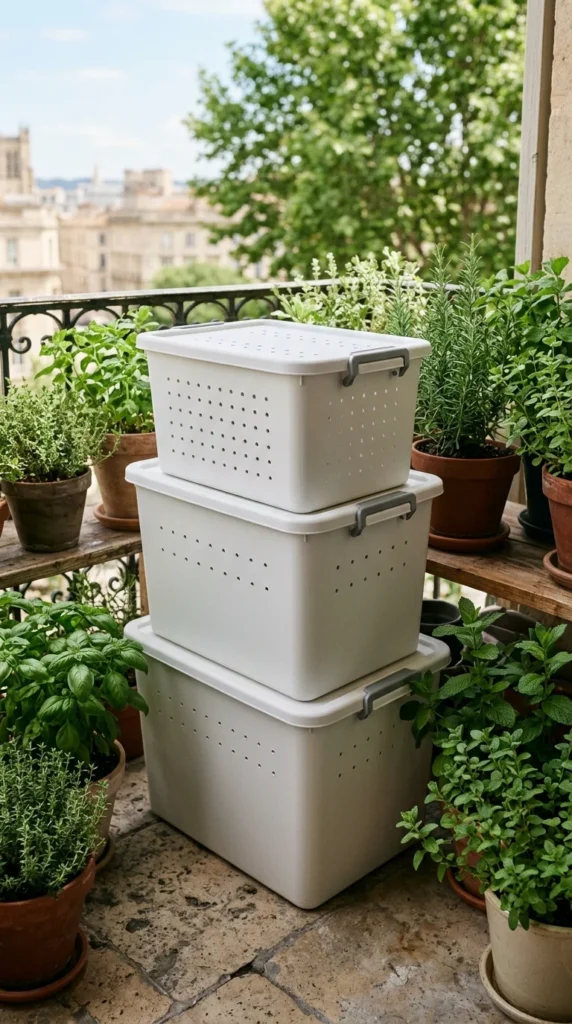
If you have limited space or want to keep your composting project discreet, plastic storage totes are an excellent choice. By drilling small holes (about 1/4 inch) into the sides, bottom, and lid, you provide the necessary oxygen for aerobic decomposition. These bins are lightweight, portable, and ideal for apartment dwellers or small families. They can easily be tucked under a deck or kept on a patio.
3. Wire Fencing
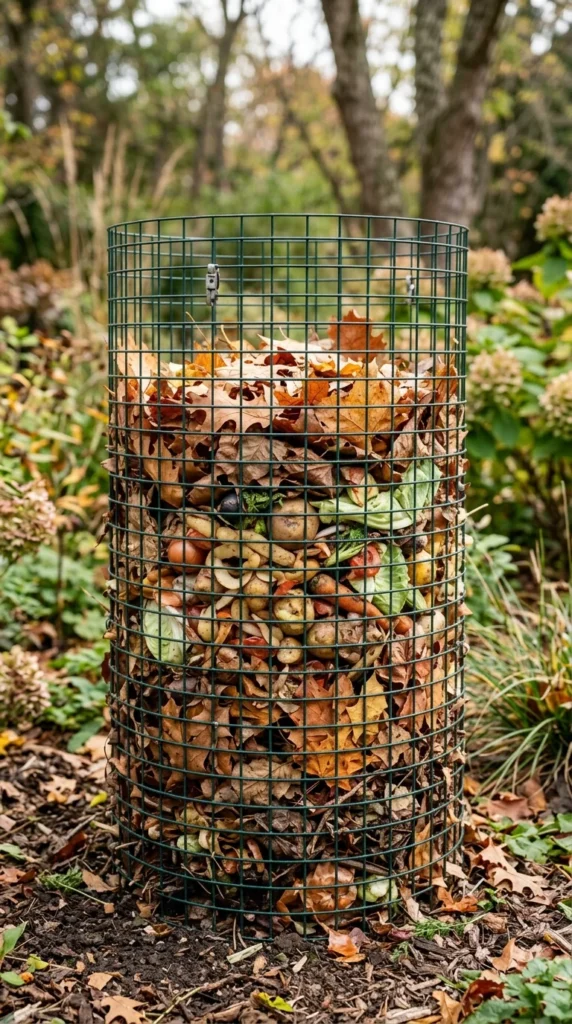
For those who want the simplest possible build, a wire mesh bin is the answer. Using a roll of hardware cloth or chicken wire, form a cylinder about three feet in diameter and secure the ends with zip ties or wire. This design provides maximum aeration, which speeds up the decomposition process. It is particularly effective for “cold composting” large amounts of leaves and grass clippings.
4. Cedar Wood
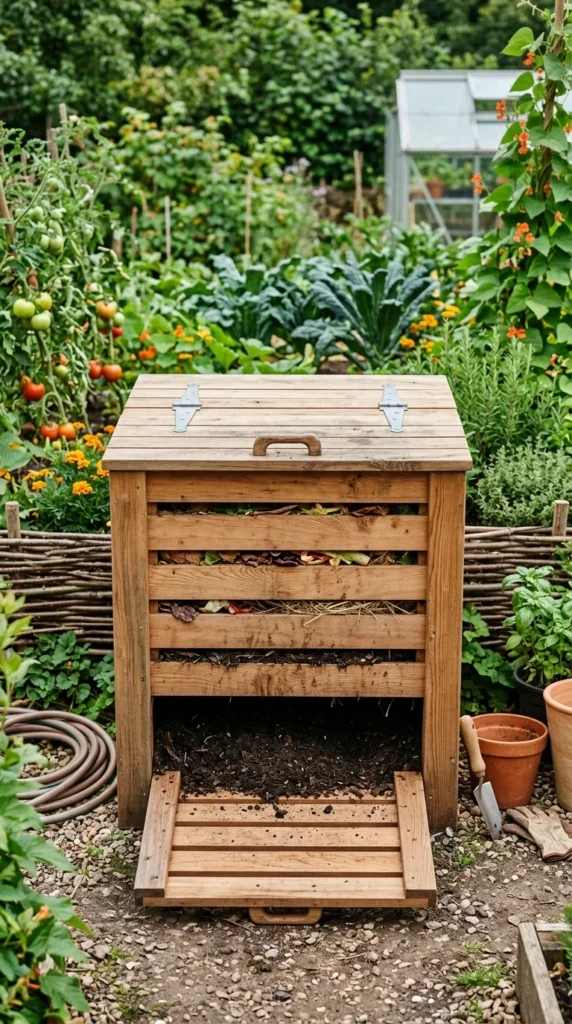
If aesthetics are a priority, cedar is the gold standard. Cedar is naturally rot-resistant and develops a beautiful silvery patina over time. A cedar bin can be designed with slats for airflow and a hinged lid to keep out pests. This type of bin looks more like a piece of garden furniture than a waste receptacle, making it perfect for highly visible areas of the landscape.
5. Concrete Blocks
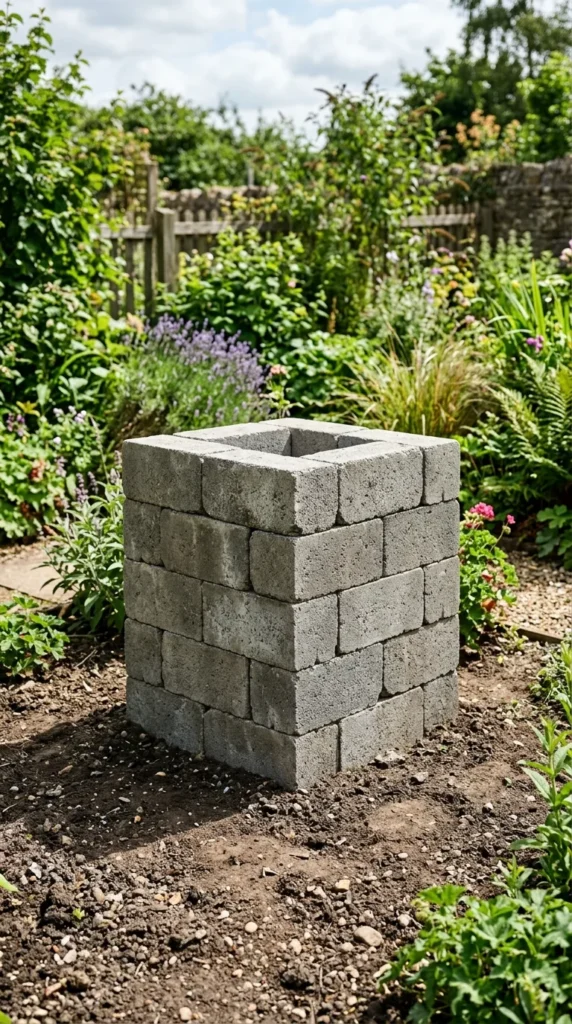
Concrete blocks offer a permanent and incredibly durable composting solution. By stacking blocks without mortar, you create a heavy-duty bin that can withstand extreme weather and the weight of massive amounts of organic material. The gaps between the blocks provide natural ventilation. This is a “set it and forget it” style bin that won’t rot or blow away in the wind.
6. Trash Can
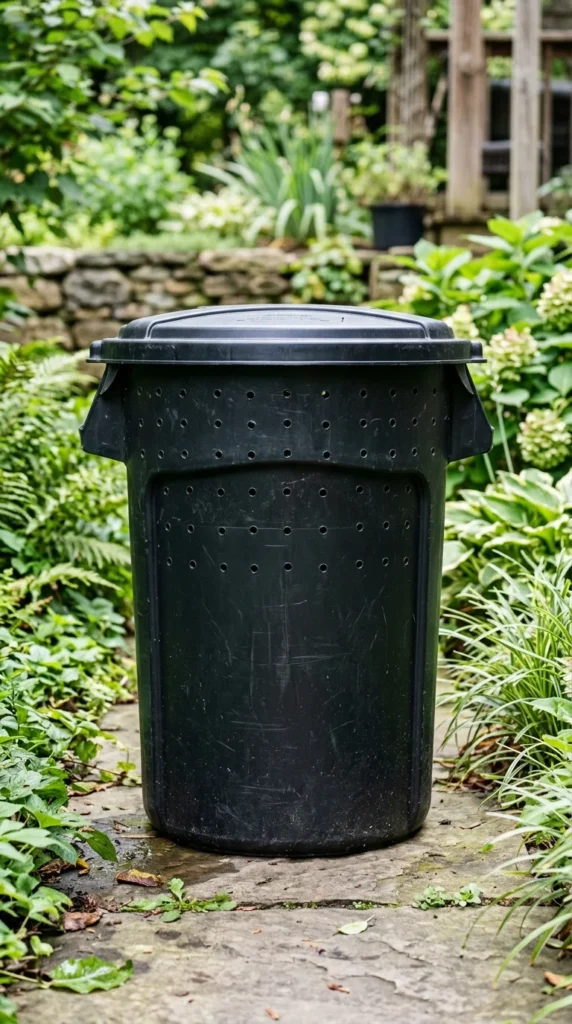
An old plastic or metal trash can can be easily converted into a functional composter. Drill holes throughout the body of the can for airflow and several in the bottom for drainage. The lid keeps rain out and odors in. To turn the compost, you can simply tip the can on its side and roll it around the yard, making it a budget-friendly alternative to expensive commercial tumblers.
7. Drum Tumbler
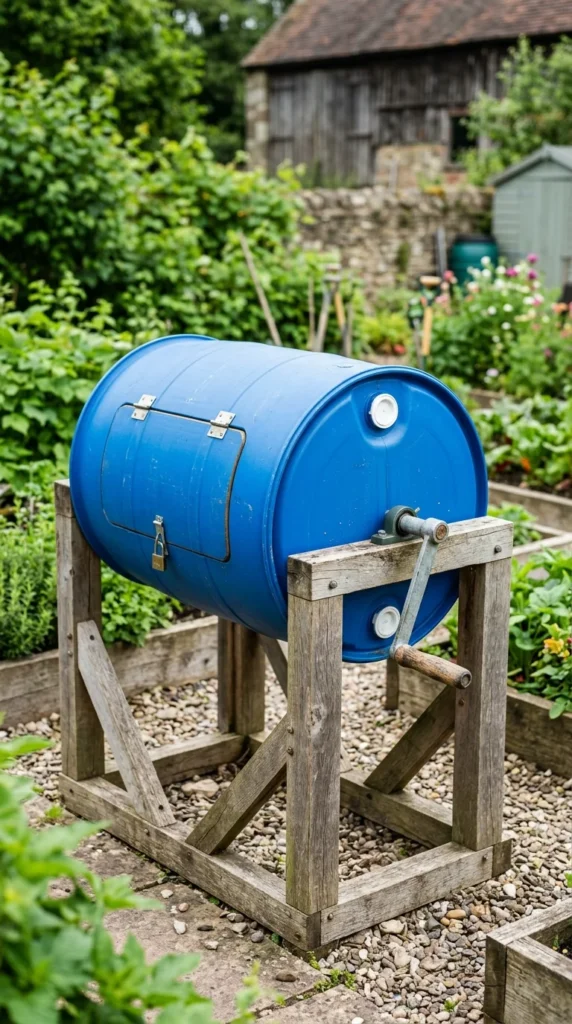
A DIY tumbler is perfect for those who want fast results without the physical labor of turning a pile with a pitchfork. By mounting a 55-gallon food-grade plastic drum on a wooden or PVC frame, you can easily rotate the waste. This frequent aeration and mixing can produce finished compost in as little as 4 to 8 weeks during the summer months.
8. Milk Crates
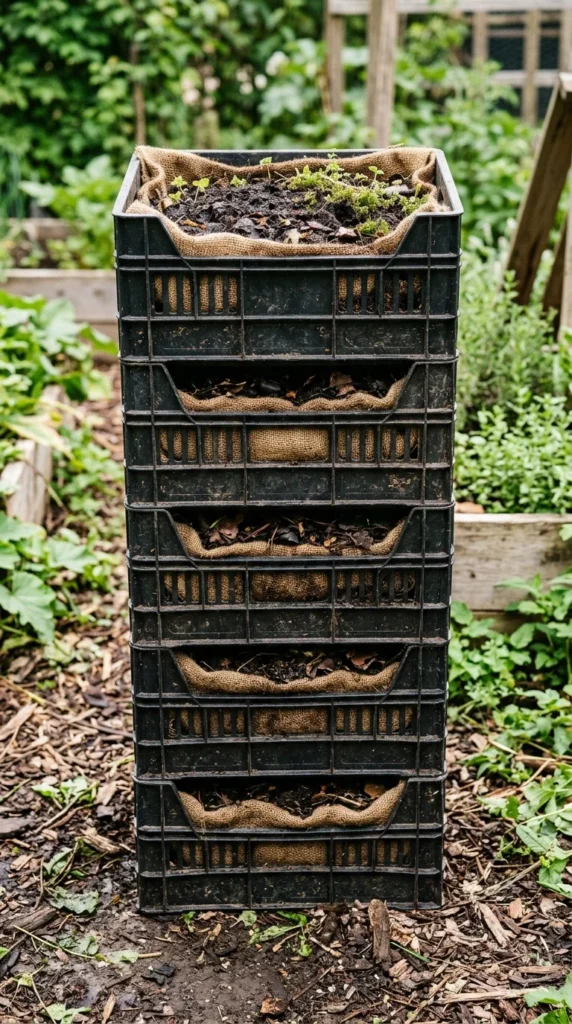
For a modular and vertical approach, consider using plastic milk crates. These are naturally ventilated thanks to their grid design. To prevent fine material from falling out, you can line them with burlap or landscape fabric. As the bottom crate decomposes, you can stack new crates on top. This is an excellent “starter” system for kids or those with very little outdoor space.
9. Straw Bales
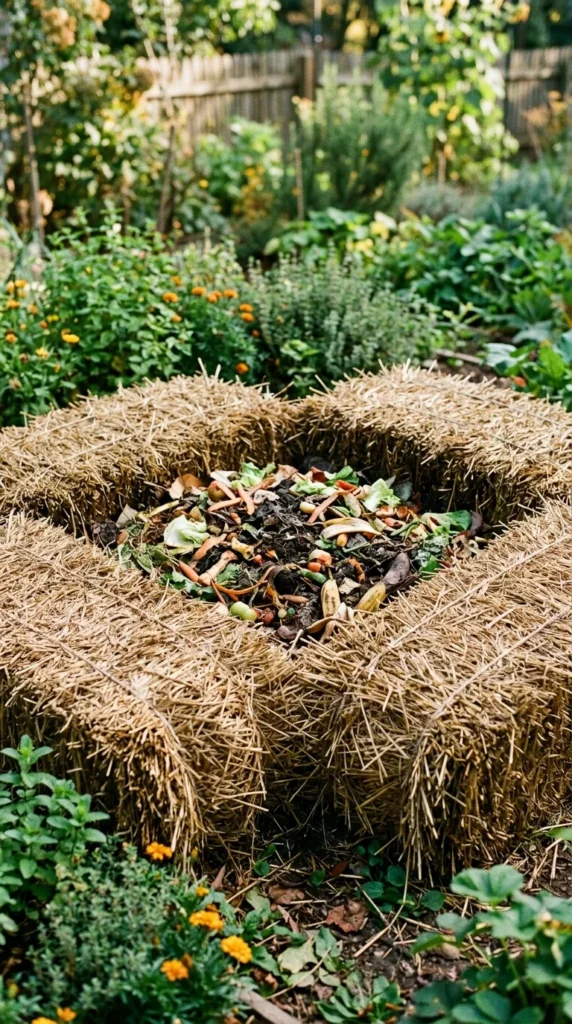
Straw bale composting is unique because the bin itself eventually becomes part of the compost. Arrange four or more bales in a square to create a central cavity. Fill the center with your scraps and greens. Over a year or two, the straw bales will begin to break down alongside the contents. Once the walls start to collapse, you can mix the entire thing together for a massive yield of rich soil.
10. Wine Crate
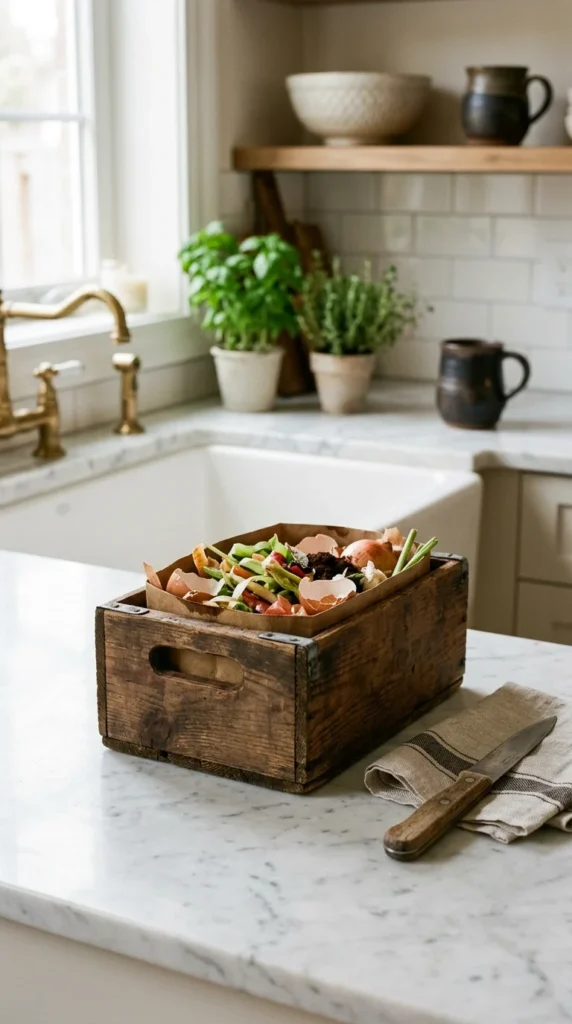
For the stylish indoor gardener, a small wine crate lined with a plastic or metal insert serves as a beautiful “pre-compost” collector. While not large enough for the full decomposition process, it allows you to collect kitchen scraps in a way that looks great on your counter until you are ready to take them to the main outdoor bin.
11. Trench Composting
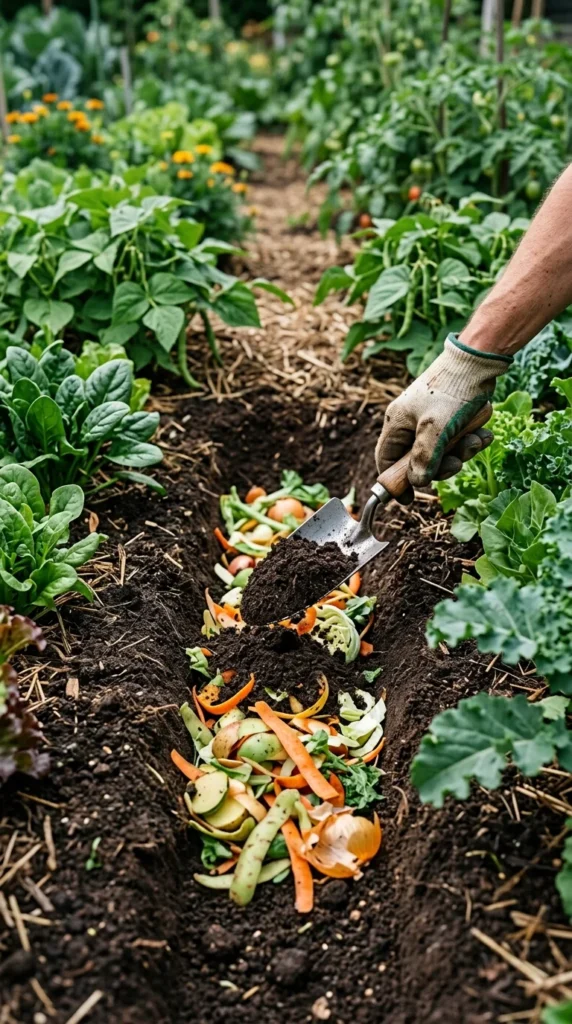
The most invisible DIY method is trench composting. This requires no “bin” at all. Simply dig a hole or a trench about 12 inches deep in your garden, fill it with a few inches of kitchen scraps, and cover it back up with soil. The waste decomposes underground, delivering nutrients directly to the root zones of your plants. This is perfect for those who want to avoid the look of a compost pile entirely.
12. Worm Bin
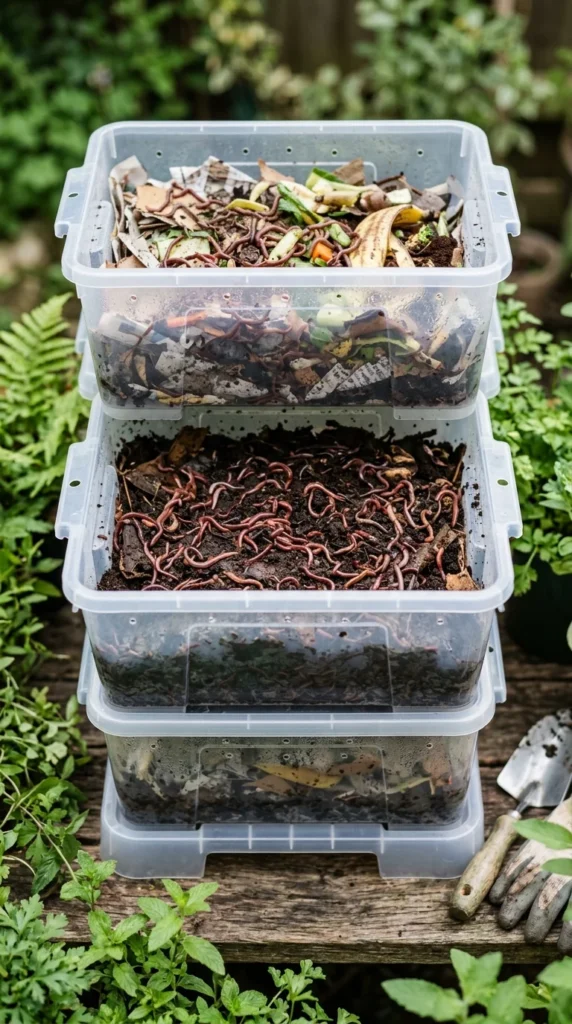
Vermicomposting, or worm composting, is the best solution for indoor use or very small spaces. A DIY worm bin usually consists of two or three stacked plastic bins. The top bins have holes in the bottom to allow worms to move upward as they finish eating. Red wiggler worms are used to eat through food scraps, producing “castings,” which are arguably the most nutrient-dense fertilizer available to gardeners.
13. Woven Willow
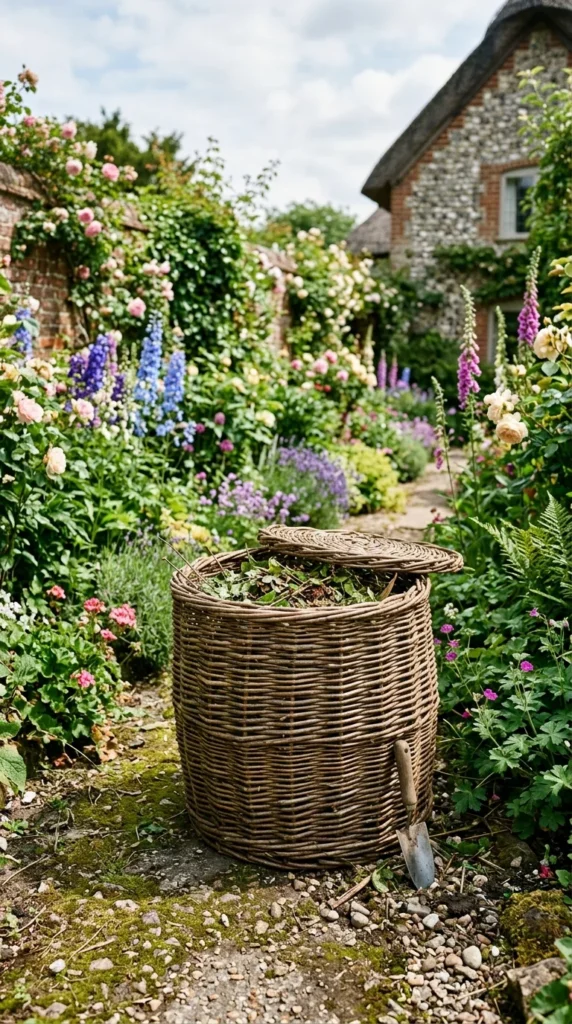
For a rustic or “cottage core” aesthetic, a woven willow bin is an artistic choice. You can use flexible branches from willow, hazel, or even long prunings from your own trees. Stake several upright poles into the ground and weave the flexible branches around them to create a large basket. It is breathable, natural, and adds a beautiful texture to the garden.
14. Old Bathtub
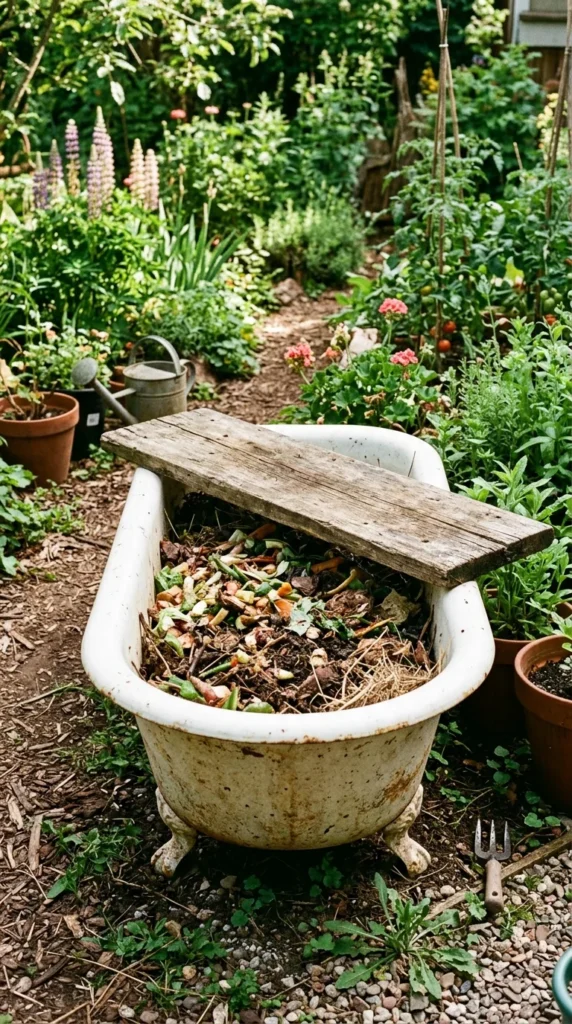
Repurposing an old porcelain or cast-iron bathtub provides a large-volume, durable composting container. The drain hole provides built-in drainage, which can be used to collect “compost tea” if you place a bucket underneath. Because of their size and depth, bathtubs are excellent for keeping heat in, which accelerates the breakdown of organic matter.
15. Brick Bin
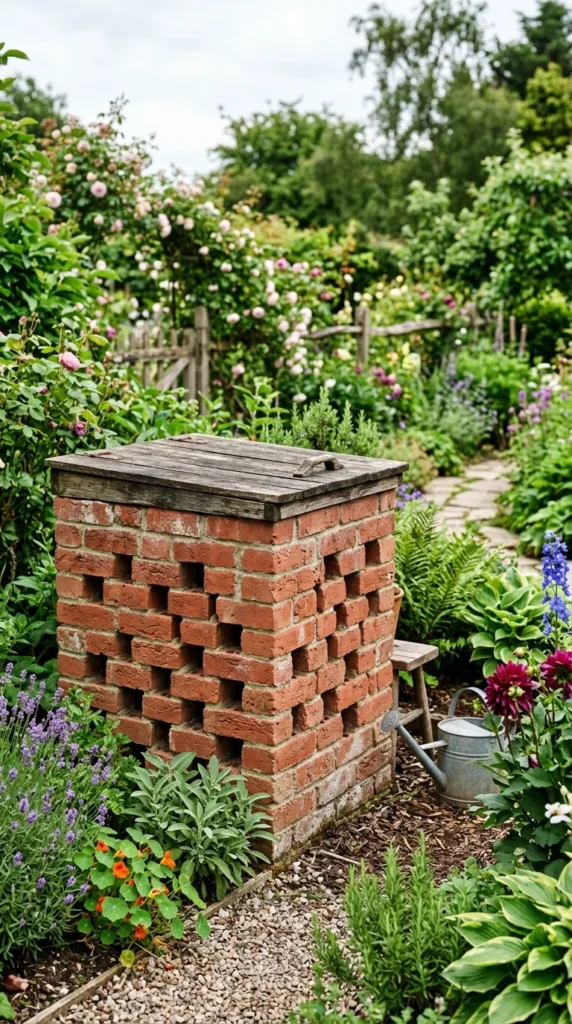
If you have leftover bricks from a construction project, you can build a permanent, ventilated bin. Unlike concrete blocks, bricks allow for more intricate designs. By leaving out every other brick in certain rows (a “honeycomb” pattern), you ensure that the pile stays oxygenated. This is a very sturdy option that can be designed to match the architecture of your home.
16. Laundry Basket
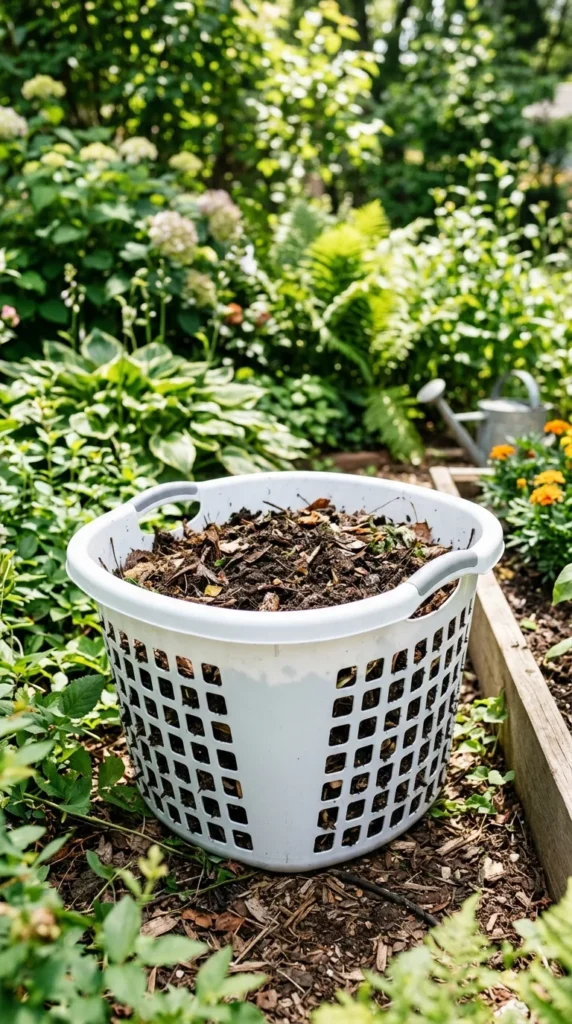
An open-weave plastic laundry basket is an incredibly cheap and effective “mini” composter. The holes are already there, providing perfect aeration. Because they are relatively small, they are easy to lift and flip over to turn the compost. This is an ideal solution for a single person or a two-person household with minimal kitchen waste.
17. Corrugated Metal
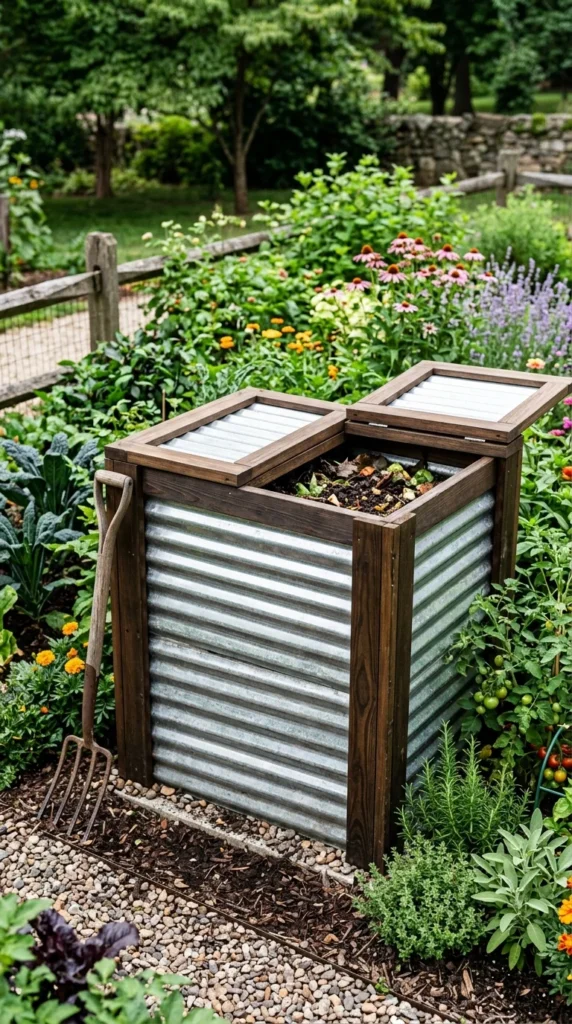
For a modern or industrial look, corrugated metal sheets are a great choice. They are durable, reflect heat into the pile (which helps in winter), and won’t rot. Combine the metal sheets with a wooden frame to create a sleek, contemporary bin that fits perfectly in a modern landscape design.
18. Tire Stack
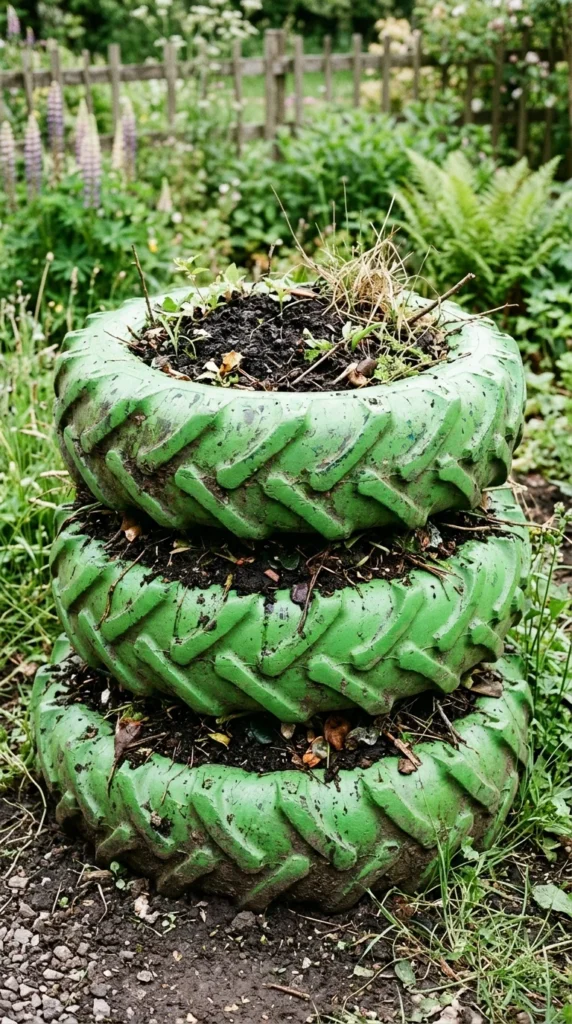
Used tires are often difficult to dispose of, making them a great candidate for upcycling. By stacking three or four tires, you create a deep, insulated bin. To turn the compost, you can simply unstack the tires one by one and restack them next to the original spot, moving the material back into the “new” stack. Painting the tires can turn an eyesore into a garden feature.
19. Plywood Box
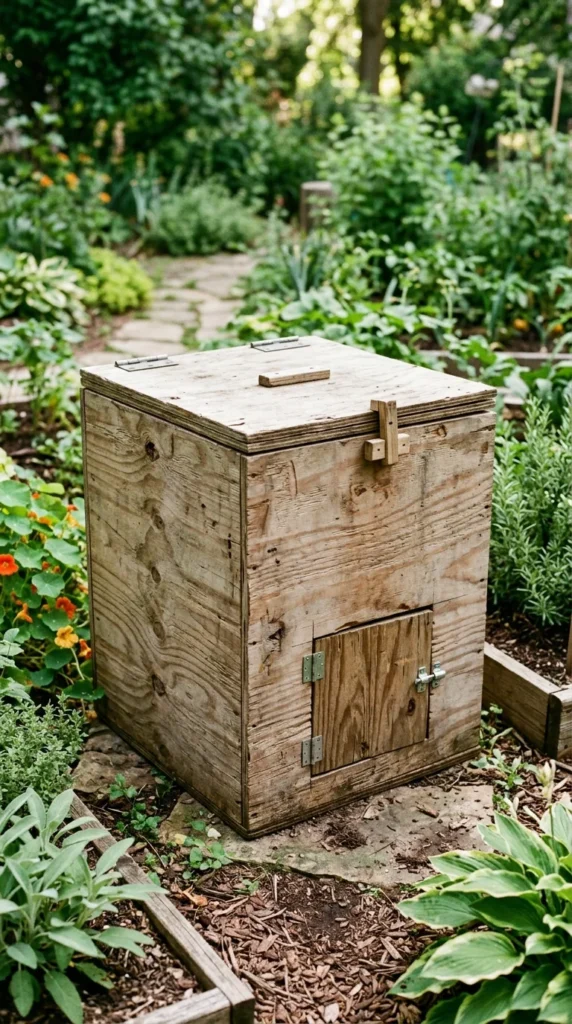
A plywood box is a straightforward project for anyone with basic woodworking skills. Using exterior-grade plywood, you can build a solid, enclosed bin that keeps pests out and heat in. Adding a small “trap door” at the bottom allows you to harvest finished compost from the base while continuing to add fresh material to the top.
20. Double-Chamber Bin
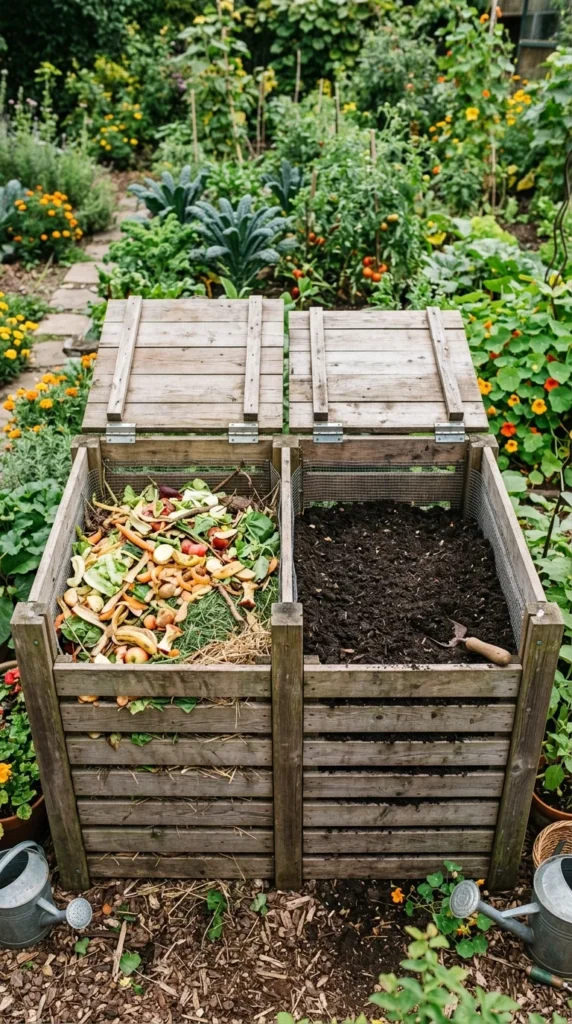
The double-chamber bin is the ultimate DIY setup for serious gardeners. It consists of two side-by-side compartments. You fill the first chamber until it is full, then let it sit and “cook” while you begin filling the second chamber. By the time the second chamber is full, the first one is usually finished and ready to be spread on the garden. This ensures a continuous supply of compost throughout the growing season.