Composting is often referred to as “black gold” by gardeners, and for good reason. It is a natural process that recycles organic matter—such as leaves and food scraps—into a valuable fertilizer that can enrich soil and nourish plants. By building your own compost bin, you not only reduce the amount of waste sent to landfills but also create a self-sustaining cycle of nutrient-rich soil for your backyard.
Building a bin doesn’t require a degree in engineering or expensive shop tools. Whether you have a sprawling suburban lawn or a small urban balcony, there is a DIY solution that fits your space and budget. This guide will walk you through the various methods of constructing a compost bin, the materials required, and how to maintain your setup for maximum efficiency.
1. Essential Materials
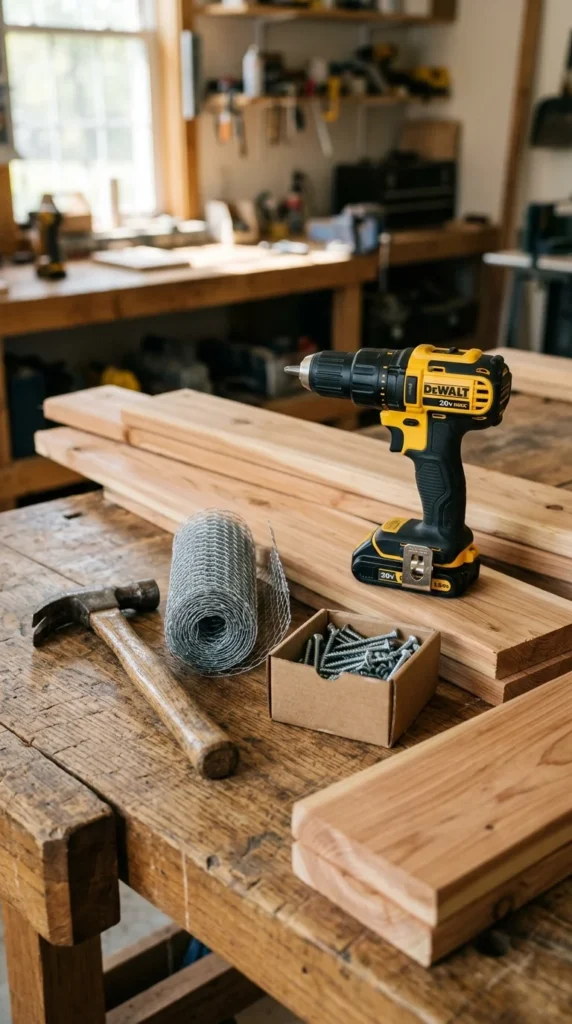
Before you begin construction, you must gather the necessary supplies. The materials you choose will determine the longevity and effectiveness of your bin. Cedar is the gold standard for wooden bins because it is naturally rot-resistant and does not require chemical treatments that could leach into your soil. However, heat-treated (HT) pallets are a popular and cost-effective alternative.
For fastening, always use galvanized or stainless steel screws to prevent rusting. If you are building a bin with ventilation in mind, hardware cloth (a sturdy wire mesh) is essential. You will also need basic tools such as a drill, a saw (if cutting lumber), a measuring tape, and safety gear like gloves and eye protection. Having these items ready will streamline the building process and ensure a sturdy final product.
2. Wooden Pallets
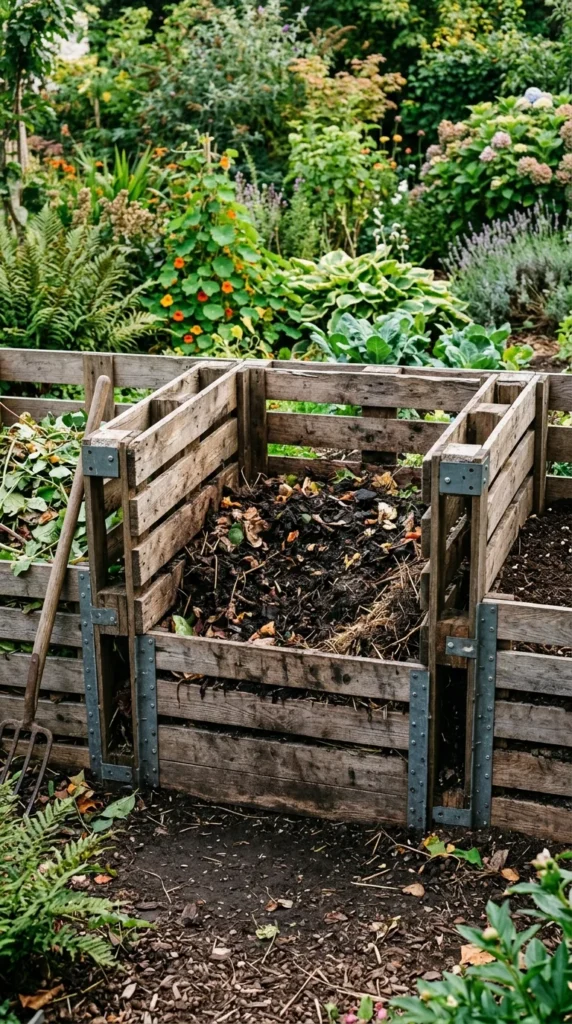
The pallet bin is perhaps the most iconic DIY composting project. It is affordable, often costing nothing if you can source free pallets from local businesses, and it provides excellent airflow. To build a basic three-sided bin, you simply need three pallets of equal size.
First, stand two pallets on their ends to form the sides and place the third across the back. Secure them using heavy-duty zip ties for a temporary fix or metal L-brackets and screws for a permanent structure. For a more advanced “three-bin system,” you can connect five pallets in a row to create two separate chambers—one for fresh waste and one for maturing compost. This allows you to turn the pile easily from one section to another, accelerating the decomposition process.
3. Storage Totes
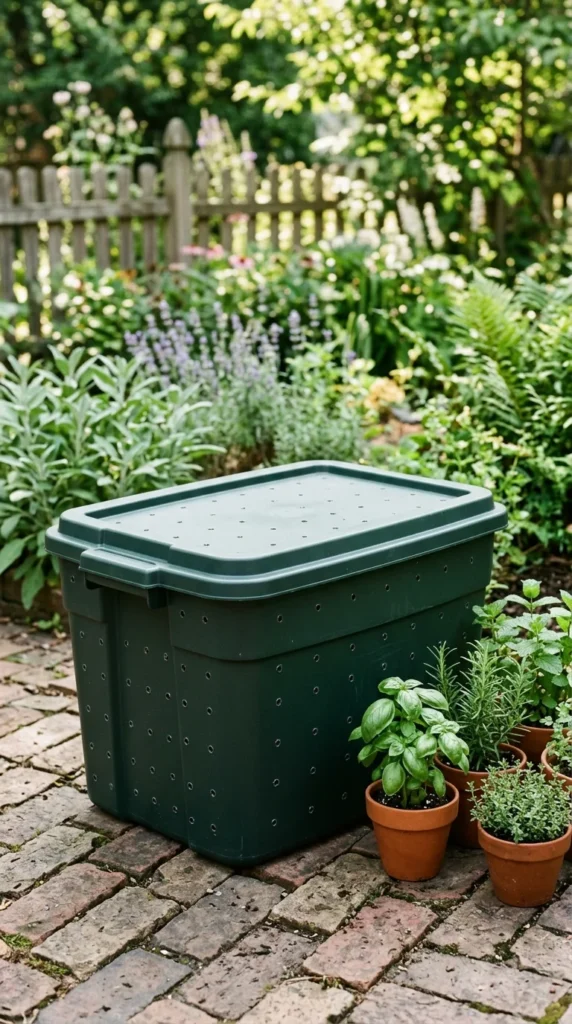
For those with limited space or who prefer a cleaner look, a plastic storage tote bin is an ideal solution. This method is perfect for “apartment composting” or for placing on a deck. Choose a heavy-duty plastic bin with a lid, preferably in a dark color like black or forest green to absorb heat, which speeds up the microbial activity.
Using a drill with a half-inch bit, create a series of holes around the top perimeter and the lid to allow for oxygen exchange. You should also drill a few small holes in the bottom for drainage. Place the bin on top of a few bricks and put a tray underneath to catch any liquid (compost tea) that drains out. This compact system is easy to manage and keeps pests away while keeping the composting process contained.
4. Hardware Cloth
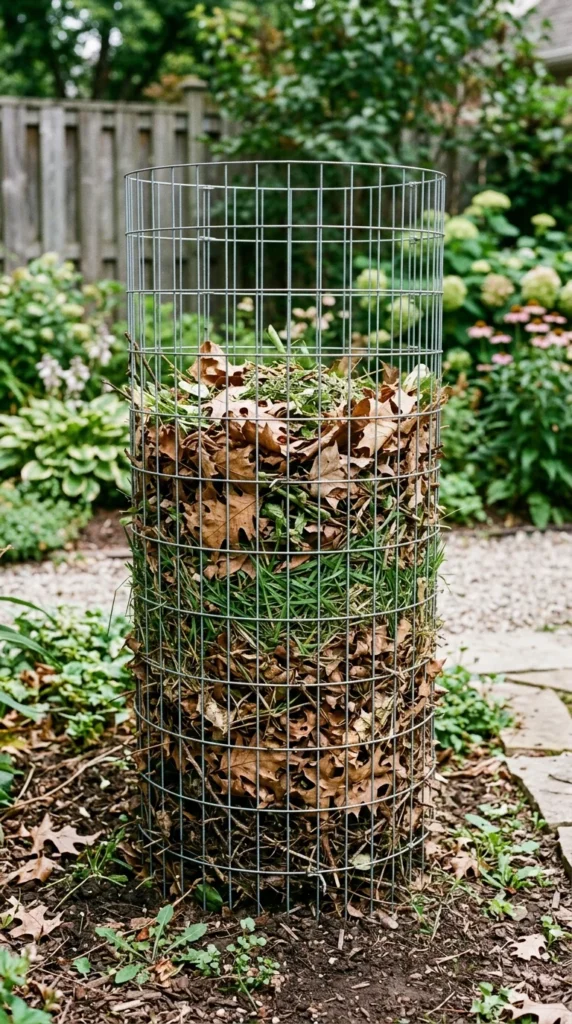
If you want the simplest, fastest bin possible, the wire mesh or “hardware cloth” cylinder is the way to go. This design provides the maximum amount of aeration, which is critical for aerobic decomposition. It is also the easiest to “turn”; when it is time to mix the compost, you simply unclip the wire, move the cylinder a few feet away, and pitchfork the contents back into it.
To build this, purchase a length of hardware cloth (usually 3 to 4 feet tall). Roll it into a cylinder about 3 feet in diameter and overlap the ends by a few inches. Secure the ends with wire ties or carabiners. This bin is excellent for composting large amounts of yard waste like fallen leaves and grass clippings. Because it is open to the elements, it stays well-hydrated during rainstorms, though you may need to cover the top with a tarp during extreme weather.
5. Site Selection
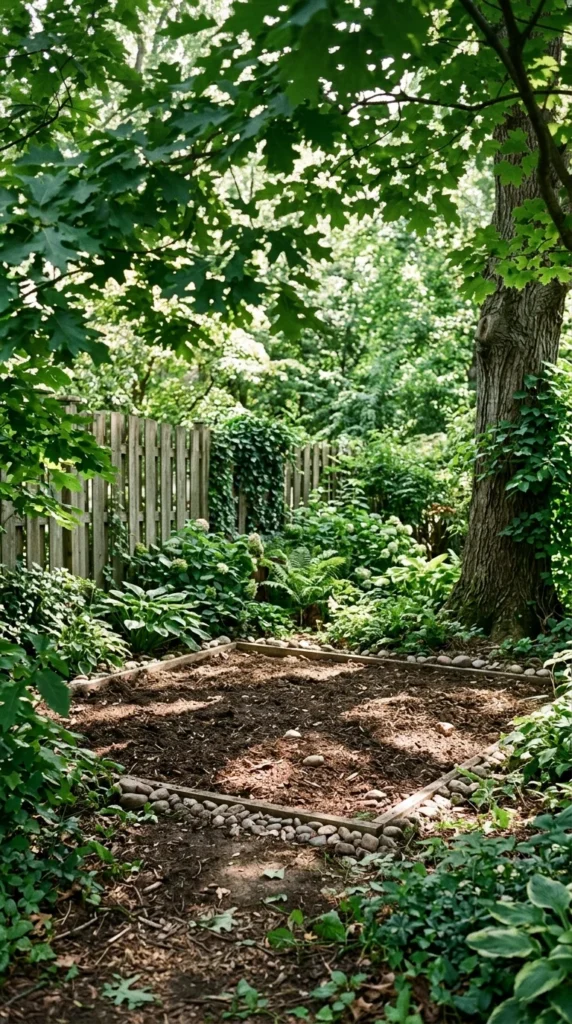
Where you place your bin is just as important as how you build it. You want a location that is convenient enough to reach with a bucket of kitchen scraps but far enough from the house to avoid any potential (though rare) odors. A spot with partial shade is ideal; full sun can dry out the pile too quickly, while deep shade might keep it too cool and slow down the process.
Ensure the ground is level and has good drainage. It is best to place the bin directly on the soil rather than on concrete or wood. This allows beneficial organisms like earthworms and soil bacteria to migrate from the ground into your compost pile. If you are worried about burrowing rodents, you can line the bottom of your bin with a layer of fine wire mesh.
6. Aeration Tools
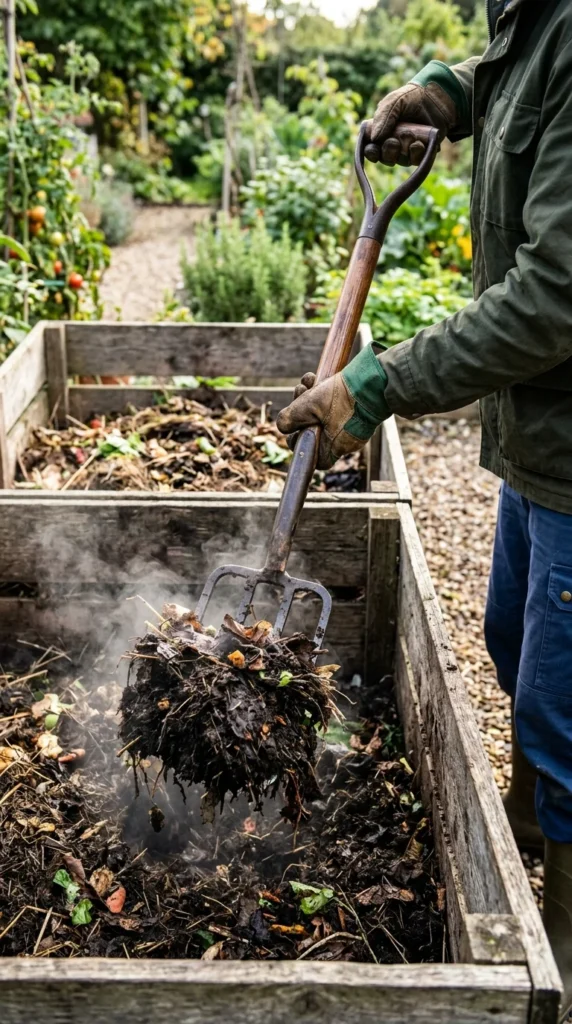
The “DIY” aspect of composting doesn’t end with the bin construction; it extends to the maintenance. To keep the microorganisms happy, they need oxygen. If a compost pile becomes too compacted, it turns anaerobic, which leads to slow decomposition and unpleasant smells.
Turning the pile once every week or two is the best way to introduce air. A standard pitchfork or a dedicated compost aerator tool is essential. When you turn the pile, move the material from the outside edges to the center, where the heat is most intense. This ensures that all the organic matter is processed evenly. If the pile feels dry, sprinkle it with water while turning until it has the consistency of a wrung-out sponge.
Managing the Mix: Greens vs. Browns
Success in your new DIY bin depends on the balance of “Greens” (nitrogen-rich materials) and “Browns” (carbon-rich materials).
- Greens: Fruit and vegetable scraps, coffee grounds, fresh grass clippings, and green garden trimmings. These provide the protein for the microbes.
- Browns: Dry leaves, straw, shredded cardboard, sawdust, and paper. These provide the energy source and help maintain the structure of the pile for airflow.
A good rule of thumb is to use two to three parts brown material for every one part green material. If your bin smells like ammonia, you have too many greens; add more shredded paper or leaves. If the pile is sitting there and nothing is happening, you likely need more greens or more water.
Troubleshooting Your DIY Bin
Even the best-built bins can face challenges. If you notice pests like flies or rodents, make sure you are burying your food scraps deep in the center of the pile and covering them with a thick layer of “browns.” Never add meat, dairy, or oily foods to a home compost bin, as these are the primary attractants for scavengers.
If your compost is taking too long to break down, try chopping the materials into smaller pieces before adding them. The more surface area the microbes have to work with, the faster they can do their job. With a well-constructed bin and a little bit of patience, you will soon have a harvest of dark, crumbly, earthy-smelling compost ready to boost your garden’s health.