Starting your first garden is a journey of transformation—not just for your outdoor space, but for your lifestyle as well. Whether you have a sprawling backyard or a tiny urban balcony, the principles of garden design remain the same. Gardening offers a unique blend of physical exercise, mental relaxation, and the unparalleled satisfaction of watching a tiny seed evolve into a flourishing plant. This guide will walk you through the essential steps to design, plant, and maintain your first garden from the ground up.
1. Assessment
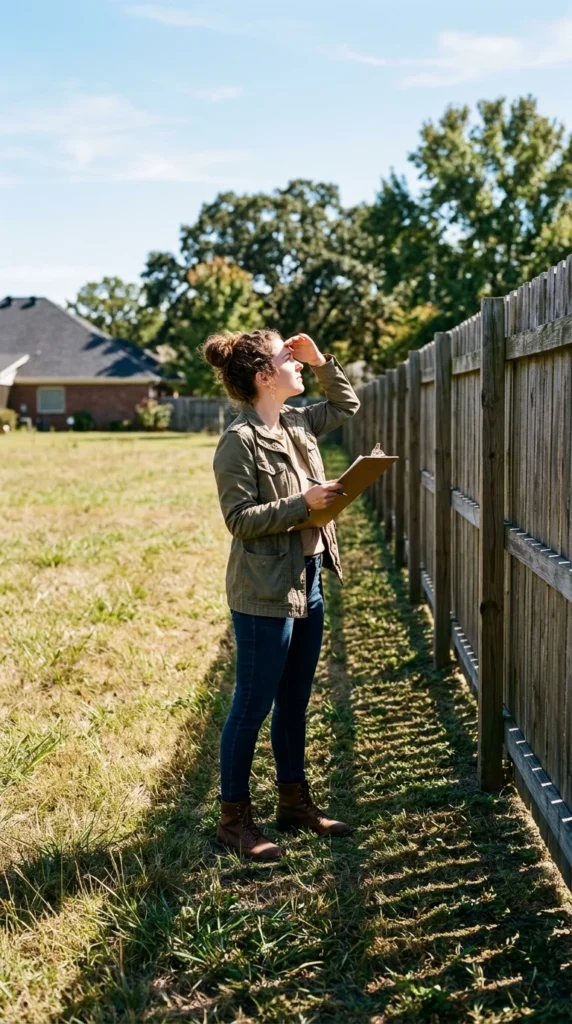
Before you pick up a shovel, you must understand the canvas you are working with. The success of a garden depends heavily on the environmental conditions of the site. Start by observing the sun’s movement across your yard for a full day. Most vegetables and many flowering plants require “full sun,” which translates to at least six to eight hours of direct sunlight.
Next, examine your soil. Is it sandy and fast-draining, or heavy and clay-like? You can perform a simple “squeeze test” by moistening a handful of soil; if it crumbles immediately, it’s sandy; if it stays in a tight, sticky ball, it’s clay. Ideally, you want “loamy” soil that holds its shape but crumbles under slight pressure. Don’t forget to check for wind patterns and low spots where water might pool after a rainstorm, as these factors will dictate which plants can survive in specific microclimates of your yard.
2. Objectives
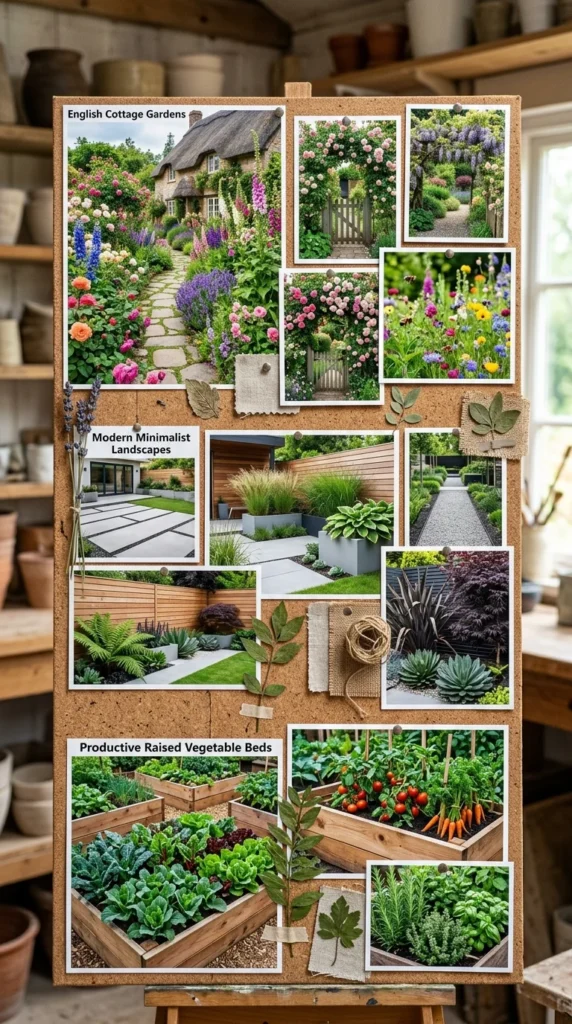
What do you want your garden to achieve? Defining your goals early prevents “planting regret” later on. Beginners often fall into one of three categories: the edible gardener, the ornamental enthusiast, or the habitat creator.
If your goal is to grow food, focus on “high-value” crops—things that are expensive to buy or taste significantly better when fresh, like heirloom tomatoes, herbs, and leafy greens. If you want beauty, consider a color palette; do you want the calming blues and whites of a “moon garden,” or the vibrant oranges and reds of a tropical-themed border? If you’re looking to support local ecology, prioritize native plants that provide nectar for bees and host leaves for butterflies.
3. Layout
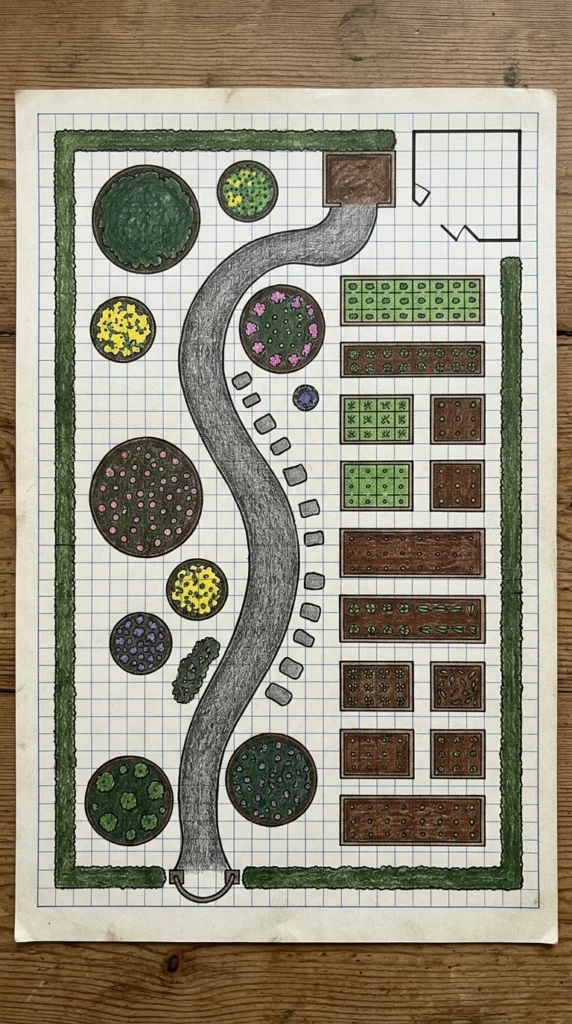
Great gardens are built on a solid “skeleton.” This refers to the permanent structures and pathways that define the space. For beginners, the “path and bed” approach is the most effective. Ensure your paths are wide enough for a person to walk comfortably (at least 2 to 3 feet) and that your planting beds are no wider than 4 feet across. This allows you to reach the center of the bed from either side without stepping on the soil, which prevents compaction.
Consider “vertical interest” as well. Use trellises, fences, or tall shrubs to draw the eye upward. This is especially important in small spaces, where growing “up” instead of “out” can double your planting area. Finally, place your garden as close to your house as possible; the “out of sight, out of mind” rule often leads to neglected plants.
4. Selection
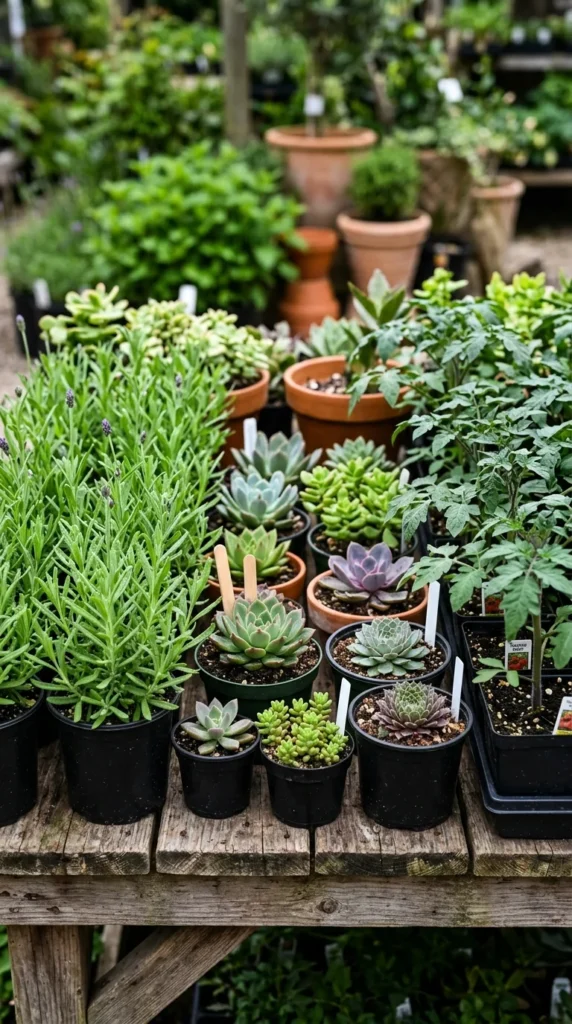
Choosing the right plants is where many beginners get overwhelmed. The secret is to start small and choose “workhorse” plants. Look up your USDA Hardiness Zone (or the equivalent in your country) to ensure the plants you buy can survive your winters.
For your first year, try a mix:
- Perennials: Plants like Coneflowers or Hostas that come back every year, providing a permanent structure.
- Annuals: Plants like Marigolds or Zinnias that bloom their hearts out for one season and then die. These provide instant color while your perennials are getting established.
- Native Plants: These are adapted to your local climate and soil, meaning they usually require less water and fewer pesticides.
5. Preparation
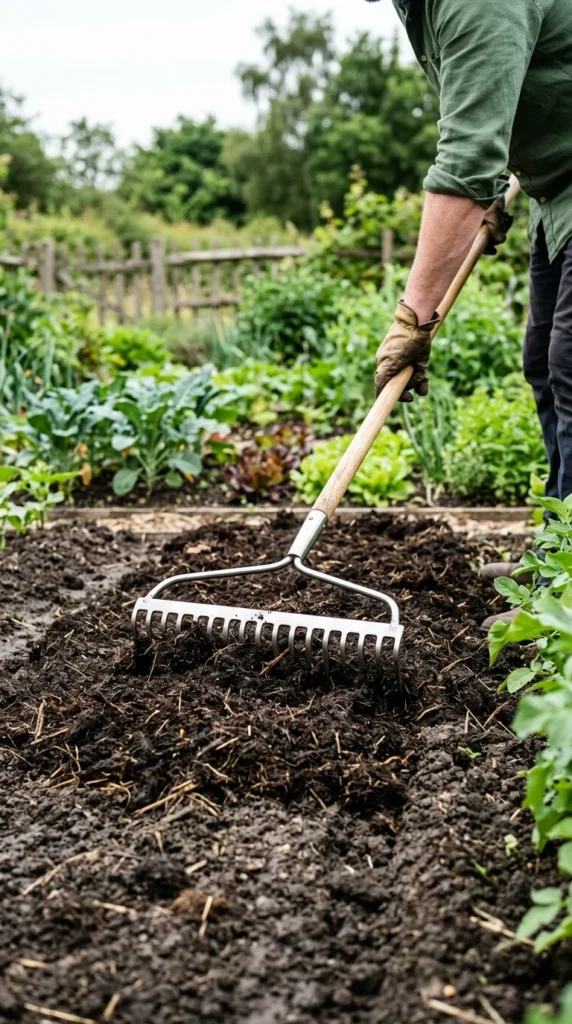
The old gardening adage says, “Dig a ten-dollar hole for a five-dollar plant.” This means the soil preparation is more important than the plant itself. Once you’ve mapped out your beds, remove any existing grass or weeds. You can do this by digging, or by using the “no-dig” method: cover the area with cardboard and a thick layer of compost and mulch, letting it sit for a few months to kill the grass underneath.
Incorporate plenty of organic matter. Compost is the “black gold” of gardening; it improves drainage in clay soil and helps sandy soil retain moisture. Aim for a 2-to-3-inch layer of compost spread over your planting area, worked into the top few inches of soil.
6. Gear
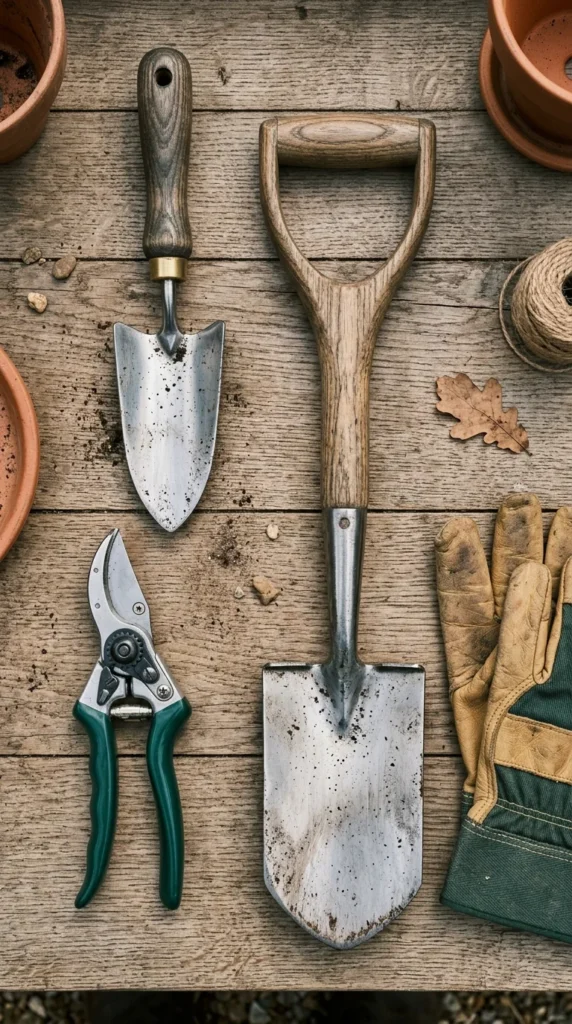
You don’t need every gadget in the garden center. For a beginner, five tools are essential:
- Hand Trowel: For digging small holes and planting seedlings.
- Spade or Shovel: For larger holes and moving soil.
- Bypass Pruners: For trimming plants and harvesting flowers. “Bypass” means the blades cross like scissors, which makes cleaner cuts.
- Garden Hose with a Spray Nozzle: Consistent watering is the most critical part of early plant life.
- Gardening Gloves: To protect your hands from thorns, blisters, and soil-borne bacteria.
Invest in the best quality you can afford; high-quality steel tools will last a lifetime, whereas cheap plastic ones often break within a single season.
7. Installation
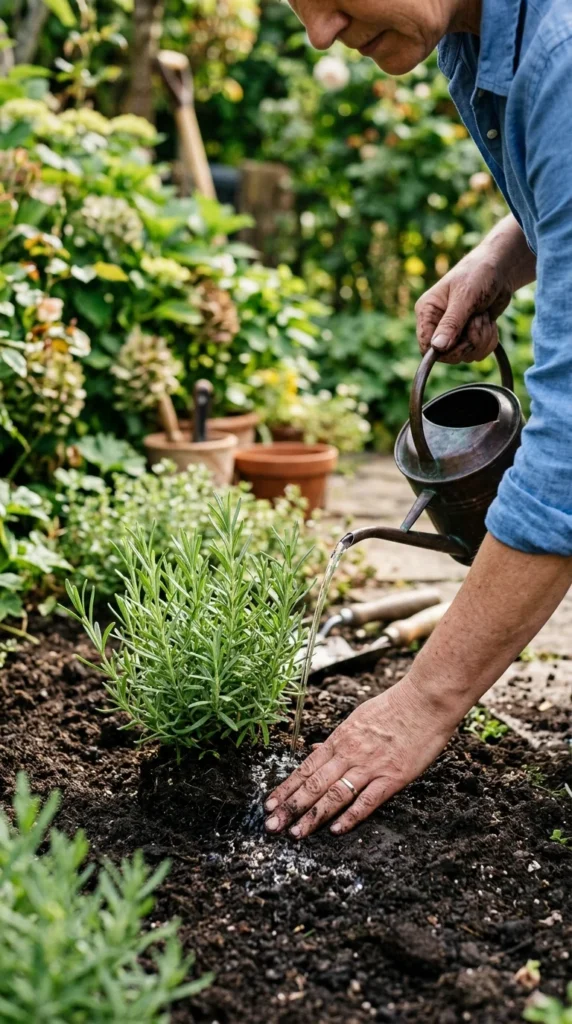
When it’s finally time to plant, timing is everything. Most plants should be put in the ground during the cool of the morning or on a cloudy day to prevent “transplant shock.” Dig a hole twice as wide as the plant’s root ball but no deeper.
Gently loosen the roots if they are circling the pot. Place the plant in the hole, ensuring the top of the root ball is level with the surrounding soil surface. Filling the hole too deep can suffocate the stem, while planting too shallow can dry out the roots. Once the plant is in, “water it in” immediately. This isn’t just for hydration; the water helps settle the soil around the roots and eliminates air pockets.
8. Preservation
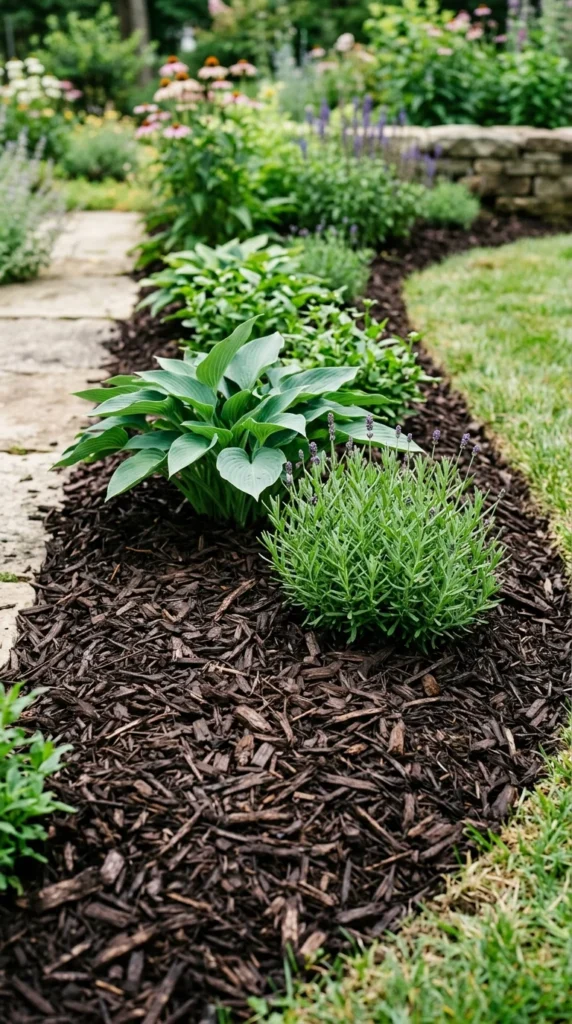
The work doesn’t end once the plants are in the ground. Maintenance is what separates a thriving garden from a dying one. Mulching is your best friend here. A 2-to-3-inch layer of wood chips, straw, or shredded leaves keeps moisture in the soil, suppresses weeds, and regulates soil temperature.
Develop a watering routine. It is better to water deeply once or twice a week than to give a light sprinkle every day. Deep watering encourages roots to grow further down into the earth, making the plant more drought-resistant. Finally, spend ten minutes every day walking through your garden. This “observation time” allows you to catch pests or diseases early before they become a major problem.
Designing your first garden is a process of trial and error. Some plants will thrive, and others will perish. Treat every failure as a lesson and every bloom as a victory. Over time, you will develop a “green thumb” and a sanctuary that grows more beautiful with every passing year.