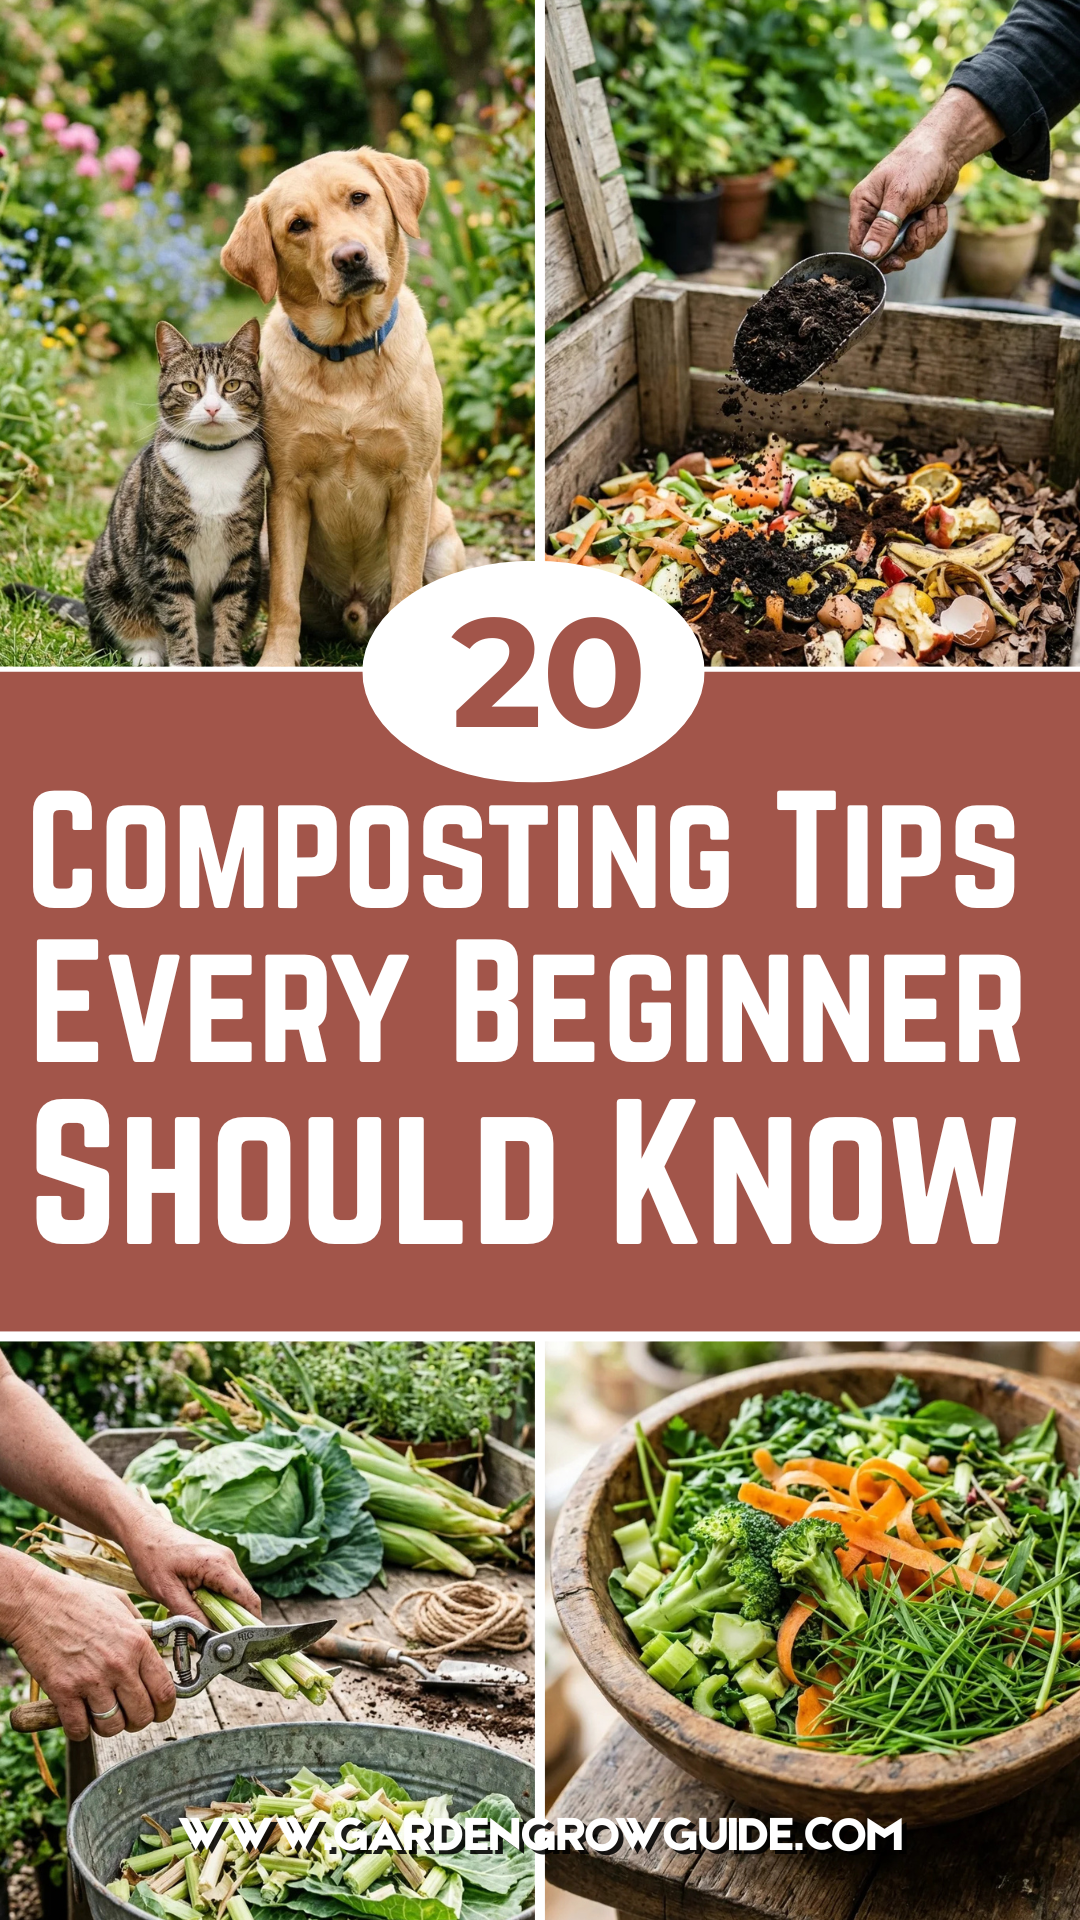
Composting is often referred to as “black gold” by gardeners, and for good reason. It is the natural process of recycling organic matter, such as leaves and food scraps, into a valuable fertilizer that can enrich soil and nourish plants. While the process happens naturally in the wild, backyard composting requires a bit of strategy to ensure it remains odorless, efficient, and productive. For those just starting their journey into sustainability, these twenty tips will provide the foundation needed to turn kitchen waste into garden treasure.
1. Bin Selection
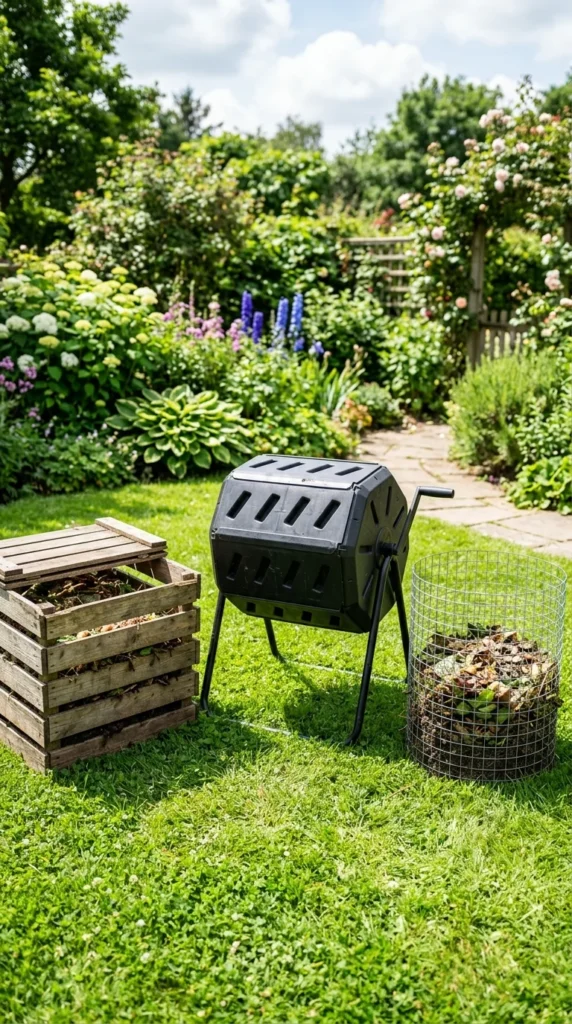
Selecting the right container is the first step toward success. If you have a small urban space, a sealed tumbler is ideal because it keeps pests out and is easy to rotate. For those with larger yards, a stationary wooden bin or a simple heap works well. The key is to choose a system that fits your physical ability to manage it and the volume of waste your household produces.
2. Ideal Location
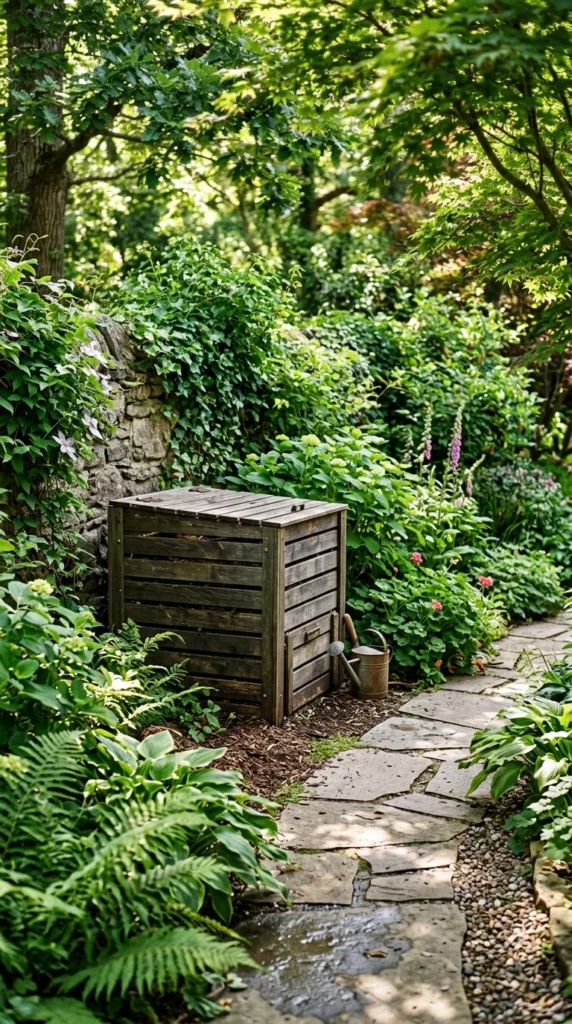
Where you place your compost pile matters. It should be on level, well-drained ground to prevent water from pooling at the base. Placing it in a spot that receives partial shade helps maintain moisture levels; full sun can dry out the pile too quickly, while full shade might keep it too cool to decompose efficiently in the winter.
3. Nitrogen Sources
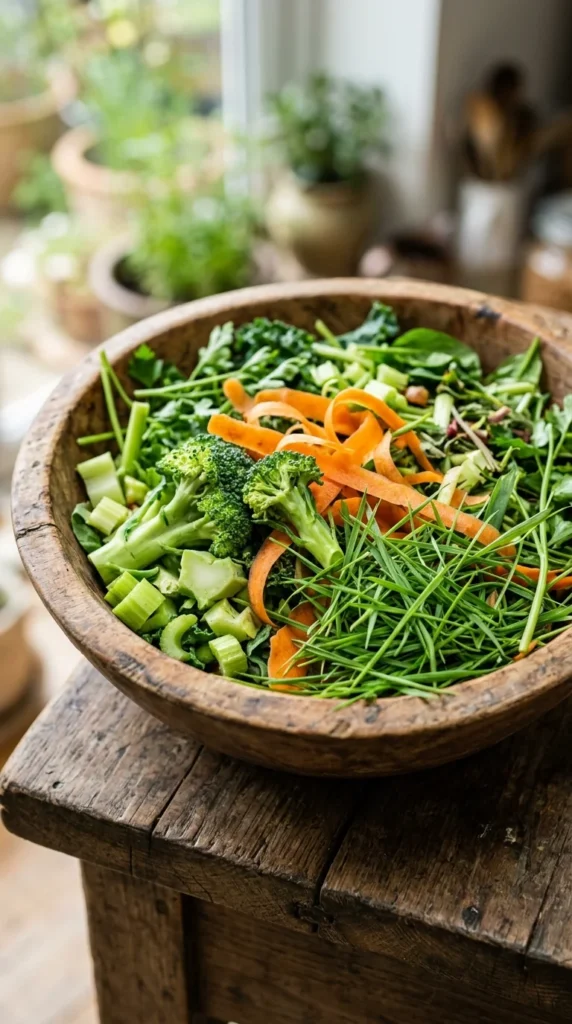
In composting lingo, these are known as “Greens.” Nitrogen-rich materials provide the protein needed for the microorganisms to grow and reproduce. These include fruit and vegetable scraps, coffee grounds, fresh grass clippings, and even green garden prunings. These materials usually have a high moisture content and break down rapidly.
4. Carbon Sources
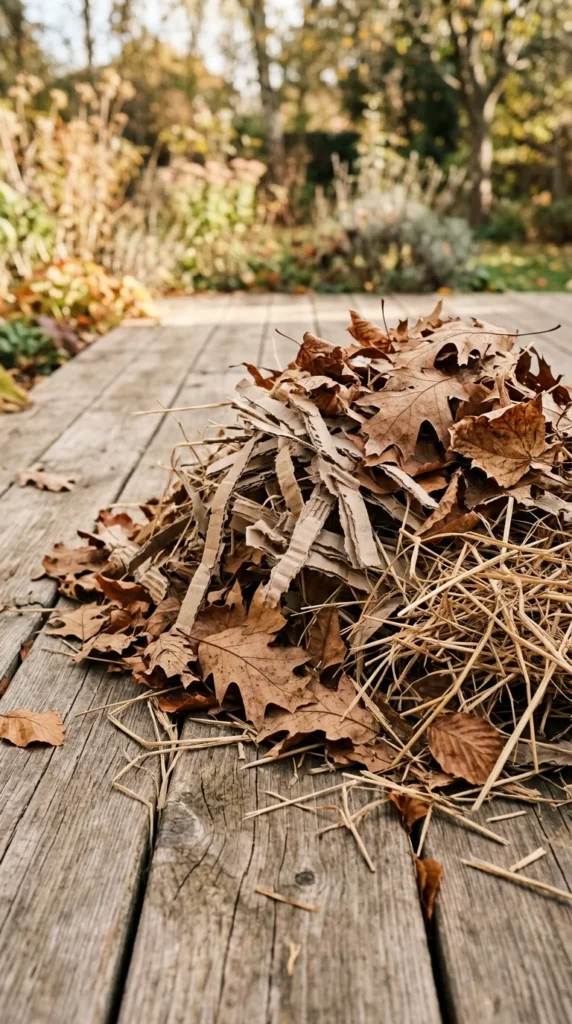
Known as “Browns,” these carbon-rich materials provide the energy source for the microbes and help create structure in the pile, allowing air to circulate. Common browns include dried leaves, straw, shredded paper, cardboard (non-glossy), and sawdust. Without enough browns, your compost pile will become a slimy, smelly mess.
5. Balancing Ratios
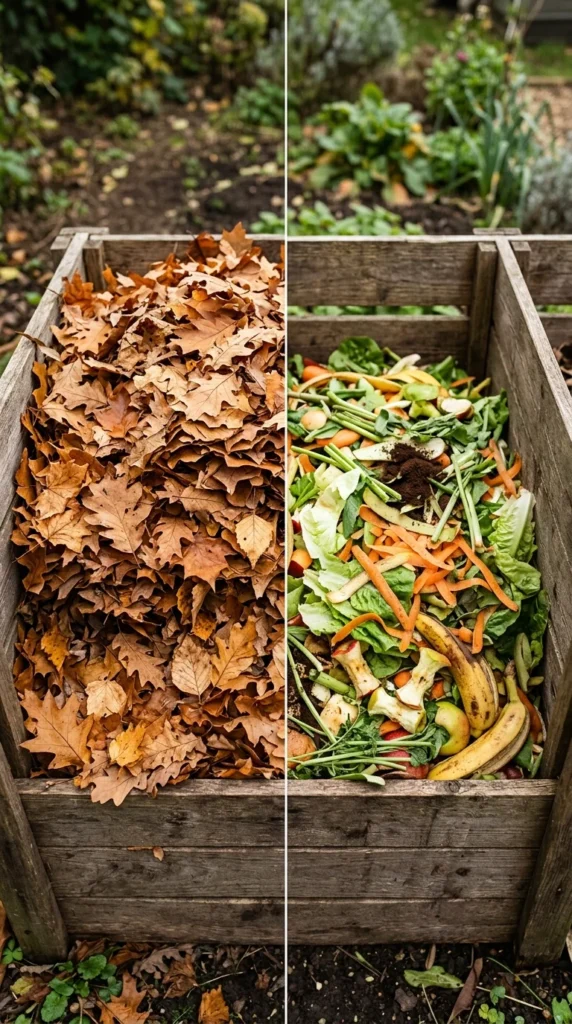
The golden rule for beginners is to maintain a ratio of roughly three parts “Browns” to one part “Greens” by volume. This balance ensures that there is enough carbon to prevent odors and enough nitrogen to keep the decomposition process moving. If the pile smells like ammonia, add more browns; if it isn’t breaking down, add more greens.
6. Material Size
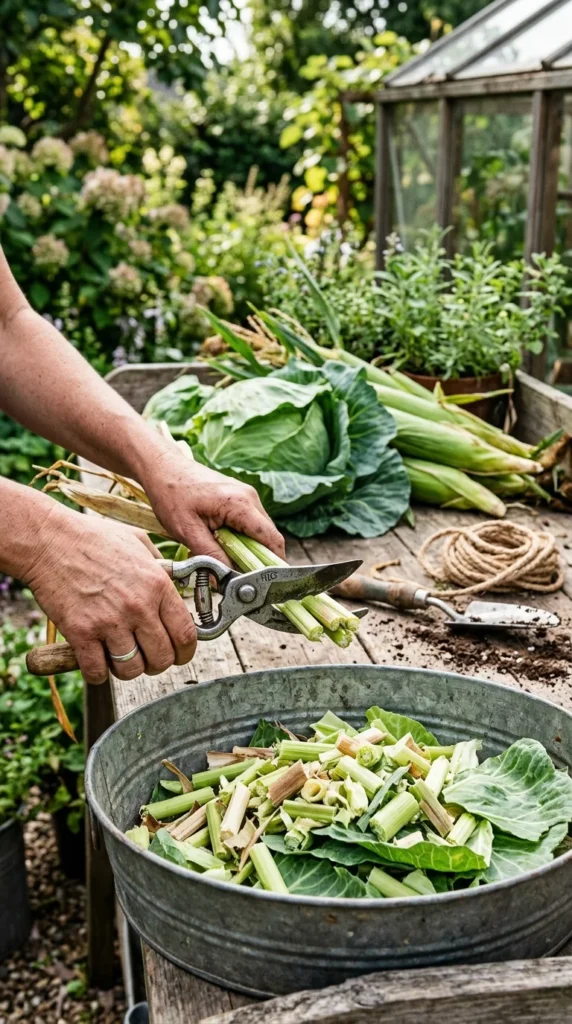
The smaller the pieces, the faster they decompose. Microorganisms can only work on the surface area of the materials. By chopping up large broccoli stalks, tearing cardboard into small strips, or running a lawnmower over fallen leaves, you exponentially increase the surface area available for bacteria to feast upon.
7. Starting Base
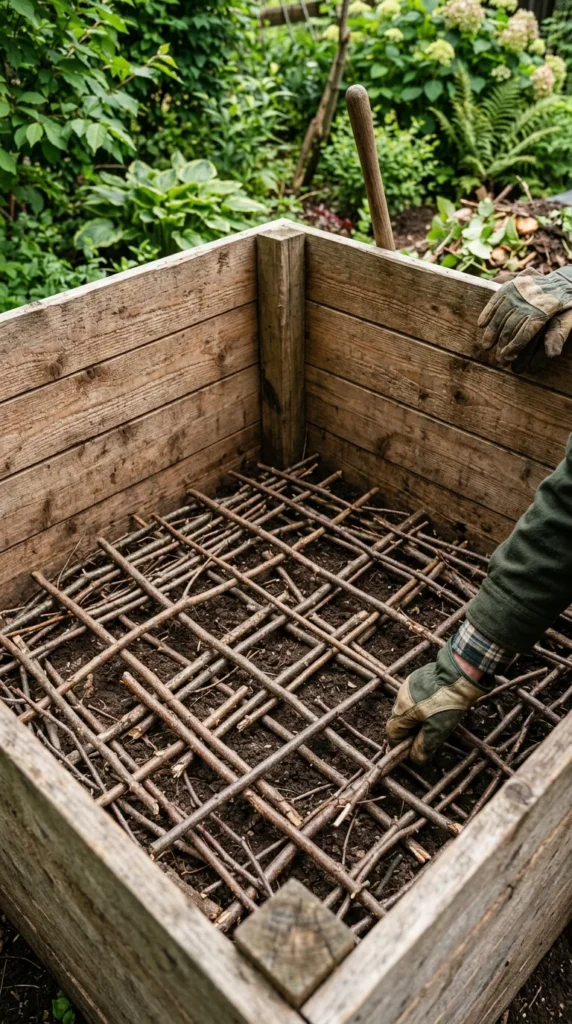
When starting a new pile, do not just dump kitchen scraps on the bare ground. Begin with a 4-to-6-inch layer of coarse materials like twigs, sticks, or straw. This “base layer” acts as a drainage system and allows air to enter the pile from the bottom, which is crucial for preventing the pile from becoming anaerobic.
8. Proper Aeration
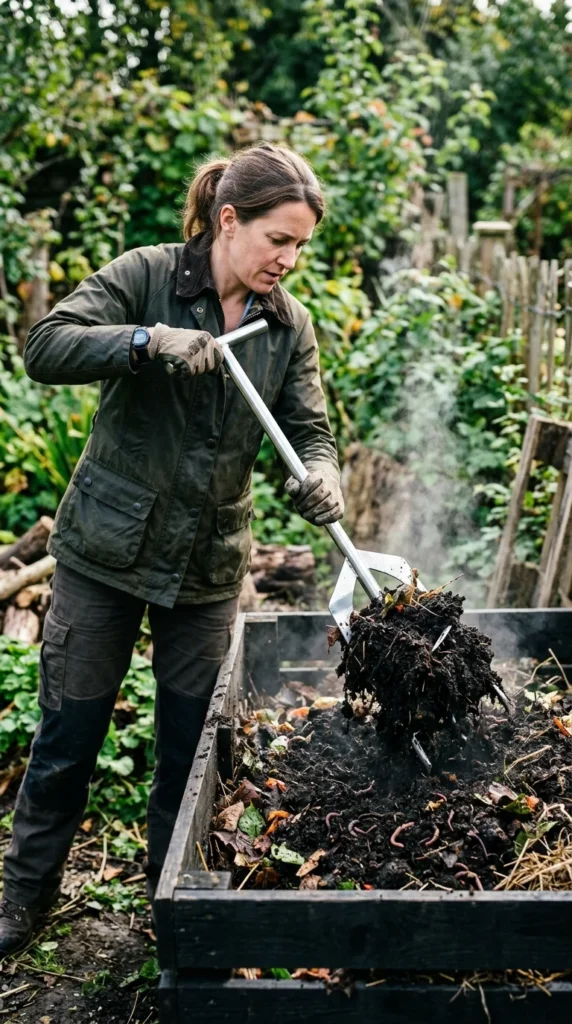
Composting is an aerobic process, meaning it requires oxygen. Without air, the pile will begin to rot and produce a foul odor. Use a pitchfork or a dedicated aeration tool to turn the pile every one to two weeks. This moves material from the outside to the center and introduces the oxygen necessary for the “good” bacteria to thrive.
9. Moisture Levels
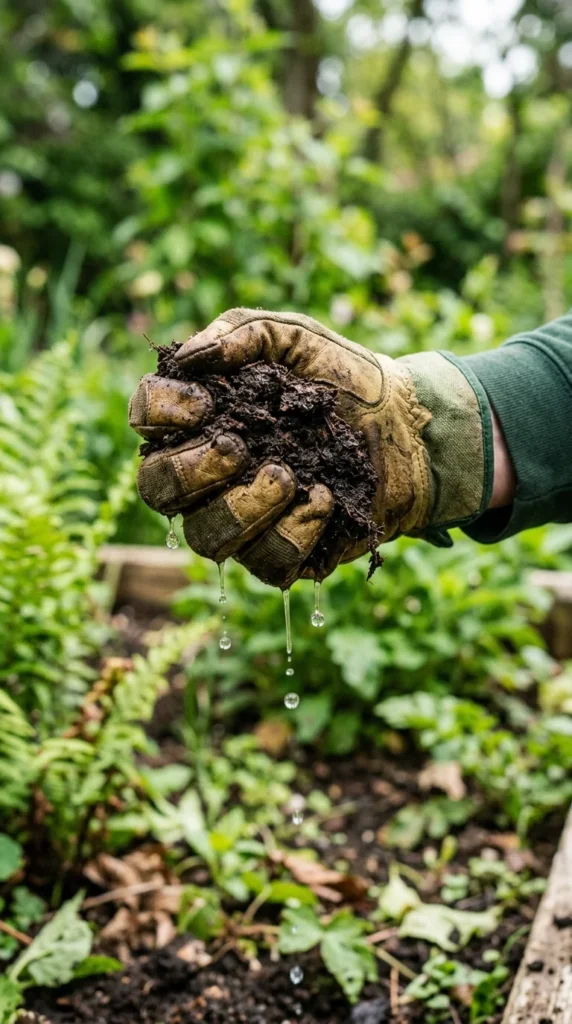
Your compost should feel like a wrung-out sponge. If it is too dry, the decomposition process will stop. If it is too wet, the air pockets will fill with water, causing the pile to smell. During dry spells, use a garden hose to lightly mist the pile while turning it. If it’s too wet, add dry browns like shredded paper.
10. Avoid Meat
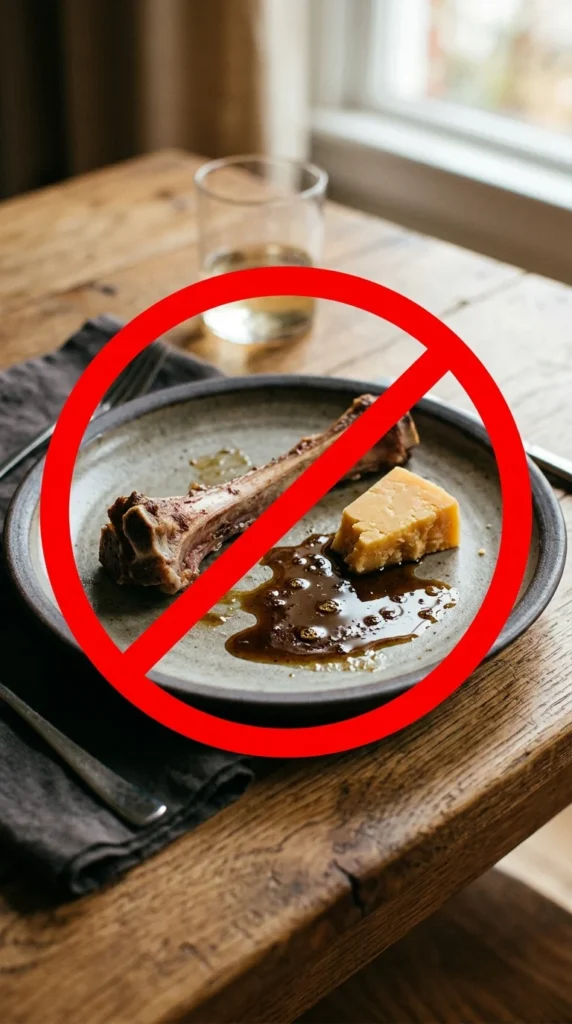
While meat, dairy, and oils are organic, they should never go into a standard backyard compost bin. These items decompose slowly, create terrible odors, and—most importantly—attract unwanted pests like rodents, raccoons, and flies. Stick to plant-based scraps to keep your compost pile clean and safe.
11. Pet Waste

Never add waste from carnivorous pets (like dogs or cats) to your compost. Their waste can contain harmful pathogens and parasites that may survive the composting process and end up in your vegetable garden. Stick to manure from herbivorous animals like rabbits, chickens, or goats if you have access to it.
12. Weed Management
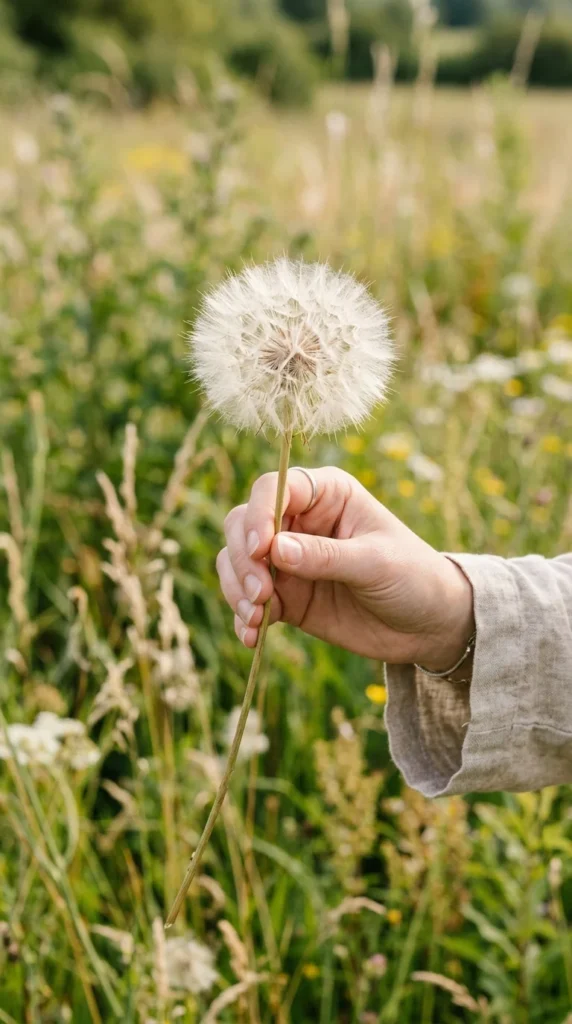
Be cautious with garden weeds. While the leaves are fine, avoid adding weeds that have gone to seed or those with invasive root systems (like ivy or bindweed). Unless your compost pile gets exceptionally hot (140°F or higher), the seeds will survive and you will end up spreading weeds back into your garden when you use the finished compost.
13. Microbial Starters
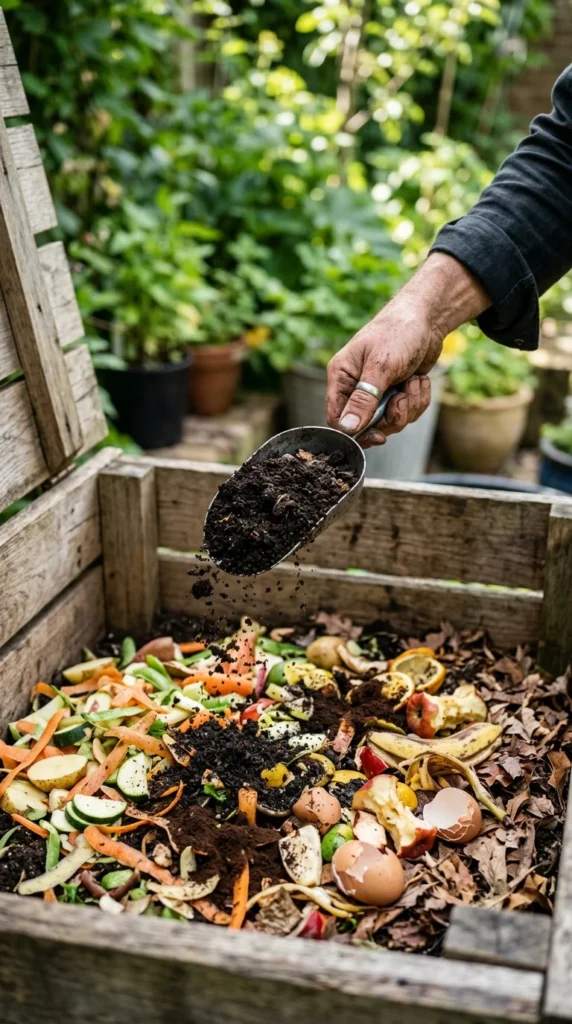
You don’t need to buy expensive “compost activators.” You can jump-start the microbial activity in a new pile by adding a shovel-full of finished compost or even just healthy garden soil. This introduces the native bacteria and fungi that are already adapted to your local environment.
14. Managing Odors
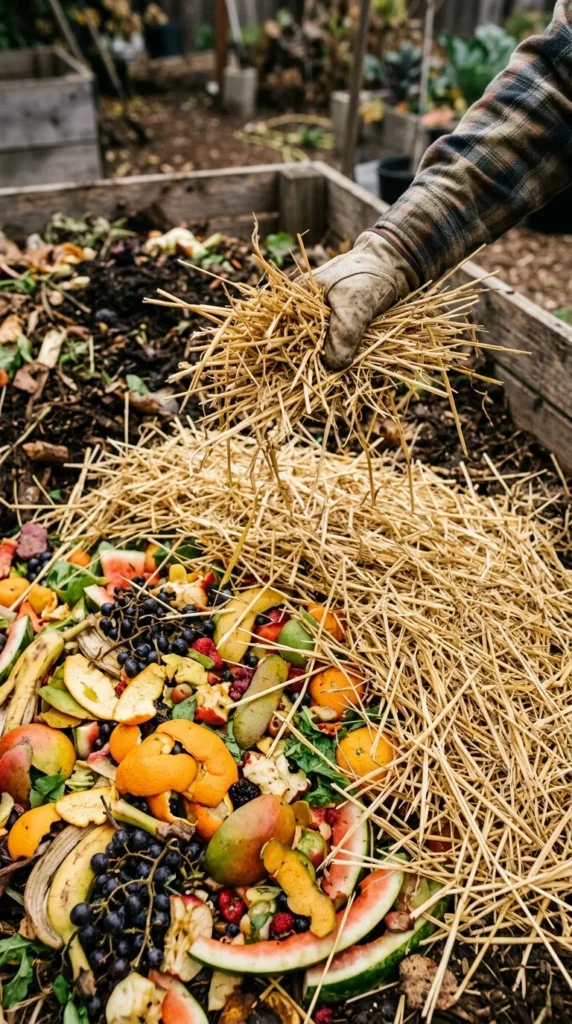
A well-managed compost pile should smell earthy, like a forest floor. If it starts to smell like rotten eggs or ammonia, something is wrong. Usually, this means the pile is too wet or has too much nitrogen. The quickest fix is to turn the pile to add air and cover any exposed “greens” with a fresh layer of “browns.”
15. Pest Deterrence
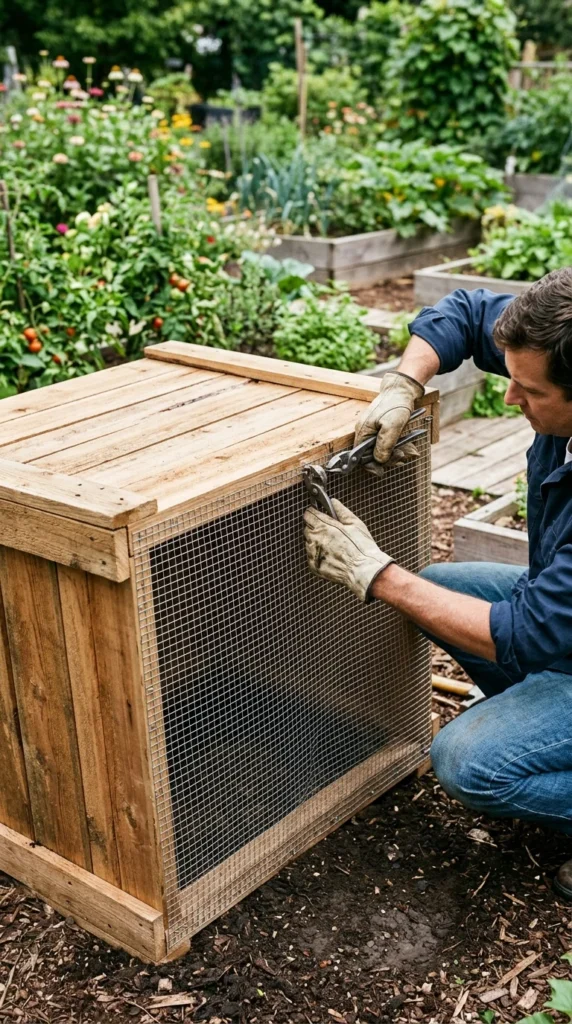
To keep critters away, always bury your kitchen scraps deep in the center of the pile or cover them with a thick layer of leaves or straw. If you have a significant rodent problem, ensure your bin has a tight-fitting lid and consider lining the bottom with hardware cloth (fine metal mesh) to prevent burrowing from underneath.
16. Pile Temperature
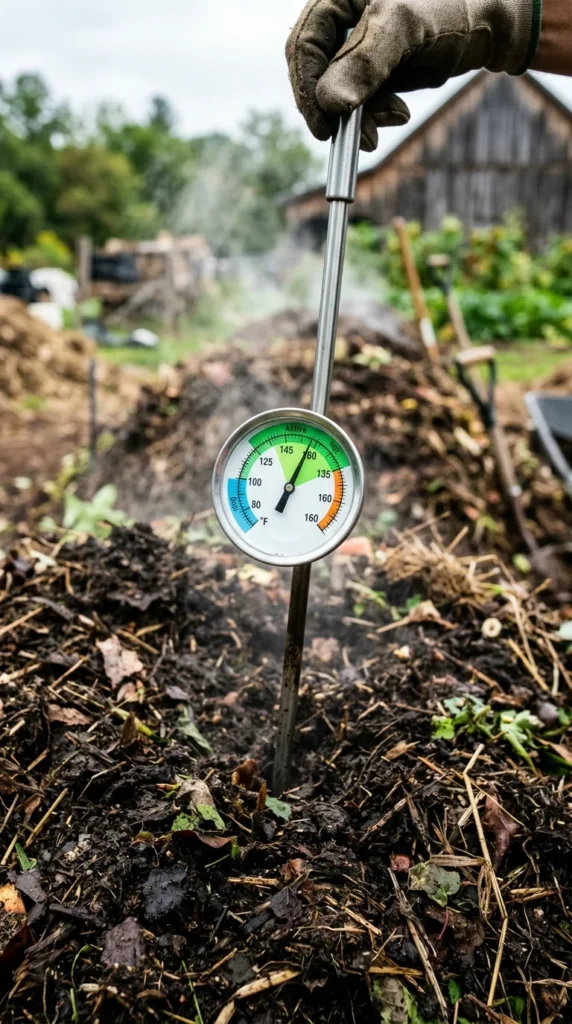
Heat is a byproduct of microbial activity. A “hot” pile (between 120°F and 160°F) decomposes very quickly and kills pathogens and weed seeds. However, “cold” composting (simply letting the pile sit and rot at its own pace) is also perfectly valid—it just takes much longer, often a year or more, compared to a few months for a hot pile.
17. Winter Composting
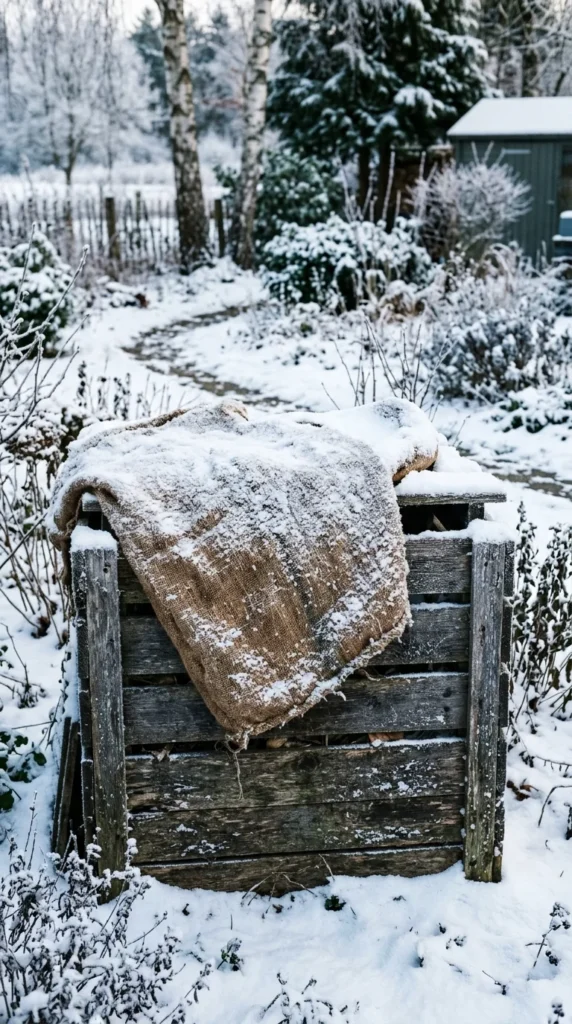
Composting slows down significantly in cold weather, but it doesn’t have to stop. In the winter, stop turning the pile to preserve the heat in the core. You can insulate the bin with straw bales or bubble wrap. Continue adding scraps, but realize they may not transform much until the spring thaw arrives.
18. Testing Maturity
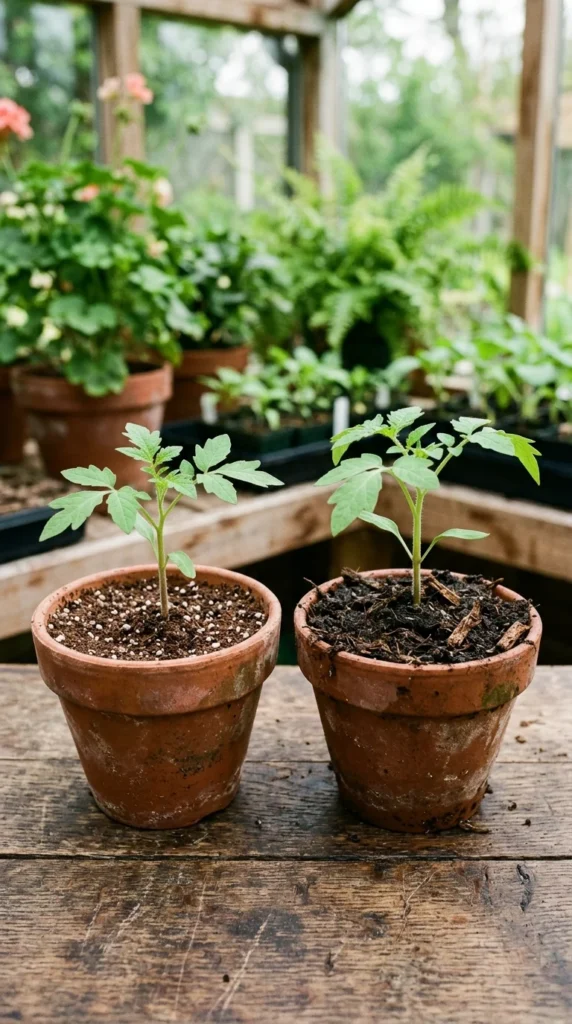
You’ll know your compost is ready when it is dark, crumbly, and looks like rich soil. You should not be able to recognize the original ingredients (no identifiable orange peels or eggshells). It should have a pleasant, earthy aroma. If you aren’t sure, put some in a plastic bag for 24 hours; if it smells bad when you open it, it needs more time.
19. Sifting Compost
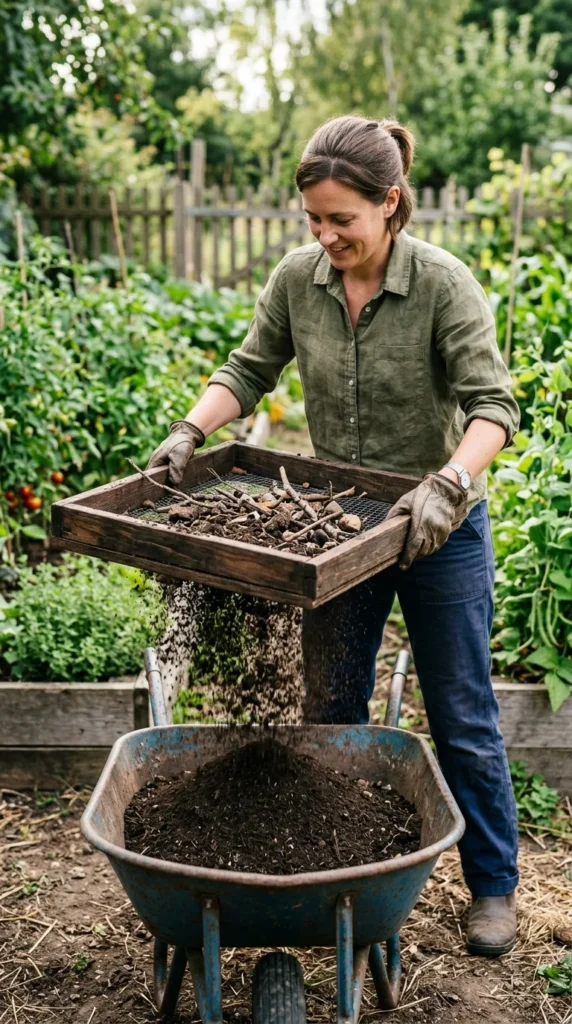
Before using your compost, it is helpful to sift it. This removes large chunks of wood, avocado pits, or eggshells that haven’t fully broken down yet. These “overs” can be tossed back into the active bin to continue decomposing, while the fine material is ready to be used in the garden.
20. Application Methods
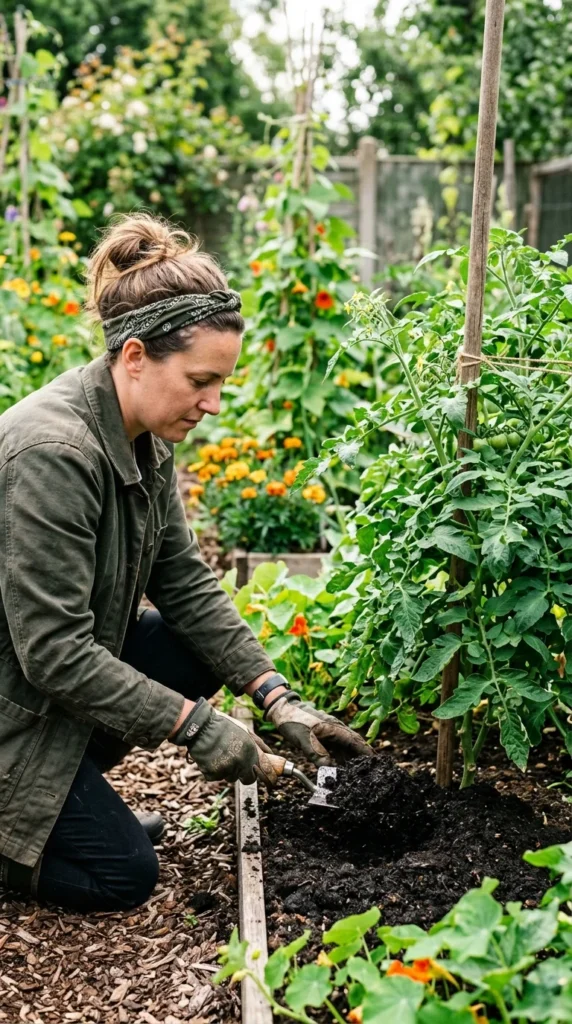
Once your “black gold” is ready, there are many ways to use it. You can mix it into the soil before planting, use it as a “top dressing” around the base of existing plants, or soak it in water to create “compost tea” for a liquid nutrient boost. No matter how you apply it, your plants will thrive on the organic nutrients you’ve recycled.