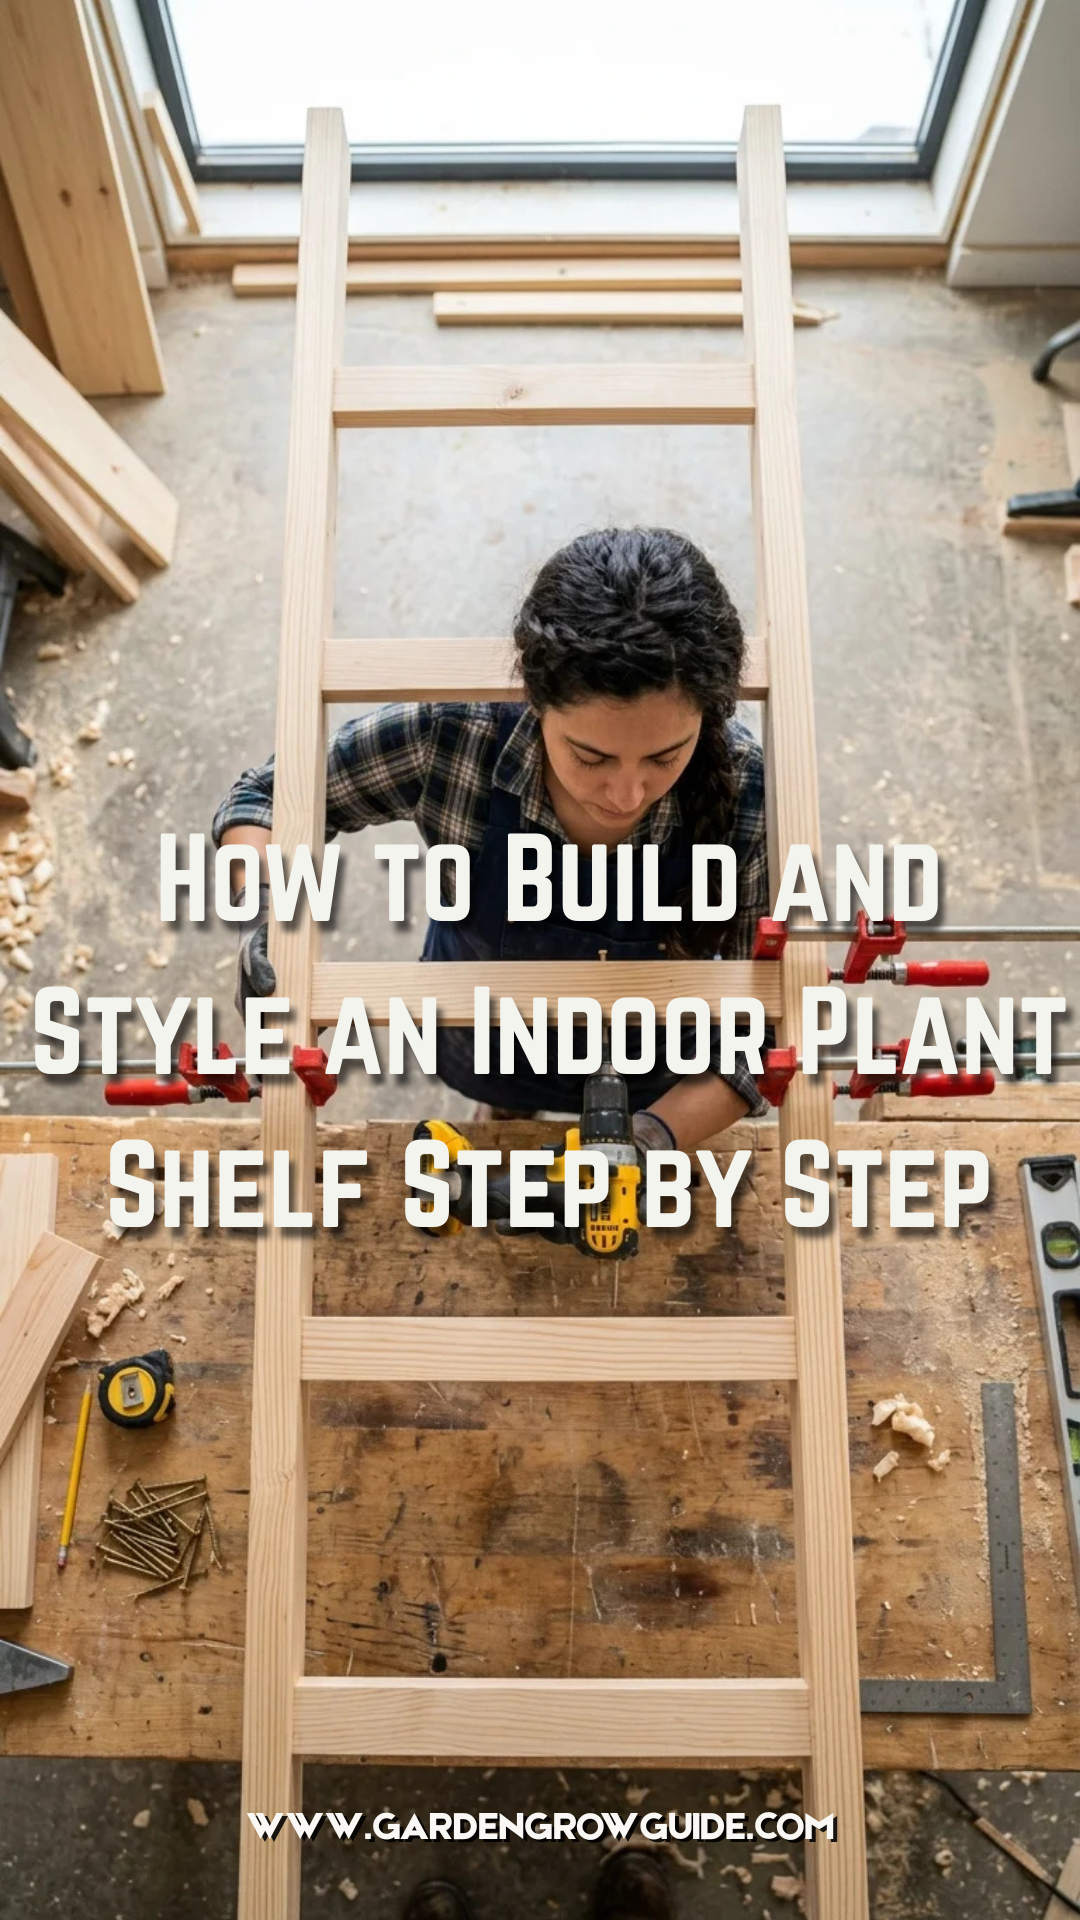
Indoor plants have transformed from simple windowsill decorations into a fundamental element of interior design. A dedicated plant shelf serves as a living gallery, allowing you to showcase your botanical collection while optimizing vertical space. Whether you are a seasoned woodworker or a DIY novice, creating a custom plant shelf provides the perfect foundation for a thriving indoor jungle. This guide covers everything from the initial construction to the final stylistic flourishes.
1. Planning
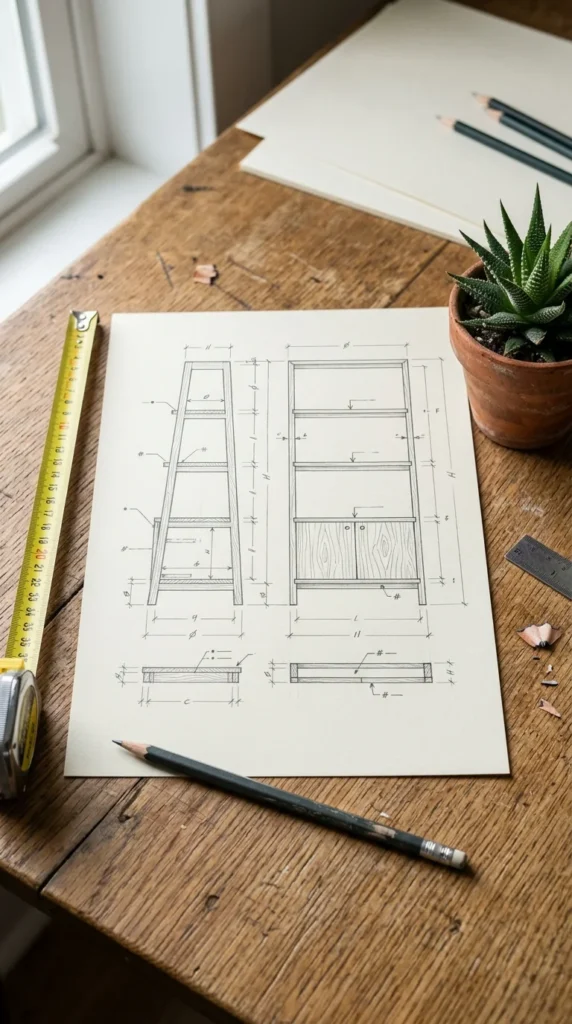
Before sawdust flies or plants are purchased, successful projects begin with a comprehensive plan. You must evaluate the specific environment where the shelf will live.
- Space Assessment: Measure the height, width, and depth of your intended area. Ensure there is enough “breathing room” around the shelf so it doesn’t overwhelm the room.
- Weight Capacity: Soil and water are heavy. A large ceramic pot filled with wet soil can weigh upwards of 15–20 pounds. Your design must include reinforced supports to prevent sagging over time.
- Environmental Factors: Consider the proximity to air vents, heaters, or drafty windows, as these can fluctuate temperatures and stress your plants.
2. Materials
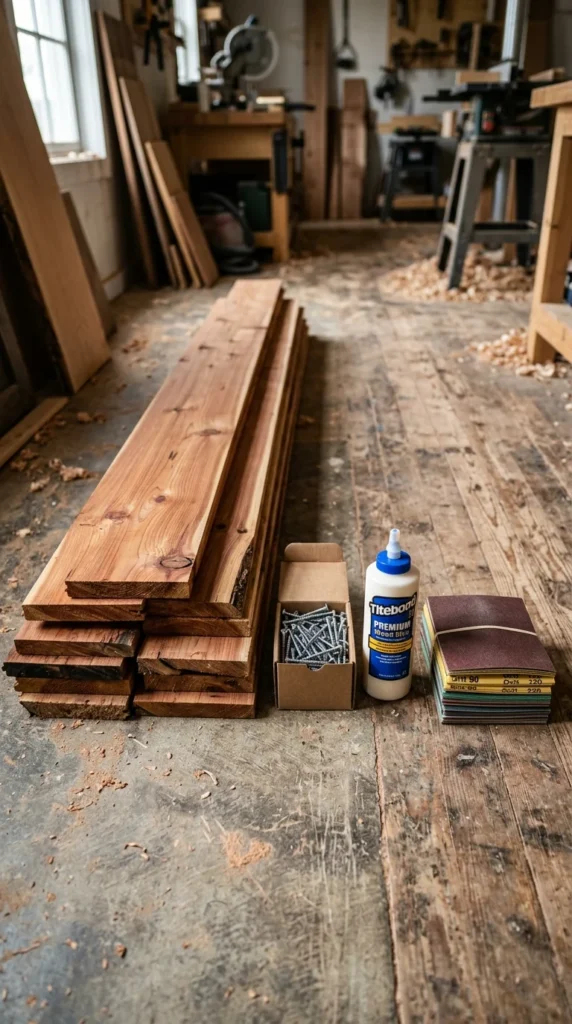
Choosing the right materials is the difference between a shelf that lasts decades and one that warps within a year.
- Wood Type: Cedar and Teak are naturally rot-resistant, making them ideal for the high-humidity environment of a plant shelf. If using pine or plywood, ensure it is properly sealed.
- Fasteners: Use countersunk screws for a clean look. Stainless steel or galvanized screws are preferred to prevent rusting from accidental water spills.
- Sealants: Look for low-VOC (Volatile Organic Compound) polyurethane or natural oils like Tung oil. These protect the wood from moisture while remaining safe for the air quality in your home.
3. Construction
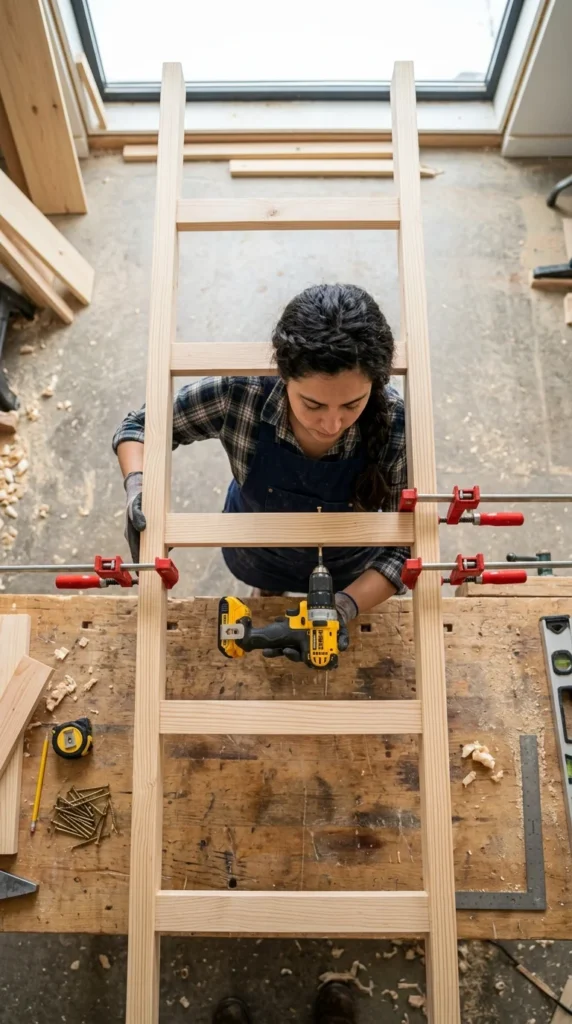
Building the structure requires precision and a focus on stability. A “ladder” or “A-frame” design is popular for plant shelves because it allows light to reach the lower tiers more effectively.
- Cutting the Lumber: Use a miter saw for clean, 90-degree cuts. If you are building a leaning shelf, ensure the angles at the top and bottom are consistent so the unit sits flush against the wall.
- Joinery: For maximum strength, use a combination of wood glue and screws. Pocket hole joinery is an excellent way to hide the screws, providing a professional, “floating” appearance for the shelves.
- Leveling: Always use a spirit level as you attach each shelf. A slight tilt might not be visible to the eye, but it can cause water to pool at one end of your pots, potentially leading to leaks.
4. Finishing
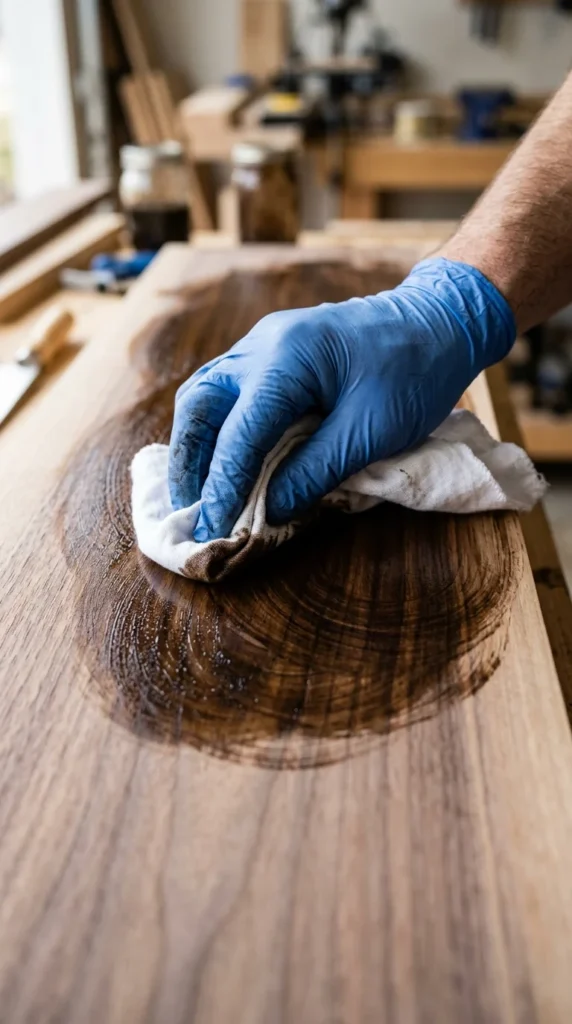
The finish protects the wood and determines the aesthetic vibe of your plant display.
- Sanding: Start with 80-grit sandpaper to remove imperfections and move up to 220-grit for a buttery-smooth finish. Sanding between coats of sealant is crucial for a professional look.
- Staining vs. Painting: Stains highlight the natural grain of the wood, providing an organic feel. Paint allows you to create a bold statement piece; white paint, for instance, reflects light, which can actually benefit low-light plants.
- Waterproofing: Apply at least three coats of sealant to the top surfaces of the shelves. This creates a barrier against the “rings” left by nursery pots and ensures the wood won’t swell.
5. Lighting
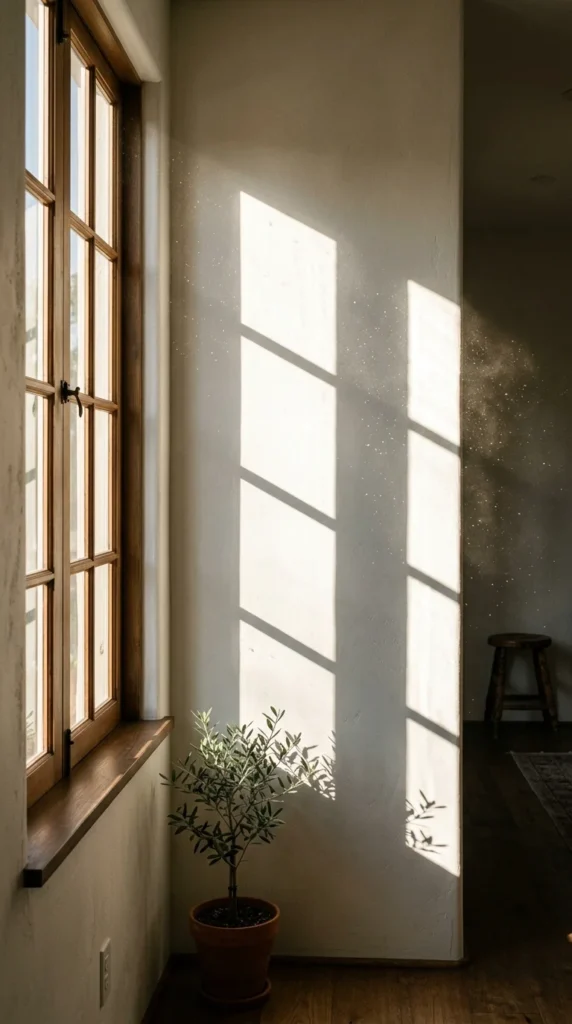
Light is the most critical factor for plant health. Your shelf must be positioned to maximize the available natural light or be equipped with artificial substitutes.
- Directional Light: South-facing windows provide the most intense light (ideal for succulents), while North-facing windows provide low, consistent light (ideal for ferns and Pothos).
- Grow Lights: If your shelf is in a dark corner, integrate LED grow light strips underneath each shelf. Look for “Full Spectrum” LEDs that mimic natural sunlight without the heat that can scorch leaves.
- Light Rotation: Remember that plants grow toward the light. Plan to rotate your pots every few weeks to ensure even growth on all sides.
6. Selection
When choosing plants for your shelf, think about “micro-climates.” The top shelf will likely be warmer and brighter than the bottom shelf.
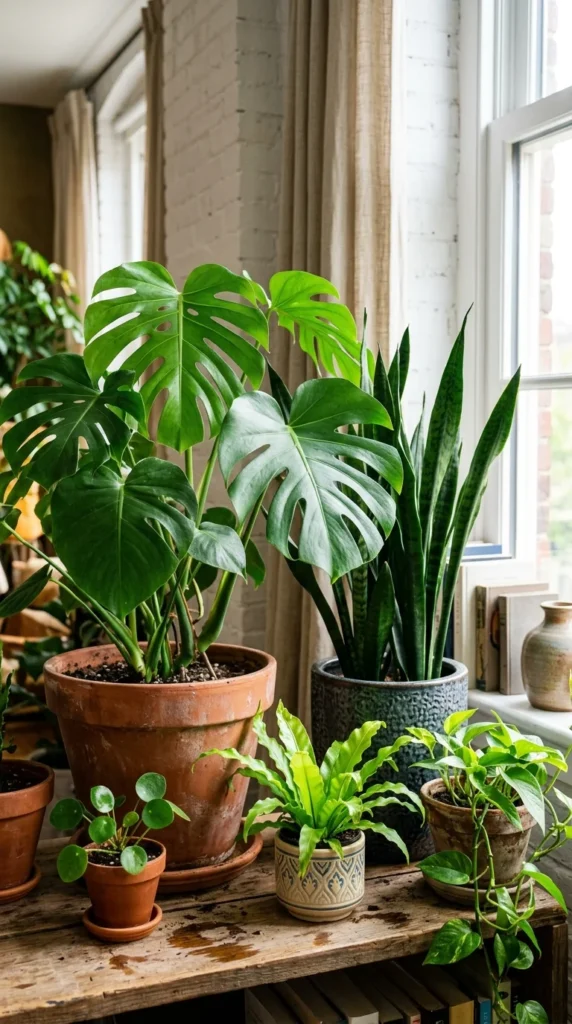
- Top Tier: Place sun-loving plants like Cacti, Jade, or String of Pearls here. These can handle the heat that rises to the top of the room.
- Middle Tiers: This is the “Goldilocks” zone. Place Monsteras, Philodendrons, and Fiddle Leaf Figs here where they can enjoy bright, indirect light.
- Bottom Tier: Reserve this for low-light tolerant species like ZZ plants, Sansevieria (Snake Plants), or certain types of Calatheas.
7. Scaling
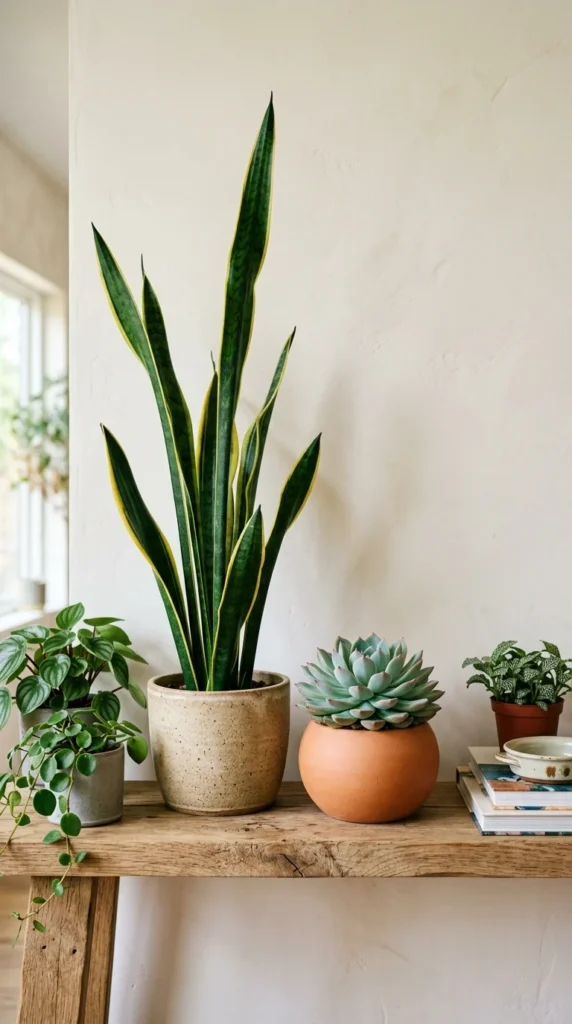
Styling is an art of balance. Using plants of all the same size creates a “flat” look that lacks visual interest.
- The Rule of Three: Group plants in odd numbers. Three plants of varying heights create a more dynamic composition than two or four.
- Anchoring: Use one large, “statement” plant on the bottom or middle shelf to act as an anchor. This draws the eye in and provides a focal point for the rest of the arrangement.
- Negative Space: Don’t crowd every square inch. Leaving small gaps of empty space allows the individual shapes of the leaves to be appreciated.
8. Texture
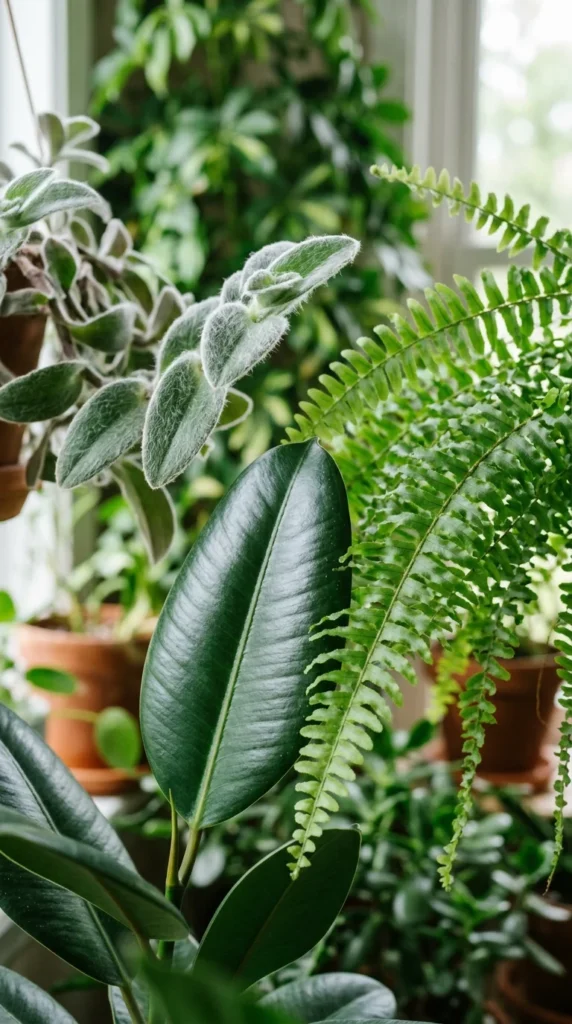
Texture adds depth to your plant shelf. Mixing different leaf shapes and surfaces prevents the display from looking like a green blur.
- Leaf Variety: Pair broad, waxy leaves (like a Rubber Tree) with delicate, feathery foliage (like an Asparagus Fern).
- Variegation: Incorporate plants with variegated leaves—those with white, yellow, or pink splashes—to add “pops” of color without needing flowers.
- Pot Materials: Mix textures in your containers as well. Combine matte terracotta with glazed ceramics, woven baskets, and sleek concrete pots to create a layered, curated look.
9. Decor
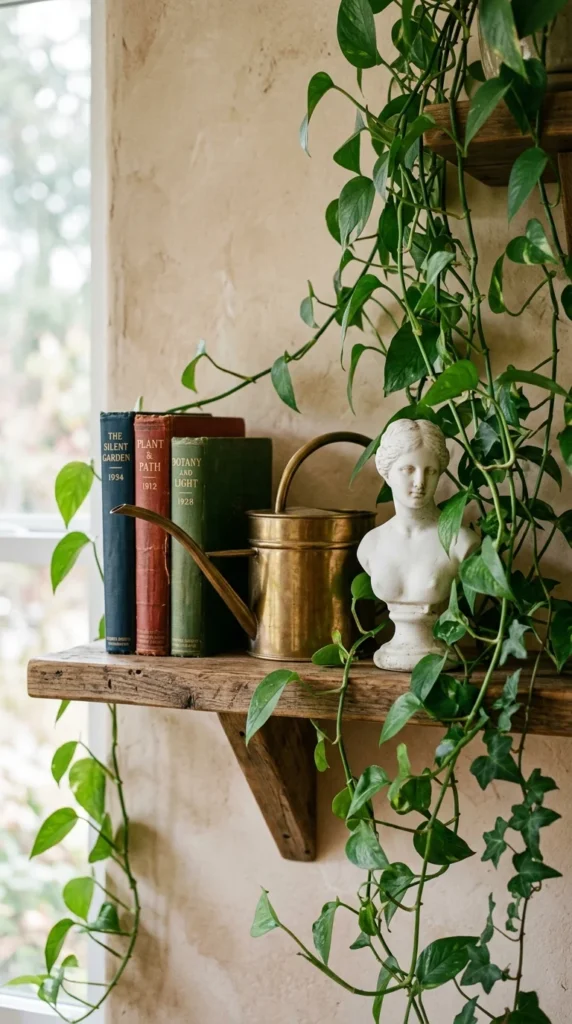
A plant shelf shouldn’t just be about the plants. Including non-living elements makes the shelf feel like a part of your home’s overall design.
- Books: Use a few vertically or horizontally placed books as “pedestals” to give smaller plants extra height.
- Art and Objects: Small sculptures, framed photos, or unique crystals nestled among the leaves add personality.
- Functional Beauty: A high-quality brass or copper watering can can sit on the shelf as a decorative piece when not in use.
10. Care
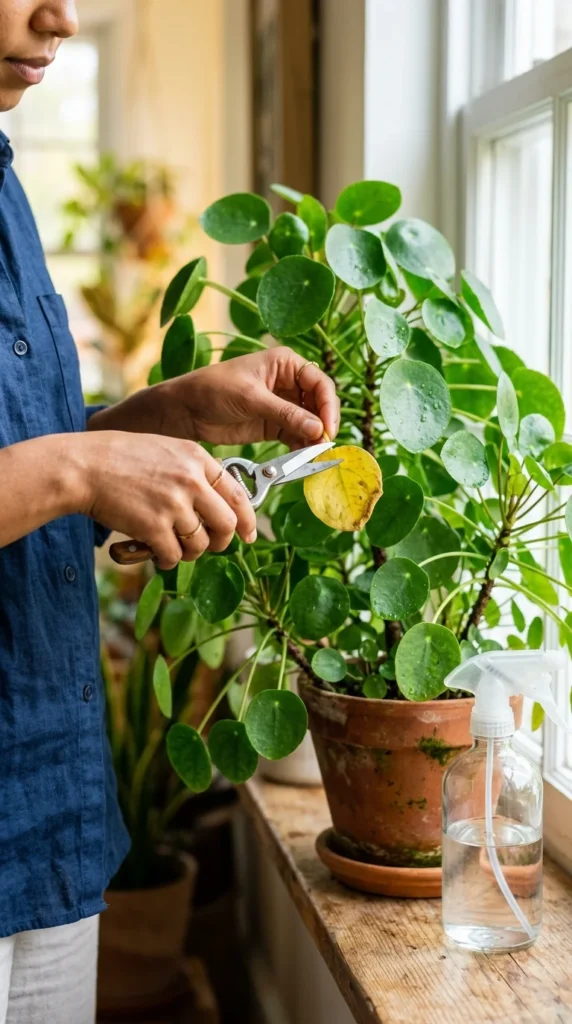
Once your shelf is built and styled, maintenance is key to keeping the “living art” alive.
- Watering Routine: Use a drip tray for every pot to protect your wooden shelf. Even with a sealant, standing water will eventually damage the finish.
- Dusting: Dust accumulates on leaves, blocking sunlight and hindering photosynthesis. Wipe leaves down with a damp cloth once a month to keep them shiny and healthy.
- Pruning: Regularly remove yellowing or dead leaves. This encourages the plant to direct its energy toward new, healthy growth and keeps the shelf looking tidy.