Vertical gardening has revolutionized the way we perceive limited spaces, turning barren walls into lush, breathing tapestries of life. Whether you live in a compact city apartment with a tiny balcony or a sprawling suburban home looking for a focal point, a hanging wall garden offers a blend of aesthetic beauty and ecological benefits. Beyond the visual appeal, these gardens improve air quality, provide insulation, and can even offer a bounty of fresh herbs and vegetables.
Building a wall garden requires more than just hanging a few pots; it is a blend of engineering, horticulture, and artistic design. By understanding the structural requirements and the needs of your plants, you can create a sustainable ecosystem that thrives year-round.
1. Site Selection
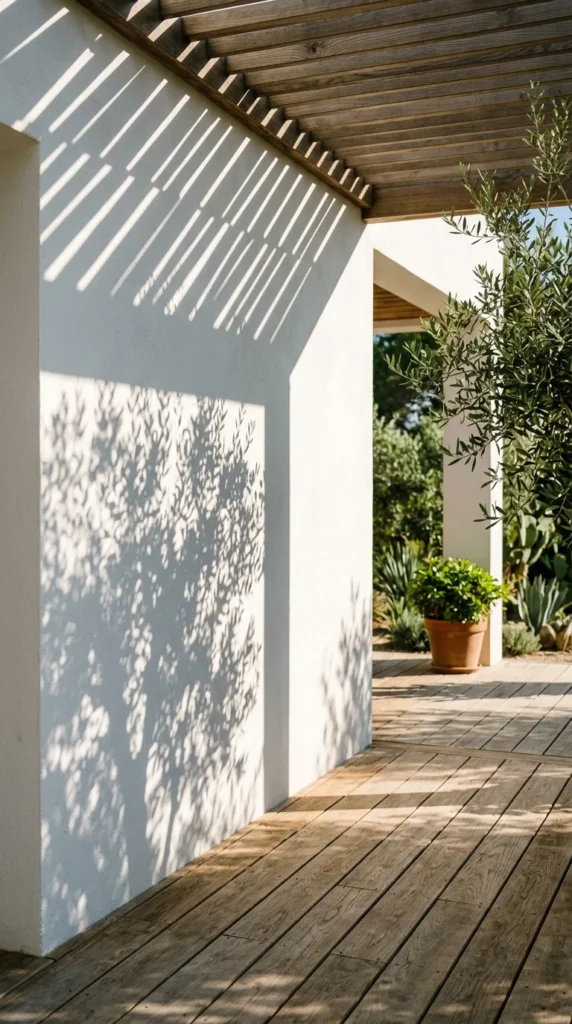
The success of your vertical garden begins with choosing the right location. You must evaluate the amount of sunlight the wall receives throughout the day. Most flowering plants and vegetables require at least six hours of direct sunlight, while ferns and many tropical foliage plants prefer filtered light or shade.
Additionally, consider the structural integrity of the wall. A fully watered wall garden is significantly heavier than a dry one. Ensure the wall—whether it is brick, concrete, or a wooden fence—can support the weight of the frame, soil, plants, and water. Proximity to a water source is another vital factor; if the garden is difficult to reach, maintenance will become a chore rather than a joy.
2. System Types
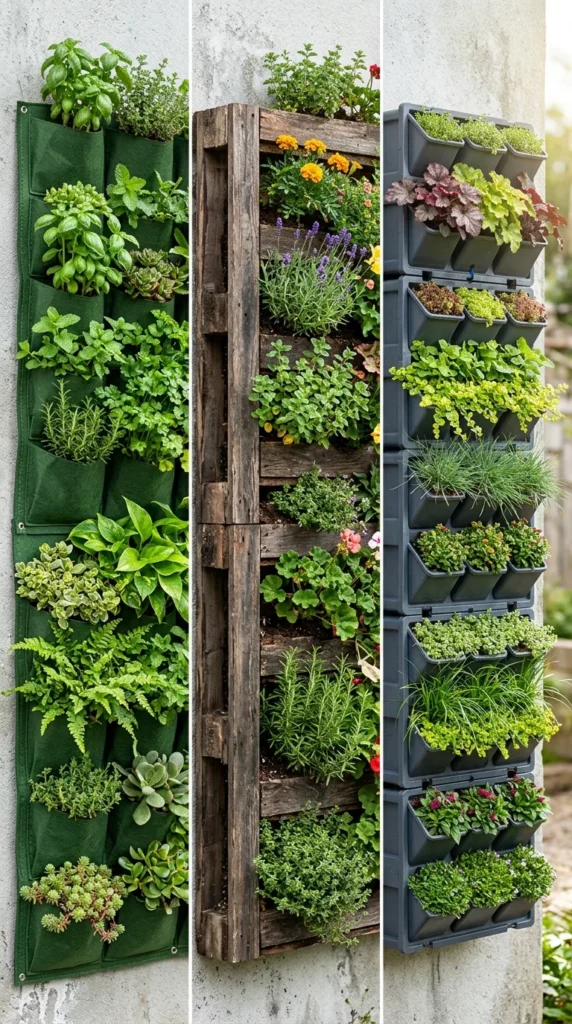
There are several ways to structure a wall garden, each offering a different aesthetic and maintenance level.
- Felt Pockets: These are lightweight and breathable, allowing for excellent air circulation around the roots. They are ideal for beginners and work well for small leafy greens and herbs.
- Wooden Pallets: For a rustic or DIY look, pallets are a popular choice. They require a landscape fabric lining to hold the soil in place but offer a sturdy, large-scale planting area.
- Modular Systems: These consist of plastic or metal trays that snap together. They often come with built-in irrigation channels and are the most durable option for long-term installations.
- Trellis and Vine: The simplest form involves mounting a trellis and allowing climbing plants like Jasmine or Clematis to grow upward from floor-based pots.
3. Essential Tools
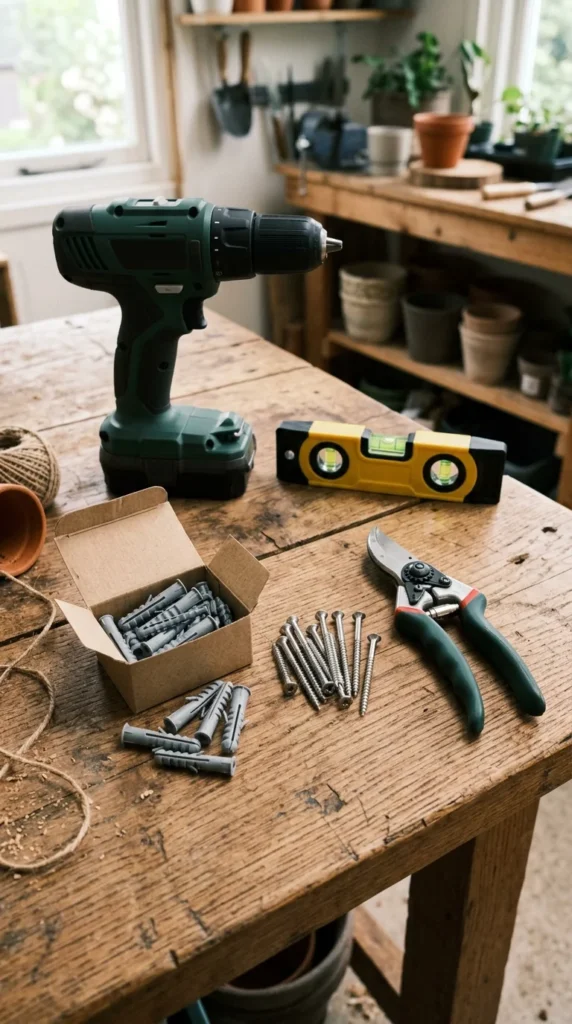
To build a professional-grade wall garden, you will need the right toolkit. High-quality wall anchors and stainless steel screws are non-negotiable to prevent rust and ensure the structure remains securely fastened. A bubble level is crucial to ensure your rows are straight, preventing water from pooling unevenly.
You will also need a moisture barrier, such as a thick plastic sheet or marine-grade plywood, to place between the garden and the wall. This prevents rot and dampness from seeping into your home’s structure. Finally, a high-quality potting mix—one that is lightweight and retains moisture—is essential for vertical success.
4. Plant Varieties
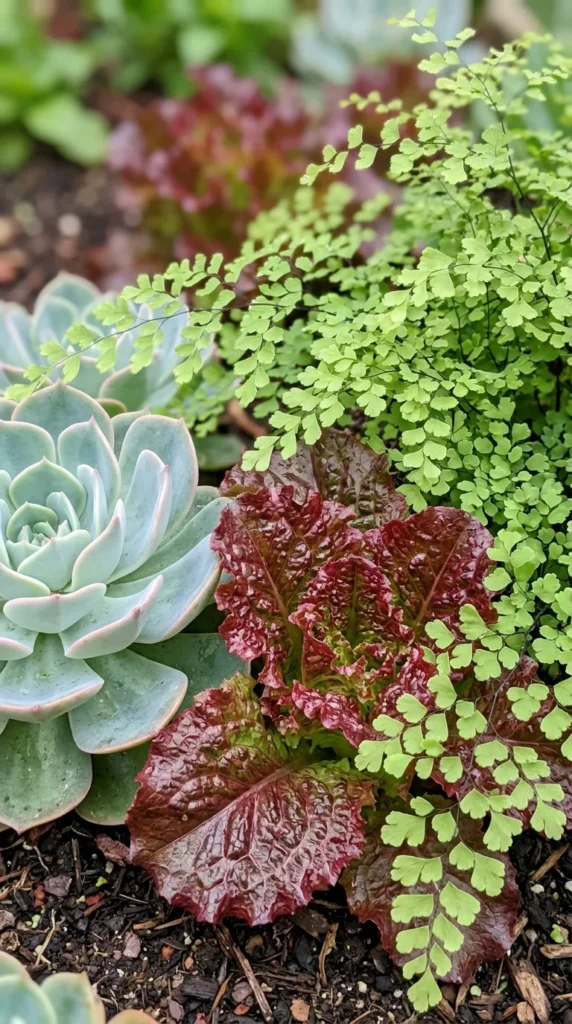
Choosing the right plants is where your creativity shines. For a wall garden, you should group plants with similar water and light requirements together.
- Succulents: Perfect for sunny walls with low water access. Varieties like Echeveria and Sedum create a stunning, low-maintenance mosaic.
- Herbs: Mint, thyme, and oregano thrive in vertical setups, putting fresh ingredients within arm’s reach of the kitchen.
- Ferns and Mosses: Ideal for shaded, indoor walls or north-facing outdoor spots. They create a lush, jungle-like atmosphere.
- Trailing Plants: Species like Pothos, Creeping Jenny, or String of Pearls add movement by cascading down over the edges of the containers.
5. Wall Preparation
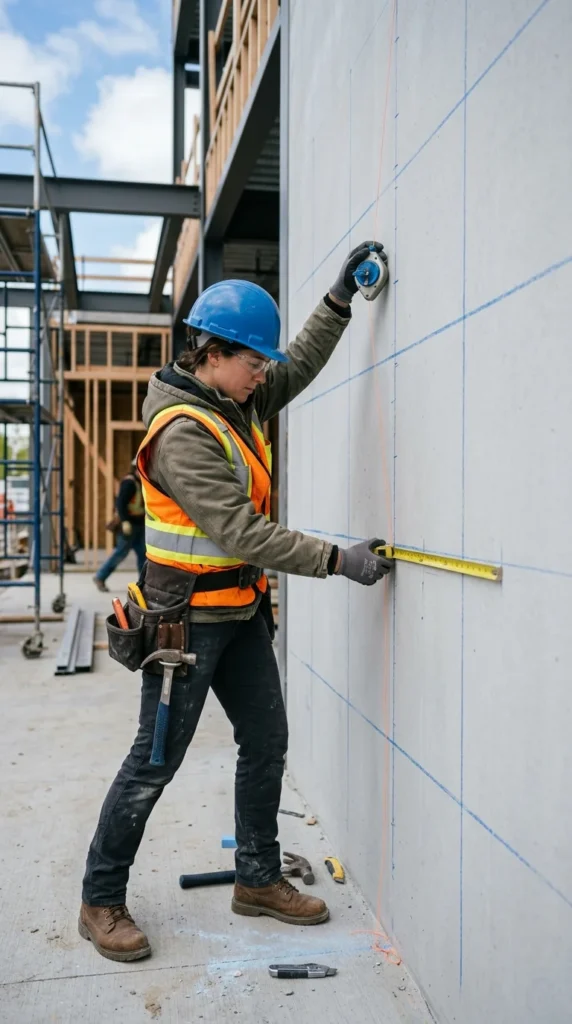
Before the first plant goes in, the wall must be prepared. Start by installing your moisture barrier. This is a critical step that many DIYers skip, often leading to wall damage later. Secure the barrier firmly, ensuring there are no gaps where water could trickle behind.
If you are using a heavy system, you may need to install a “cleat” or a wooden frame first. This frame acts as a skeleton for your garden, distributing the weight evenly across the wall’s studs or masonry. Marking your drill holes accurately and using the correct drill bit for your wall type (masonry vs. wood) will ensure a smooth installation process.
6. Installation Steps
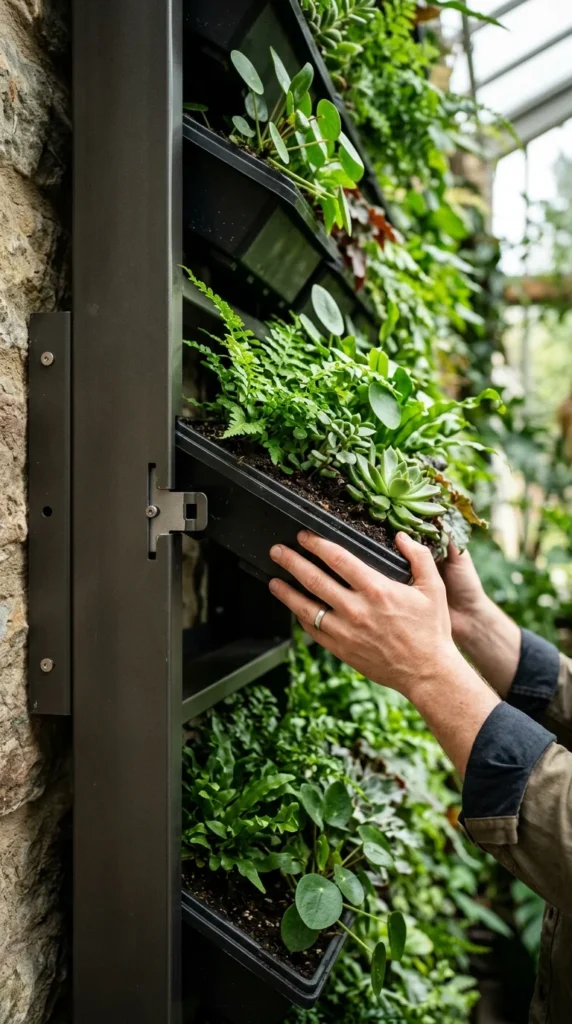
Once the frame is secure, it is time to mount the containers or pockets. Start from the top and work your way down. This prevents you from spilling soil onto the lower plants as you work. Ensure each container is firmly hooked or screwed into the frame.
If you are using a felt pocket system, fill the pockets with soil first, then tuck the plants in. For modular trays, it is often easier to plant them while they are laying flat on the ground, allowing them a week or two to establish their roots before you hang them vertically. This “horizontal rooting” phase helps prevent soil erosion when the garden is finally mounted.
7. Irrigation Methods
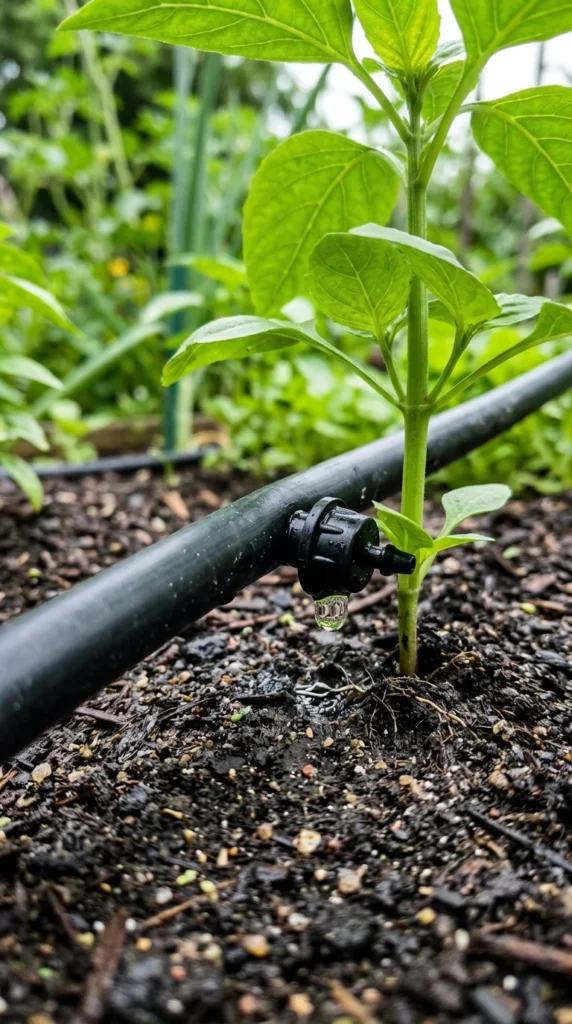
Watering a vertical garden by hand can be challenging, as the top plants often dry out faster than the bottom ones. A drip irrigation system is the most efficient solution. These systems use a series of thin tubes and emitters that deliver water directly to the roots of each plant.
You can connect your irrigation system to a simple battery-operated timer attached to your outdoor faucet. This ensures your garden receives consistent moisture even when you are away. For indoor gardens, a recirculating pump and a hidden reservoir at the base can create a self-contained watering loop.
8. Regular Maintenance
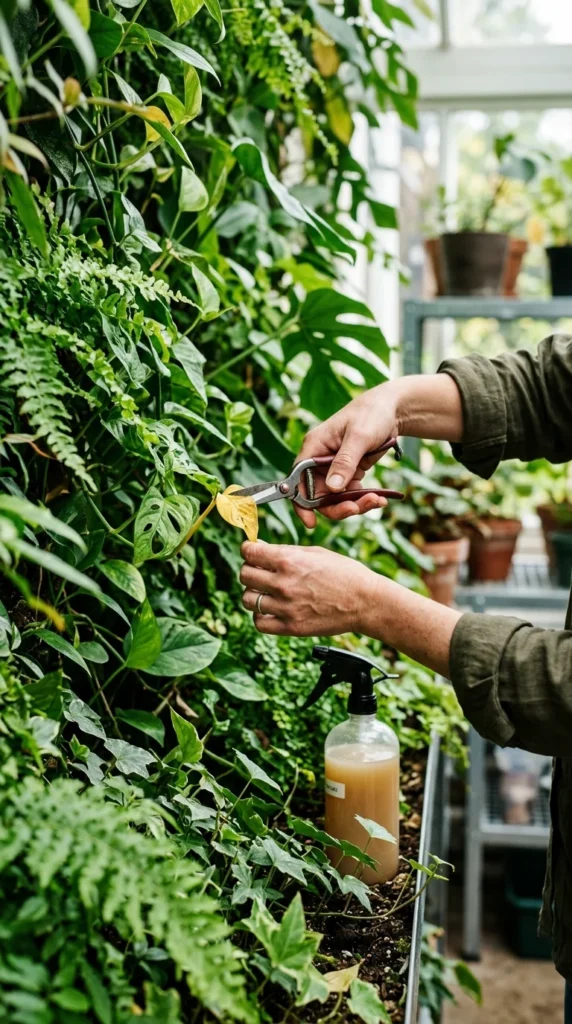
Maintenance is the key to longevity. Because vertical gardens have a limited amount of soil, nutrients are washed away more quickly than in traditional garden beds. Use a liquid seaweed or organic fertilizer every two weeks during the growing season to keep the foliage vibrant.
Pruning is also vital. In a wall garden, fast-growing plants can quickly overshadow their slower-growing neighbors. Regular trimming keeps the design looking intentional and prevents the garden from becoming a tangled mess. Keep an eye out for pests like aphids or spider mites, which can spread quickly in the dense environment of a living wall.
9. Seasonal Care
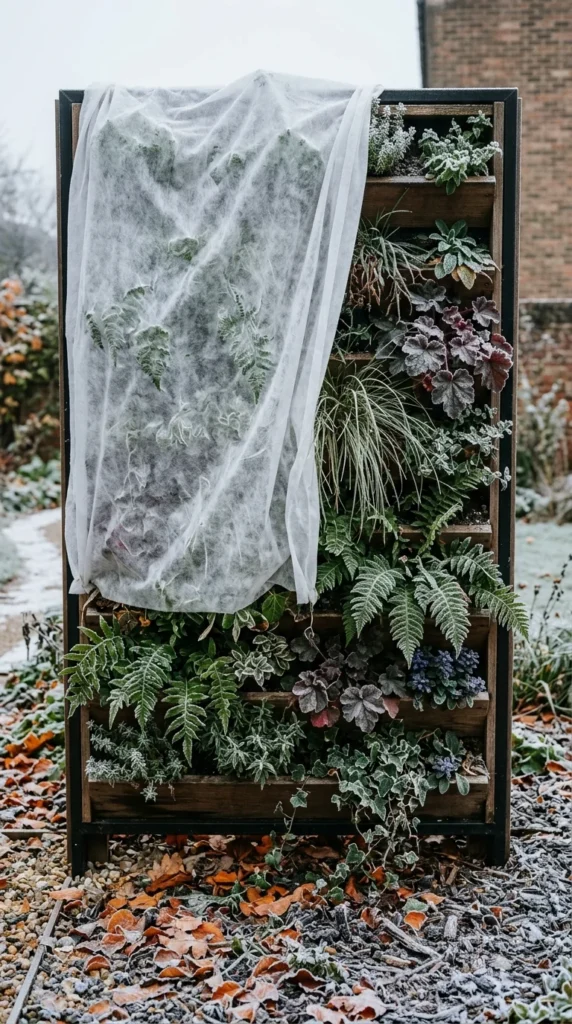
As the seasons change, so do the needs of your wall garden. In the heat of summer, you may need to increase watering frequency to twice a day. In the winter, if you live in a cold climate, many outdoor wall gardens will need to be dismantled or protected.
Perennials can be moved to a sheltered area, while annuals can be composted. If your garden is indoors, be mindful of the dry air caused by heating systems; regular misting or the use of a humidifier can help your tropical plants survive the winter months. By treating your wall garden as an evolving project rather than a static piece of decor, you will enjoy a beautiful, living masterpiece for years to come.