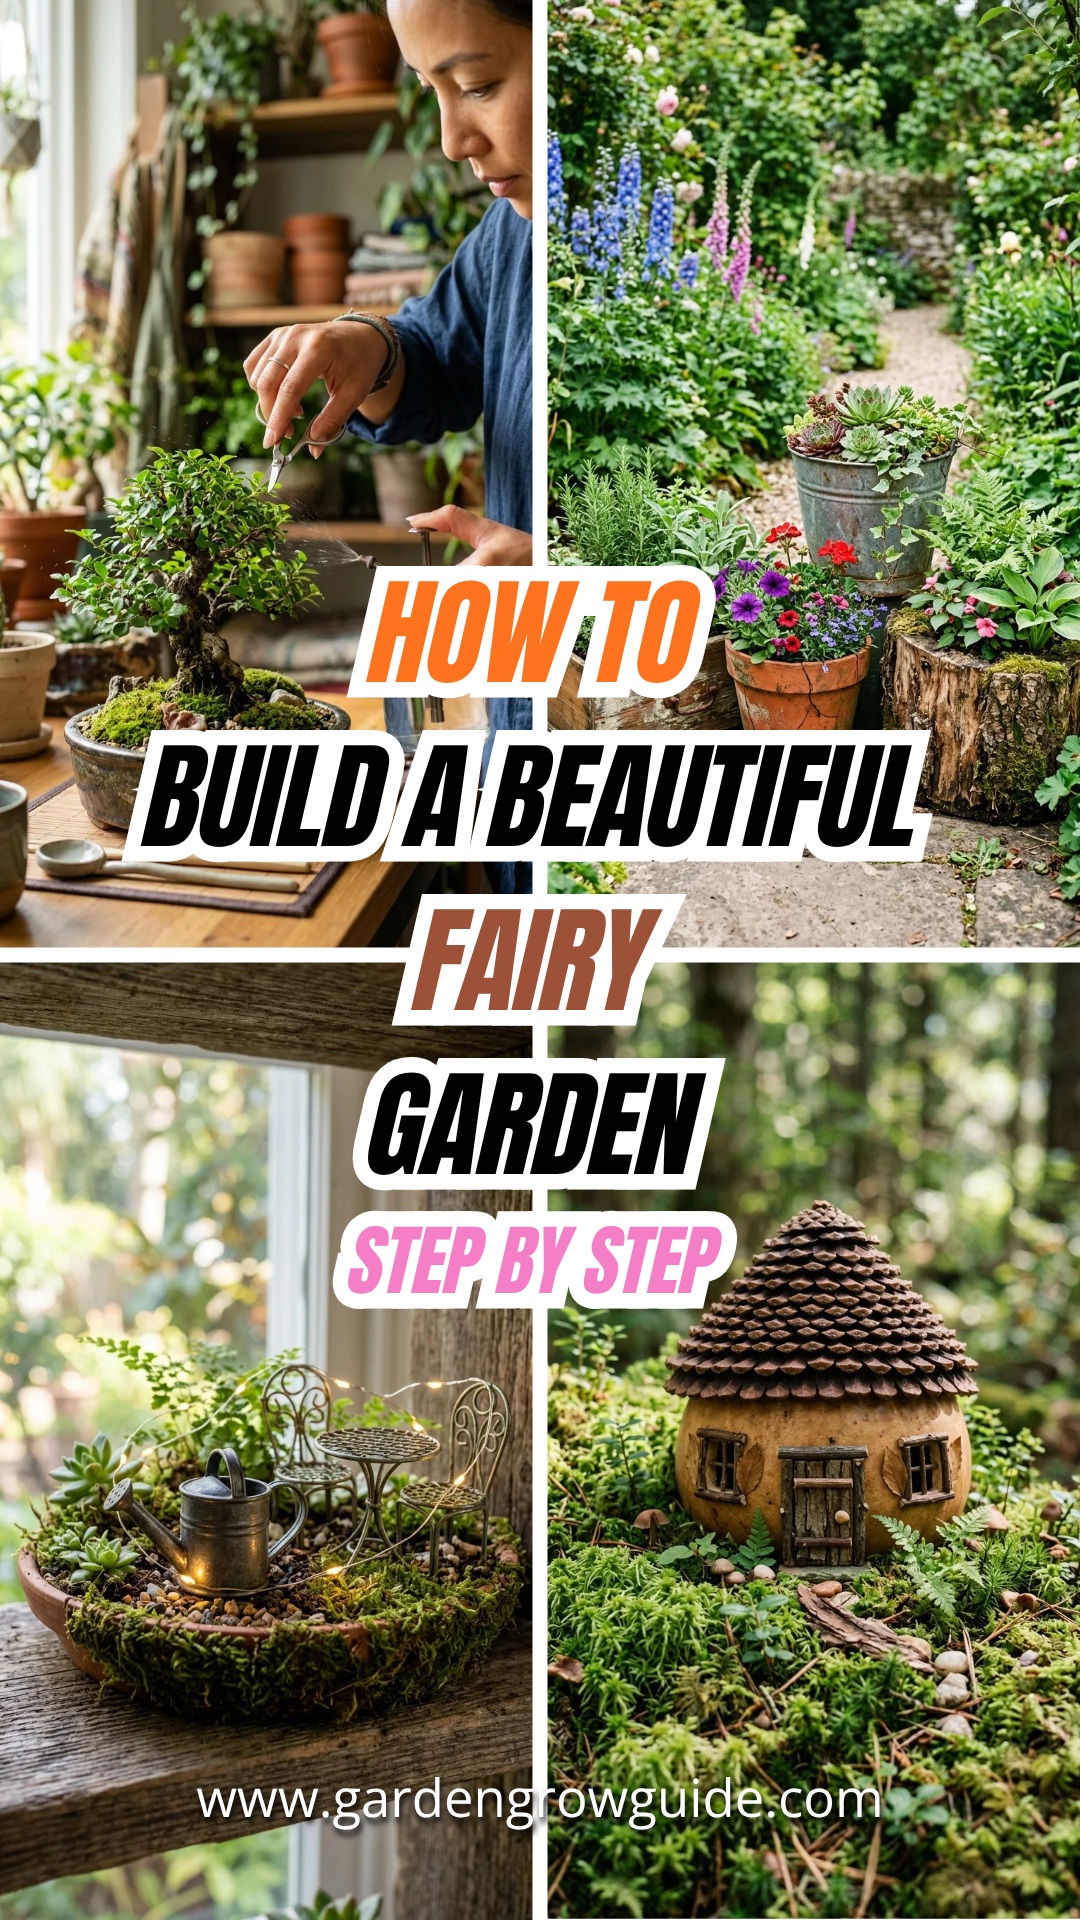
Fairy gardening is more than just a hobby; it is an art form that blends horticulture with miniature storytelling. These tiny landscapes offer a whimsical escape, allowing gardeners of all ages to create a microcosm of nature infused with magic. Whether you are working with a sprawling backyard or a small apartment balcony, a fairy garden can be tailored to fit any space.
Building a fairy garden requires a balance of botanical knowledge and creative design. You aren’t just planting a pot; you are building a world. This guide will take you through every meticulous step, from the initial concept to the final dusting of “pixie dust,” ensuring your miniature realm thrives and charms everyone who sees it.
1. Concept

Before you touch any soil, you must decide on a theme. A cohesive theme prevents the garden from looking cluttered and helps you select the right plants and accessories. Popular themes include:
- Woodland Retreat: Heavy on moss, bark, and ferns, mimicking a deep forest.
- Beachside Cove: Featuring sand, tiny sea shells, and air plants.
- English Cottage: Focused on colorful miniature flowers and pebble pathways.
- Desert Oasis: Utilizing succulents, cacti, and red sand.
Consider where the garden will live. Will it be an indoor centerpiece or an outdoor garden feature? Indoor gardens require plants that tolerate lower light, while outdoor gardens must be weather-resistant.
2. Container
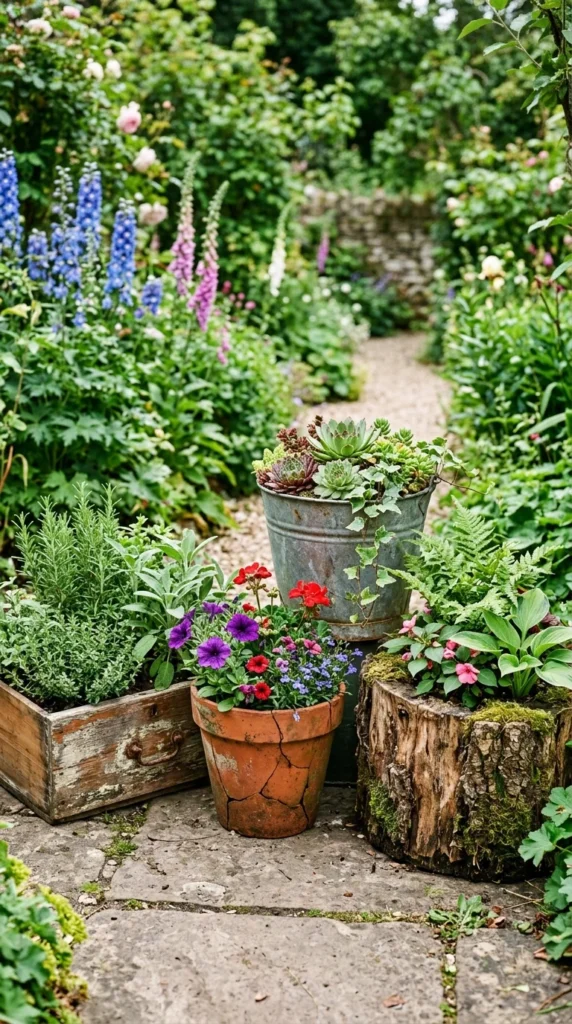
The container is the foundation of your world. It dictates the scale and the environment. While a traditional flower pot works perfectly, unconventional containers often add more character.
- Terracotta Pots: Excellent for drainage and provide a classic look. You can even use broken “fairy hole” pots to create tiered landscapes.
- Wooden Boxes: Give a rustic, organic feel but should be lined with plastic to prevent rot.
- Natural Elements: Hollowed logs, large shells, or even a specific corner of your flower bed.
- Recycled Items: Old wheelbarrows, birdbaths, or vintage suitcases can become stunning fairy habitats.
Ensure your container has adequate drainage holes. Fairies may love water, but their plants’ roots do not like to sit in a swamp.
3. Soil
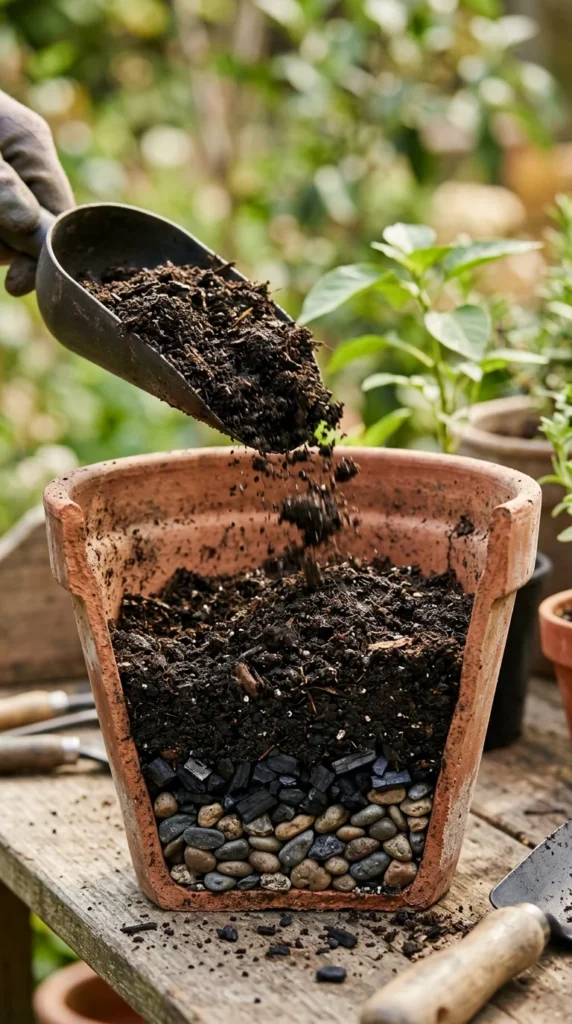
Miniature gardens require high-quality soil to sustain life in a confined space. Since the plants are often packed closely together, the soil must be nutrient-rich and well-draining.
- Potting Mix: Use a lightweight potting soil rather than heavy garden soil. For succulents, use a cactus mix.
- Drainage Layers: Place a layer of pea gravel or charcoal at the bottom of the container. This prevents water from pooling and keeps the soil fresh.
- Moisture Control: If your garden is outdoors in a hot climate, consider adding water-retaining granules to help the tiny plants survive between waterings.
4. Plants
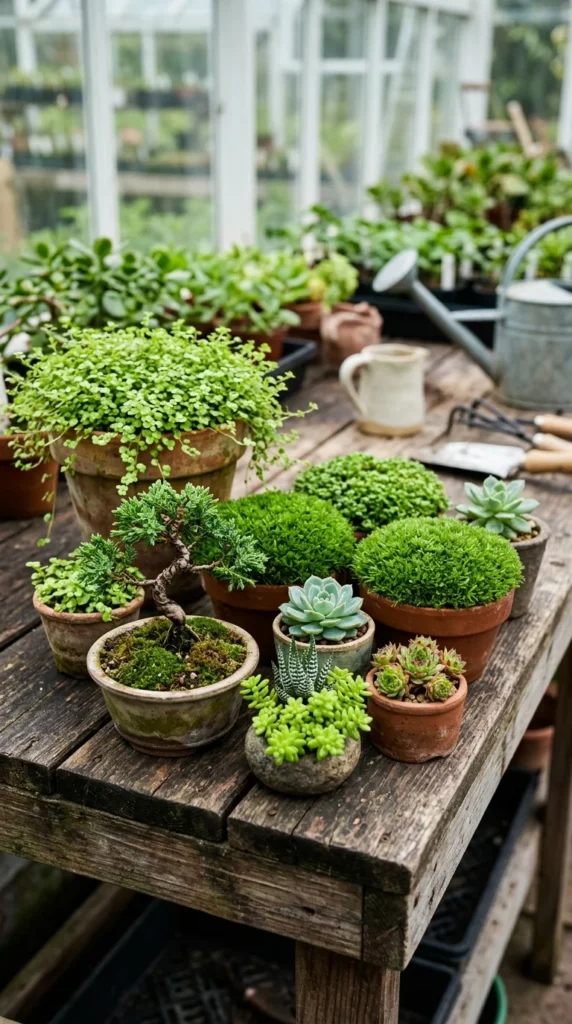
Selecting the right plants is the most critical step for a “living” fairy garden. You want plants that stay small or are slow-growing.
- Ground Covers: Irish Moss or Scotch Moss create a perfect “lawn” for fairies. Baby Tears provide a lush, spilling effect.
- Structure Plants: Use dwarf conifers or Elfin Thyme to act as miniature trees or shrubs.
- Texture: Blue Star Creeper offers tiny flowers, while miniature ferns add a prehistoric, forest feel.
- Succulents: Hens and Chicks (Sempervivum) are perfect for low-maintenance or desert-themed gardens.
Remember to group plants with similar light and water requirements together. Don’t put a water-loving fern next to a desert-dwelling cactus.
5. Layout
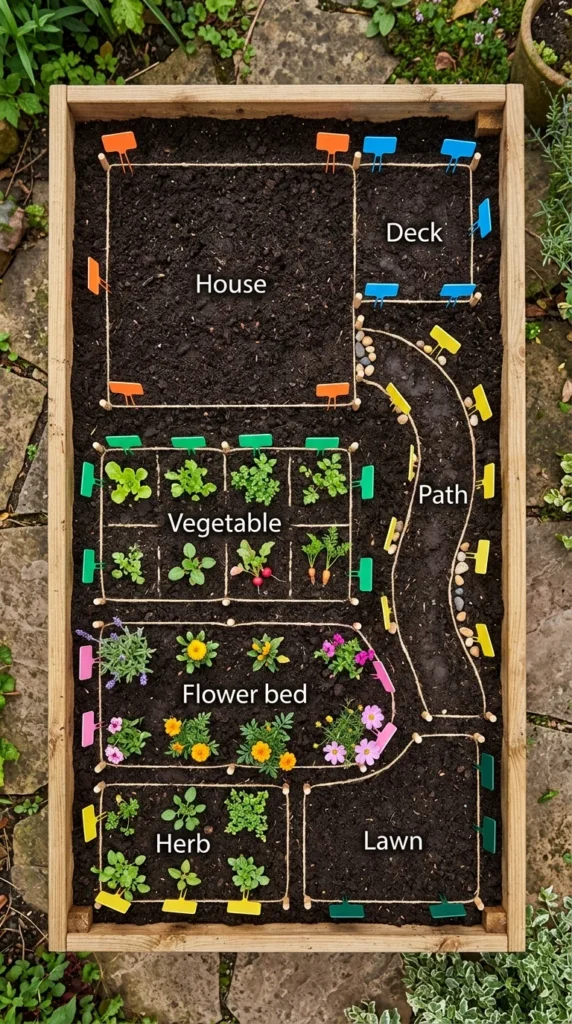
Before you dig, arrange your plants and larger accessories on top of the soil while they are still in their nursery pots. This allows you to visualize the “topography” of your garden.
- Create Elevation: Use mounds of soil to create hills and valleys. This adds depth and makes the garden look larger than it is.
- Focal Point: Decide where the “hero” piece will go—usually the fairy house or a large ornamental tree.
- Perspective: Place larger plants in the back and smaller ones in the front to create a sense of distance and scale.
6. Hardscaping
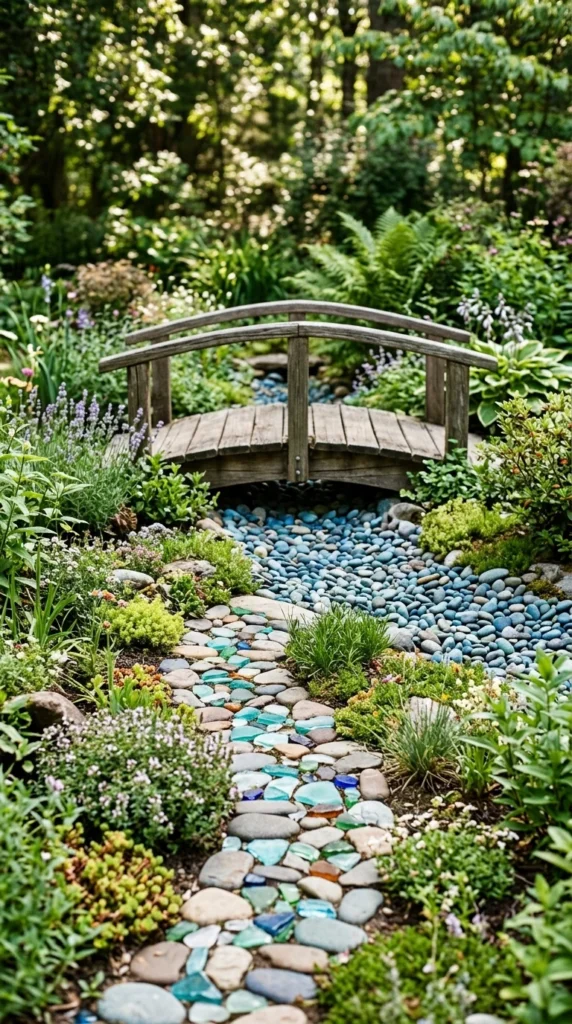
Hardscaping refers to the non-living elements like paths, walls, and water features. These elements ground the garden and make it look like a lived-in space.
- Pathways: Use flat pebbles, crushed glass, or even small slices of wood (birch coins) to create walkways.
- Water Features: You can simulate water using blue glass pebbles or a small mirror. For a more advanced garden, a small resin “pond” can be crafted.
- Retaining Walls: Stack small slate pieces or twigs to create terraces. This is especially effective if you are building in a deep or tiered container.
7. Houses
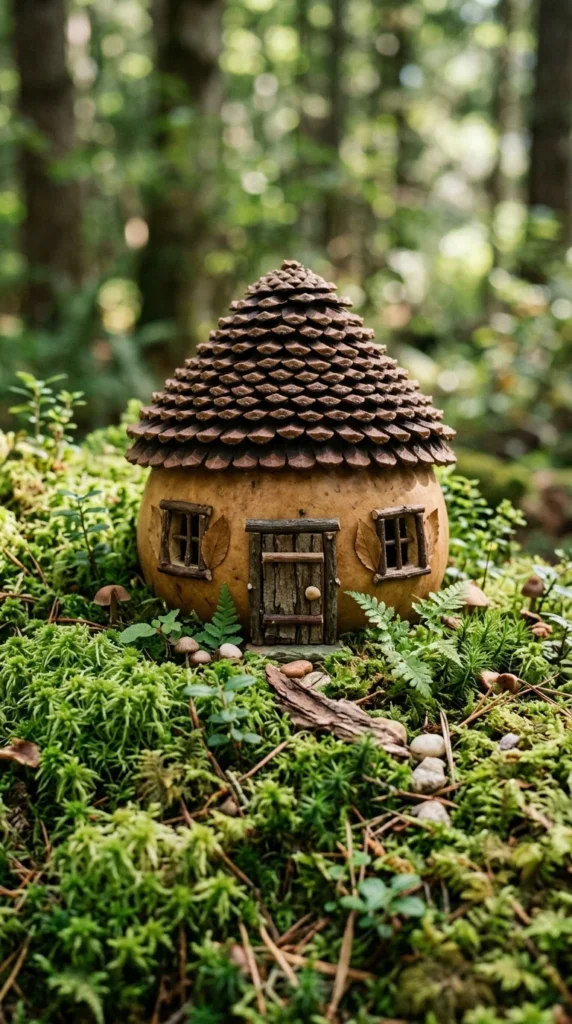
The fairy house is often the soul of the garden. You can purchase pre-made resin houses, but building your own adds a unique, personal touch.
- Natural Materials: Use bark for siding, pinecone scales for roof shingles, and twigs for porch railings.
- Upcycled Materials: A painted birdhouse or a decorated soda bottle can serve as a sturdy base for a fairy dwelling.
- Placement: Nest some of the house into the soil or surround it with “foundation plantings” (moss or small flowers) to make it look like it has been there for years.
8. Accessories
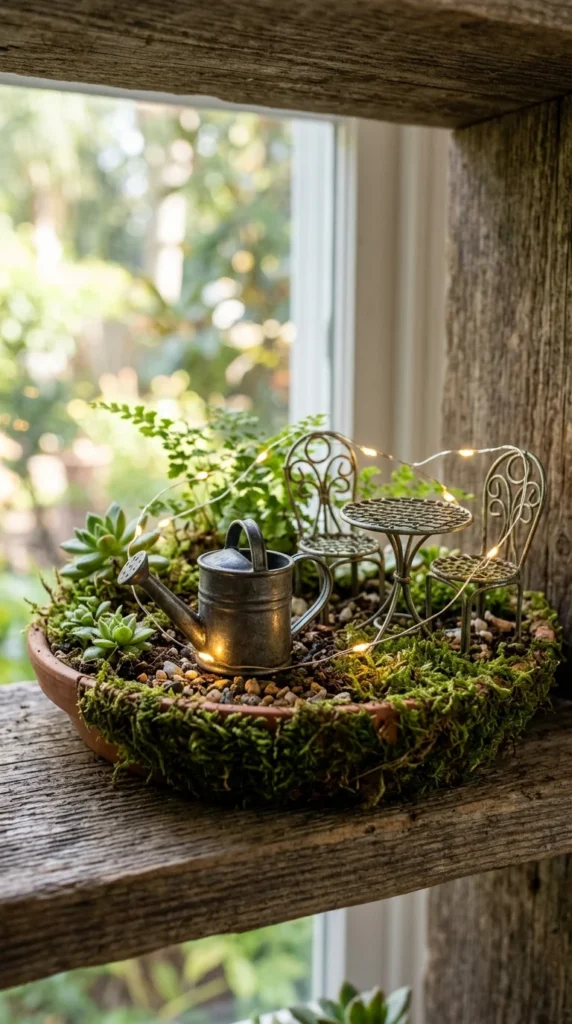
Accessories bring the story to life. These are the small details that suggest the fairies have just stepped away for a moment.
- Furniture: Tiny benches, bistro sets, or hammocks made from scrap fabric and twigs.
- Tools: Miniature rakes, buckets, or even a tiny clothesline with leaf “laundry.”
- Whimsy: Add “fairy dust” (fine glitter), tiny mushrooms, or glowing pebbles that light up at night.
- Scaling: Keep everything in the same scale. If your house is 6 inches tall, your chairs shouldn’t be 4 inches tall.
9. Fairies
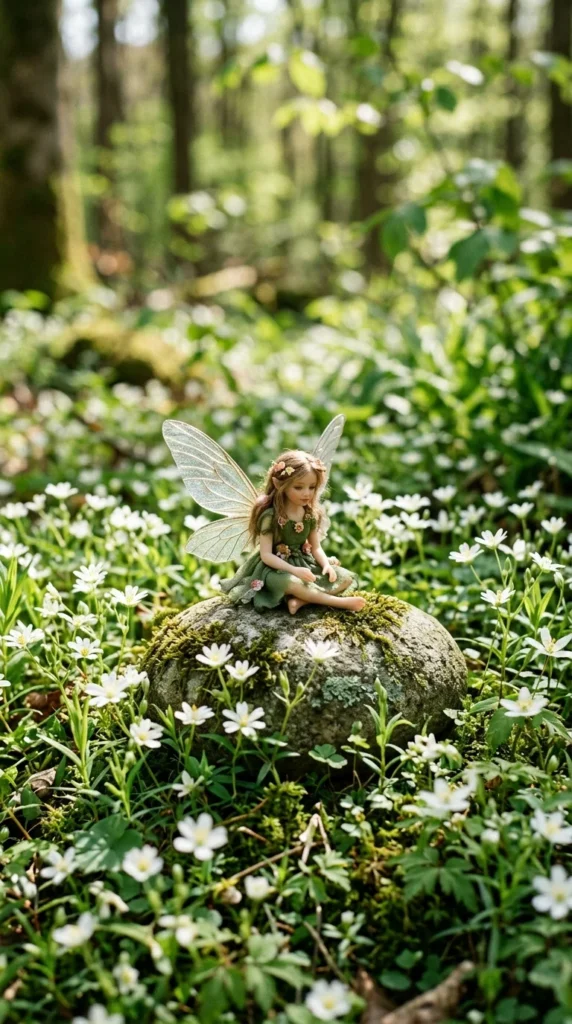
The final step is adding the inhabitants. Some gardeners prefer to leave the garden “empty” to invite real fairies in, while others like to place figurines.
- Figurines: Choose fairies that match your theme. Ensure they are made of weather-resistant materials like resin or metal if the garden is outdoors.
- Positioning: Place fairies in “active” poses—peering out of a window, sitting on a bridge, or tending to the tiny plants.
- Wildlife: Don’t forget the fairy pets! Miniature ladybugs, hedgehogs, or birds add to the realism of the scene.
10. Maintenance

A fairy garden is a living entity and requires regular upkeep to stay beautiful.
- Trimming: Plants will eventually grow out of scale. Use small scissors or floral snips to prune back ground covers and “trees” to maintain the miniature look.
- Watering: Use a spray bottle or a small watering can with a narrow spout. Miniature gardens dry out faster than large ones, so check the moisture levels daily.
- Cleaning: Remove fallen leaves or debris that might dwarf the miniature accessories. Over time, you may need to replenish the pebbles on your pathways.
- Seasonal Updates: Change out accessories for the seasons—tiny pumpkins for autumn, or a small dusting of “snow” (cotton or white sand) for winter.