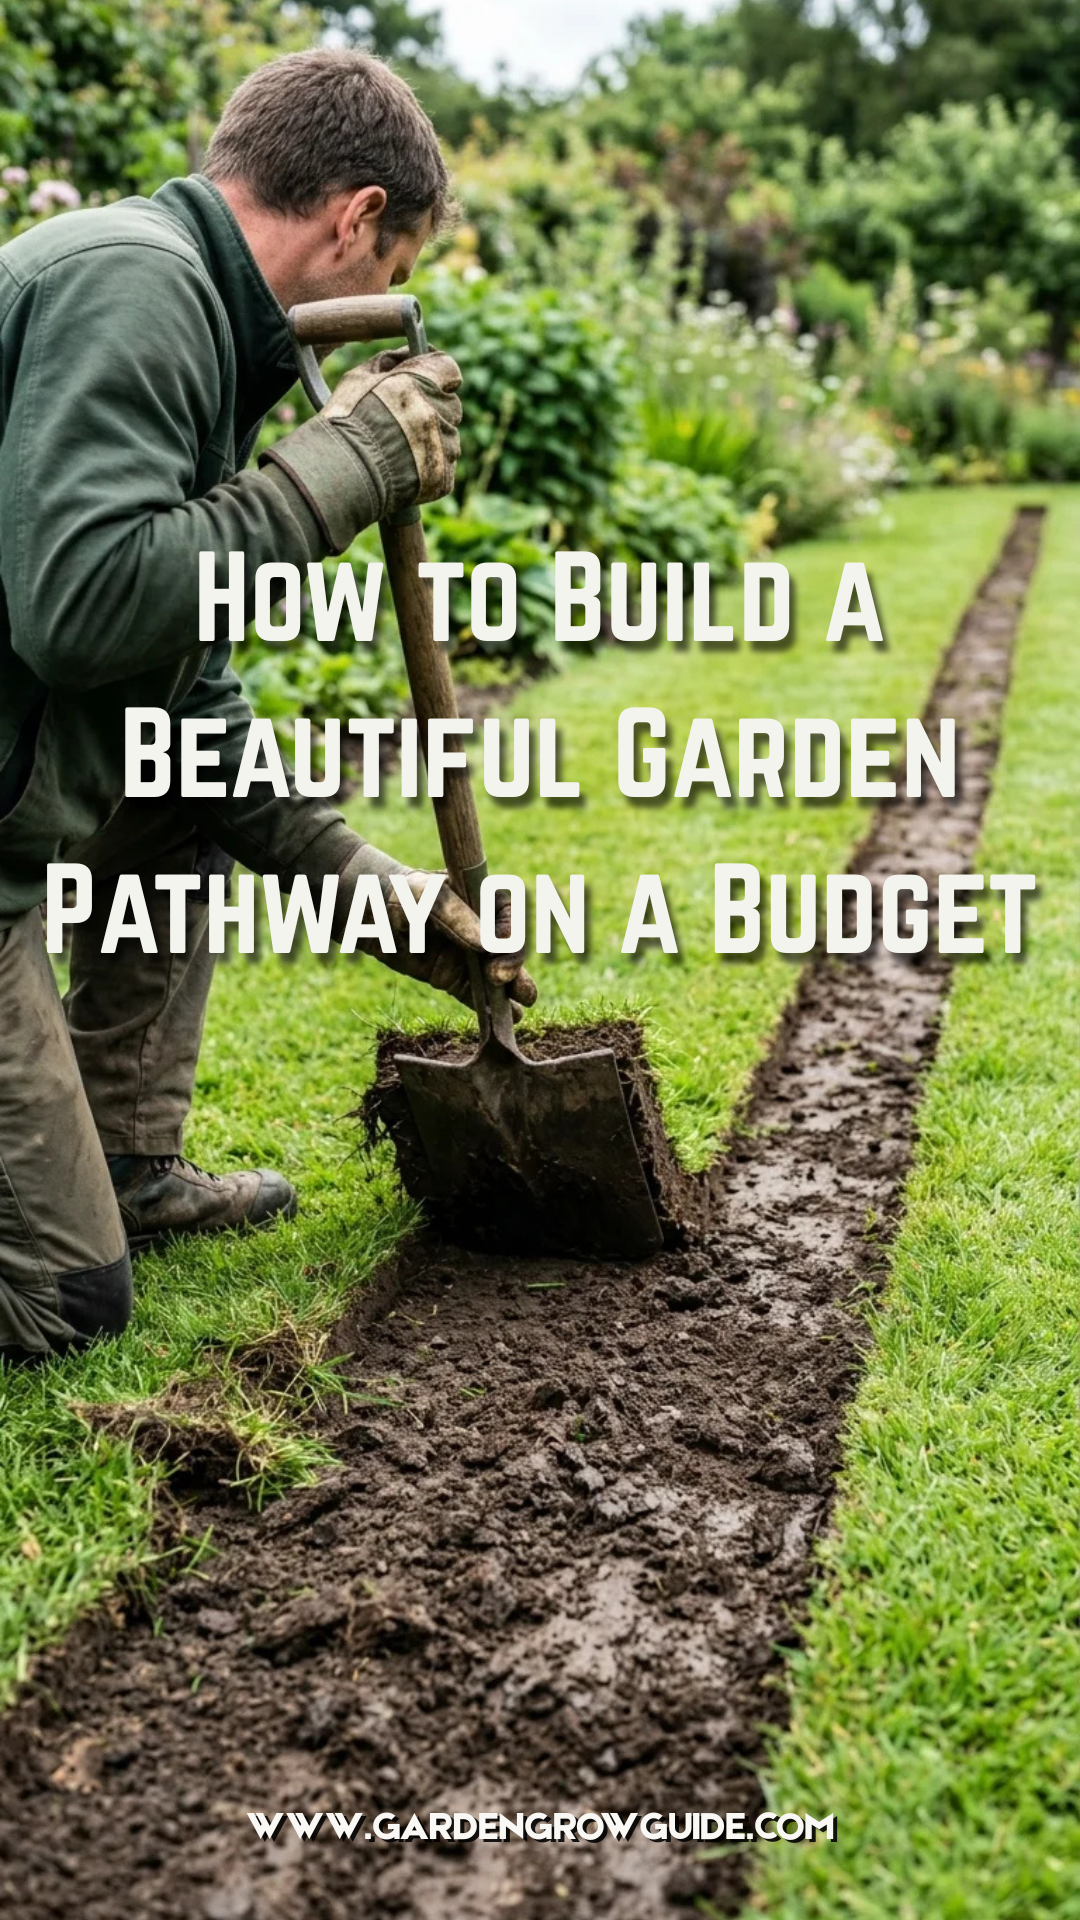
A garden pathway is more than just a functional route from point A to point B; it is the backbone of your landscape design. It defines the flow of your outdoor space, protects your lawn from foot traffic, and adds a layer of professional polish to even the humblest backyard. However, professional hardscaping can cost thousands of dollars. The good news is that with a bit of elbow grease and some strategic material choices, you can create a stunning walkway for a fraction of the cost.
1. Planning
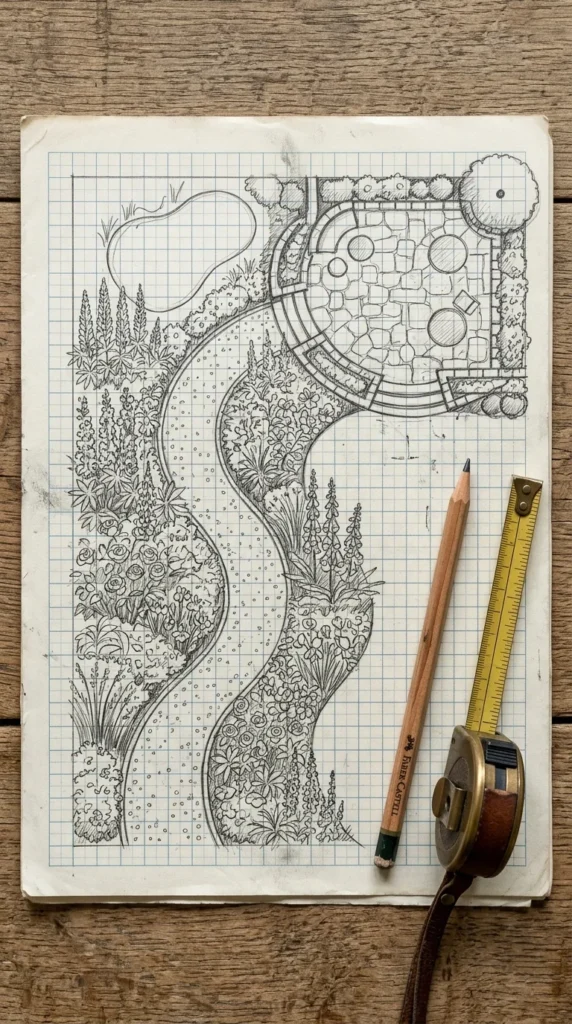
Before you pick up a shovel, you need a plan. The most common mistake DIYers make is rushing into excavation without considering the “flow” of the yard. Start by observing where people naturally walk. Often, the most efficient path is already marked by a worn patch in the grass.
Consider the shape of your path. Straight lines are formal and modern but can feel rigid. Curved paths feel more organic and “secret garden-esque,” making a small yard feel larger by obscuring the destination. Use a garden hose or a long rope to layout the path on the ground. This allows you to walk it and adjust the curves before committing to a permanent location. Aim for a width of at least 36 inches to allow two people to walk side-by-side or to accommodate a wheelbarrow.
2. Gravel
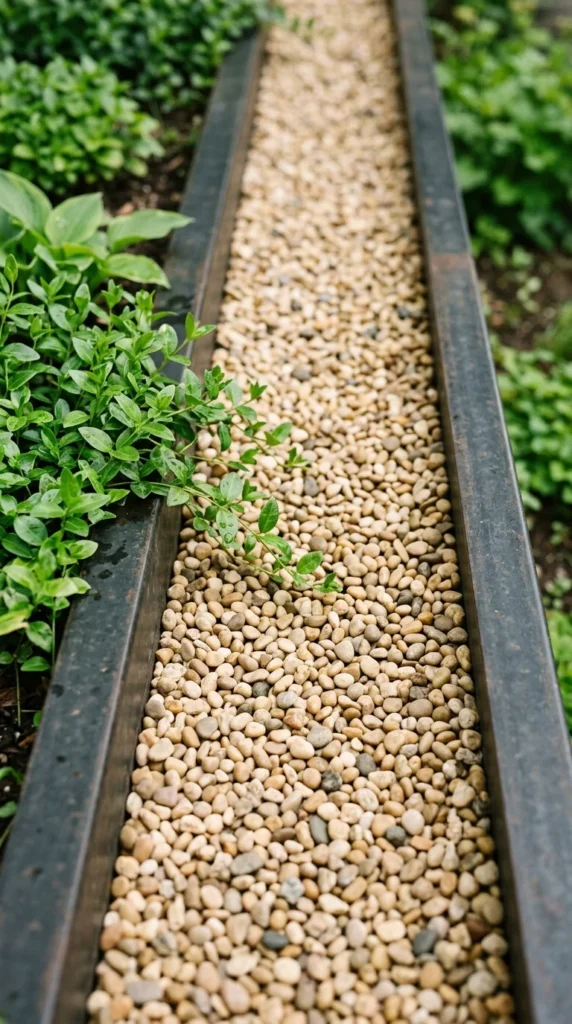
Gravel is the undisputed king of budget-friendly path materials. It is inexpensive, incredibly easy to install, and provides excellent drainage. There are several types of gravel to choose from:
- Pea Gravel: Small, rounded stones that are comfortable to walk on but can shift underfoot.
- Crushed Stone: Angular bits that lock together, providing a more stable walking surface.
- Decomposed Granite: A fine, sandy material that packs down into a very firm, natural-looking surface.
To keep gravel in place, you must use edging and a weed barrier. Without a barrier, the stones will eventually sink into the soil, and weeds will take over your hard work within a single season.
3. Mulch
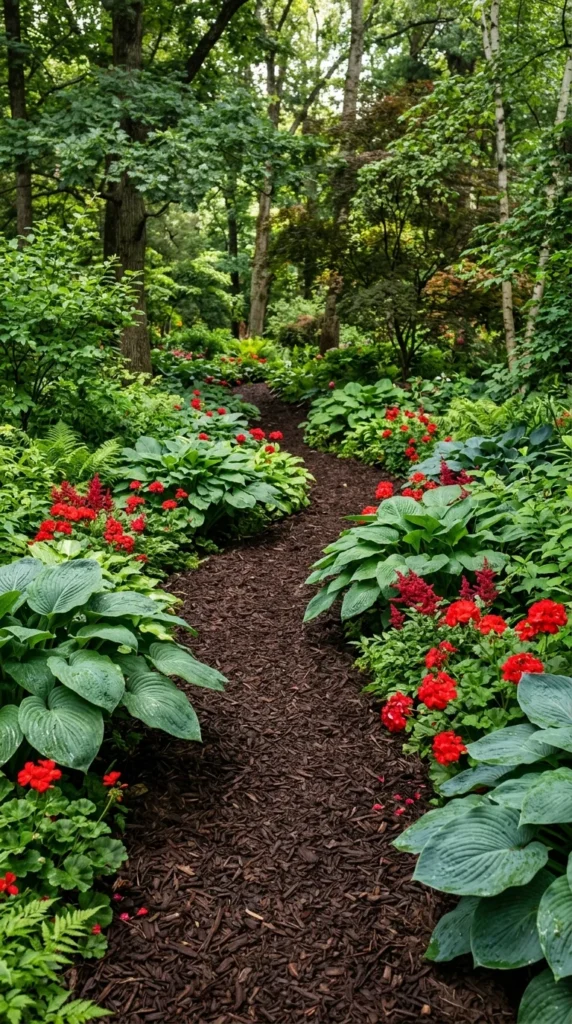
If you are looking for the absolute cheapest option, wood mulch or bark nuggets are your best bet. Mulch pathways have a soft, “forest floor” feel and look beautiful in rustic or woodland-style gardens.
The primary advantage of mulch is its cost—often you can get wood chips for free from local arborists. The downside is that mulch decomposes over time. You will likely need to add a fresh layer every year or two to keep the path looking tidy. It is also not the best choice for areas that stay perpetually wet, as it can become soggy and harbor mold.
4. Stepping Stones
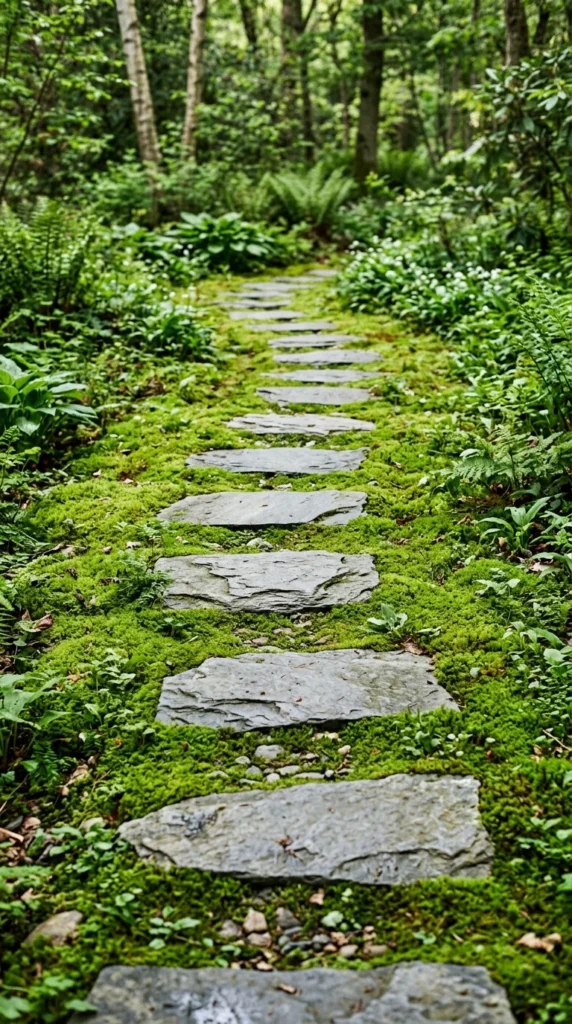
Stepping stones are ideal for those who want a “DIY lite” project. They require the least amount of digging because you aren’t creating a continuous trench. You can use natural flagstone for a high-end look or inexpensive pre-cast concrete rounds from a big-box hardware store.
The key to a successful stepping stone path is the spacing. Place the stones so that the center of one stone is roughly 20 to 24 inches from the center of the next. This matches the average human stride. To prevent tripping, ensure the stones are “set” into the ground so they sit flush with the soil or grass surface.
5. Reclaimed Bricks
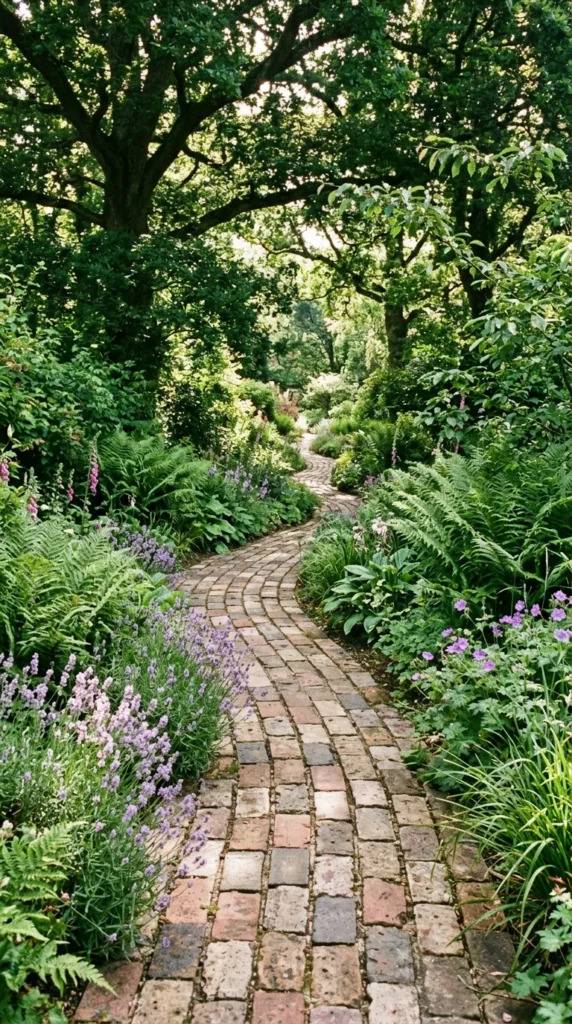
Building with new bricks can be expensive, but reclaimed bricks are often free or very cheap. Check online marketplaces, construction sites (with permission), or architectural salvage yards. The weathered look of old bricks adds instant character and a sense of history to a garden.
Bricks can be laid in various patterns, such as herringbone, basket weave, or running bond. To keep costs low, skip the mortar. Instead, lay them on a bed of leveled sand and sweep fine sand into the cracks to “lock” them in place. This is known as a flexible base, which allows the bricks to move slightly with the freeze-thaw cycle without cracking.
6. Preparation
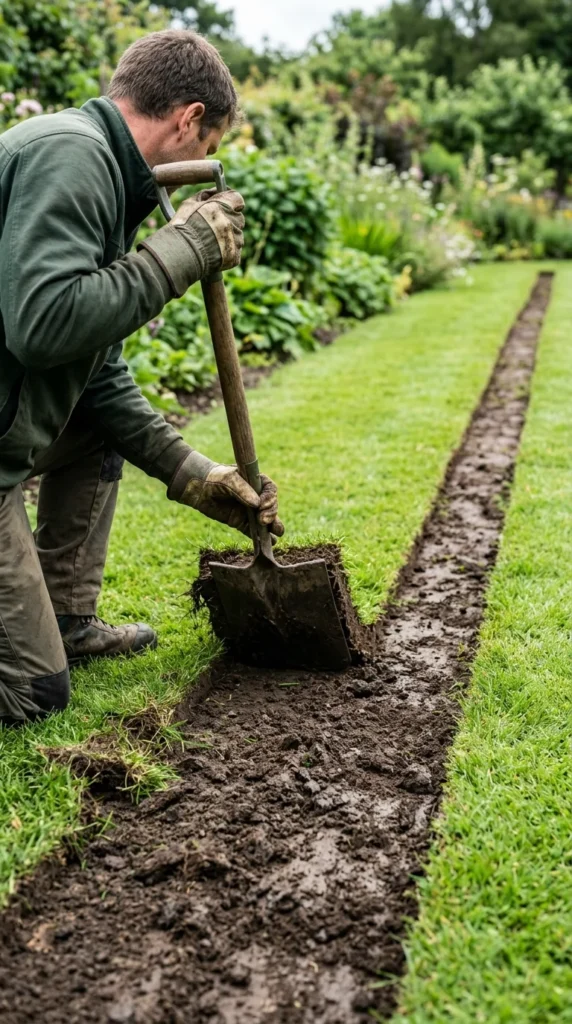
Success lies in the site preparation. Once your path is marked, you must remove the sod and excavate to the correct depth. For a gravel or mulch path, a depth of 2 to 4 inches is usually sufficient.
Ensure the bottom of your trench is relatively level and firm. If the soil is very soft, you may want to use a hand tamper to pack it down. This prevents the path from developing low spots over time. If your yard has drainage issues, slope the trench slightly (about 1 inch for every 8 feet) away from your home’s foundation.
7. Edging
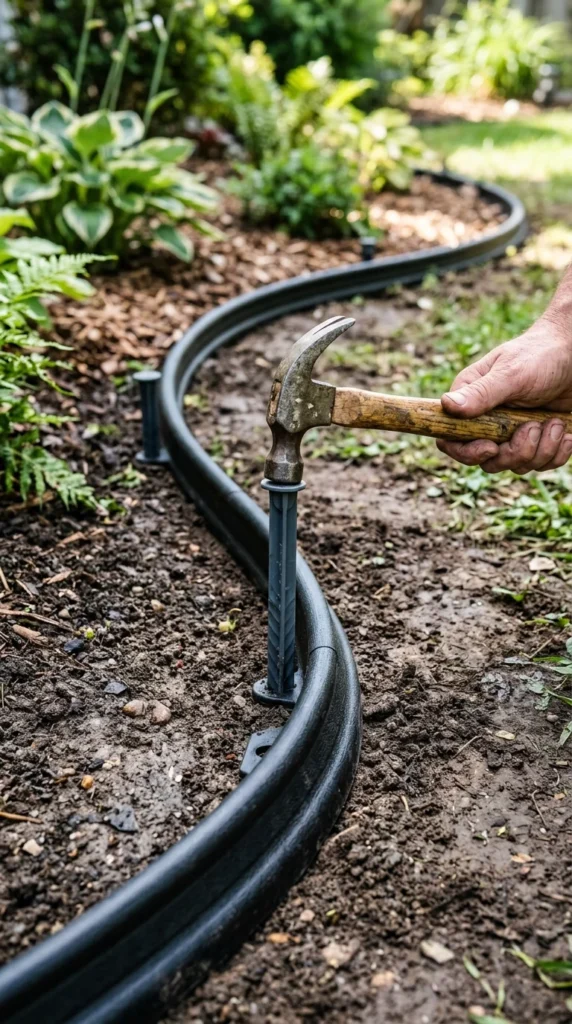
Edging is the secret to a professional-looking DIY path. It creates a crisp line between your walkway and your garden beds or lawn, and it prevents your filling material from migrating.
- Plastic/Rubber Edging: The most affordable and easiest to install around curves.
- Metal Edging: More expensive but provides a very slim, modern profile and lasts for decades.
- Pressure-Treated Timber: Great for straight lines and provides a sturdy, structural look.
- Boulders/Cobblestones: Provides a natural, chunky border but requires more effort to set.
Install your edging after the trench is dug but before you lay down your weed fabric or filler.
8. Finishing Touches
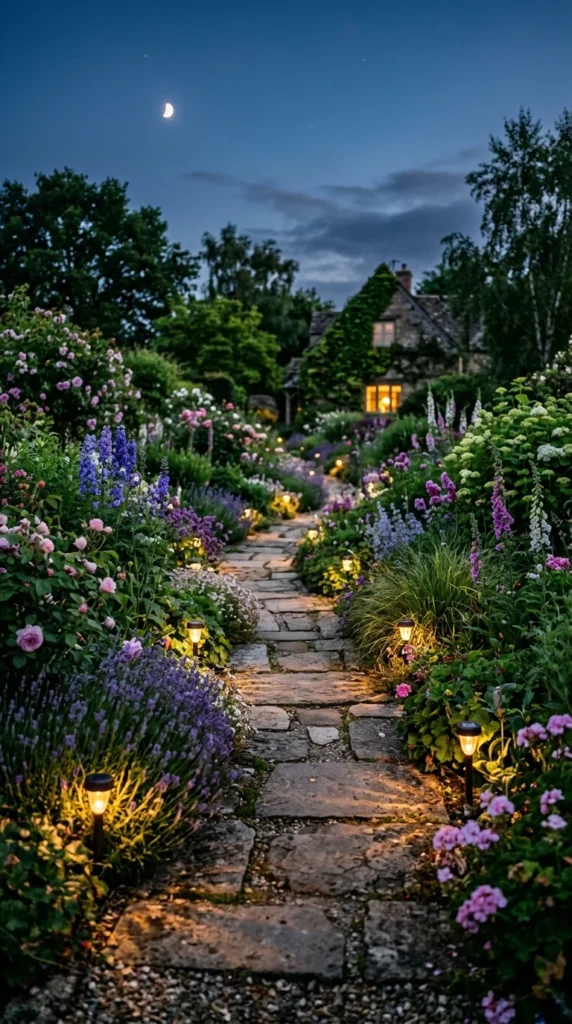
Once the structure of your path is complete, it’s time to dress it up. The “softscaping” around the path is what truly brings it to life. Plant low-growing ground covers like creeping thyme or Irish moss along the edges; as they grow, they will spill over the border and soften the lines.
Lighting is another crucial element. You don’t need an electrician to light your path. Solar-powered LED stakes are inexpensive and can be pushed into the ground in minutes. Not only do they make the path safer to navigate at night, but they also create a magical evening ambiance that makes your budget project look like a high-end installation.