Transforming a dark backyard into a luminous evening sanctuary is one of the most rewarding home improvement projects. Beyond the obvious benefit of visibility, well-planned garden lighting enhances home security, increases property value, and extends the usability of your outdoor living spaces long after the sun goes down. Whether you want to highlight a majestic oak tree, guide guests safely down a stone path, or create a cozy atmosphere for alfresco dining, this guide provides a comprehensive, step-by-step roadmap for professional-grade results.
1. Assessment
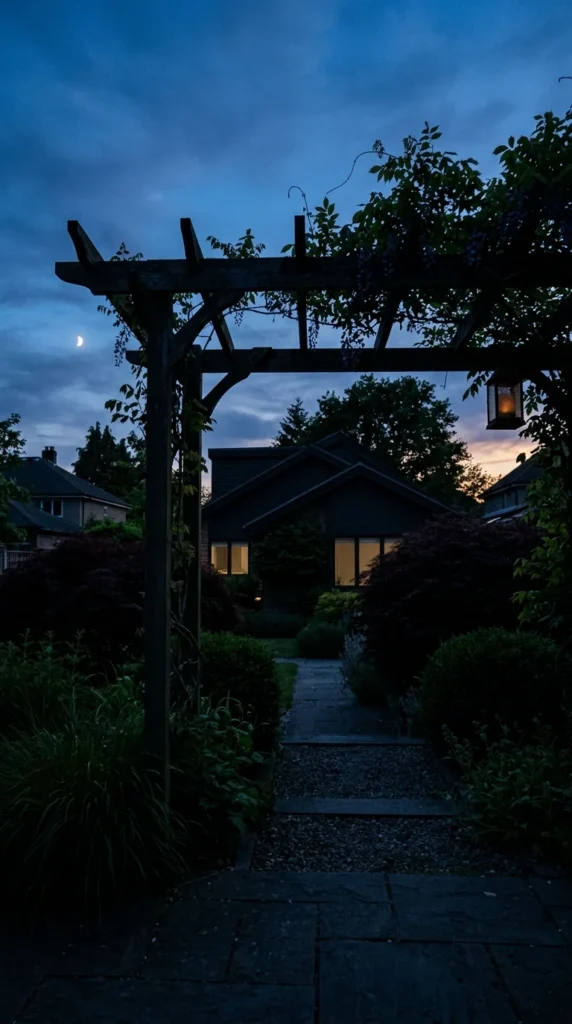
Before purchasing a single bulb, you must analyze your landscape’s “night personality.” Walk through your garden at twilight with a high-powered flashlight to mimic various lighting effects. Identify the “bones” of your garden—the structural elements that remain constant throughout the seasons.
Consider three primary goals:
- Safety: Illuminating stairs, elevation changes, and pathways.
- Security: Eliminating dark corners where intruders might hide and lighting up entry points.
- Aesthetics: Creating visual drama by highlighting textures, colors, and focal points like statues or water features.
During this phase, create a rough bird’s-eye view sketch of your property. Mark the location of outdoor power outlets and note the “viewing angles” from inside the house and from the main patio area. You want the lighting to look good from wherever you spend your time.
2. Layers
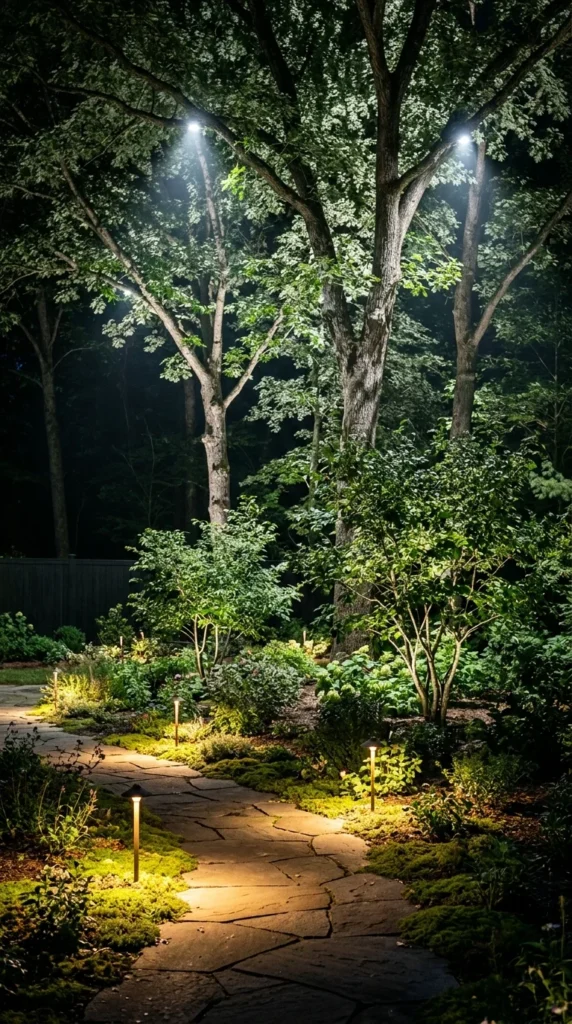
Professional lighting design relies on the concept of layering. Using only one type of light makes a space feel flat and clinical. To achieve a high-end look, you need to mix different techniques:
- Ambient Lighting: This provides the general glow for the entire area. It’s often achieved through “moonlighting”—placing fixtures high in trees to cast a soft, filtered light downward.
- Task Lighting: This is functional lighting. It includes bright lights over the BBQ grill, step lights for safety, and path lights to lead the way.
- Accent Lighting: This is the “jewelry” of the garden. Use spotlights to create “uplighting” on a focal point or “silhouetting” by placing a light behind an object to show off its shape against a wall.
By layering these heights and intensities, you create depth and visual interest that leads the eye through the landscape.
3. Fixtures
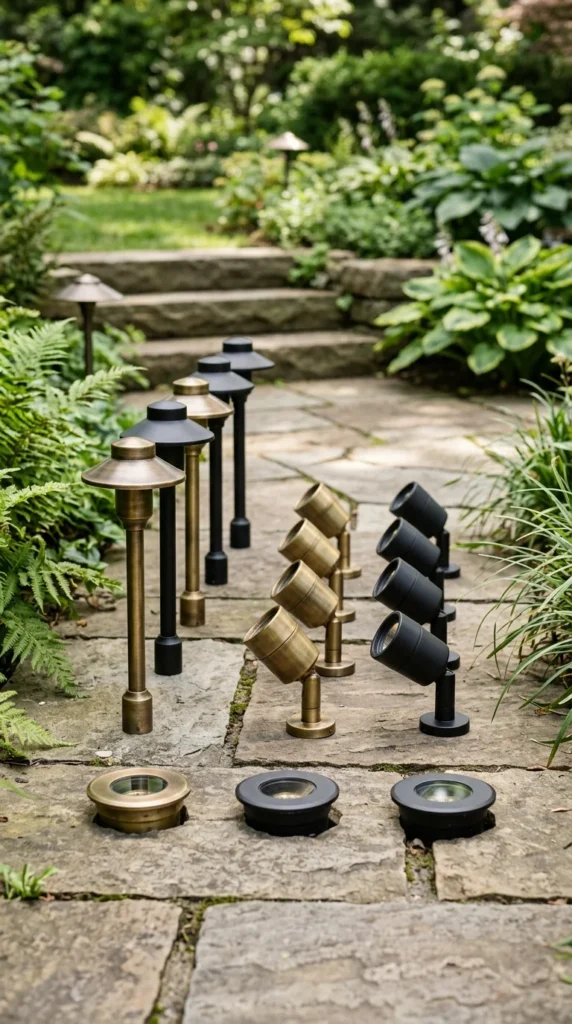
Choosing the right hardware is critical for longevity. While plastic solar lights are inexpensive, they often lack the brightness and durability of low-voltage wired systems.
- Path Lights: These usually have a “hat” or shield to direct light downward to prevent glare.
- Spotlights (Bullets): Versatile fixtures with adjustable heads, perfect for uplighting trees or grazing the texture of a stone wall.
- Well Lights: These are buried flush with the ground, making them ideal for lighting up walls or trees where you don’t want to see the fixture itself (and perfect for areas that need mowing).
- Floodlights: These have a wider beam spread and are used to illuminate large surfaces like the side of a house or a broad hedge.
Always opt for LED fixtures. They use 80% less energy than halogen bulbs, last for decades, and allow for longer wire runs because they have a lower “voltage drop.”
4. Transformer
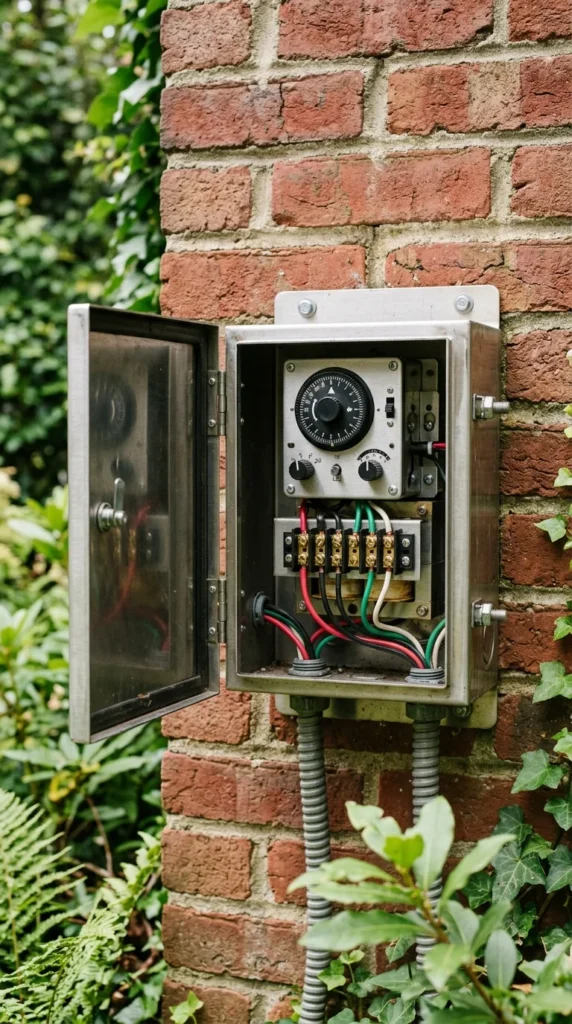
The transformer is the heart of your garden lighting system. It plugs into a standard 120-volt GFCI outdoor outlet and steps the power down to a safe 12-volts. This makes the system safe for children and pets and allows you to bury the wires just a few inches underground without the need for heavy conduit.
To choose the right transformer:
- Calculate Total Wattage: Add up the wattage of every bulb you plan to install.
- Add a Buffer: Choose a transformer that can handle at least 20% more than your total wattage to account for future expansion and wire resistance.
- Features: Look for models with built-in timers, photocells (which turn lights on at dusk and off at dawn), or smart-home compatibility so you can control your garden from your phone.
5. Layout
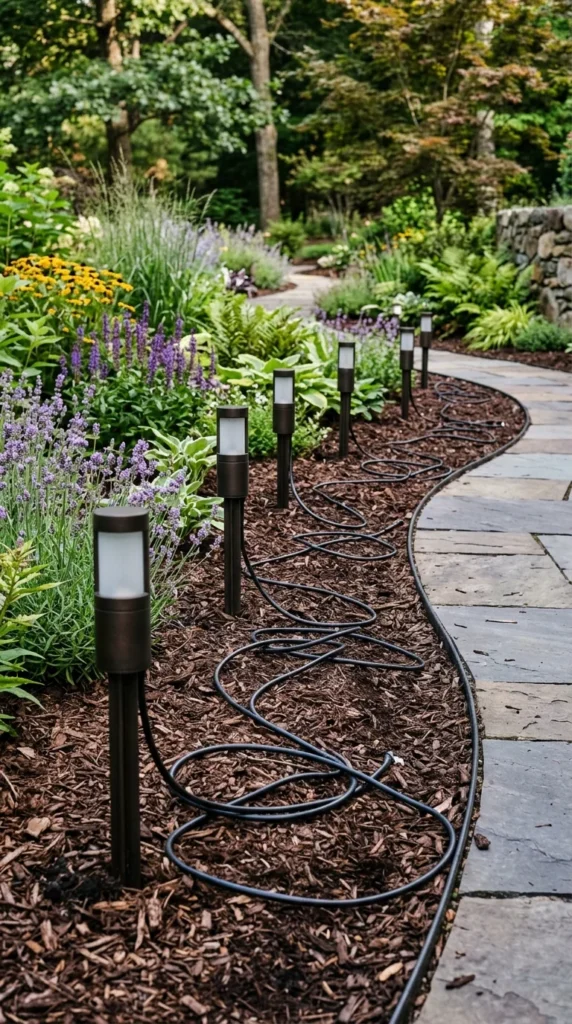
Once you have your components, perform a “dry run.” Place your fixtures in their intended spots without burying any wires. This allows you to see the effect before making anything permanent.
- Spacing: Avoid the “runway” look. Instead of placing path lights in a perfectly straight line opposite each other, stagger them in a zig-zag pattern. This creates a more natural, inviting flow.
- Beam Angles: Ensure your spotlights aren’t pointing into a neighbor’s window or into the eyes of people sitting on your patio.
- Distance: Keep path lights roughly 6 to 8 feet apart depending on the brightness of the bulbs.
Connect the wires to the transformer temporarily and turn the system on at night. Adjust the angles of your spotlights and move path lights around until the composition feels balanced.
6. Trenching
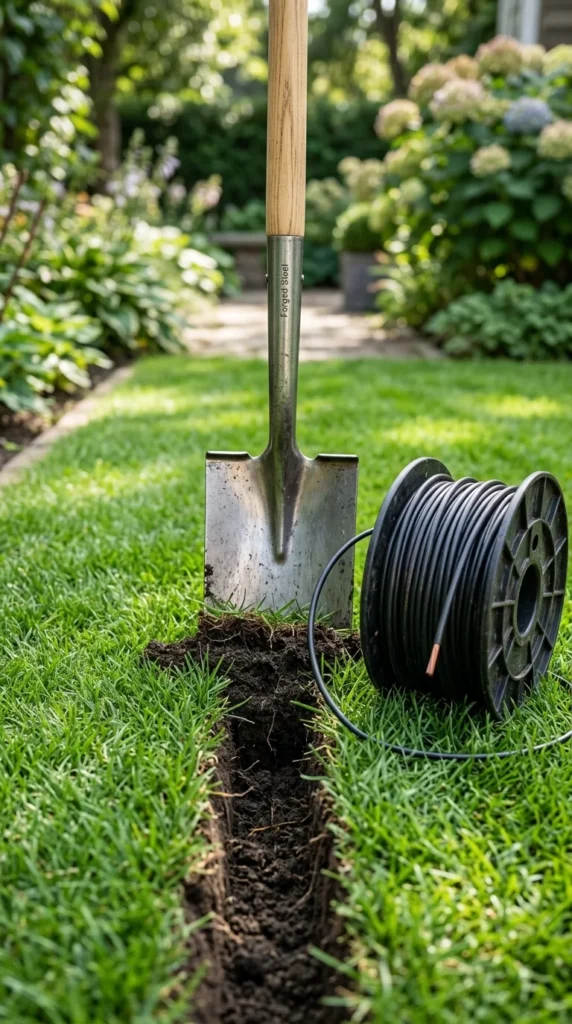
After finalizing the layout, it’s time to hide the “veins” of the system. Low-voltage wire (usually 12-gauge or 10-gauge) is designed for direct burial.
- Dig the Trench: Use a square-edged spade to create a narrow trench about 3 to 6 inches deep along your light run. You don’t need a deep trench; you just need to get the wire deep enough so it won’t be hit by an edger or a rake.
- Laying the Wire: Start at the transformer and run the wire to each fixture. Leave a small loop of extra wire (about 12 inches) at each fixture location. This “slack” allows you to move the light slightly as plants grow or if you change your mind later.
- Under Sidewalks: If you need to go under a walkway, you can often use a “water drill” method with a PVC pipe and a garden hose to blast a hole through the soil underneath the concrete.
7. Connections
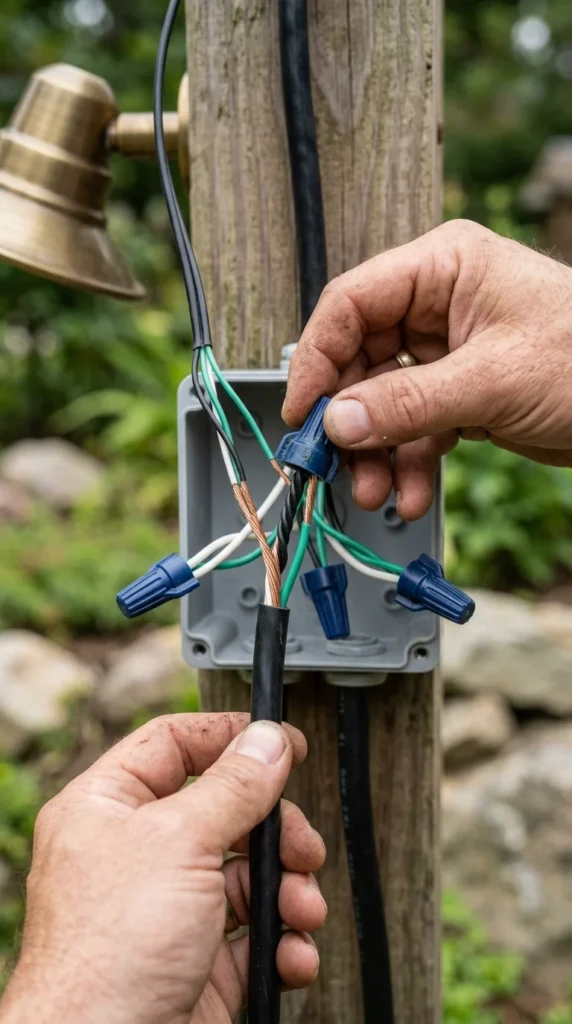
The most common cause of garden lighting failure is poor wire connections. Because these wires live in damp soil, they must be perfectly sealed against moisture to prevent corrosion.
- Avoid Electrical Tape: Never use standard electrical tape or simple wire nuts.
- Use Waterproof Connectors: Use “grease caps” or “gel-filled” wire nuts. These contain a silicone sealant that surrounds the copper wires and keeps water out.
- The Connection: Strip about half an inch of insulation off the wires, twist them together, and insert them into the waterproof connector until the sealant oozes out slightly.
- The Main Run: For the best performance, use a “hub” or “T-method” layout rather than a long “daisy chain.” This ensures that the lights at the end of the line get as much power as the lights at the beginning.
8. Testing
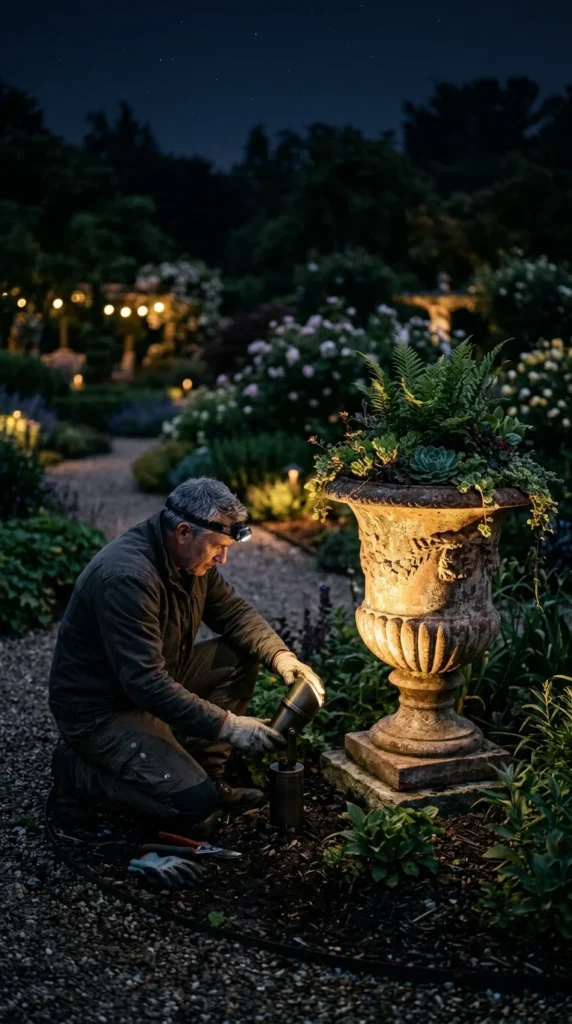
With everything wired and the trenches still open, turn the system on for a final inspection.
- Check for Dimness: If the lights at the end of the run look dimmer or yellower than the ones near the transformer, you have “voltage drop.” You may need a thicker wire or a higher voltage tap on your transformer (some transformers have 13V or 14V outlets for this reason).
- Fine-Tuning: Nighttime is the only time to truly see your work. Walk around the entire perimeter. Is there a “black hole” in the middle of the yard that needs a soft wash of light? Is the spotlight on the chimney too bright?
- Burial: Once you are satisfied, tuck the wires into the trenches and firm the soil or mulch back over them. If you ran wire through a lawn, step on the sod to press it back into place. Within a week or two, the grass will grow over the slit, and the installation will be invisible.
9. Maintenance

A garden is a living, breathing entity, and your lighting system needs to adapt to it. To keep your system looking professional year-round:
- Trim Foliage: Plants grow. A spotlight that perfectly lit a tree branch in the spring might be completely buried by leaves by mid-summer. Trim back branches that block the light.
- Clean Lenses: Hard water stains and dirt can significantly reduce light output. Wipe the glass lenses of your fixtures every few months with a damp cloth.
- Check for Movement: Frost heaves or accidental kicks can knock path lights out of alignment. Straighten them up to maintain a clean look.
- Update Timers: Remember to adjust your timer for Daylight Savings Time or as the days get shorter in the winter, unless you have a smart transformer that does this automatically based on your location.