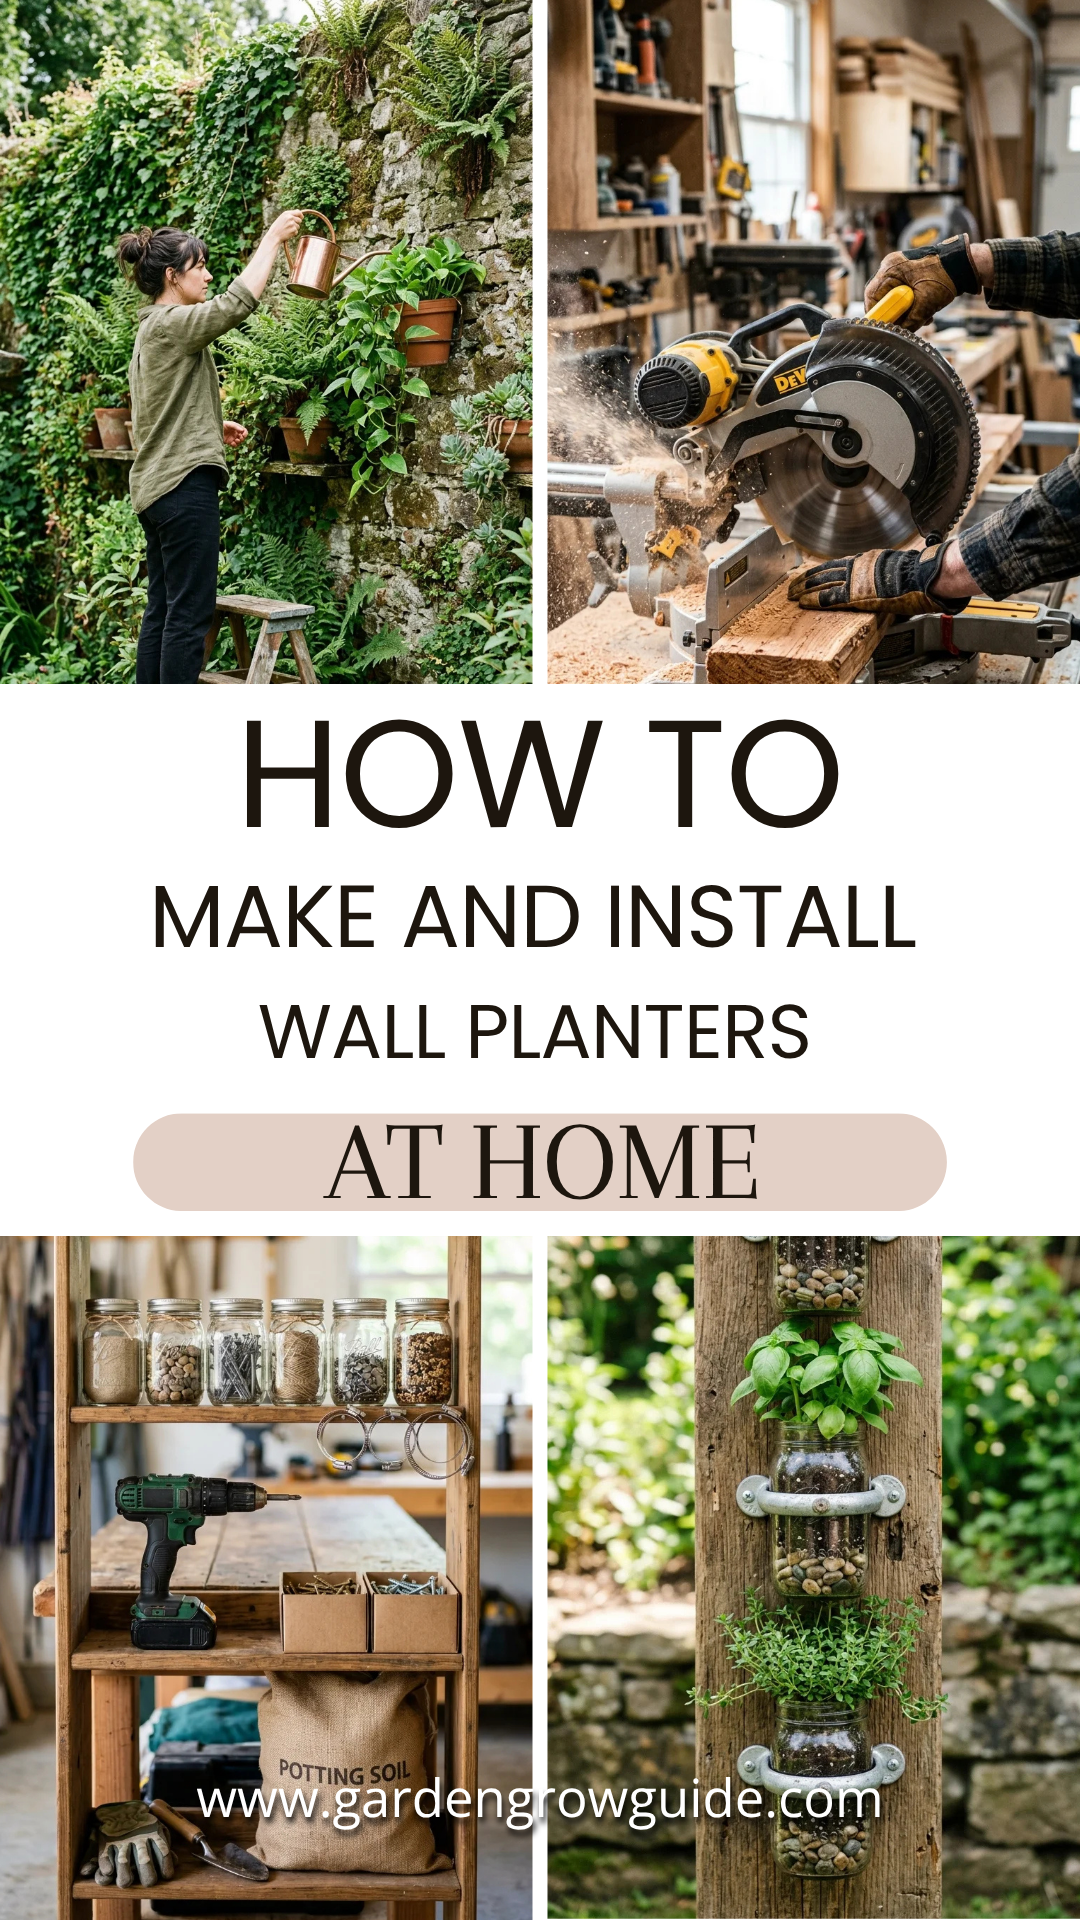
Vertical gardening is more than just a trend; it is a space-saving solution that breathes life into any room. Whether you live in a compact urban apartment or a sprawling suburban home, wall planters allow you to cultivate a lush oasis without sacrificing precious floor space. This guide provides a deep dive into the materials, construction methods, and installation techniques required to create professional-grade wall planters at home.
1. Planning
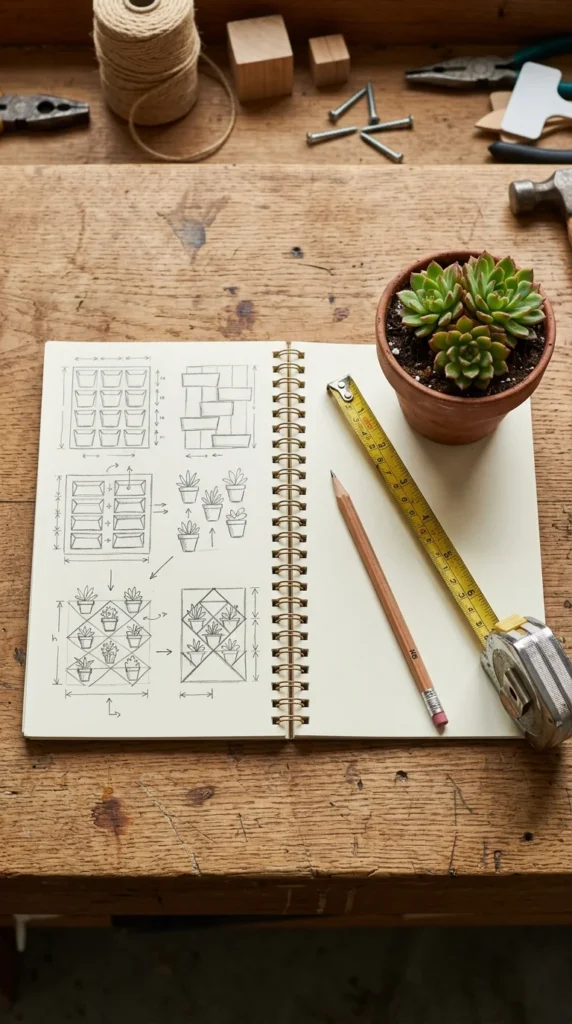
Before picking up a saw or a drill, you must evaluate your environment. The success of a wall planter depends heavily on two factors: light and weight capacity. Different plants require varying levels of sunlight, so identify whether your chosen wall receives direct sun, filtered light, or remains in the shade. Furthermore, consider the material of your wall. Drywall requires specific anchors, while brick or concrete demands masonry bits and specialized screws.
Measure the area carefully. A common mistake is building planters that are too deep, which can make a hallway feel cramped, or too small, causing the plants to become root-bound quickly. Aim for a depth of at least 4 to 6 inches for most small houseplants and herbs.
2. Materials
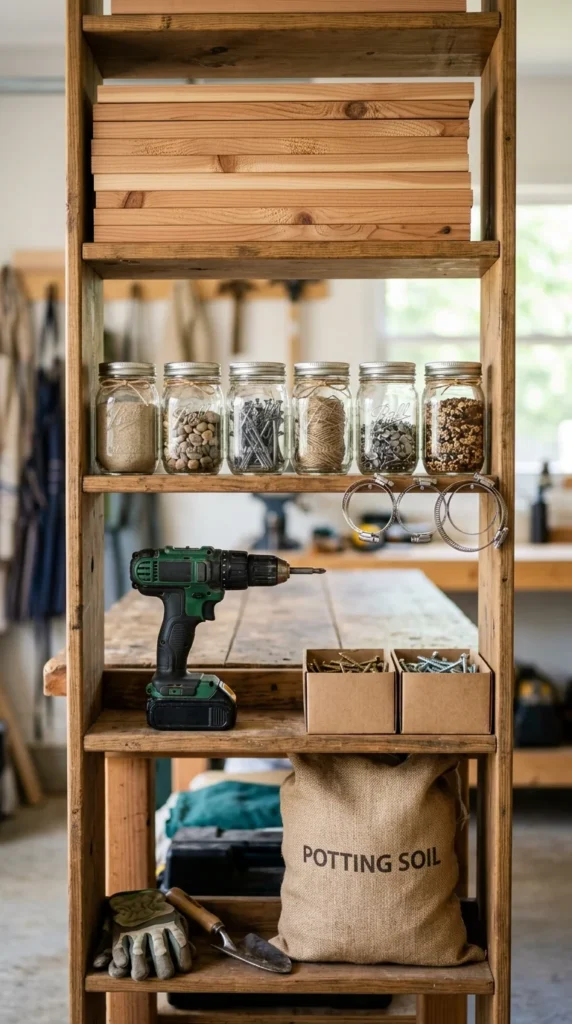
The longevity of your wall planter depends on the quality of materials used. If you are building wooden planters, cedar and redwood are the gold standards because they are naturally rot-resistant. If using pine, ensure it is treated or sealed with a non-toxic, water-resistant finish to prevent decay from moisture.
For an upcycled look, mason jars or tin cans are popular choices. You will also need mounting hardware, such as French cleats for heavy wooden boxes, or D-rings and picture wire for lighter setups. Always keep a high-quality waterproof liner or pond liner on hand if you are building wooden containers to prevent water from seeping into the grain and eventually the wall.
3. Woodworking
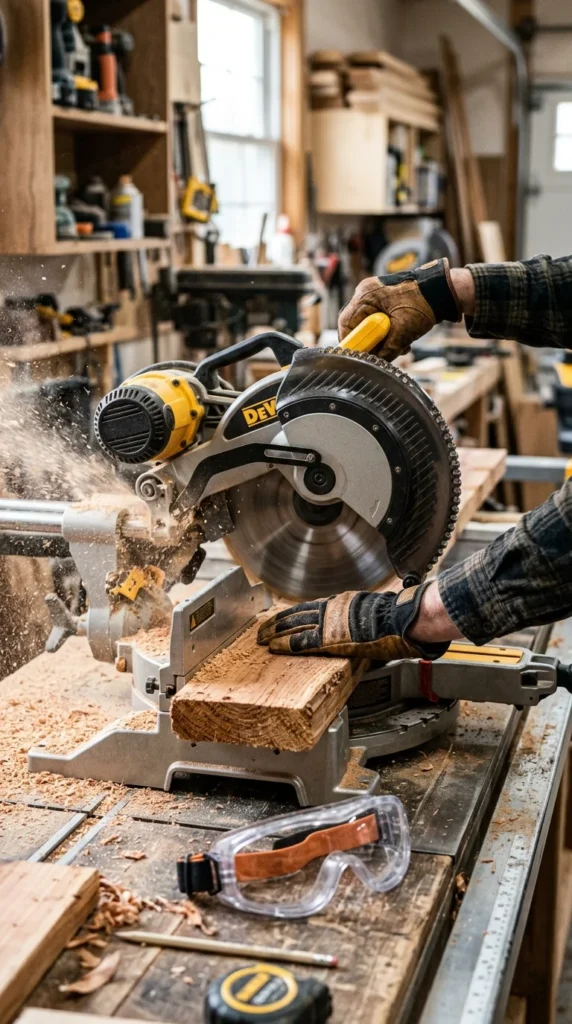
To create a classic wooden box planter, start by cutting your boards to size. A standard rectangular box consists of a front, a back, two sides, and a bottom. Using a miter saw allows for clean 45-degree angles if you want a seamless look, though simple butt joints are easier for beginners and offer a rustic charm.
Assemble the pieces using wood glue and galvanized finish nails or screws. Galvanized hardware is essential to prevent rusting when exposed to water. Crucially, drill at least three half-inch drainage holes in the bottom board. To protect the wood, apply a coat of linseed oil or a dedicated outdoor wood sealer.
4. Mason Jars
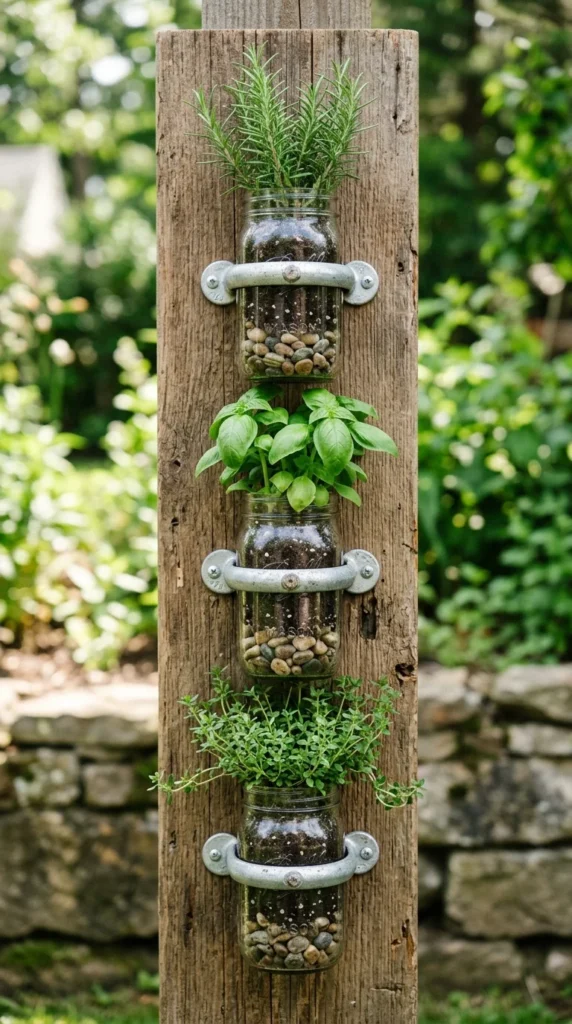
Mason jar planters are excellent for kitchens and small herb gardens. The primary challenge with glass is the lack of drainage. To solve this, place an inch of charcoal or small river rocks at the bottom of the jar before adding soil; this creates a reservoir for excess water.
To mount them, use stainless steel hose clamps. Screw the clamp directly into a decorative wooden backing board, slide the jar into the clamp, and tighten it with a screwdriver until the jar is secure. This method allows you to easily remove the jars for cleaning or replanting.
5. Drainage
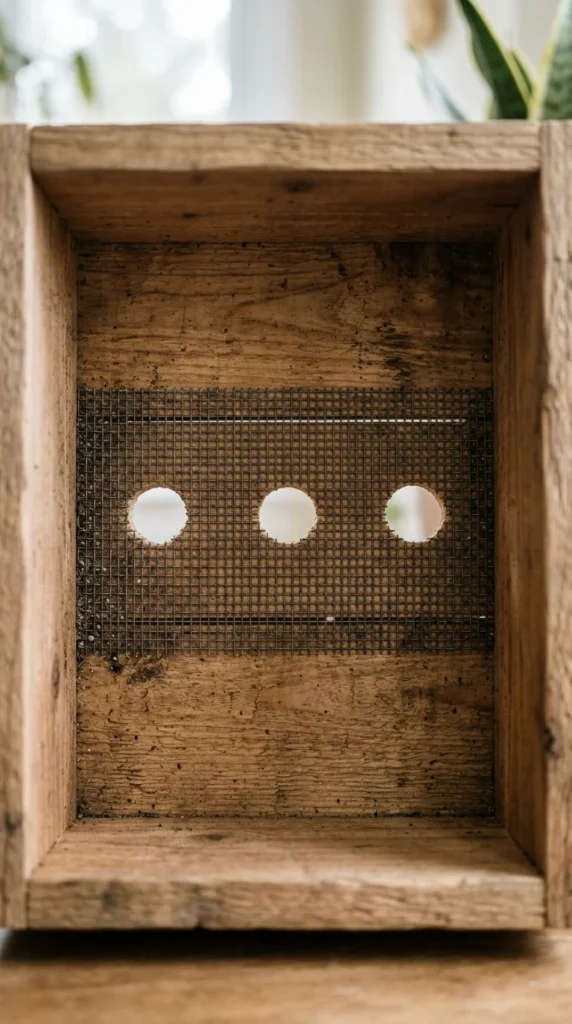
Proper drainage is the difference between a thriving plant and root rot. If your planter is indoors, you cannot simply let water drip onto your floor. There are two solutions: the “cachepot” method or a hidden tray. The cachepot method involves placing the plant in a plastic nursery pot inside your decorative wall planter; you simply take the plastic pot to the sink to water it.
Alternatively, if you are planting directly into the wall unit, you must install a drip tray or a waterproof basin at the base of the structure. For wooden boxes, lining the interior with heavy-duty plastic (stapled into place) protects the wood, but you must still ensure that the water has somewhere to go or is managed through careful, sparse watering.
6. Preparation
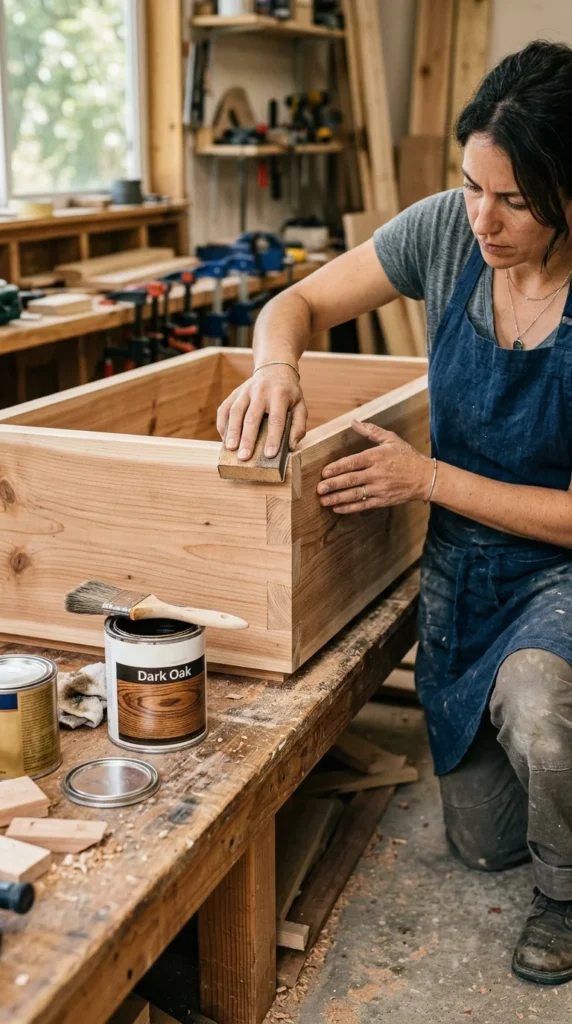
Once the structure is built, preparation for the “finish” is vital. Sand all surfaces starting with 80-grit sandpaper and moving up to 220-grit for a smooth touch. This prevents splinters and allows stains or paints to adhere better.
If you are painting your planters, use a primer first. For a modern aesthetic, matte black or charcoal grey creates a stunning contrast against green foliage. If you prefer a natural look, a clear polyurethane coat will protect the wood while highlighting the grain. Ensure the finish is completely dry and cured—usually 24 to 48 hours—before adding soil and plants.
7. Mounting
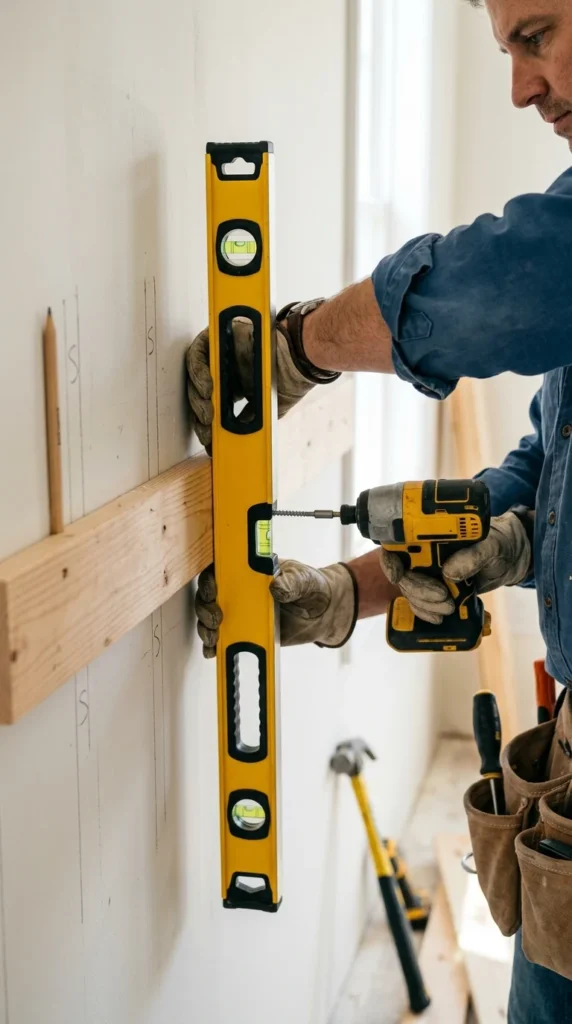
Installation is the most critical phase for safety. Wall planters filled with wet soil are surprisingly heavy. Whenever possible, screw your mounting hardware directly into the wall studs. Use a stud finder to locate these vertical support beams.
If studs are not available in your desired location, use heavy-duty toggle bolts or zinc self-drilling drywall anchors. Avoid the cheap plastic expansion anchors, as they can pull out under the constant weight of a planter. For large, multi-plant installations, a French cleat system is highly recommended. It involves two interlocking sloped pieces of wood or metal—one on the wall and one on the planter—distributing weight evenly across the surface.
8. Planting
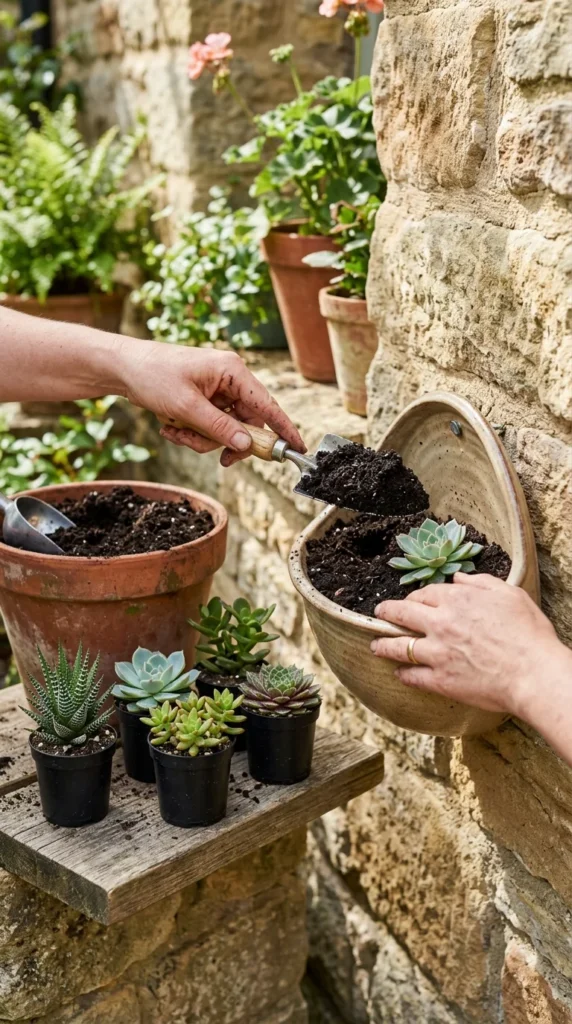
Choose the right soil and plants for your specific planter depth. Use a high-quality indoor potting mix, which is formulated to be lighter and retain moisture better than standard garden soil. Avoid using “dirt” from your backyard, as it is too heavy and may contain pests.
For high-up planters, choose “spillers”—plants that trail downward, such as Pothos, Heartleaf Philodendron, or String of Pearls. For eye-level planters, “thrillers” like Zebra Plants or Bird’s Nest Ferns add architectural interest. Ensure that plants with similar light and water requirements are grouped together in the same container.
9. Irrigation
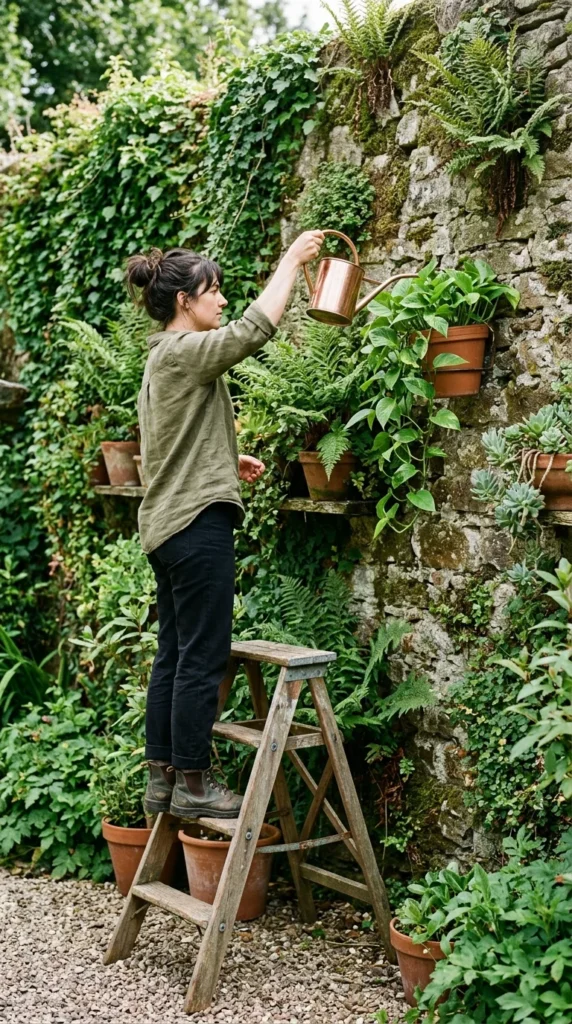
Maintenance of wall planters requires a bit more strategy than floor plants. Because they are often mounted higher up, accessibility is key. Invest in a long-necked watering can or a pressure sprayer with a wand attachment to reach high spots without a ladder.
Consider the “finger test”: stick your finger an inch into the soil; if it feels dry, it is time to water. Be mindful that wall-mounted planters—especially those near ceilings—tend to dry out faster due to rising heat. If you have a large-scale installation, you might even consider a hidden drip irrigation system connected to a small pump, though this requires more advanced plumbing skills.
10. Finishing
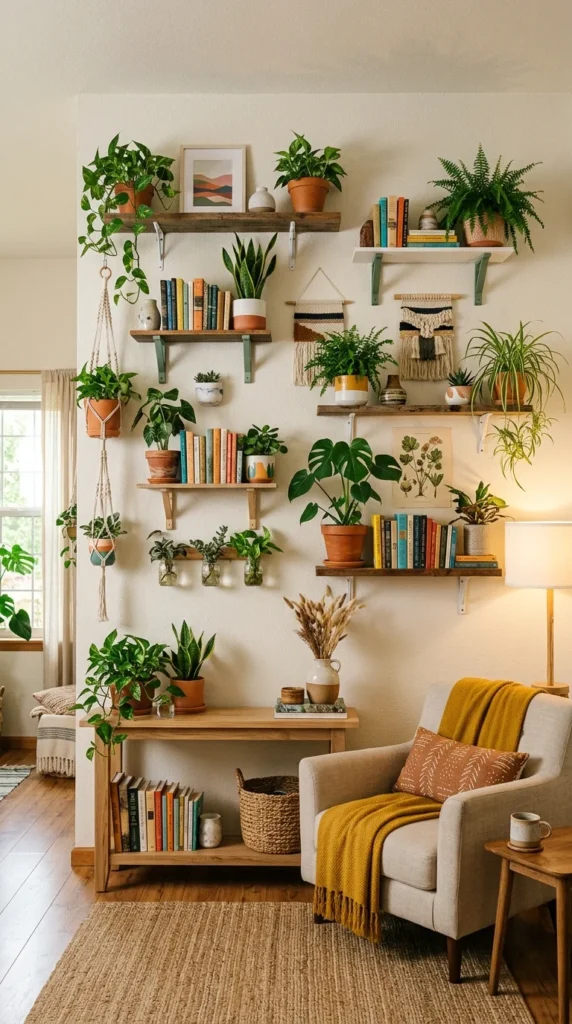
The final step is the aesthetic integration of your planters into your home decor. Don’t be afraid to mix and match materials; combining wood, metal, and glass creates a curated, designer look. You can also add “filler” elements like decorative moss or river stones on top of the soil to hide the dirt and add a polished finish.
Periodically check the mounting hardware to ensure nothing has loosened over time due to the weight of the plants growing. With regular pruning and proper light, your DIY wall planters will transform your living space into a vibrant, oxygen-rich sanctuary that serves as a functional piece of living art.