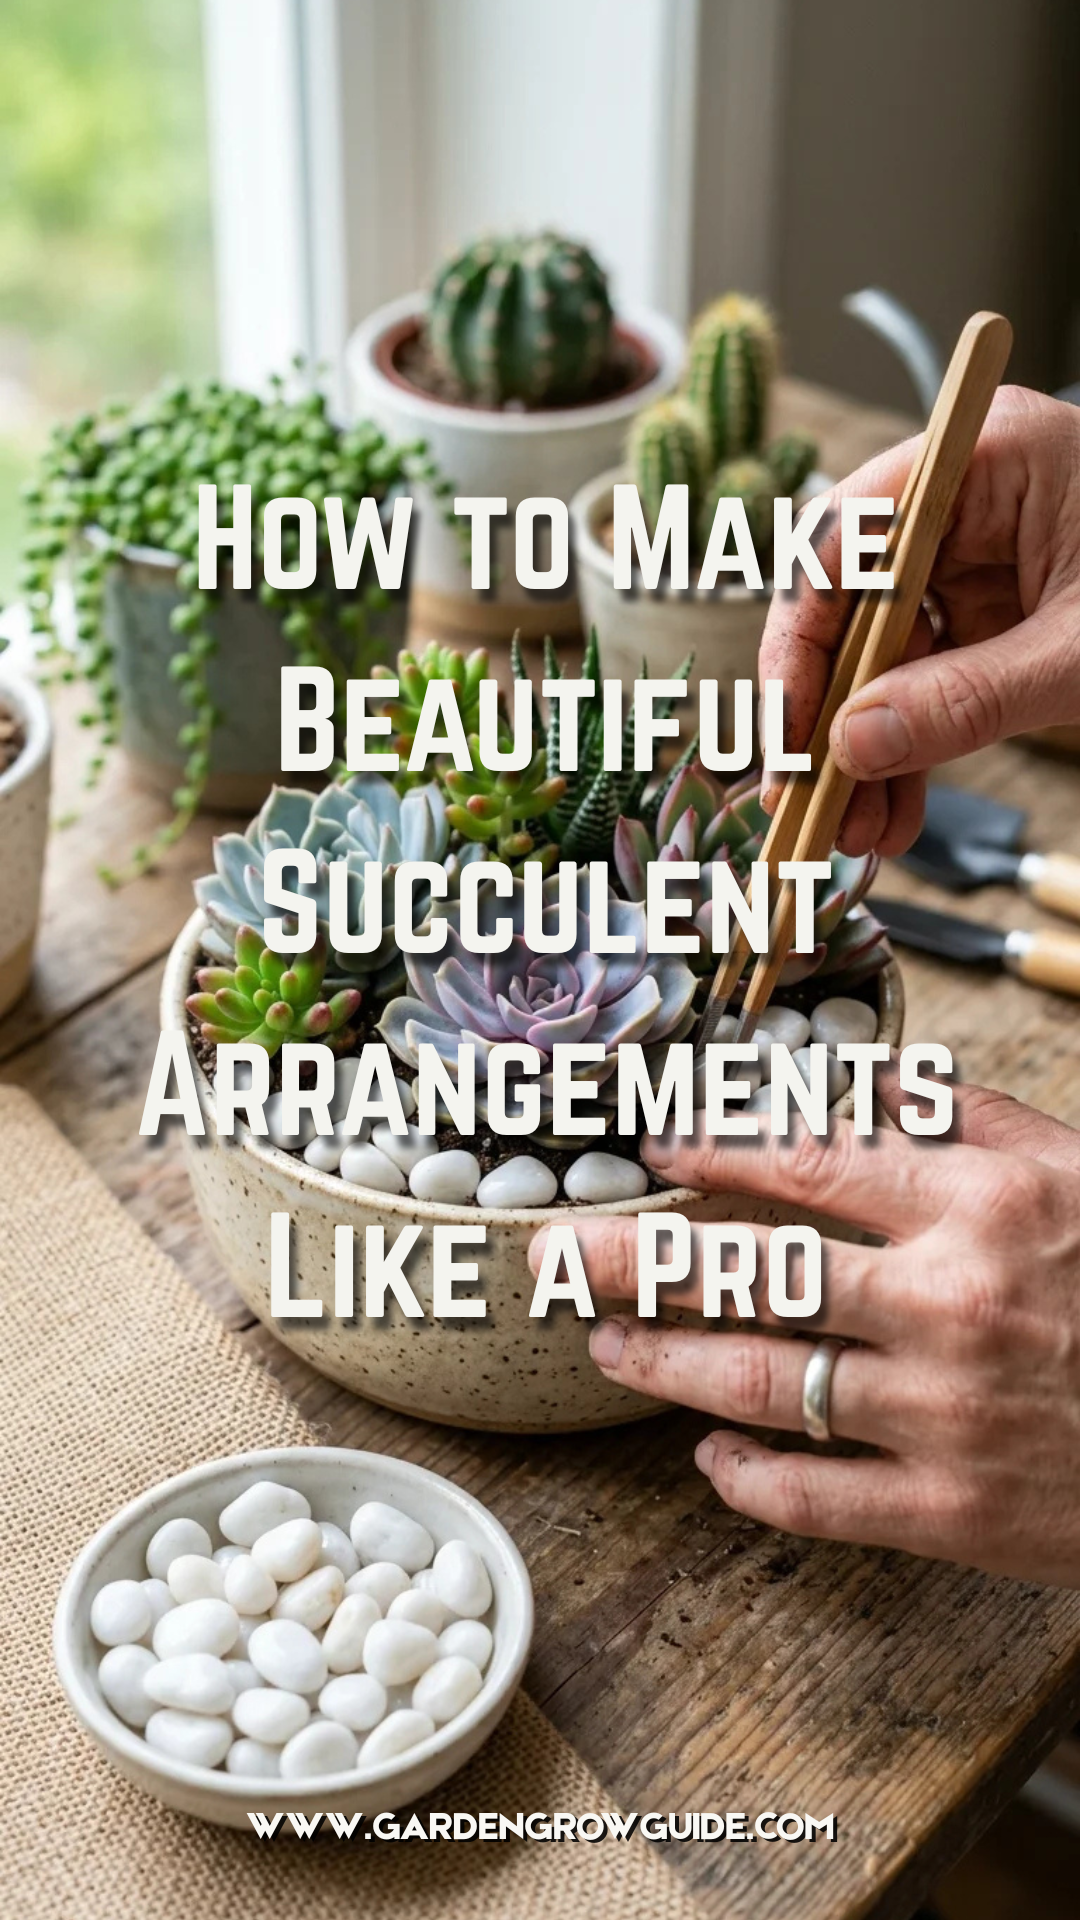
Succulent gardening has evolved from a simple hobby into a sophisticated form of living art. These resilient, water-storing plants offer a spectrum of colors, textures, and shapes that allow for endless creativity. Creating an arrangement that looks like it belongs in a high-end boutique requires more than just placing plants in dirt; it involves understanding design principles, horticultural needs, and the subtle nuances of color theory. This guide provides a comprehensive roadmap to crafting professional-grade succulent displays that thrive for years.
1. Containers
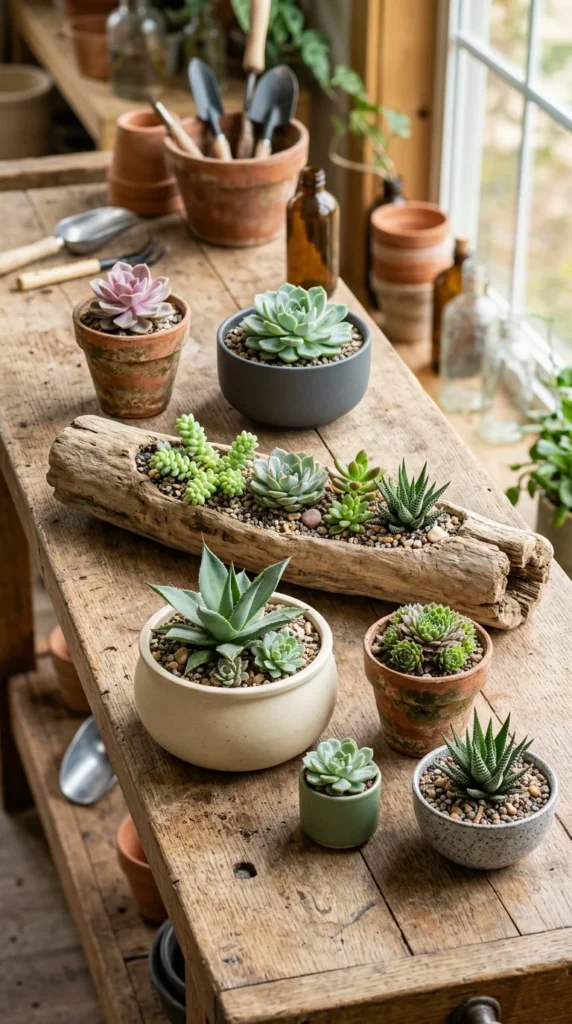
The foundation of any great arrangement is the vessel. Professionals often opt for shallow containers because succulent root systems are relatively small and prone to rot if buried in deep, damp soil. Materials matter significantly: terracotta and unglazed ceramic are breathable, allowing moisture to evaporate through the walls, which is ideal for succulents. If you choose a non-porous material like glass or glazed metal, you must be extremely cautious with watering. Regardless of the material, a drainage hole is the single most important feature of a professional container to ensure the health of the plants.
2. Soil
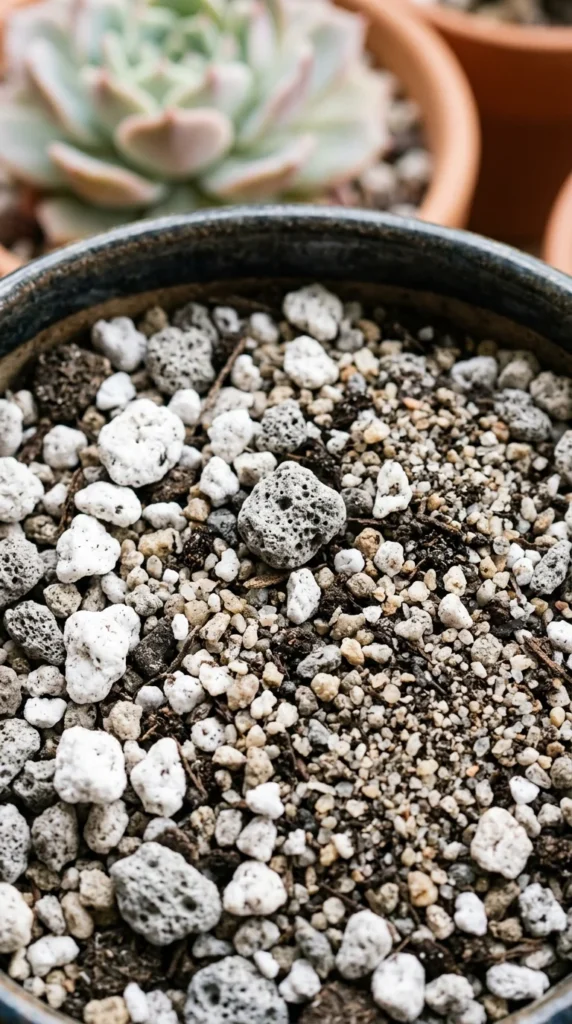
Standard potting soil is the enemy of the succulent. Professionals use a “gritty mix” that prioritizes aeration and rapid drainage. A pro-level blend typically consists of one part organic matter (like coconut coir or peat) and two parts inorganic substrate (such as pumice, perlite, or crushed lava rock). This structure prevents the soil from compacting around the delicate roots and ensures that oxygen can reach the root system even after watering. When you squeeze a handful of moist succulent soil, it should crumble apart immediately when you release your hand, rather than forming a solid clump.
3. Thrillers
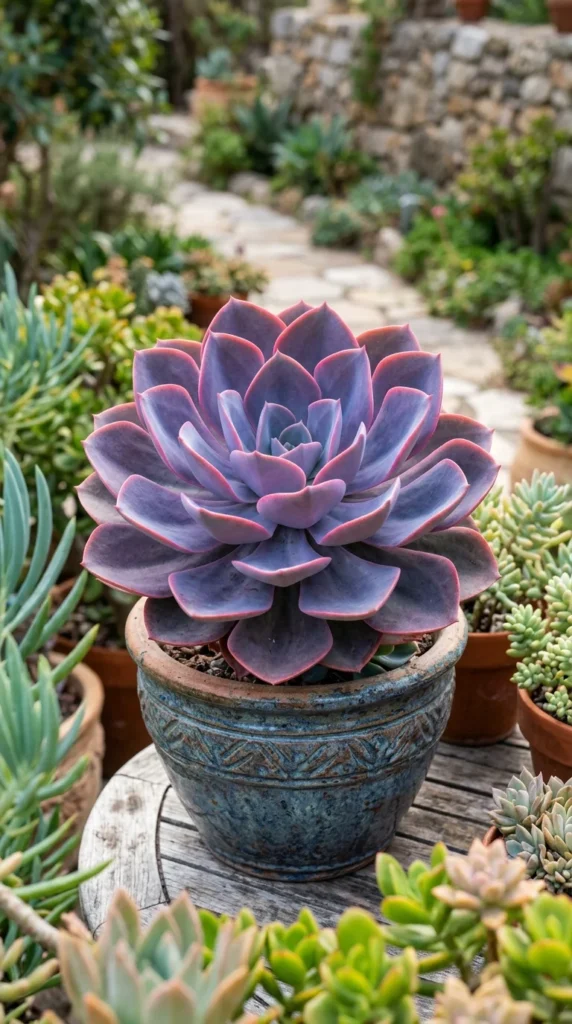
The “Thriller, Filler, Spiller” method is the golden rule of professional floral and succulent design. The “Thriller” is your focal point—the plant that immediately draws the eye. This is usually the largest, tallest, or most colorful specimen in the arrangement. Popular thrillers include upright varieties like Aeonium ‘Sunburst’, tall Aloe species, or exceptionally large Echeveria rosettes. This plant should be placed slightly off-center to create a more dynamic, natural aesthetic rather than a rigid, symmetrical look.
4. Fillers
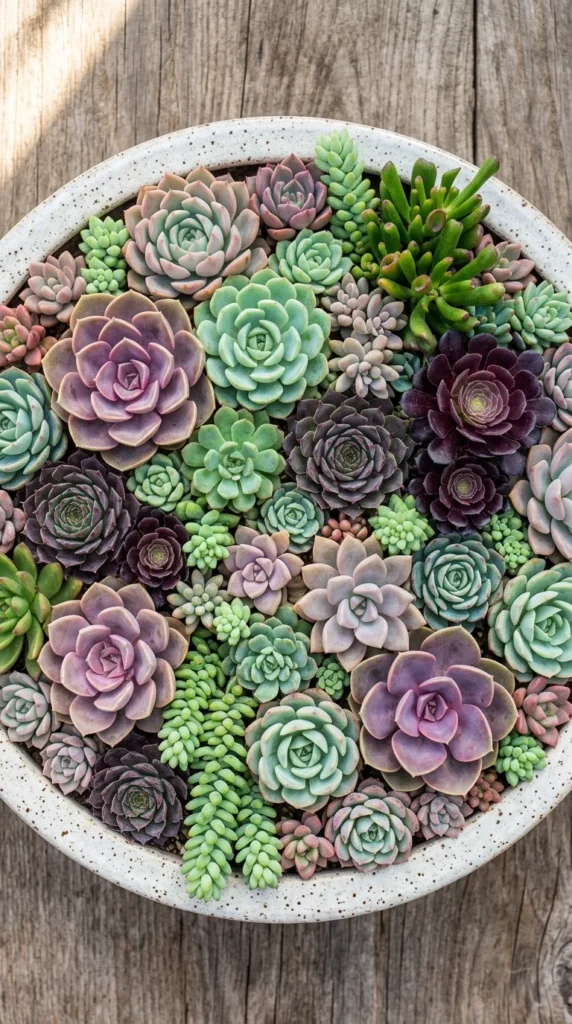
“Fillers” are mid-sized plants that surround the thriller. Their job is to bridge the gap between the focal point and the edges of the container, creating a sense of lushness and density. Professionals often use fillers with different textures to create visual interest. For instance, pairing the smooth, waxy leaves of a Graptopetalum with the “furry” leaves of a Kalanchoe tomentosa (Panda Plant) provides a tactile contrast that makes the arrangement pop. The goal is to hide the soil completely, giving the impression of a miniature, thriving ecosystem.
5. Spillers
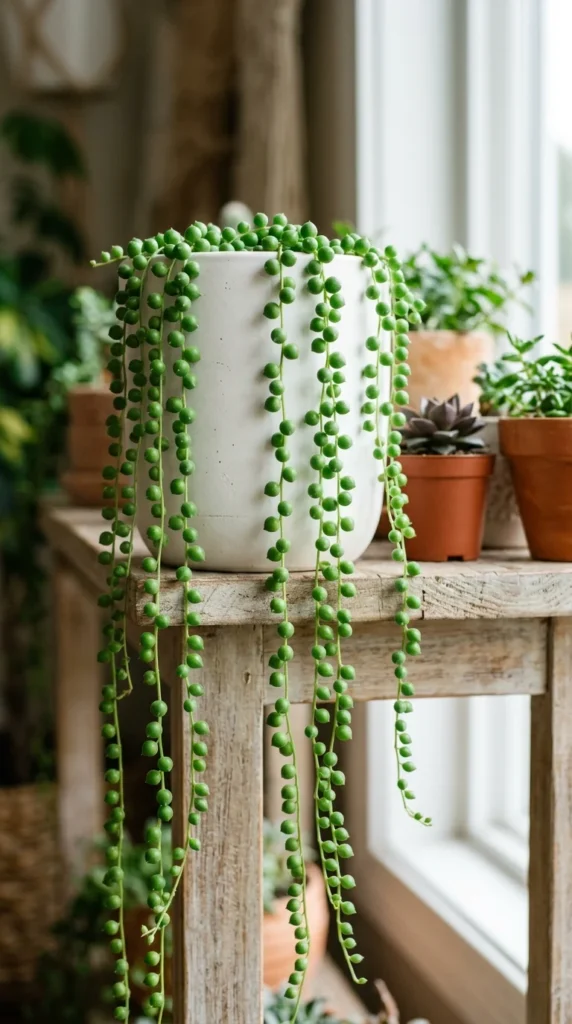
The “Spiller” adds a vertical dimension by cascading over the rim of the pot. This softens the hard edges of the container and provides a sense of movement. Common spillers include Senecio rowleyanus (String of Pearls), Sedum morganianum (Burro’s Tail), or trailing varieties of Crassula. When planting spillers, place them at the very edge of the container and slightly tilt them outward to encourage their natural downward growth pattern.
6. Contrast
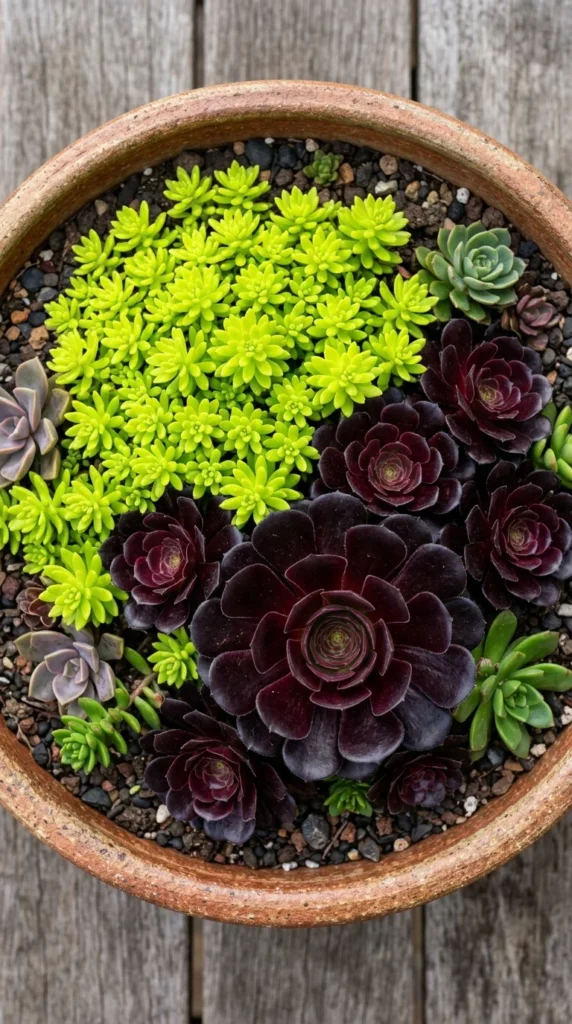
Color theory is what separates an amateur arrangement from a professional one. To create a “pro” look, focus on high-contrast pairings. Placing complementary colors—those opposite each other on the color wheel—next to one another creates maximum impact. Think of pairing orange-toned Sedum ‘Adolphii’ with blue-toned Echeveria ‘Blue Atoll’. Alternatively, you can create a sophisticated monochromatic look by using various shades of the same color, such as a mix of silver, sage, and forest green succulents.
7. Density
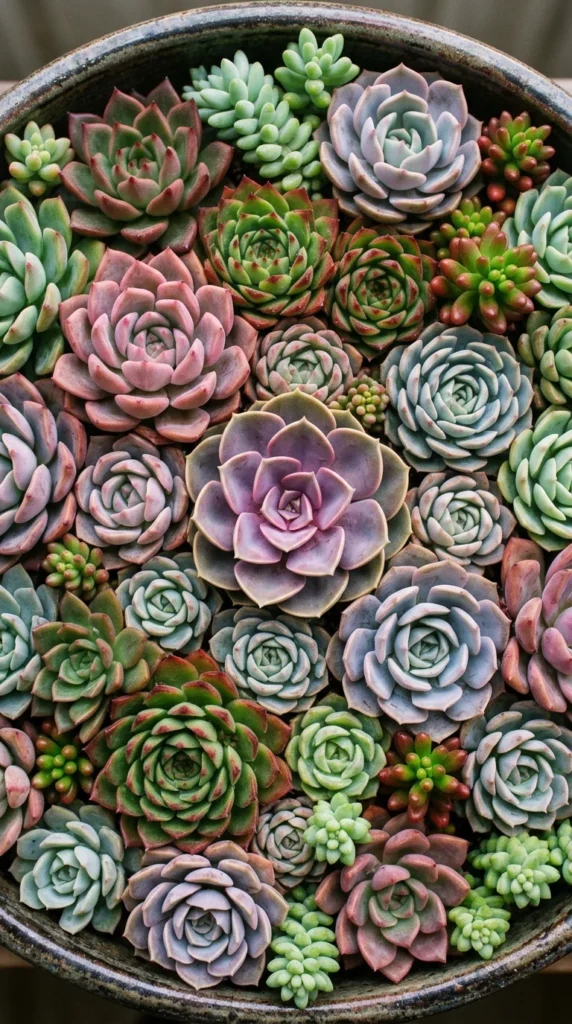
One of the biggest “pro secrets” is planting density. While many gardening guides suggest leaving space for plants to grow, professional succulent arrangements are often planted “tight.” Because succulents are slow-growing, a loosely planted arrangement can look unfinished for months. By packing them closely together, you create an immediate “wow” factor. To maintain this look, you may need to prune or repat the arrangement every year or two as the plants eventually outgrow their tight quarters.
8. Cleaning
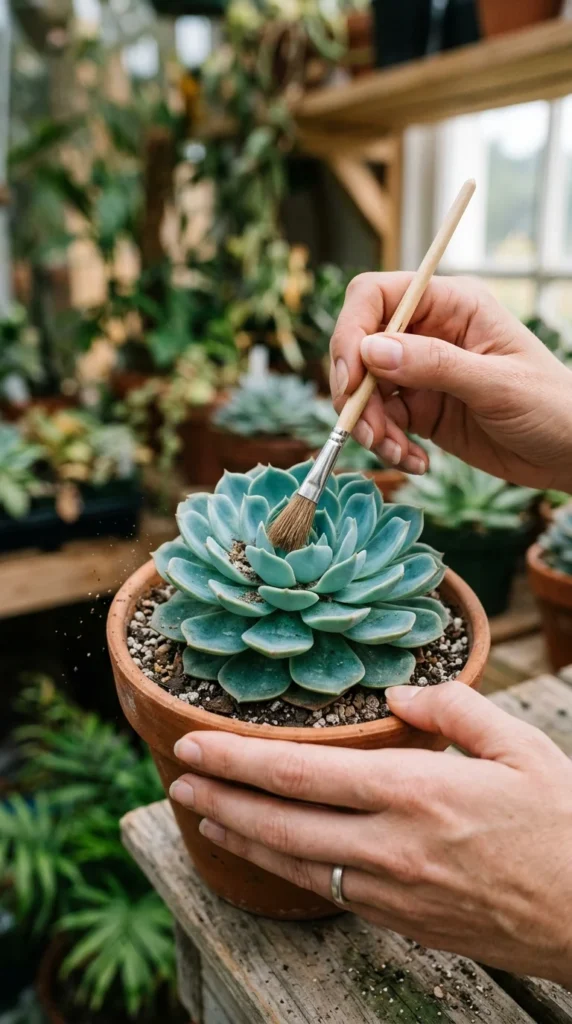
Before finalizing an arrangement, professionals pay close attention to the cleanliness of the plants. Use a small, soft paintbrush to sweep away any stray soil or dust from the leaves and the tight crevices of the rosettes. This not only makes the arrangement look pristine for photos or display but also prevents pests like mealybugs from hiding in the debris. If the leaves have lost their natural “bloom” (the waxy Farina coating) due to handling, avoid touching them further, as this coating is protective and takes time to grow back.
9. Top-Dressing
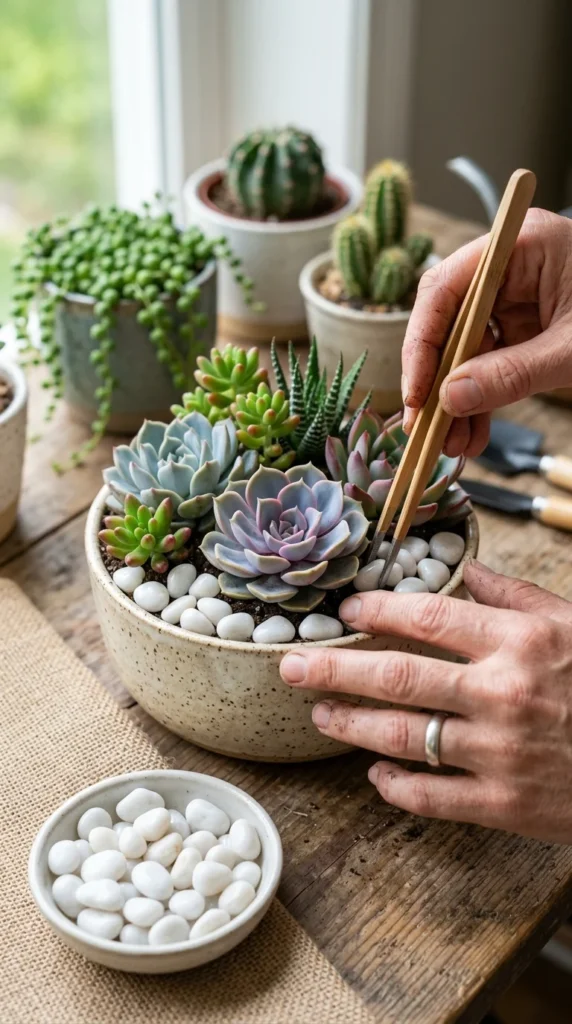
Top-dressing is the “jewelry” of the succulent world. It involves adding a layer of decorative rock, gravel, or sand over the exposed soil. This serves three purposes: it provides a clean, finished look; it keeps the lower leaves of the succulents off the damp soil (preventing rot); and it weighs down the light, airy succulent soil so it doesn’t wash away during watering. Professionals choose top-dressings that complement the colors of the plants—for example, dark lava rock to make bright green plants pop, or fine white sand for a minimalist, modern aesthetic.
10. Lighting
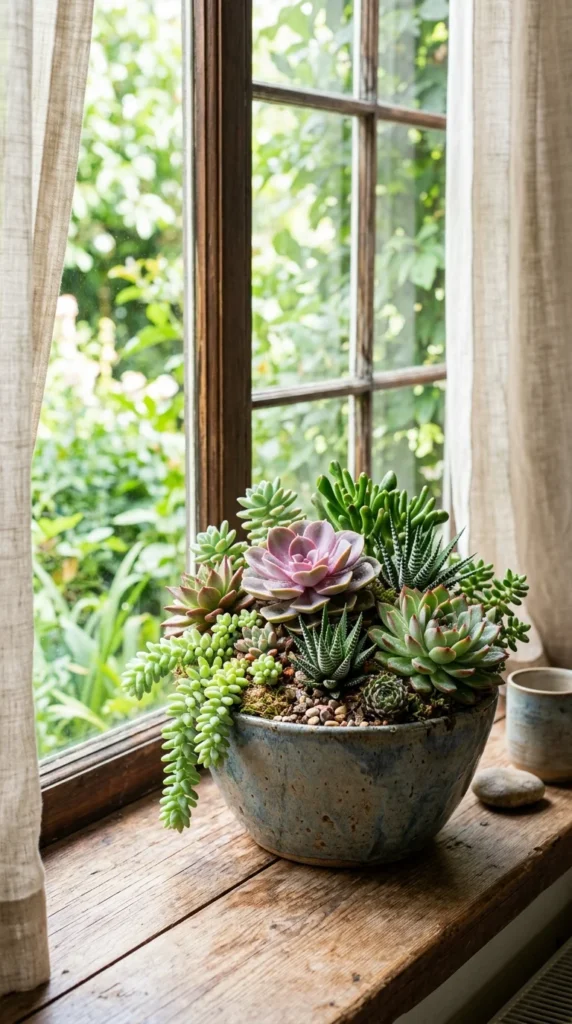
A beautiful arrangement will only stay beautiful if it receives the right light. Most succulents need “bright, indirect light.” This means a spot that is very bright but protected from the scorching afternoon sun, which can bleach or burn the leaves. If the arrangement is kept in a spot that is too dark, the plants will undergo “etiolation”—they will stretch out toward the light, losing their compact, rose-like shape and ruining the design. A south-facing window with a sheer curtain is often the perfect professional-level lighting environment.
11. Hydration
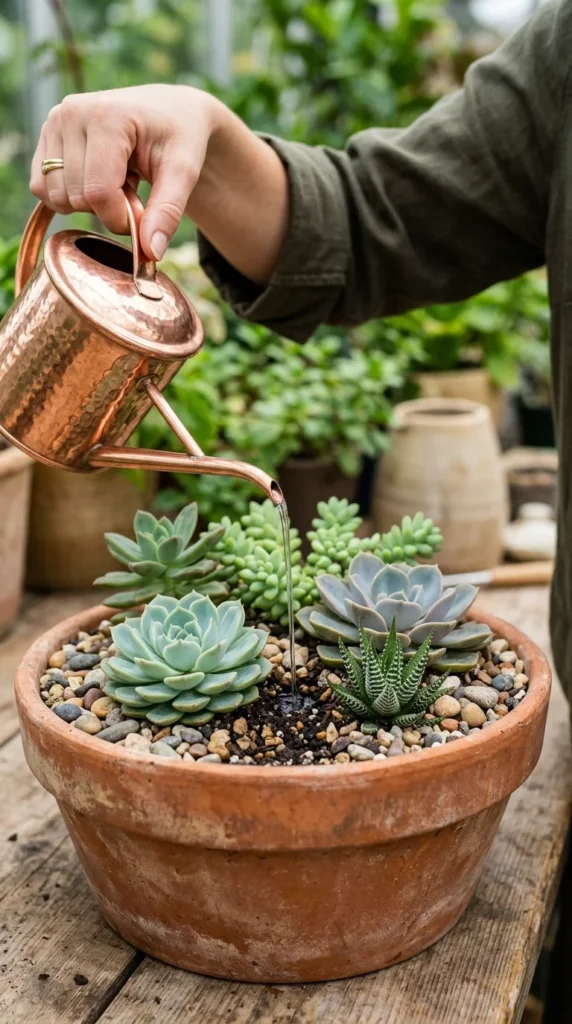
Watering a professional arrangement requires a specific technique. Instead of misting the leaves (which can cause rot and fungal issues), use a squeeze bottle or a long-necked watering can to apply water directly to the soil. The “soak and dry” method is standard: water the arrangement thoroughly until water runs out of the drainage hole, then wait until the soil is bone-dry throughout the entire container before watering again. In a dense arrangement, the soil stays moist longer, so checking the moisture level with a wooden skewer or a finger is essential.
12. Maintenance
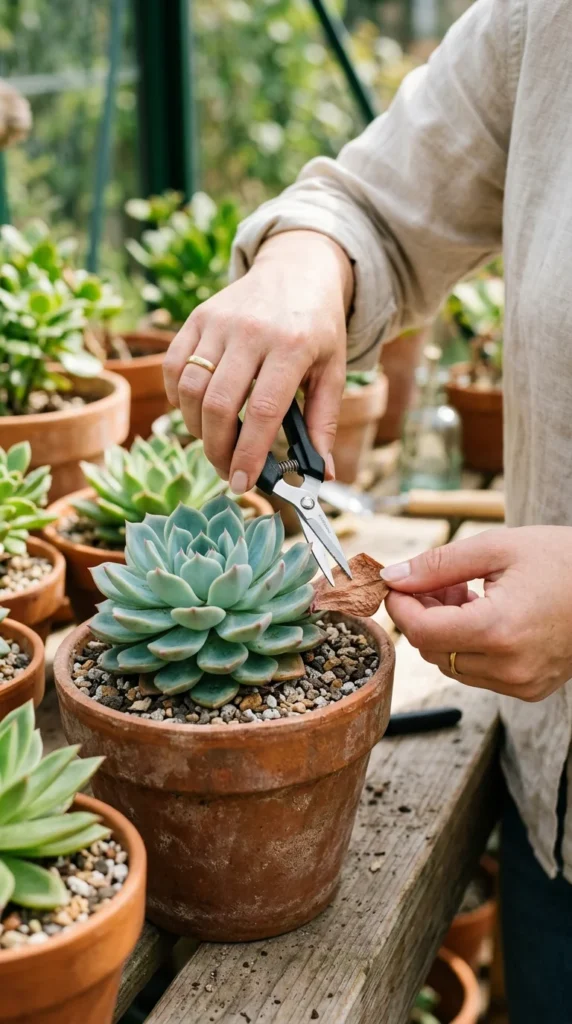
Even the most perfect arrangement requires upkeep. Professionals regularly perform “grooming” by removing dead or shriveled leaves from the bottom of the plants. This is a natural part of succulent growth, but leaving dead foliage can attract pests and trap moisture. If a plant becomes too tall or “leggy,” don’t be afraid to perform “beheading”—cutting the top off, letting it callous, and replanting it to refresh the arrangement. This constant cycle of care ensures the arrangement remains a professional-quality centerpiece for its entire lifespan.