The dream of walking into your own backyard and plucking a sun-ripened peach or a crisp apple is a reality attainable for almost any homeowner. A backyard orchard is more than just a source of food; it is a long-term investment in your property’s value, a haven for local pollinators, and a deeply rewarding hobby. Unlike commercial orchards, a home orchard allows you to grow rare, flavorful varieties that are too delicate for supermarket shipping. However, success requires more than just digging a hole and dropping in a sapling. It demands careful planning, site preparation, and an understanding of the biological needs of your trees.
1. Site Selection
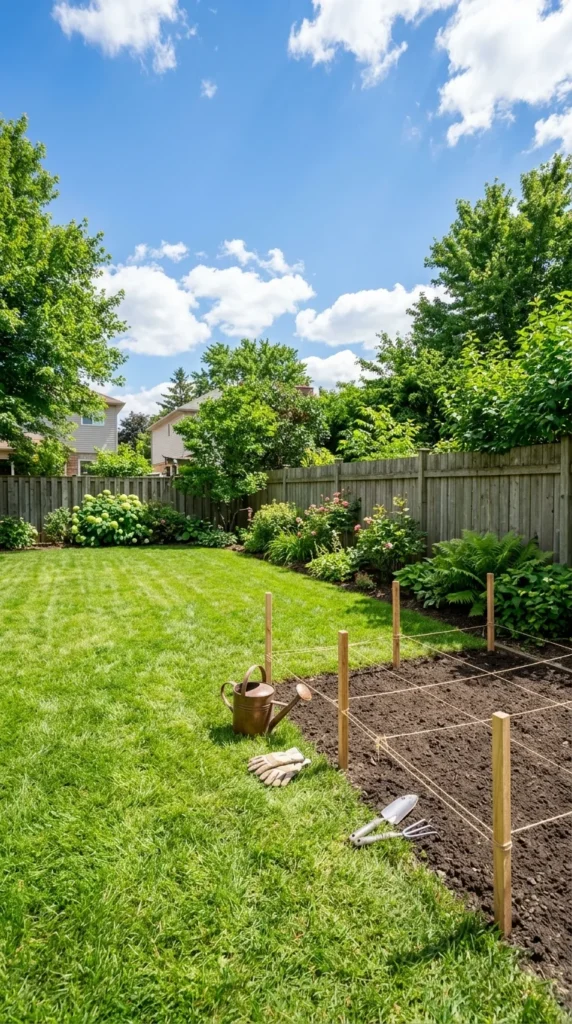
The most critical factor in the success of your orchard is where you put it. Fruit trees are sun-worshippers; they require at least six to eight hours of direct sunlight daily to produce sugars, which translates to sweet fruit. When evaluating your yard, observe the shadows cast by your house, fences, and existing large shade trees throughout the day.
Beyond light, consider the topography. Avoid “frost pockets”—low-lying areas where cold air settles. A late spring frost in a low spot can kill delicate blossoms and ruin an entire year’s harvest. Air circulation is equally vital; a gentle breeze helps dry leaves after rain, significantly reducing the risk of fungal diseases like powdery mildew or scab. Ensure the site is protected from harsh, breaking winds but open enough to allow for natural airflow.
2. Soil Preparation
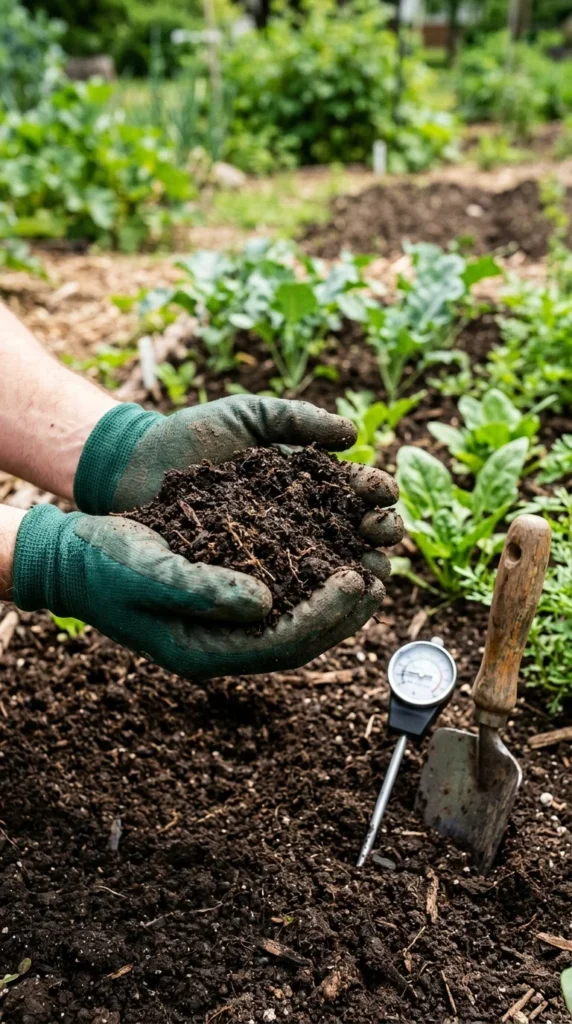
Fruit trees are long-lived, meaning you have one primary chance to get the soil right before the tree is in the ground for decades. Start with a soil test to determine the pH and nutrient levels. Most fruit trees thrive in slightly acidic to neutral soil (pH 6.0 to 7.0). If your soil is too alkaline, you may need to add sulfur; if it’s too acidic, lime is the standard amendment.
Drainage is the second pillar of soil health. Fruit trees “dislike” having wet feet. To test your drainage, dig a hole one foot deep, fill it with water, and see how long it takes to drain. If it takes more than a few hours, you have heavy clay or a hardpan layer. In such cases, you should consider planting on mounds or in raised beds to keep the root crowns above the saturation zone. Incorporating well-rotted compost or aged manure can improve both the structure and the fertility of the soil.
3. Variety Choice
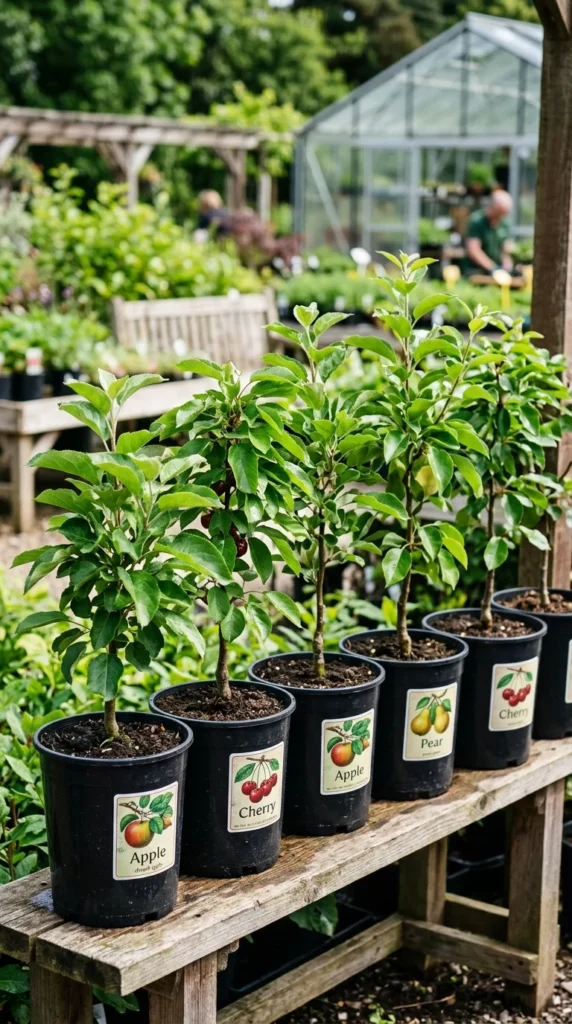
When selecting trees, resist the urge to buy based solely on the fruit you like to eat. You must choose varieties that are compatible with your specific climate. This involves checking “chill hours”—the number of hours between 32°F and 45°F that a tree needs during winter to break dormancy and bloom in the spring. If you plant a low-chill peach in a high-chill environment, it may bloom too early and lose its buds to frost. Conversely, a high-chill tree in a warm climate may never fruit at all.
Size is another major consideration. For most backyards, dwarf or semi-dwarf rootstocks are the best choice. These trees reach a manageable height of 8 to 15 feet, making harvesting and pruning much easier than with standard trees that can soar to 30 feet. Additionally, look for disease-resistant cultivars. Varieties bred to resist common local issues like cedar apple rust or fire blight will save you hours of spraying and frustration.
4. Pollination Needs
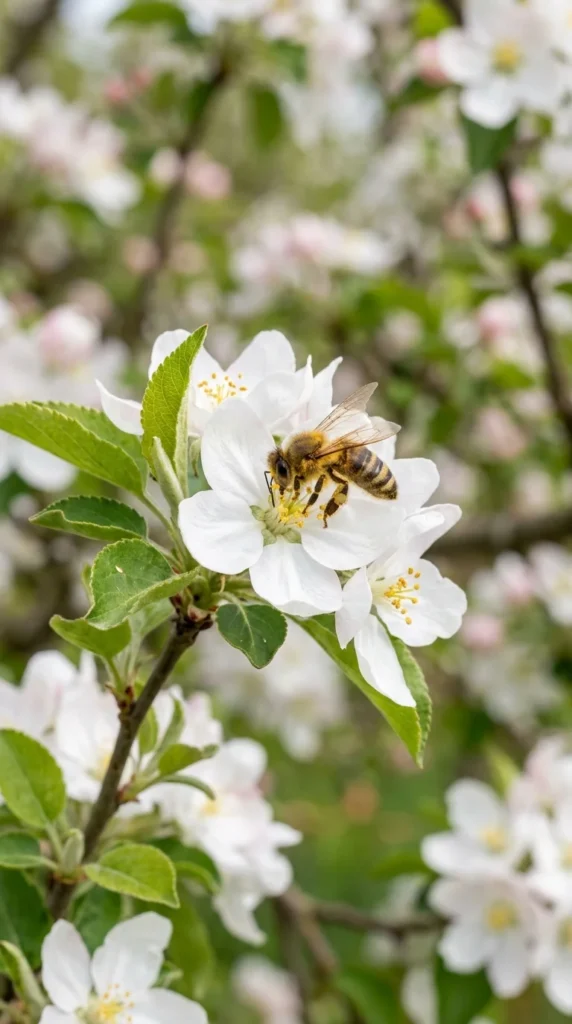
Many fruit trees are not “self-fertile,” meaning they cannot produce fruit with their own pollen. They require a different variety of the same species nearby to act as a pollinator. For example, most apple trees need a second, different apple variety that blooms at the same time to ensure fruit set.
Even for self-fertile trees, such as many peaches and sour cherries, having a second tree or a diverse garden nearby can increase the yield and size of the fruit. When planning your orchard layout, group trees that require cross-pollination within 50 feet of each other to make it easy for bees and other pollinators to travel between them. If space is extremely limited, look for “multi-grafted” trees, where three or four different varieties are grafted onto a single trunk.
5. Spacing Layout
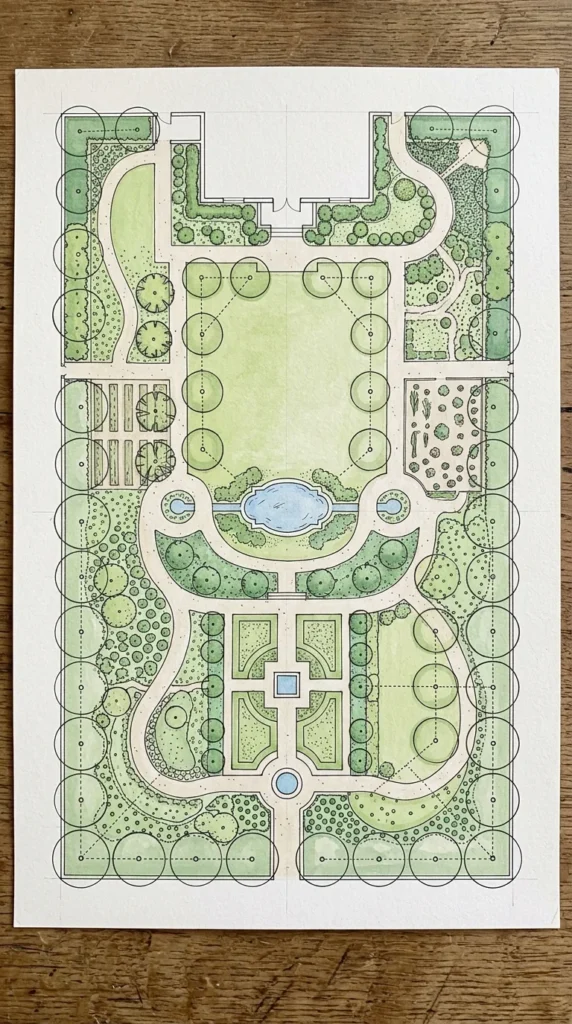
Proper spacing is essential for long-term health. While it is tempting to crowd trees to get more variety, overcrowding leads to poor sunlight penetration and trapped moisture, which invites disease. For semi-dwarf trees, a spacing of 12 to 15 feet between trees is standard. Dwarf trees can be spaced as close as 8 to 10 feet.
If you have a very small yard, consider high-density planting techniques. You can plant two to four trees in a single large hole (about 18 inches apart), treating them as a single multi-trunked unit. Another popular method is “espalier,” where trees are trained to grow flat against a fence or wall. This not only saves space but creates a stunning visual feature in the landscape. Always leave enough room between rows for your lawnmower or wheelbarrow to pass through comfortably.
6. Planting Process
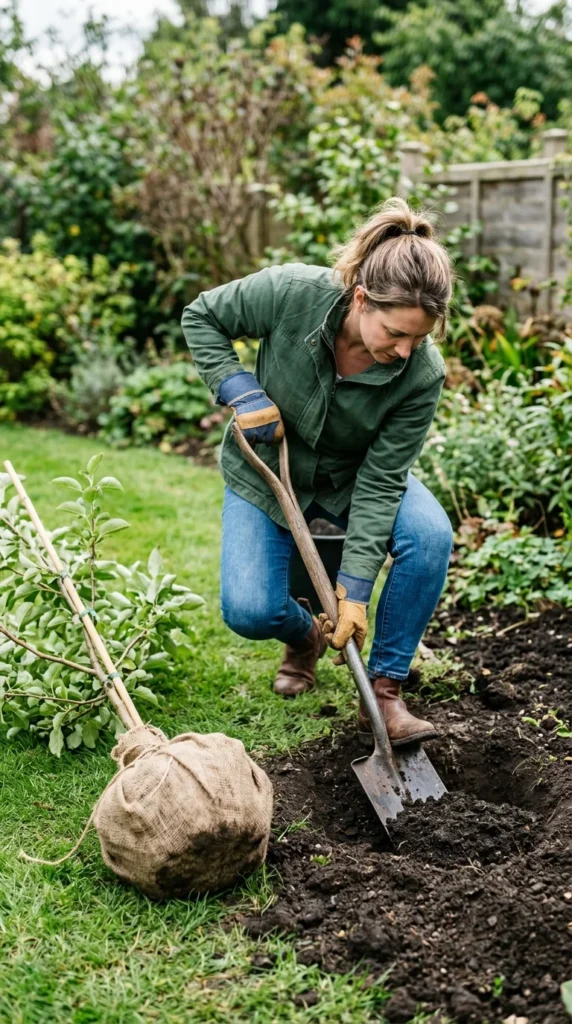
The best time to plant is in late winter or early spring while the trees are still dormant. Dig a hole twice as wide as the root system but no deeper than the root ball. One of the most common mistakes is planting too deep. Locate the “graft union”—the bump on the lower trunk where the fruit variety was joined to the rootstock. This union must remain 2 to 3 inches above the soil line. If it is buried, the top part of the tree may grow its own roots, negating the dwarfing characteristics of the rootstock.
Spread the roots out gently in the hole. As you backfill with the native soil you removed, firm it down with your hands to remove air pockets. Do not add heavy fertilizers directly into the hole, as this can burn young roots. Instead, focus on settling the soil with water and ensuring the tree is standing perfectly vertical.
7. Irrigation Systems
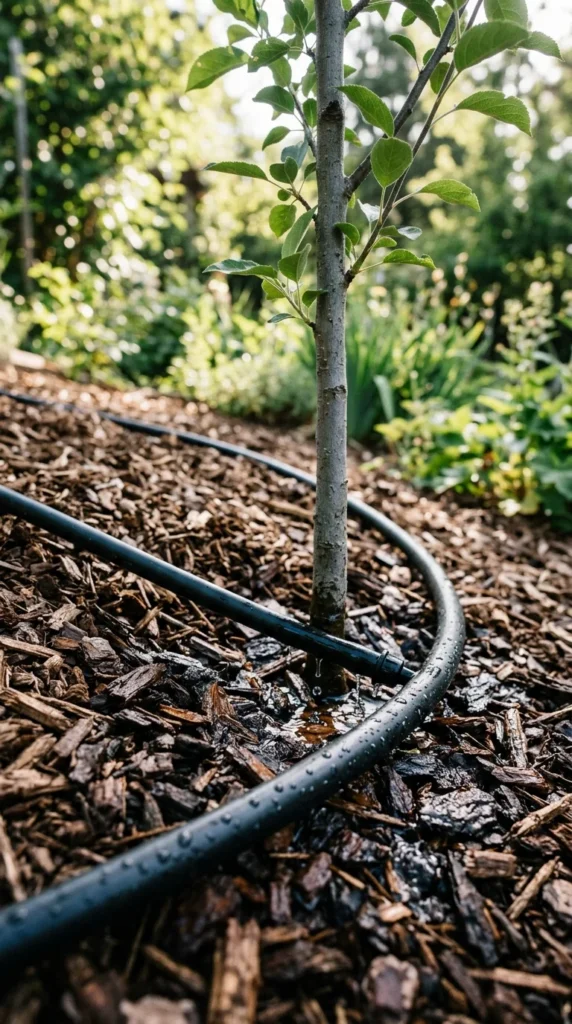
Newly planted trees have limited root systems and are highly susceptible to drought. For the first two years, consistent moisture is vital. A drip irrigation system or a soaker hose is the most efficient way to water, as it delivers moisture directly to the roots and keeps the foliage dry.
To conserve this moisture, apply a 3-to-4-inch layer of organic mulch, such as wood chips or shredded bark, around the base of the tree. The mulch should extend out to the “drip line” (the edge of the leaf canopy). Crucially, keep the mulch a few inches away from the trunk itself; mulch piled against the bark can cause rot and provide a hiding place for rodents that might chew on the tender wood.
8. Initial Pruning
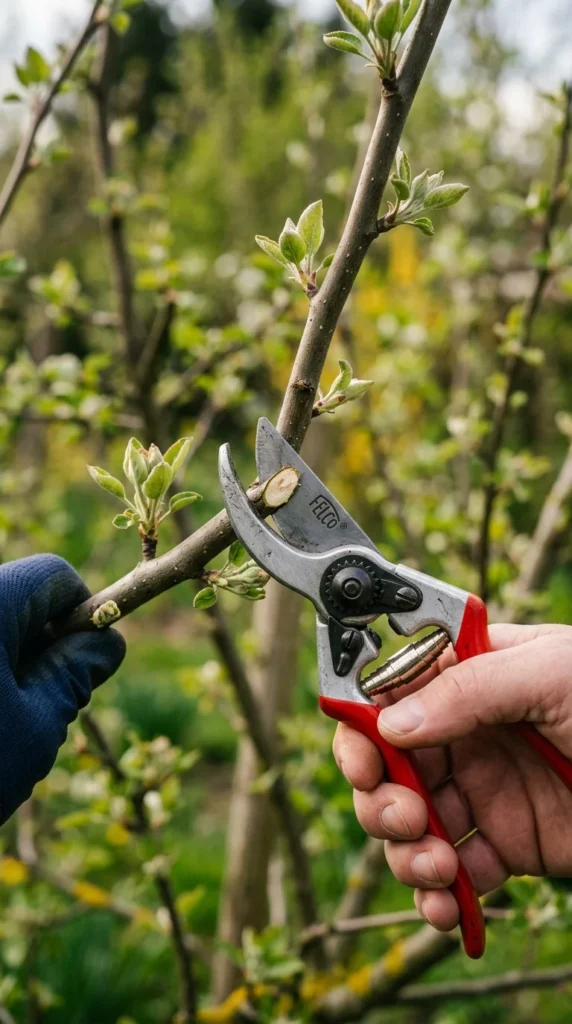
Pruning starts the day you plant. It may feel counterintuitive to cut a new tree, but “heading back” the tree helps balance the top growth with the disturbed root system and encourages the development of strong scaffold branches. For most fruit trees, you want to encourage a “central leader” shape (like a Christmas tree) or an “open center” (like a vase), depending on the species.
Peaches and nectarines generally do best with an open center to allow light into the middle of the tree, while apples and pears often follow a central leader form. Remove any branches that are broken, crossing, or growing at narrow angles to the trunk. These early cuts determine the structural integrity of the tree for the rest of its life, ensuring it can support the weight of a heavy fruit load in the years to come.