Vermicomposting, or worm composting, is one of the most efficient ways to turn kitchen scraps into “black gold”—a nutrient-dense fertilizer that can transform your garden. While the process is relatively simple, maintaining a healthy ecosystem for your worms requires attention to detail. A happy worm bin produces odorless, potent compost, while a neglected one can lead to pests and foul smells. Here are 15 essential tips to ensure your worm composting system remains healthy and productive.
1. Bedding
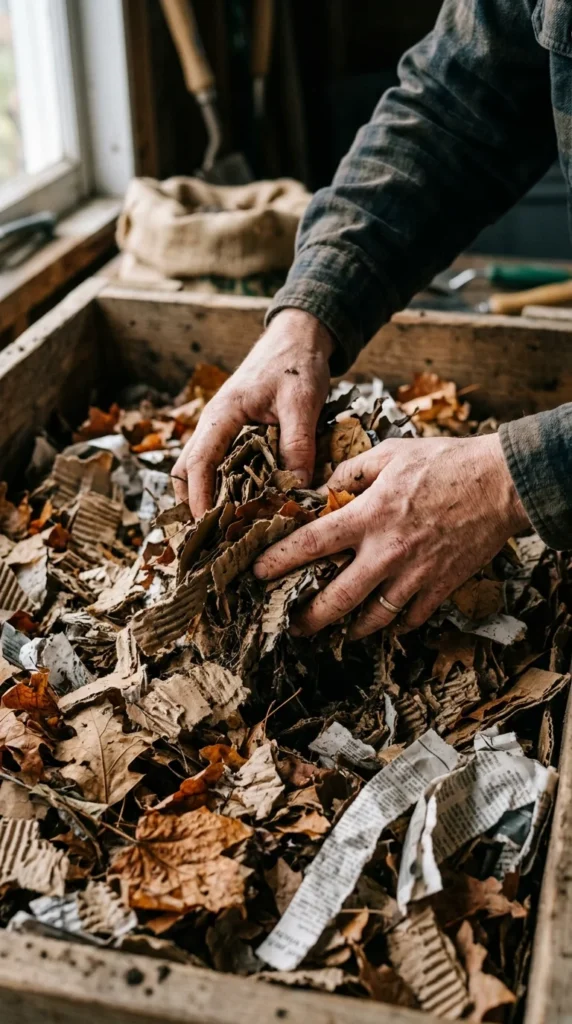
The foundation of any successful worm bin is high-quality bedding. Bedding serves as both a home and a secondary food source for your worms. It should be composed of carbon-rich materials that provide structure and allow for airflow. Popular choices include shredded corrugated cardboard, non-glossy newspaper, coconut coir, and dried leaves.
For the healthiest compost, aim for a variety of bedding materials. Mixing cardboard with newspaper creates different textures that prevent the bedding from matting down. Always ensure the bedding is damp before adding worms, as they need a moist environment to breathe through their skin.
2. Moisture
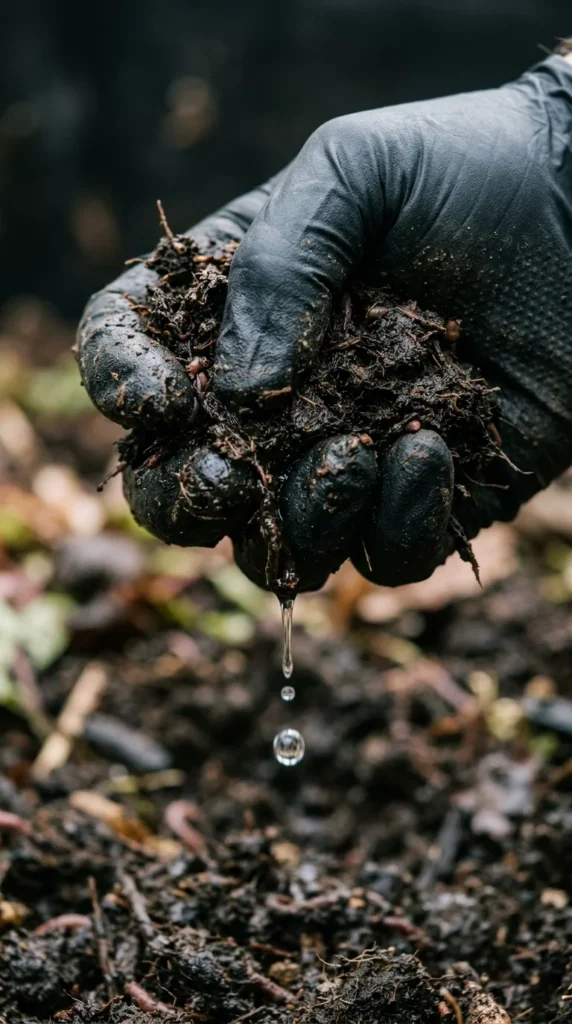
Worms are roughly 75% to 90% water, and they require a moist environment to facilitate respiration. The “Goldilocks zone” for moisture is often described as the “wrung-out sponge” consistency. If the bedding is too dry, the worms will dehydrate and die; if it is too wet, they can drown, and the bin will become anaerobic (oxygen-deprived), leading to bad odors.
Check the moisture levels weekly. If it’s too dry, use a spray bottle to mist the surface. If it’s too wet, add more dry shredded cardboard or newspaper to soak up the excess liquid.
3. Temperature
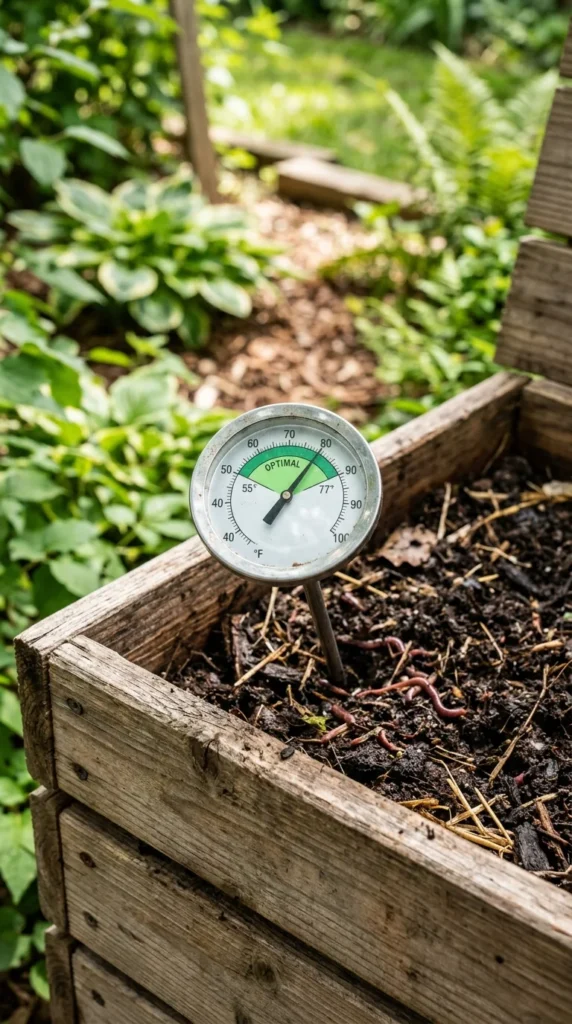
Red Wigglers, the most common composting worms, thrive in temperatures between 55°F and 77°F (13°C to 25°C). While they can survive in a broader range (roughly 40°F to 90°F), their activity and reproduction rates will drop significantly outside the optimal zone.
In the summer, keep your bin in the shade or move it to a basement. In the winter, you may need to insulate the bin with blankets or move it indoors. Remember that the process of decomposition also generates some heat, so monitoring the internal temperature is crucial during the peak of summer.
4. Aeration
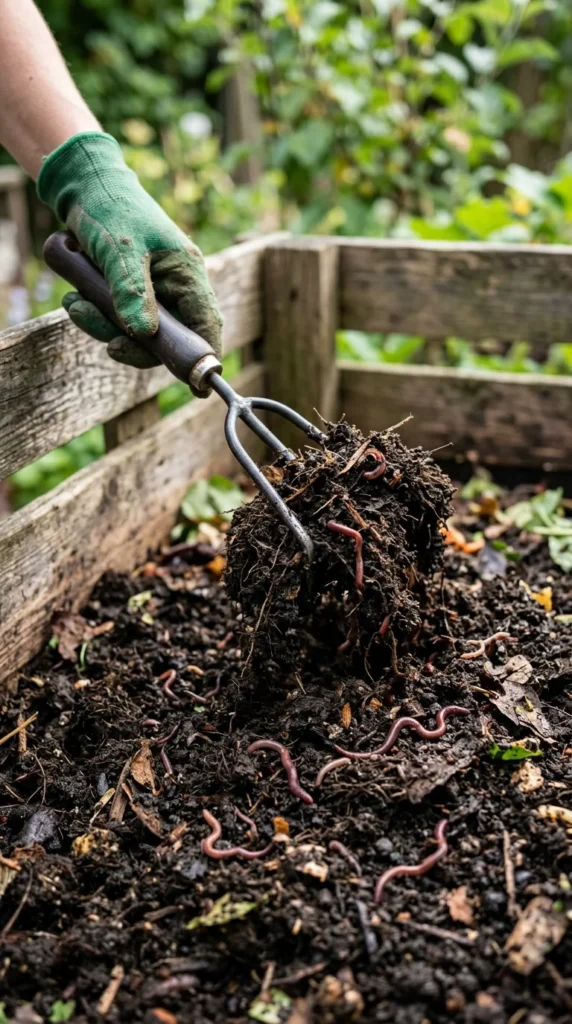
Worm composting is an aerobic process, meaning it requires oxygen. Without proper airflow, the bin can become compacted, leading to the growth of anaerobic bacteria that produce a “rotten egg” smell.
To maintain healthy compost, gently “fluff” the bedding once every two weeks using a small hand rake or your hands (wearing gloves). Be careful not to disturb the worm clusters too much, but ensure that air can reach the bottom layers of the bin. This prevents the bedding from becoming a solid, soggy mass.
5. pH Balance
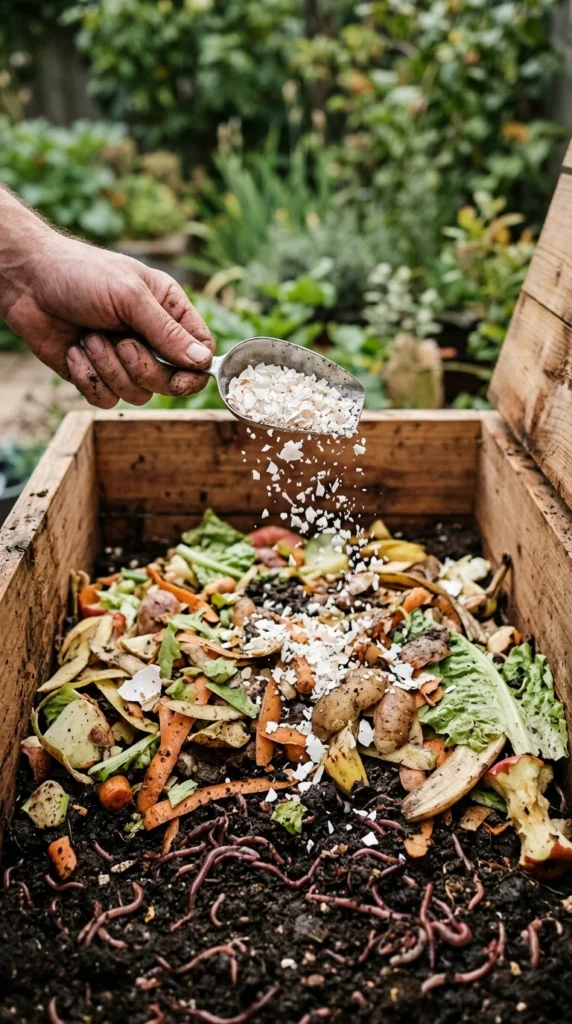
Maintaining a neutral pH (around 6.0 to 7.0) is vital for worm health. Overfeeding acidic foods like citrus peels, pineapple, onions, and garlic can drop the pH levels, making the environment too acidic for the worms to survive.
If you notice the bin becoming too acidic, you can neutralize it by adding calcium carbonate. The easiest way to do this is by drying out eggshells, crushing them into a fine powder, and sprinkling them over the food. Not only does this balance the pH, but it also provides necessary grit for the worms.
6. Particle Size
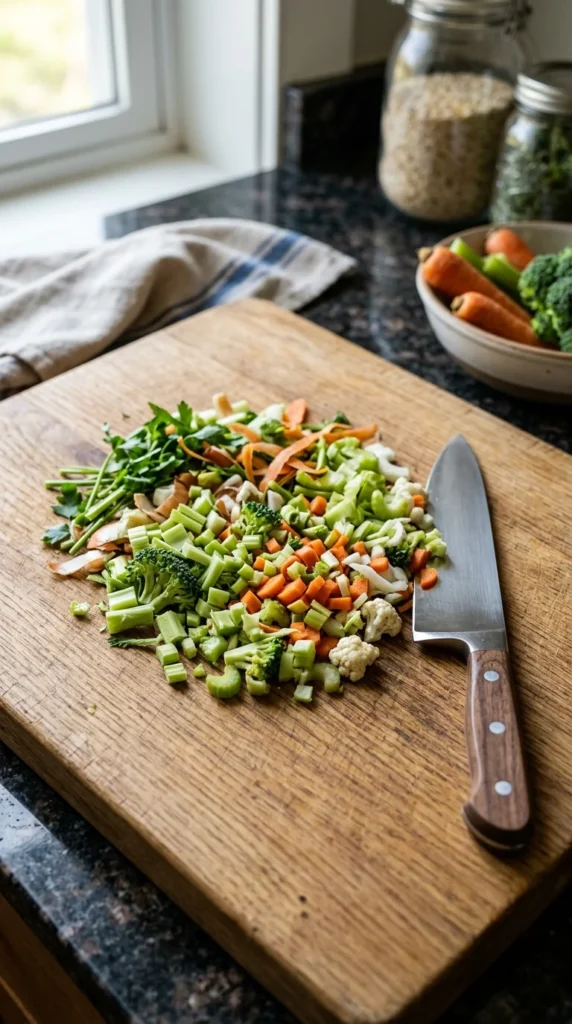
Worms do not have teeth; they rely on microorganisms to break down food before they can consume it. You can significantly speed up the composting process by chopping your kitchen scraps into smaller pieces.
Smaller particles have more surface area for bacteria and fungi to colonize. This allows the worms to process the waste much faster, reducing the risk of food rotting in the bin before the worms can get to it. A handful of finely chopped scraps can be processed in days, whereas a whole apple might take weeks.
7. Feed Ratio
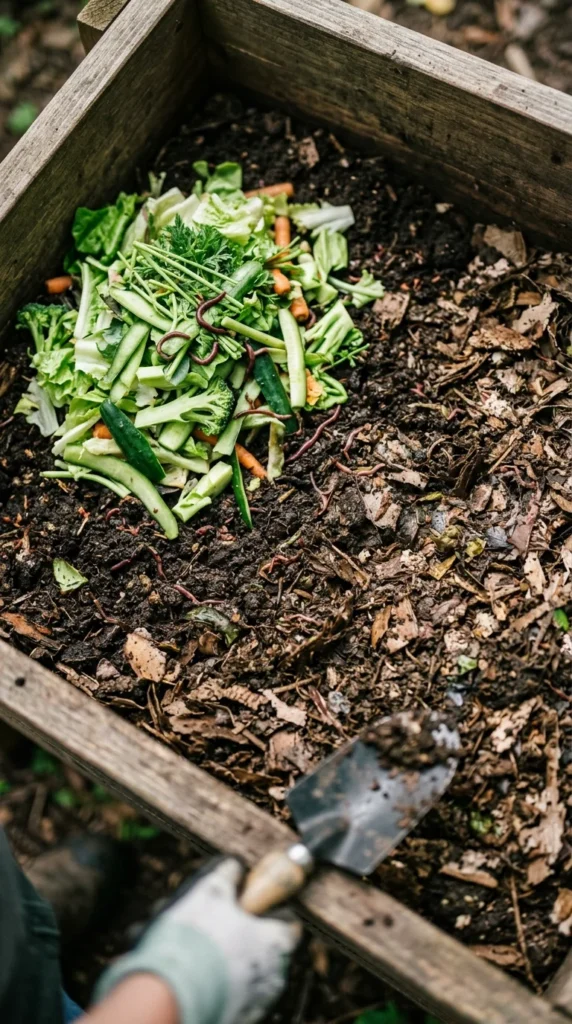
One of the most common mistakes beginners make is overfeeding. When you add more food than the worms can eat, the excess organic matter begins to rot, heat up, and smell. This can lead to a “sour” bin and may even cause the worms to try to escape.
A good rule of thumb is to feed the worms only when the previous feeding is mostly gone. Start small and observe how quickly your population consumes the food. As the worm population grows, you can gradually increase the amount of waste you provide.
8. Grit
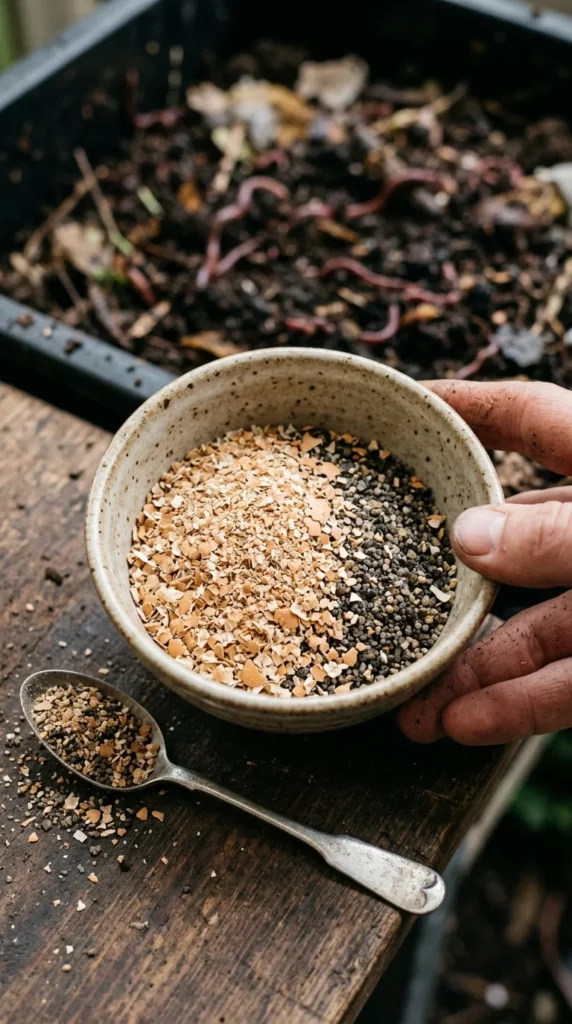
Because worms lack teeth, they use a gizzard (much like a bird) to grind up their food. To do this, they need “grit”—small, abrasive particles. Without grit, worms struggle to digest food effectively, which slows down the composting process and can affect their health.
The best sources of grit are finely crushed eggshells, oyster shell flour, or even a tiny bit of coarse sand or rock dust. Sprinkle a tablespoon of grit over the food scraps every few weeks to keep the worms’ digestive systems functioning perfectly.
9. Darkness
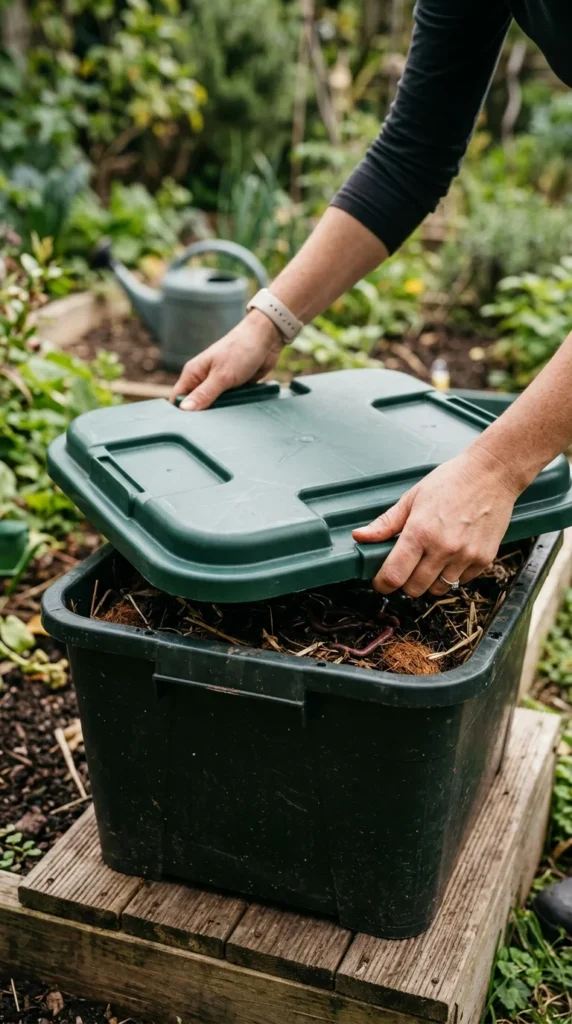
Worms are photophobic, meaning they are highly sensitive to light. Exposure to bright light can paralyze them and dry out their skin very quickly. For a healthy bin, you must ensure the environment remains pitch black.
Use an opaque container rather than a transparent one. If you are using a lid with air holes, make sure the holes are small enough to let air in but not so large that they flood the interior with light. Covering the top of the bedding with a sheet of damp newspaper or a burlap sack provides an extra layer of darkness and security for the worms.
10. Drainage
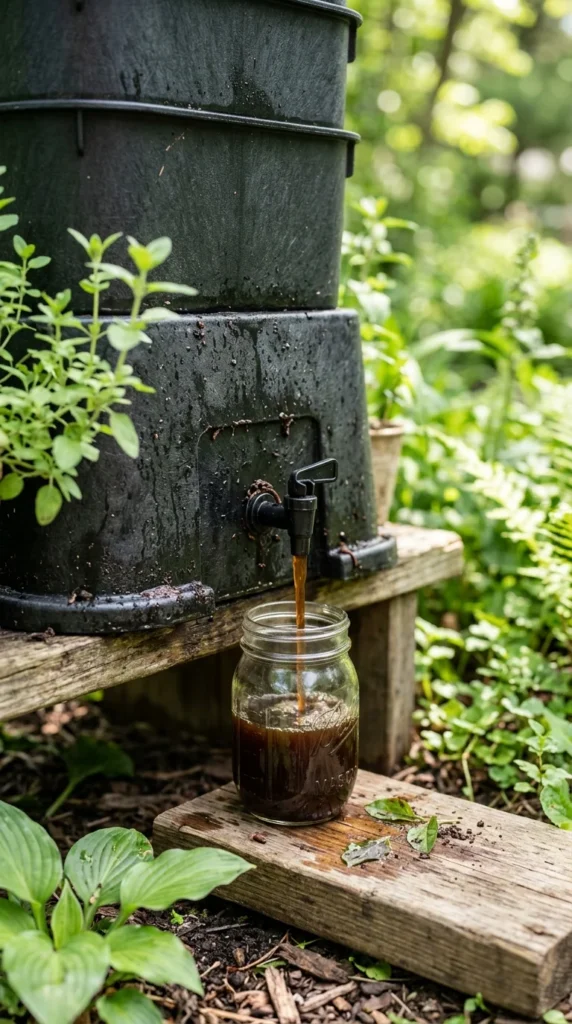
Excess moisture must have a way to exit the bin. If water pools at the bottom, the bedding will become anaerobic and the worms at the bottom will drown. This “leachate” can also become toxic if left to stagnate.
Ensure your bin has drainage holes at the bottom or a dedicated collection tray. If you collect this liquid, be careful: while often called “worm tea,” it is actually leachate. It should be diluted significantly (1:10 ratio with water) before being used on plants, or discarded if it smells bad, as that indicates harmful bacteria.
11. Harvest Timing
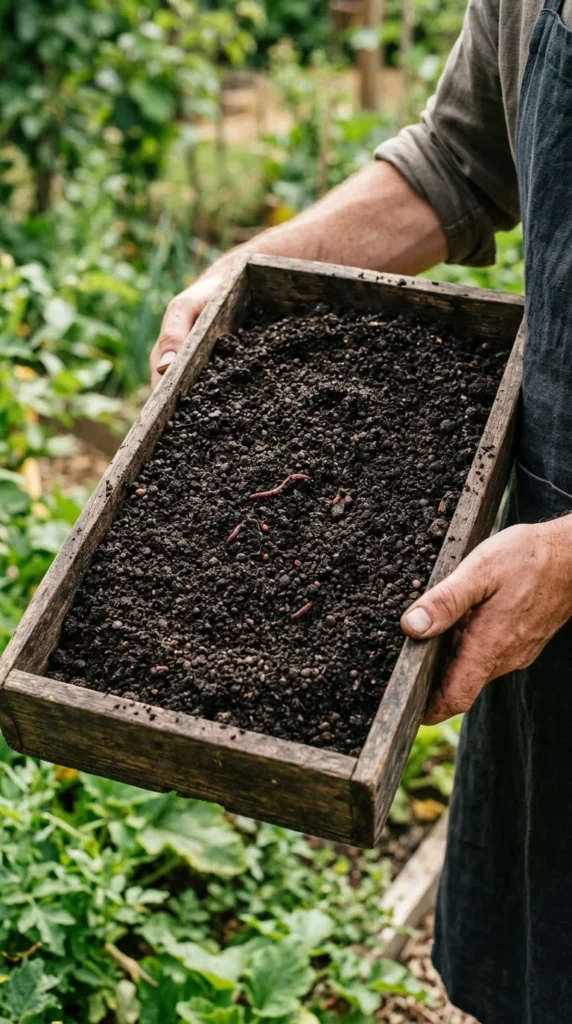
Knowing when to harvest is key to maintaining a healthy cycle. If you leave worms in their own waste (castings) for too long, the environment becomes toxic to them. Castings are very concentrated and eventually lose the oxygen-rich structure that worms need.
Generally, you can harvest every 3 to 6 months depending on the size of your bin and worm population. When the material looks like dark, crumbly chocolate cake and you can no longer recognize the original bedding or food, it is time to harvest the “black gold.”
12. Worm Types
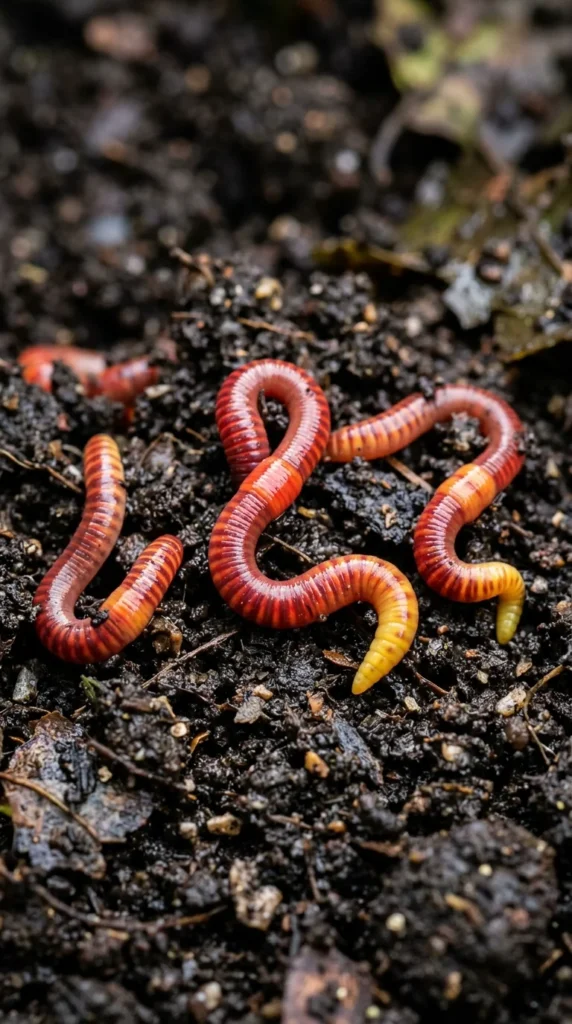
Not all worms are created equal for composting. Garden earthworms (nightcrawlers) are deep-burrowers and will not survive in the shallow environment of a compost bin. For a healthy bin, you need “epigeic” worms, which live in the top layers of decomposing organic matter.
The most popular choice is Eisenia fetida, commonly known as the Red Wiggler. They are hardy, tolerate a wide range of temperatures, and are voracious eaters. Another option is the European Nightcrawler, which is larger and better suited for bins kept in slightly cooler areas.
13. Avoidance List
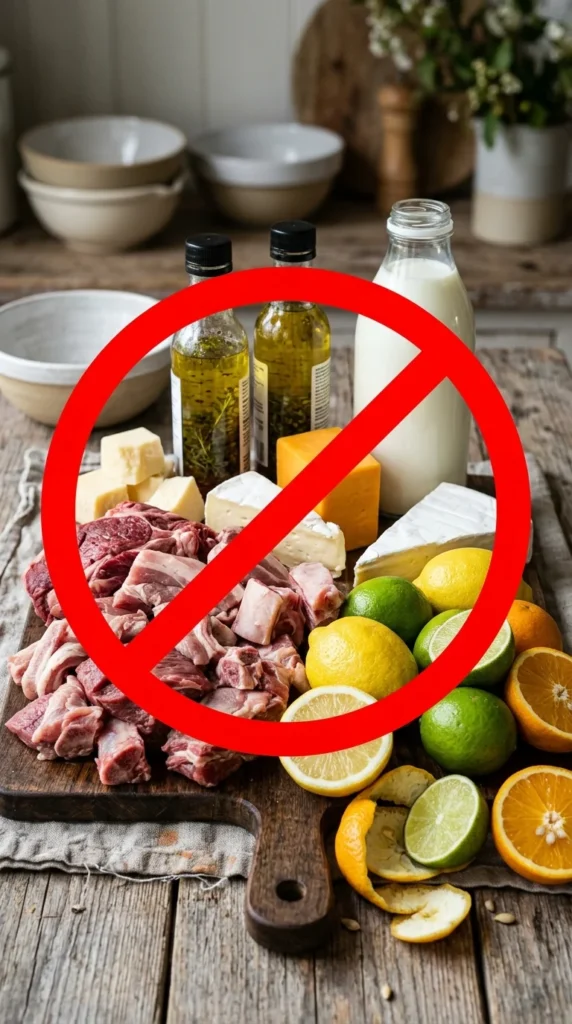
To keep your compost healthy and odor-free, there are certain things you should never put in a worm bin. Avoid meat, dairy, bones, and highly oily or salty foods. These materials take a long time to break down, attract pests like rodents and flies, and produce terrible odors.
Additionally, avoid “hot” manures (like fresh chicken manure) which can overheat the bin, and avoid pet waste (dog or cat), which can harbor parasites and pathogens that are not neutralized in a cold-composting worm bin.
14. Insulation
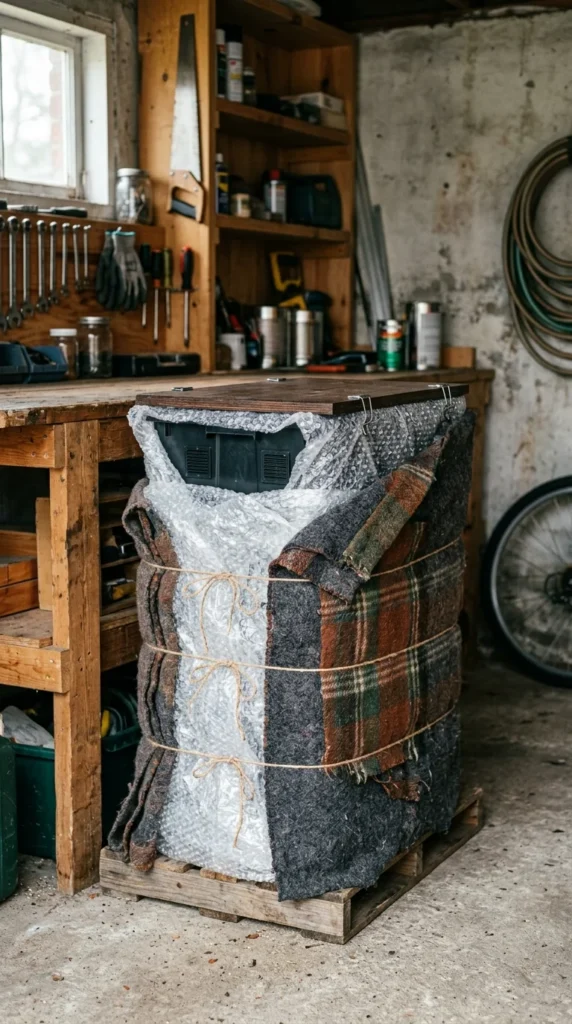
If you keep your worm bin outdoors or in an unheated garage, insulation is your best friend during the winter months. While worms can survive near-freezing temperatures, they will stop eating and breeding, and their survival rate drops significantly if the bedding actually freezes.
Wrap your bin in bubble wrap, old blankets, or sheets of styrofoam. You can also increase the depth of the bedding to provide a “core” where the worms can huddle for warmth. In extreme cold, some composters use a low-wattage seed heating mat underneath the bin to keep temperatures stable.
15. Slow Intro
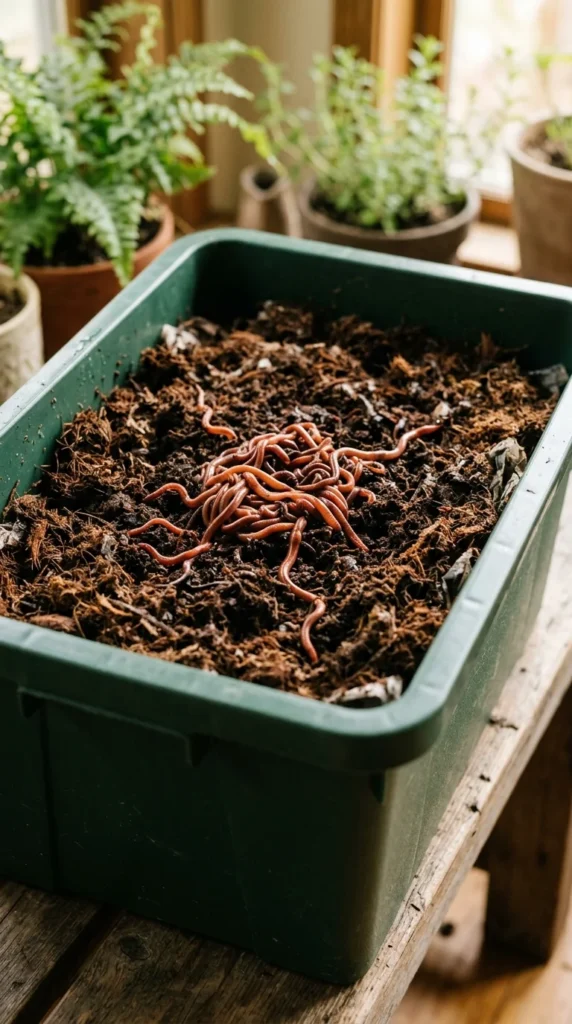
When starting a new bin or adding a new batch of worms, do not overwhelm them immediately with a massive pile of food. The worms need time to acclimate to their new environment and the microbial life in the bin needs time to establish itself.
Start by adding a small amount of food and letting the worms settle for 24 to 48 hours. Once you see them actively moving through the bedding and congregating around the food, you can begin a regular feeding schedule. Patience in the first two weeks is the secret to a long-term, healthy worm colony.