Mulching is arguably the most important task a gardener can undertake to ensure the longevity and vitality of their landscape. Beyond the aesthetic appeal of a freshly mulched bed, this practice serves as a multi-functional tool: it suppresses opportunistic weeds, retains critical soil moisture during heatwaves, and regulates soil temperature. By following these 25 expert tips, you can transform your garden into a low-maintenance, high-yield sanctuary.
1. Timing
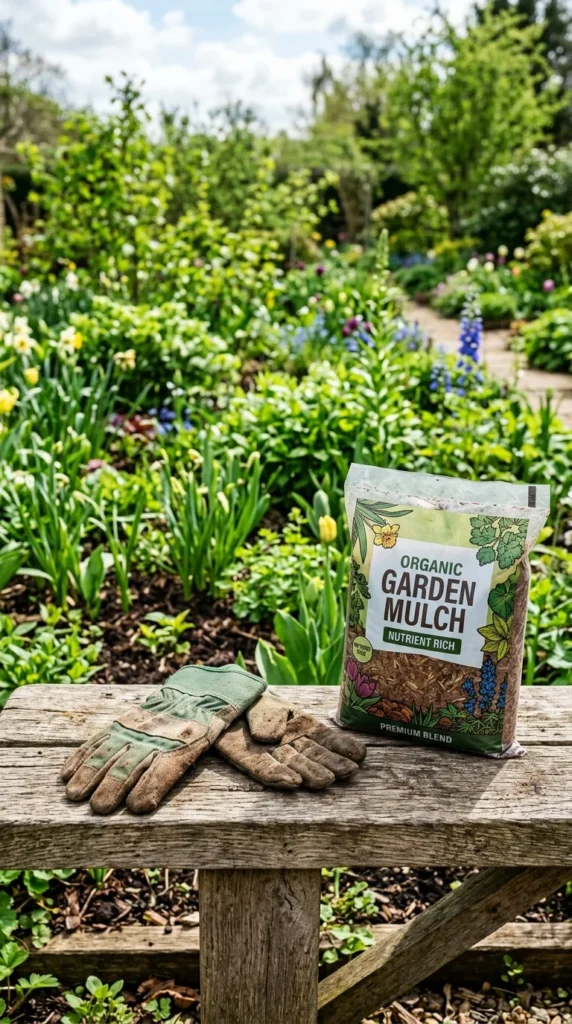
The timing of your mulch application is critical. Applying mulch too early in the spring can trap the winter cold in the ground, delaying the growth of your plants. Wait until the soil has warmed up naturally and the first flush of spring weeds has been addressed. Conversely, applying mulch in late autumn helps insulate the root systems of perennials against the harsh freeze-thaw cycles of winter.
2. Depth
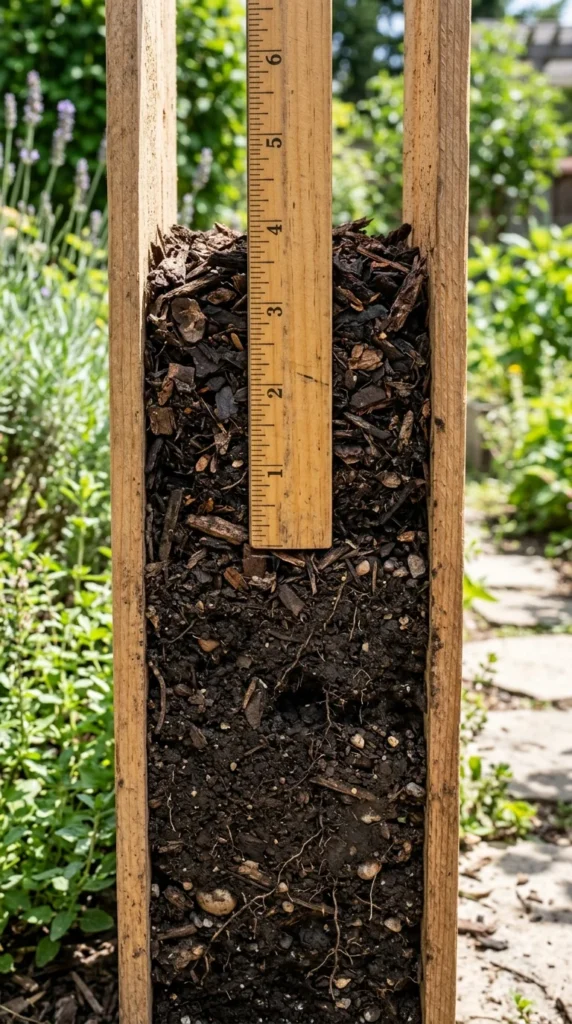
The “sweet spot” for mulch depth is generally between two and four inches. A layer thinner than two inches will not provide enough shade to prevent weed seeds from germinating. A layer thicker than four inches can prevent oxygen from reaching the soil and may cause water to run off the surface rather than soaking in. Adjust the depth based on the material; lighter materials like straw can be thicker, while dense materials like shredded hardwood should stay closer to three inches.
3. Preparation
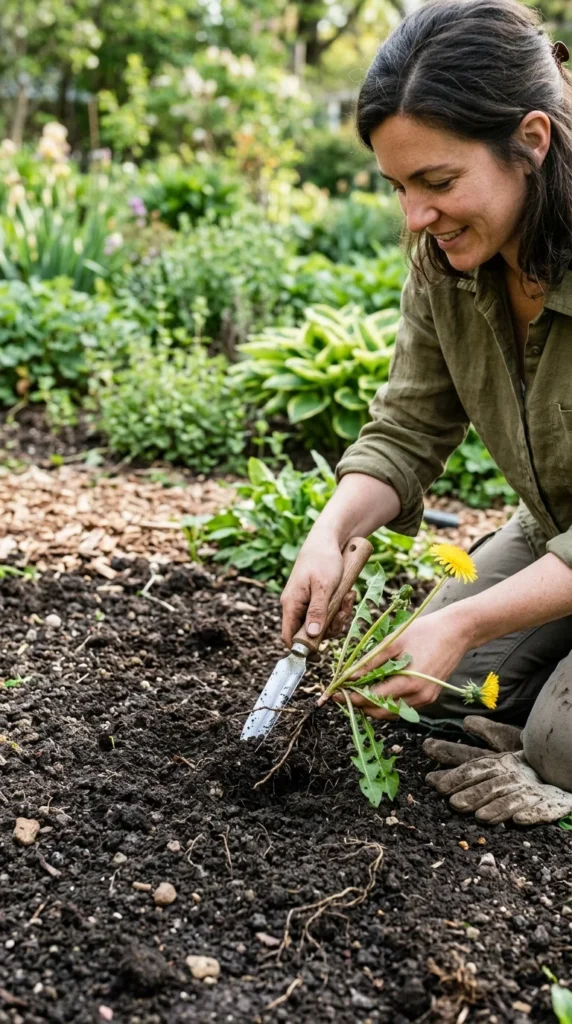
Never mulch over a weed-infested area without preparation. While mulch suppresses new seeds, established perennial weeds will often push right through it. Take the time to hand-pull existing weeds or use a hoe to clear the area. Once the soil is clear and slightly loosened, you have a clean slate for your protective layer.
4. Edge
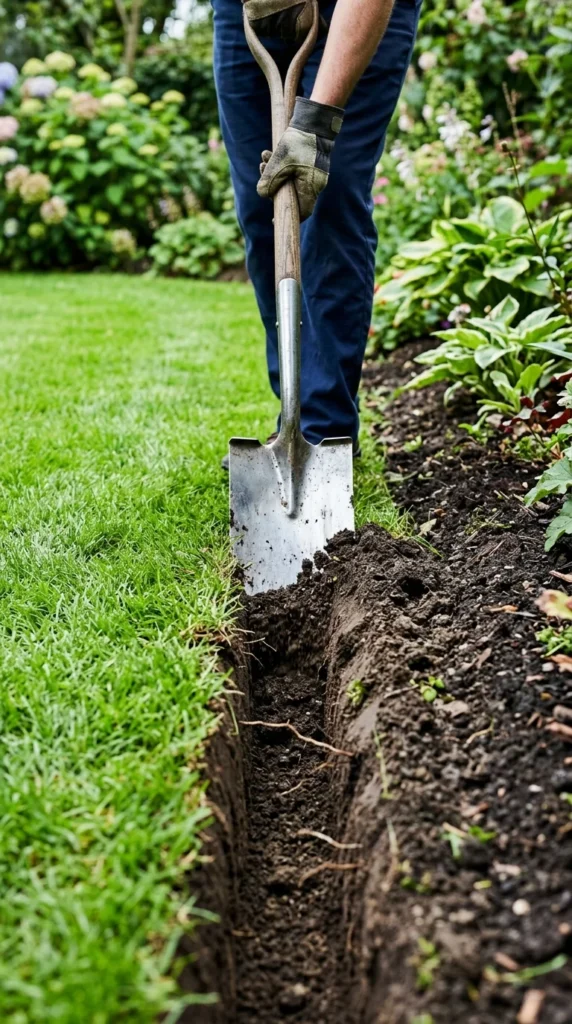
Before laying down a single handful of mulch, define your edges. Use a spade or a manual edger to cut a clean line between your lawn and your garden beds. This “trench edge” not only looks professional but also serves a functional purpose: it acts as a catch-all for mulch that might otherwise wash into the grass and prevents turf roots from creeping into your flower beds.
5. Cardboard
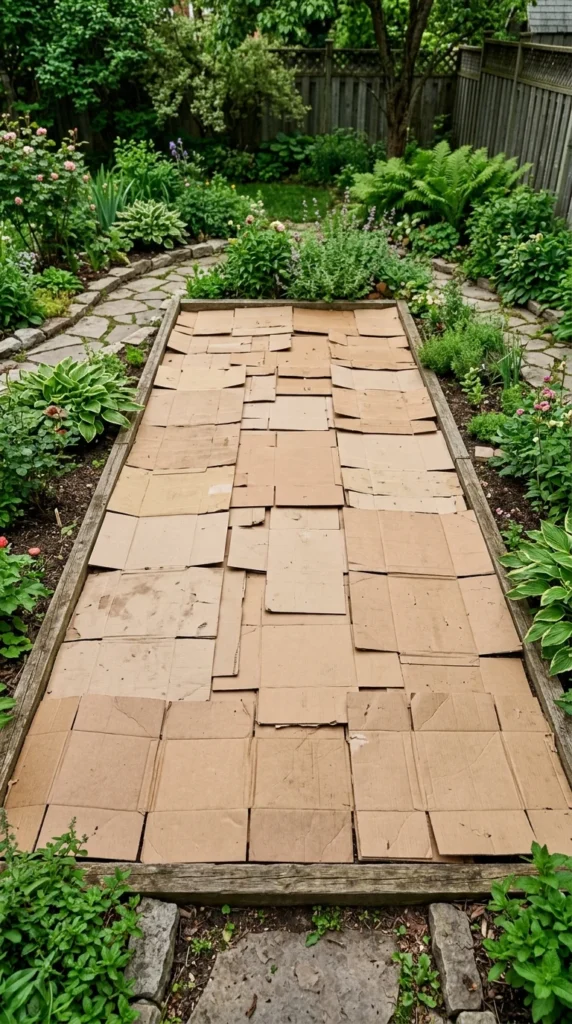
For areas with heavy weed pressure, use the “sheet mulching” technique. Lay down a layer of plain brown cardboard (remove all tape and staples) or five layers of black-and-white newspaper over the soil before adding your organic mulch. This creates a powerful physical barrier that eventually decomposes, adding carbon to the soil while effectively smothering even the most stubborn grasses.
6. Space
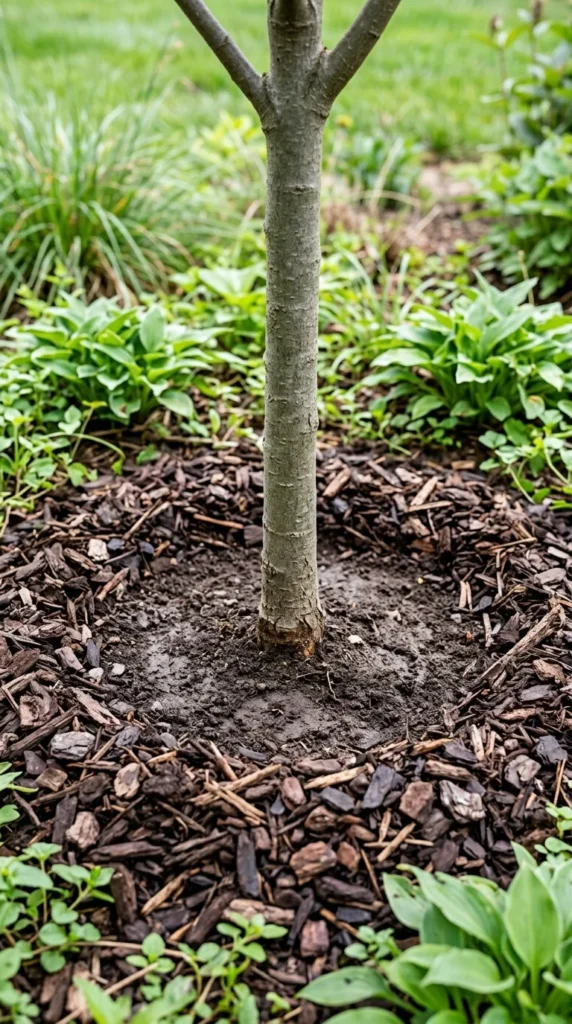
One of the most common mistakes is “volcano mulching,” where mulch is piled high against the trunks of trees or stems of shrubs. This traps moisture against the bark, leading to rot, fungal infections, and rodent damage. Always leave a two-to-three-inch gap between the mulch and the base of the plant to allow the bark to breathe.
7. Texture
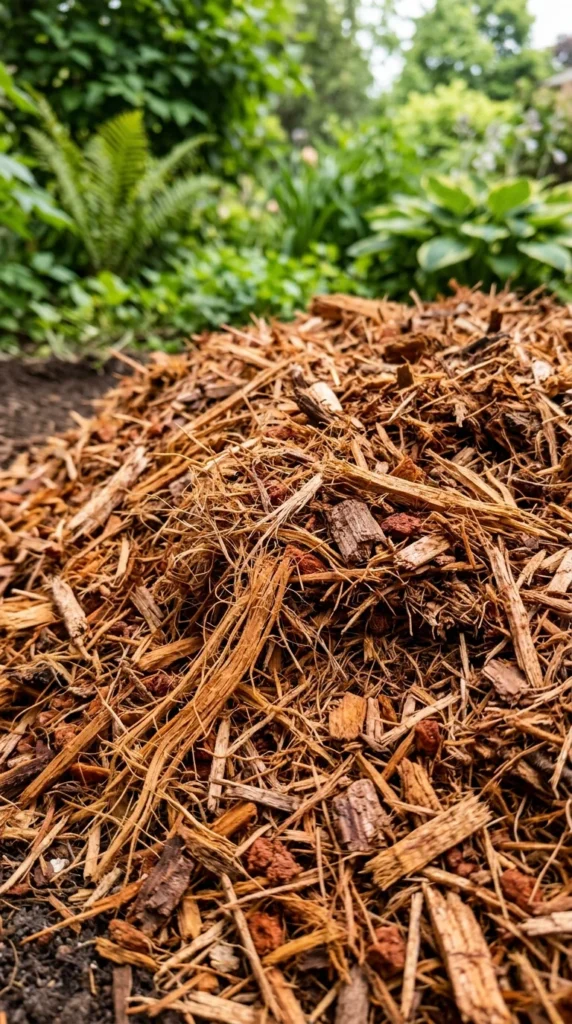
The texture of your mulch dictates its performance. Fine-textured mulches, like double-shredded hardwood, look elegant and stay in place on slopes. Coarse mulches, like large bark nuggets, take longer to break down and are excellent for permanent plantings like large shrubs or pathways. Choose the texture that matches the needs of the specific area of your garden.
8. Moisture
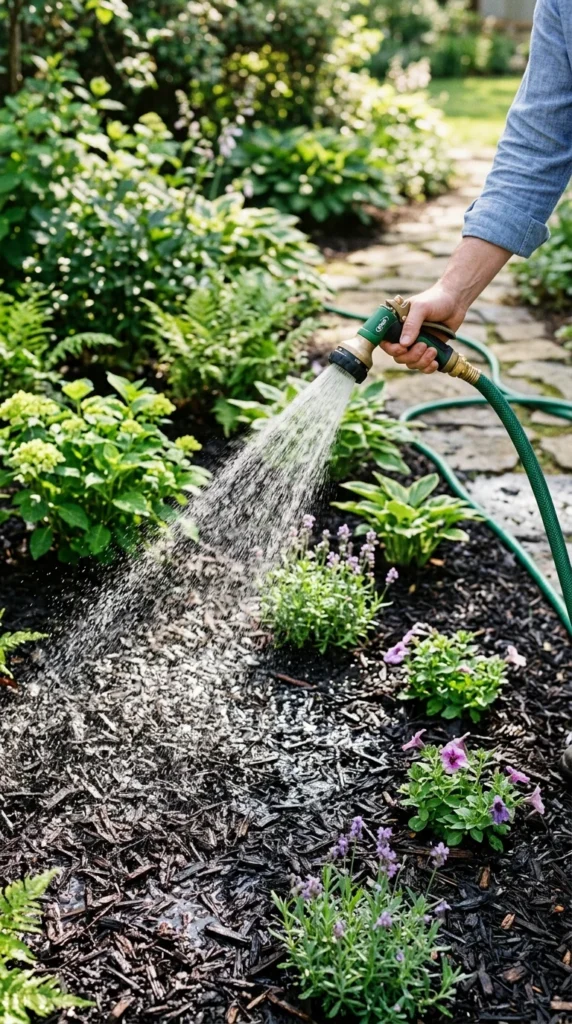
Always mulch when the soil is damp. If you apply a thick layer of mulch over bone-dry soil, it can act as an umbrella, preventing light rain from reaching the roots. If the weather has been dry, give your garden beds a deep watering before you begin the mulching process to lock that moisture into the ground.
9. Grass
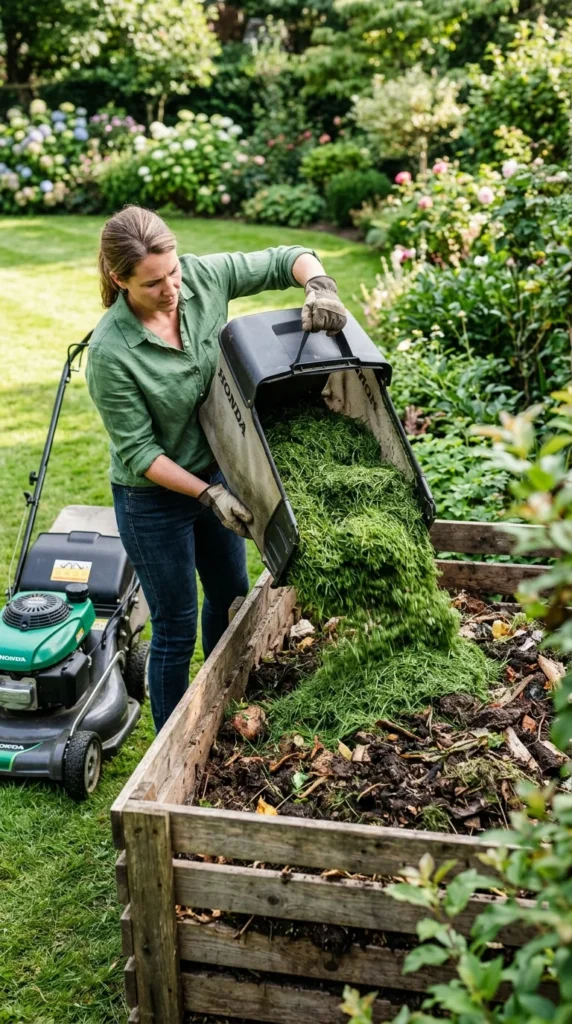
Fresh grass clippings can be an excellent, nitrogen-rich mulch for vegetable gardens, but they must be used carefully. Only use clippings from lawns that have not been treated with herbicides. Spread them in thin layers to prevent them from matting into a smelly, anaerobic mess. Better yet, let them dry out until they turn straw-colored before applying them.
10. Leaves
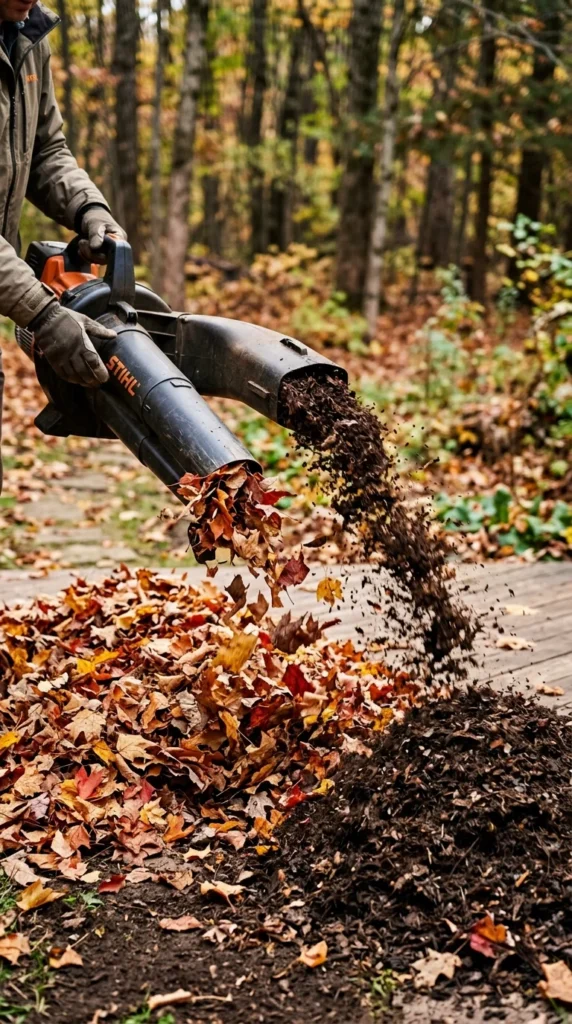
Autumn leaves are “gardener’s gold.” Instead of bagging them for the curb, run over them with a lawnmower to shred them. Shredded leaves make a nutrient-dense mulch that is perfect for woodland gardens and perennial beds. They break down relatively quickly, significantly improving soil structure and attracting beneficial earthworms.
11. Pine
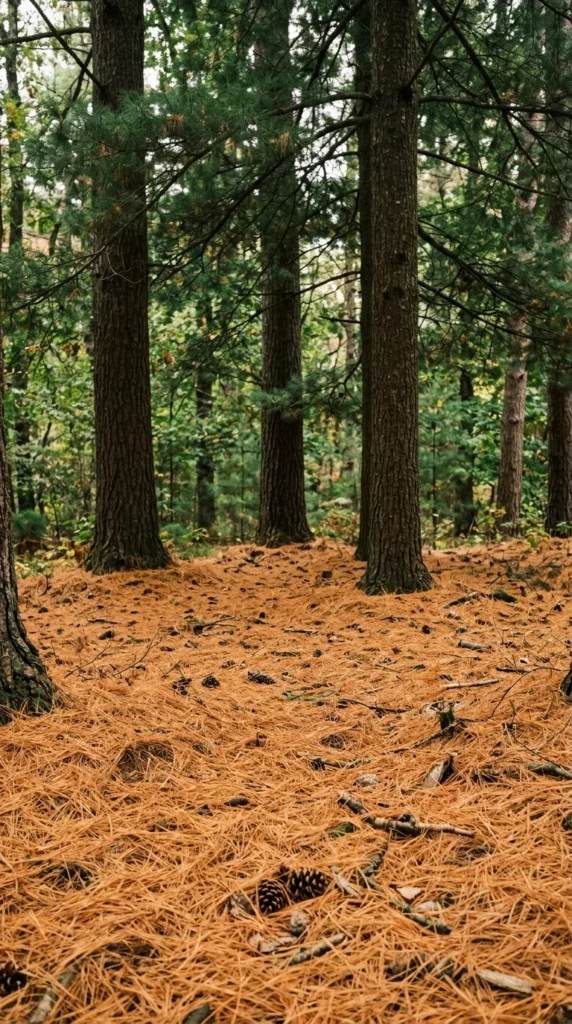
Pine needles, often called pine straw, are an excellent choice for acid-loving plants like azaleas, rhododendrons, and blueberries. They are lightweight, allow for excellent water infiltration, and do not mat down easily. Contrary to popular belief, they won’t drastically change your soil’s pH overnight, but they do provide a hospitable environment for plants that prefer slightly acidic conditions.
12. Straw
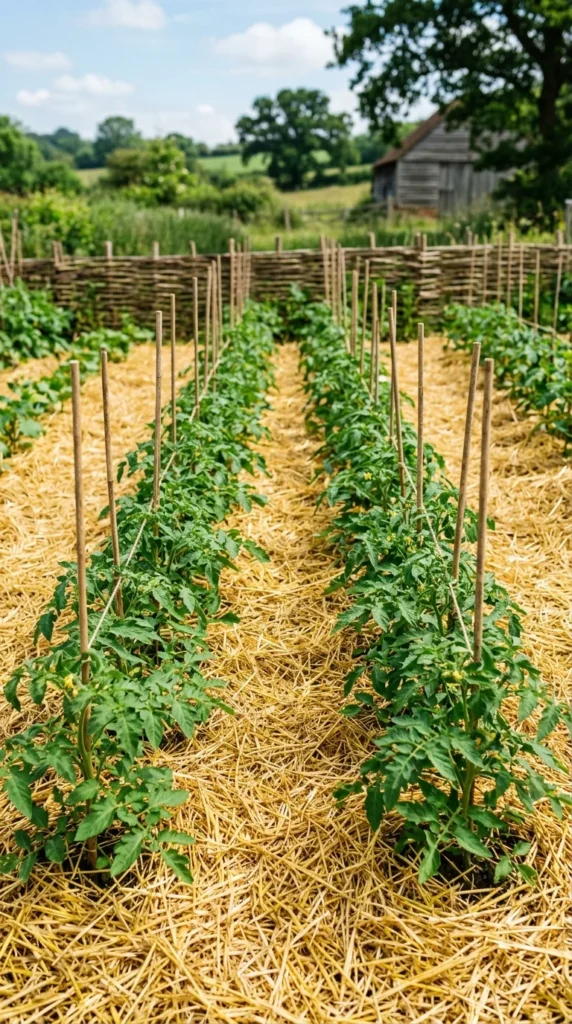
For the vegetable patch, straw is the gold standard. It reflects sunlight, keeping the soil cool, and keeps low-hanging fruit (like strawberries or cucumbers) off the damp dirt. Ensure you are using “straw” and not “hay,” as hay contains seeds that will turn your garden into a field of weeds.
13. Wood
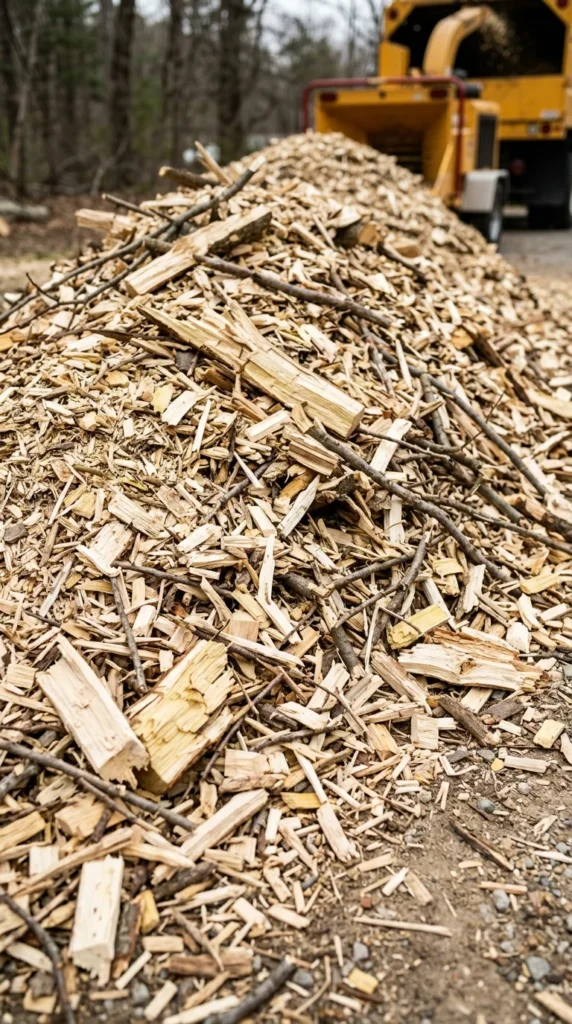
Fresh wood chips from a tree service are often free or very cheap. While they are excellent for pathways and large landscaped areas, be cautious using them around tender annuals. As fresh wood decomposes, it can temporarily “rob” nitrogen from the very top layer of soil. For established trees and shrubs, this is rarely an issue, but for small flowers, it can cause yellowing leaves.
14. Stone
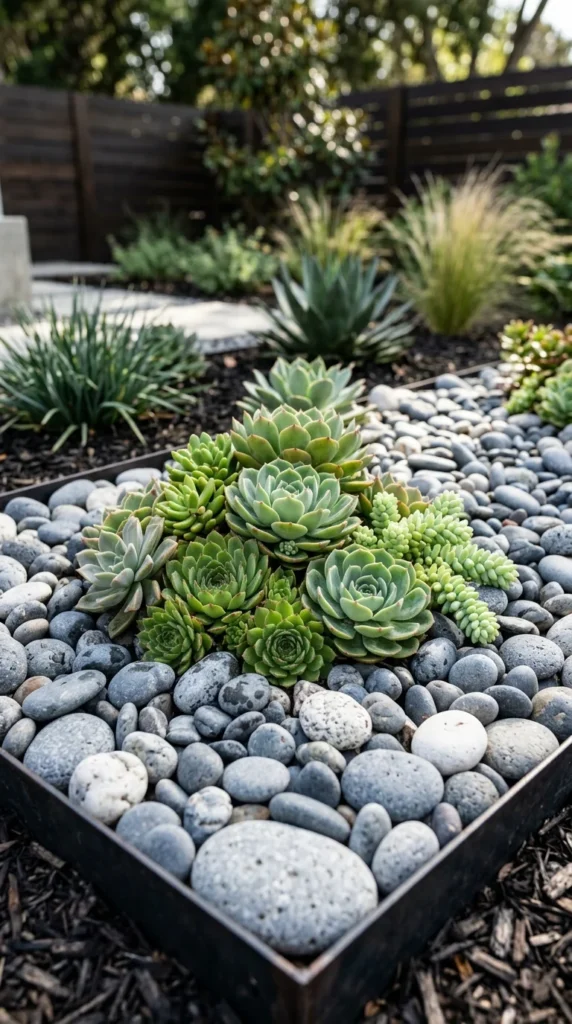
In arid climates or for specific garden styles like rock gardens or succulent beds, inorganic mulch like gravel or river stone is ideal. Stone doesn’t decompose, so it doesn’t need to be replaced. It also provides excellent drainage. However, be aware that stone retains heat, which can stress some plants during high summer temperatures.
15. Cocoa
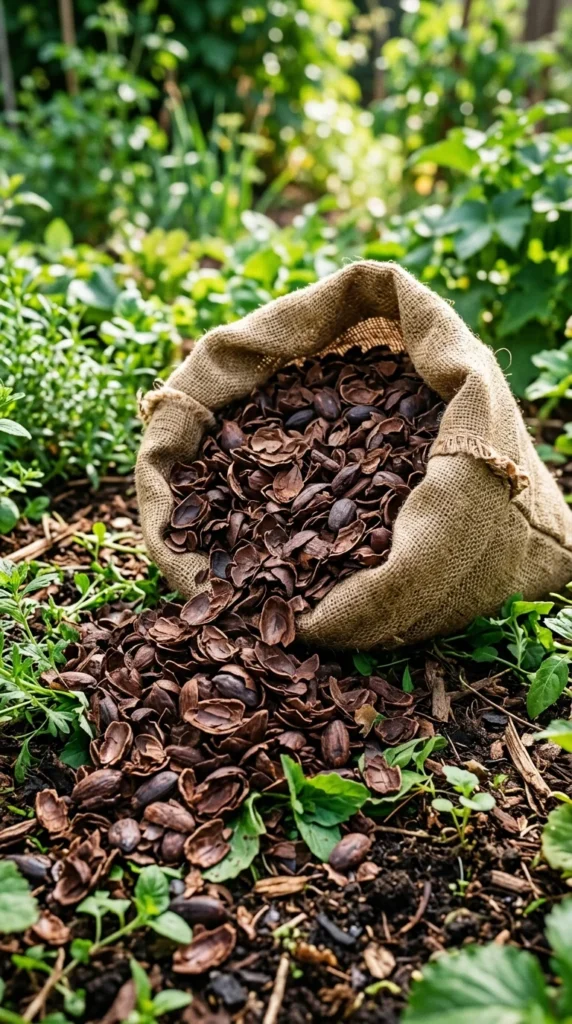
Cocoa hull mulch is prized for its beautiful dark color and its incredible chocolate aroma. It is rich in nutrients and handles wind well. However, it is important to note that cocoa hulls contain theobromine, which is toxic to dogs. If you have pets that roam the garden, it is best to choose a different organic material.
16. Compost
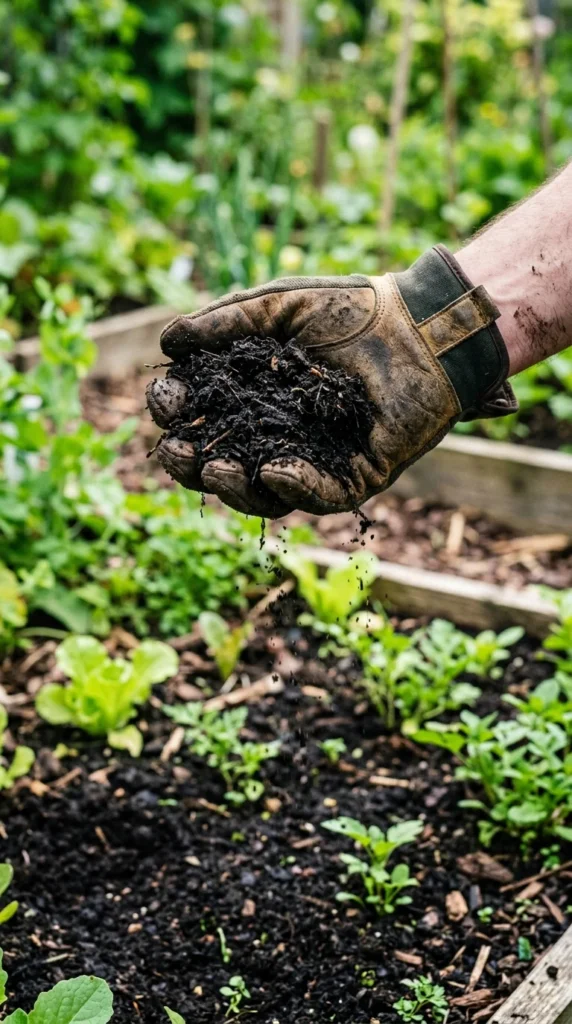
If you want to feed your plants while mulching, use a “mulch-compost sandwich.” Apply a one-inch layer of high-quality compost directly onto the soil, then top it with two inches of bark or wood chips. The compost provides immediate nutrients, while the mulch protects the compost from drying out or washing away.
17. Color
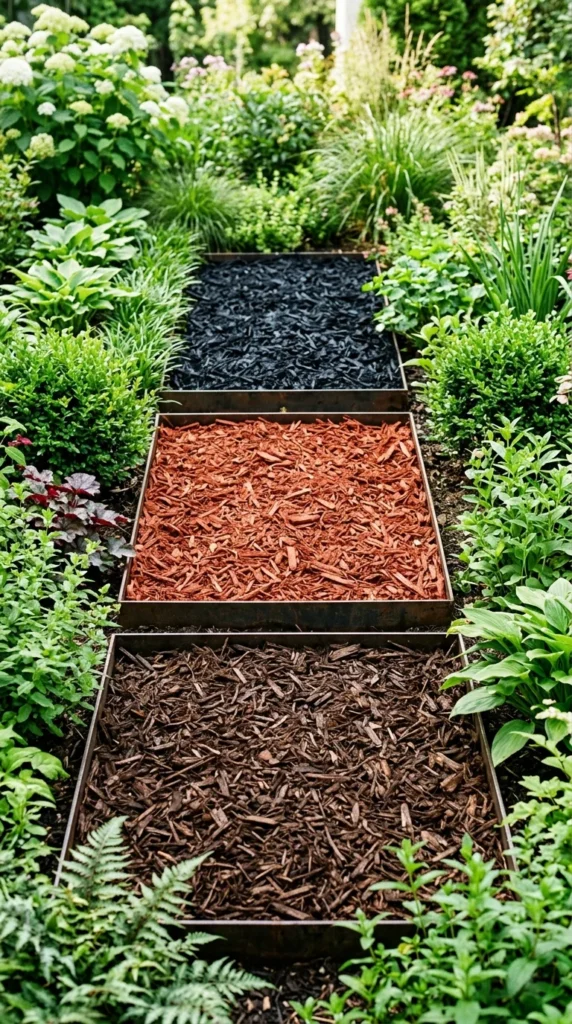
Mulch comes in various colors, usually achieved through vegetable-based dyes. Black mulch provides a high-contrast backdrop that makes green foliage “pop,” while red mulch is often used in commercial landscaping. Natural brown is the most versatile and tends to look the most “at home” in a traditional residential landscape.
18. Flipping
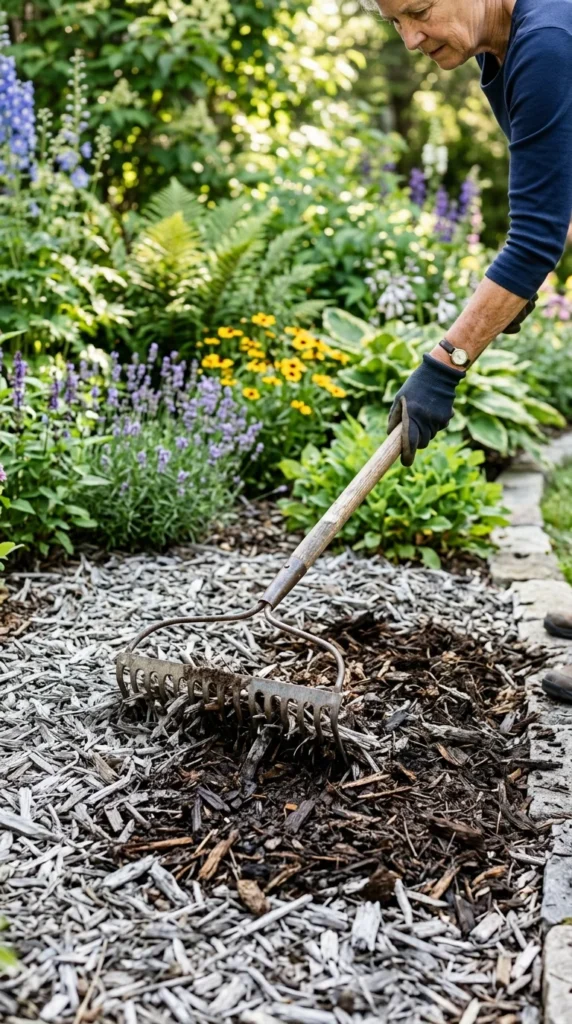
Over time, the surface of organic mulch can develop a crust or become compacted, which prevents water and air from reaching the soil. Once or twice a season, use a rake to lightly “flip” or fluff the mulch. This refreshes the appearance of the bed and ensures the material remains permeable.
19. Pests
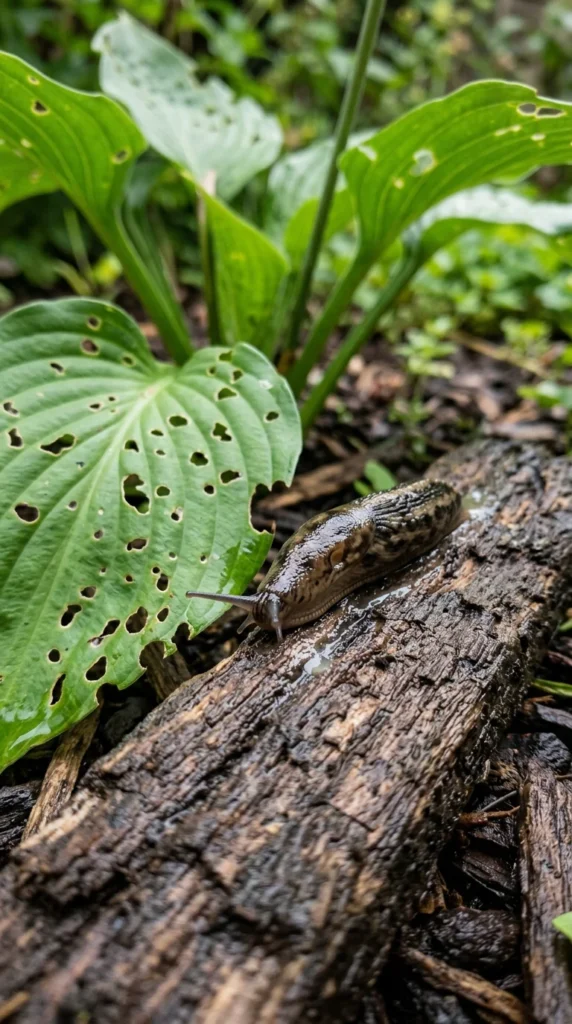
Thick mulch provides a habitat for various garden inhabitants. While many are beneficial, some, like slugs and snails, thrive in the cool, damp environment. If you have a slug problem, keep mulch several inches away from particularly susceptible plants like hostas, or consider using a coarser, sharper mulch that is harder for them to traverse.
20. Fungi
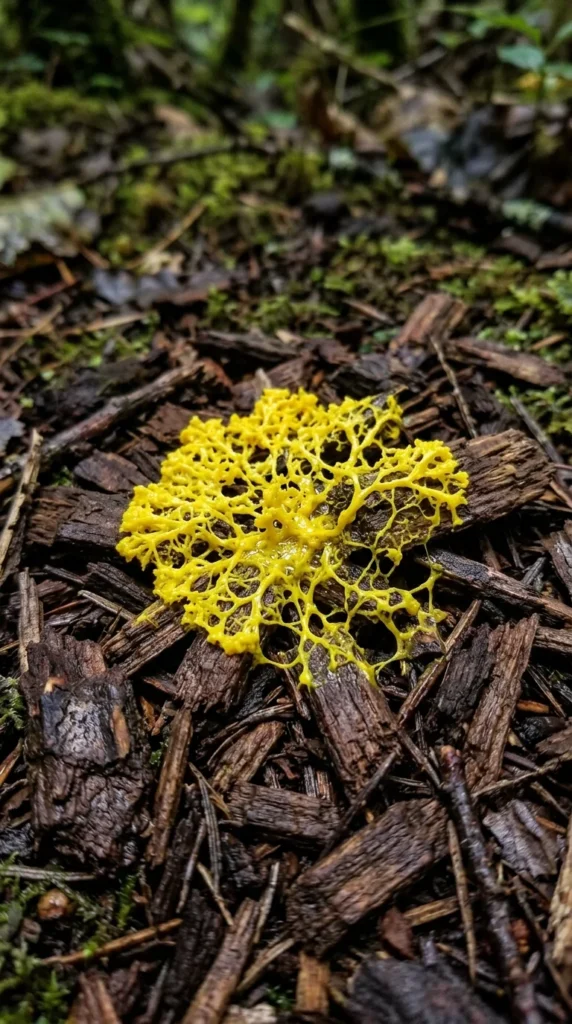
Occasionally, you may see strange growths on your mulch, such as “artillery fungus” or “slime mold.” These are natural decomposers and generally harmless to your plants. If the appearance bothers you, simply scoop them out and dispose of them, or stir the mulch to dry them out. They are a sign that the mulch is doing its job and breaking down into organic matter.
21. Living
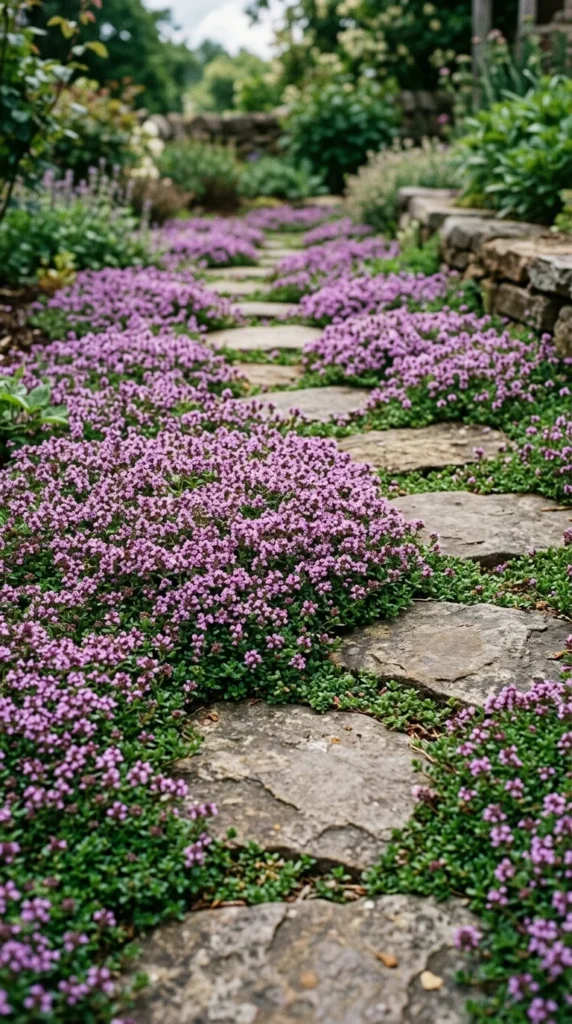
Consider “living mulch” by planting low-growing ground covers. Species like creeping thyme, sedum, or vinca can create a green carpet that functions exactly like wood chips by shading the soil and suppressing weeds. Once established, living mulch is a permanent, self-sustaining solution that adds beauty and biodiversity to the garden.
22. Fabric
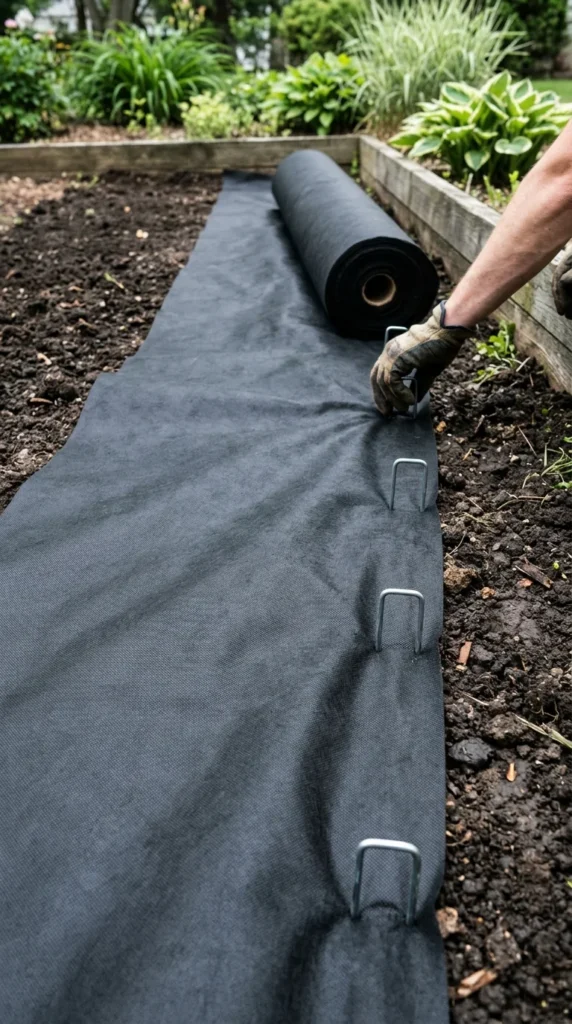
Landscape fabric is often used under mulch to prevent weeds. While effective in the short term, it can become a problem over time as organic mulch breaks down on top of it, creating a new layer of soil where weeds can grow. It is best used under permanent materials like stone or gravel in areas where you do not plan to plant anything new.
23. Aeration
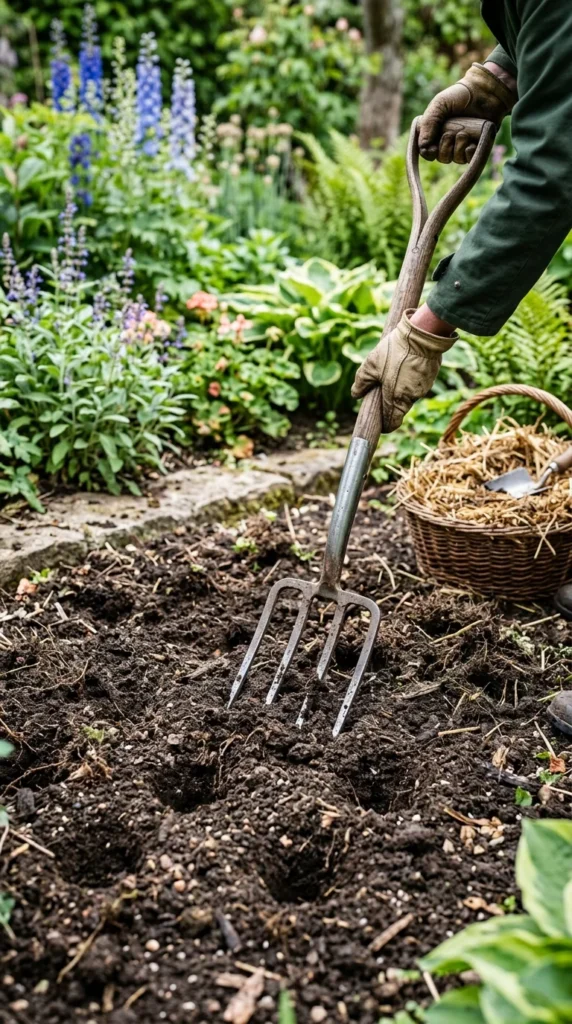
If your soil is heavily compacted, mulching over it won’t solve the underlying problem. Before applying mulch, lightly aerate the soil with a garden fork. This allows the nutrients from the decomposing mulch to penetrate deeper and ensures that the roots of your plants aren’t struggling against hard-packed earth.
24. Replenishment
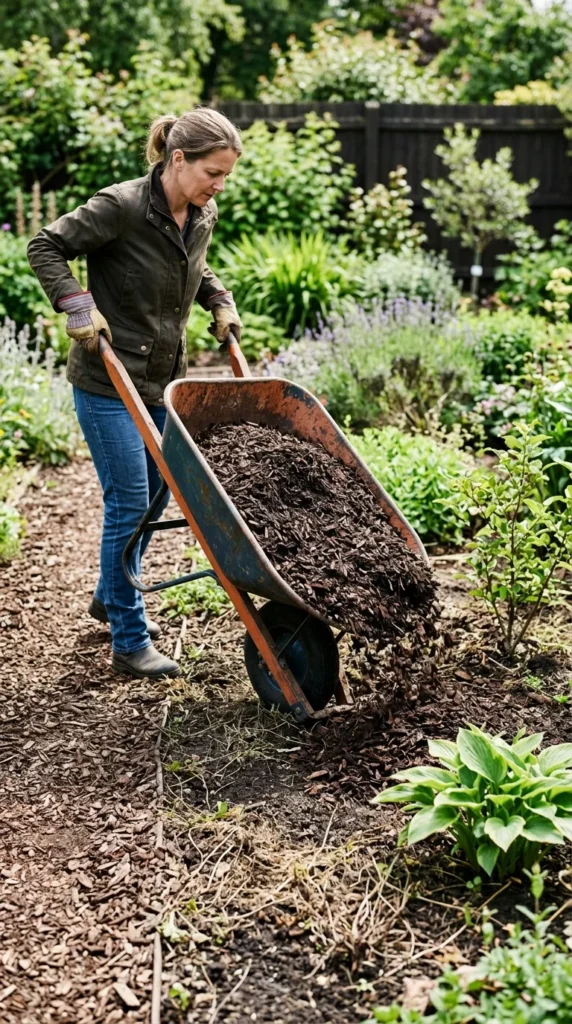
Organic mulches are not permanent; they are designed to decompose and improve the soil. Generally, you should check your mulch levels every spring. You likely won’t need to do a full “strip and replace.” Instead, simply add an inch or two of fresh material on top of the old to bring the depth back up to the recommended three inches.
25. Winterizing
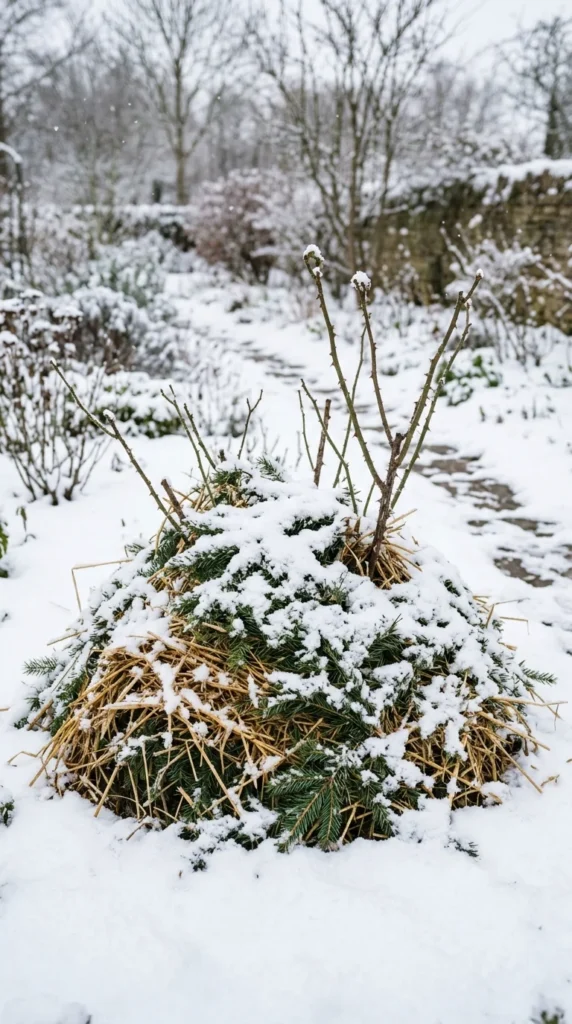
In late fall, after the first hard frost, apply a “winter mulch.” This is especially important for newly planted perennials or tender roses. A thick layer of straw or evergreen boughs around the base of the plant prevents the “heaving” action caused by the ground freezing and thawing, which can push plants out of the soil and expose their roots to killing frosts.