Preserving the bounty of a summer garden allows you to enjoy the concentrated flavors and aromatic benefits of homegrown herbs long after the growing season has ended. Drying is one of the oldest and most effective methods of food preservation, locking in essential oils and flavor compounds by removing moisture. While the process is straightforward, mastering the nuances of timing, temperature, and technique ensures that your dried herbs retain their vibrant color and potent taste rather than becoming dusty or flavorless.
1. Selection
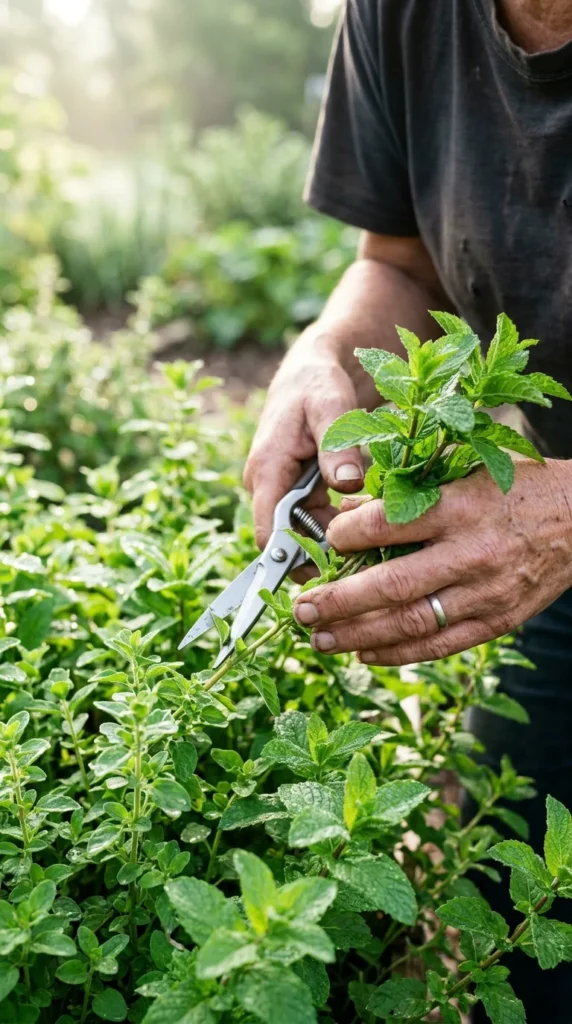
The quality of your final product begins with the selection and timing of your harvest. For the most potent flavor, herbs should be harvested just before they begin to flower. At this stage, the concentration of essential oils in the leaves is at its peak.
The ideal time of day to harvest is in the morning, shortly after the dew has evaporated but before the sun becomes too intense. High temperatures can cause the delicate oils to dissipate, leading to a less aromatic herb. Focus on selecting healthy, vibrant stems that are free from pests, diseases, or yellowing. Perennial herbs like rosemary, thyme, and sage are hardier and handle the drying process exceptionally well, while tender annuals like basil and cilantro require more careful handling to prevent browning.
2. Preparation
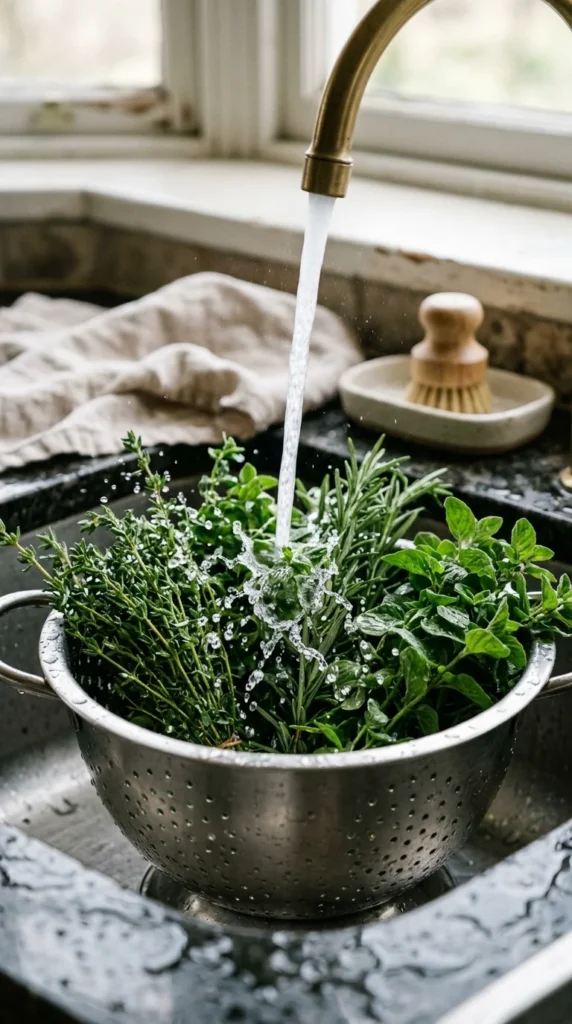
Once harvested, your herbs need immediate attention to maintain their freshness. Start by shaking the stems gently to dislodge any small insects or debris. Rinse the herbs under a gentle stream of cool water to remove soil and dust.
After washing, it is critical to dry the surface moisture completely. Excess water on the leaves during the drying process can lead to mold or rot. Lay the herbs out in a single layer on clean kitchen towels or paper towels and blot them gently. For sturdier herbs, you can use a salad spinner to remove the bulk of the water. Ensure they are bone-dry to the touch before proceeding to any drying method. Remove any damaged or discolored leaves, as these will not dry well and can affect the flavor of the entire batch.
3. Bunching
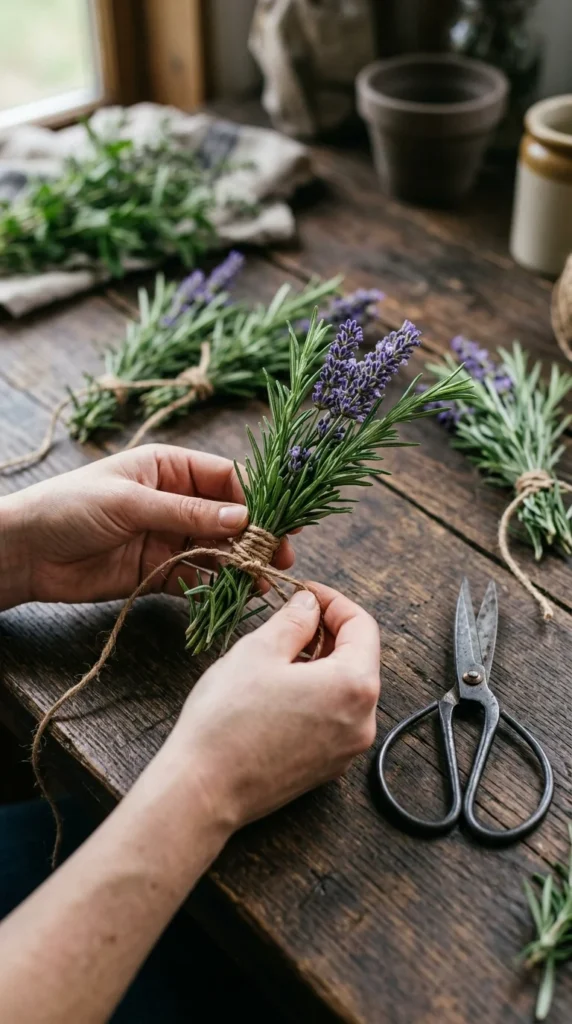
If you choose the traditional air-drying method, bunching is your next step. Take three to five stems and gather them at the base. Secure the bundle tightly with kitchen twine, a rubber band, or a twist tie. Remember that as the herbs dry, the stems will shrink, so rubber bands are often preferred as they contract with the stem, preventing the bundle from falling out.
Keep the bundles small. If a bundle is too thick, air cannot circulate through the center, which significantly increases the risk of mold. For herbs with high moisture content, such as mint or lemon balm, keep the bundles even smaller to ensure even airflow.
4. Air-Drying
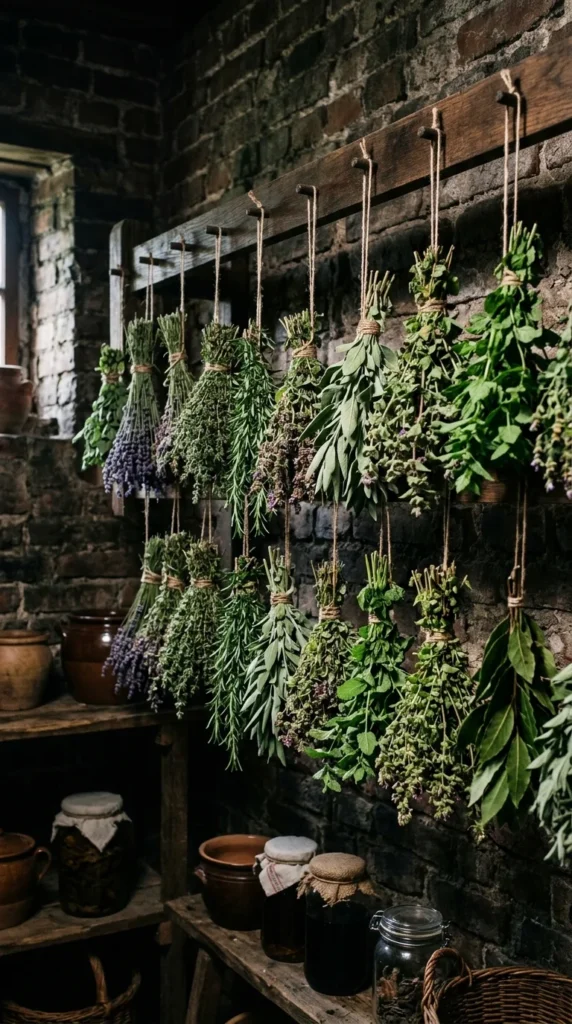
Air-drying is the most cost-effective and natural way to preserve herbs, particularly those with low moisture content like rosemary, thyme, dill, and bay leaves. Once bunched, hang the herbs upside down in a location that is warm, dry, and well-ventilated.
Crucially, herbs should be kept out of direct sunlight, which can bleach the color and destroy the volatile oils. An attic, a pantry, or a kitchen corner away from the stove is often ideal. For protection against dust and to catch any falling seeds or leaves, you can place a paper bag over the bundle. Punch several holes in the sides of the bag to allow for airflow, and tie the bag around the stem base. Depending on the humidity and the type of herb, air-drying typically takes anywhere from one to three weeks.
5. Dehydrating
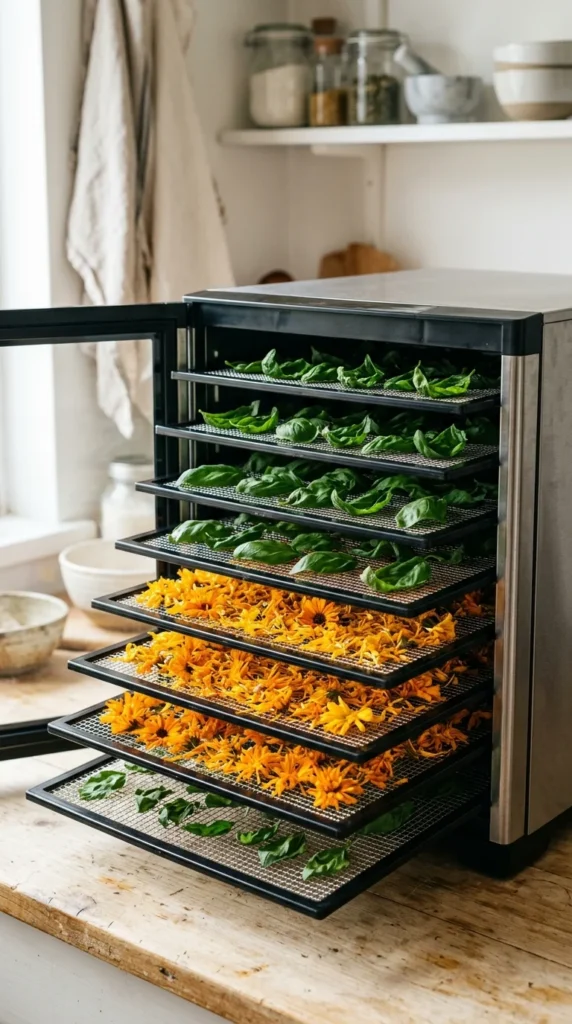
For those living in humid climates or looking for a faster result, an electric food dehydrator is an excellent investment. This method offers the most control over temperature and airflow, resulting in high-quality dried herbs with excellent color retention.
Preheat the dehydrator to its lowest setting, typically between 95°F and 115°F (35°C to 46°C). In areas with very high humidity, you may need to increase the temperature slightly to 125°F. Arrange the herbs in a single layer on the trays, ensuring they do not overlap. The drying time in a dehydrator is significantly shorter than air-drying, usually taking between 1 to 4 hours. Check the herbs periodically; they are finished when the leaves crumble easily and the stems snap rather than bend.
6. Oven-Drying
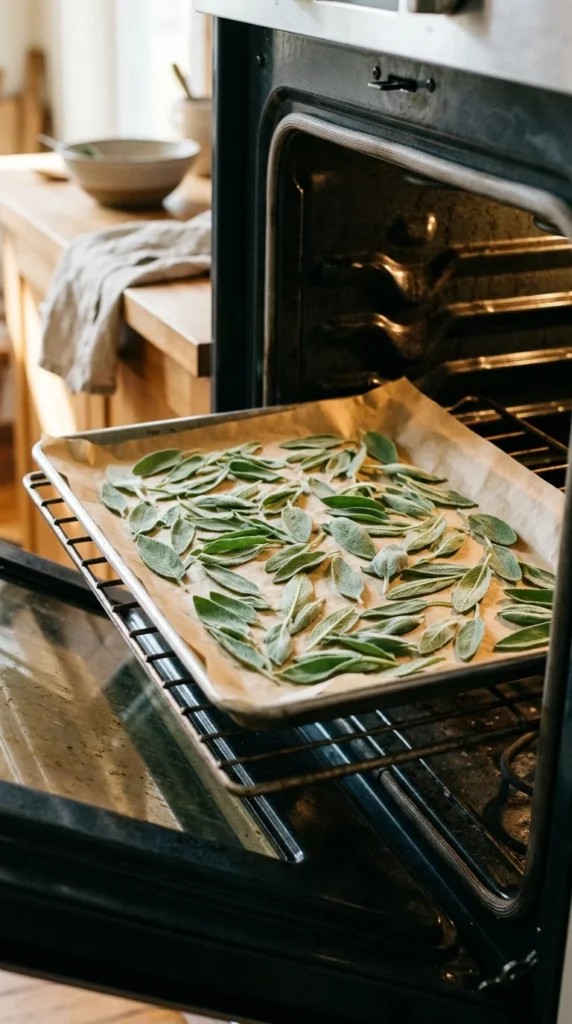
Oven-drying is a quick alternative if you do not own a dehydrator, though it requires constant monitoring to prevent the herbs from “cooking” or burning. The goal is to dry the herbs, not roast them.
Set your oven to the lowest possible temperature—ideally under 150°F (65°C). If your oven does not go that low, you may need to prop the door open slightly with a heat-resistant silicone spatula to allow moisture to escape and to keep the internal temperature down. Spread the herbs on a parchment-lined baking sheet. Leave them in the oven for 30 minutes to an hour, checking them every 15 minutes. Because oven temperatures can be inconsistent, this method is best suited for sturdier herbs like sage and rosemary.
7. Microwaving
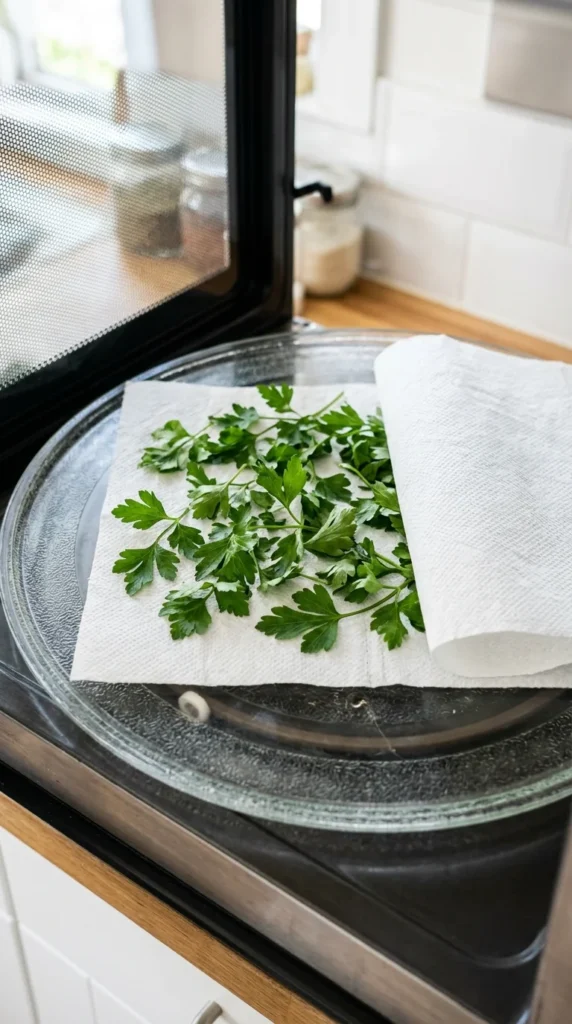
Microwave drying is surprisingly effective for small batches of herbs and is particularly good at preserving the bright green color of delicate leaves like parsley, cilantro, and basil. The microwave works by heating the water molecules in the leaves, causing them to evaporate rapidly.
Place a single layer of herbs between two layers of paper towels. Microwave on high for 30 seconds, then check the progress. Continue microwaving in 15-to-30-second increments until the herbs are brittle and crunchy. This method is incredibly fast, often taking less than two or three minutes total. However, you must stay close by to ensure the paper towels do not overheat.
8. Storage
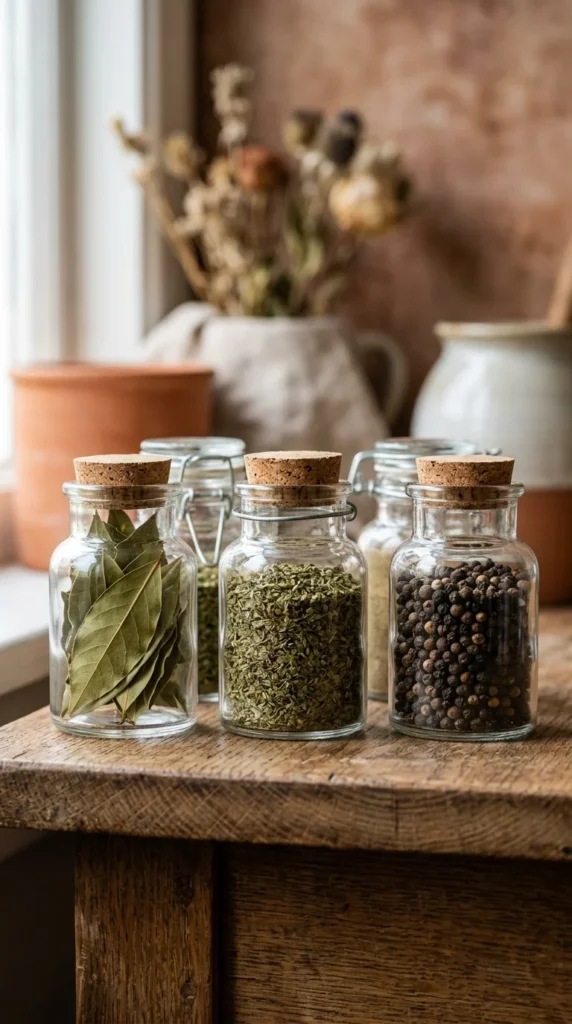
The final and most important step in the process is proper storage. Once the herbs are completely dry and brittle, they are ready for containers. To maintain maximum flavor, it is best to store herbs as whole leaves and crush them only when you are ready to use them in cooking. Crushing the leaves releases the oils, and if done too early, the flavor will dissipate over time.
Place the dried herbs in clean, airtight glass jars. Store the jars in a cool, dark place, such as a cupboard or pantry. Avoid storing them near the stove or dishwasher, as the heat and steam will degrade the quality quickly. Properly dried and stored herbs can last for 6 to 12 months. When using your homegrown dried herbs in recipes, remember that they are more concentrated than fresh ones; a general rule of thumb is to use one teaspoon of dried herbs for every tablespoon of fresh herbs called for in a recipe.