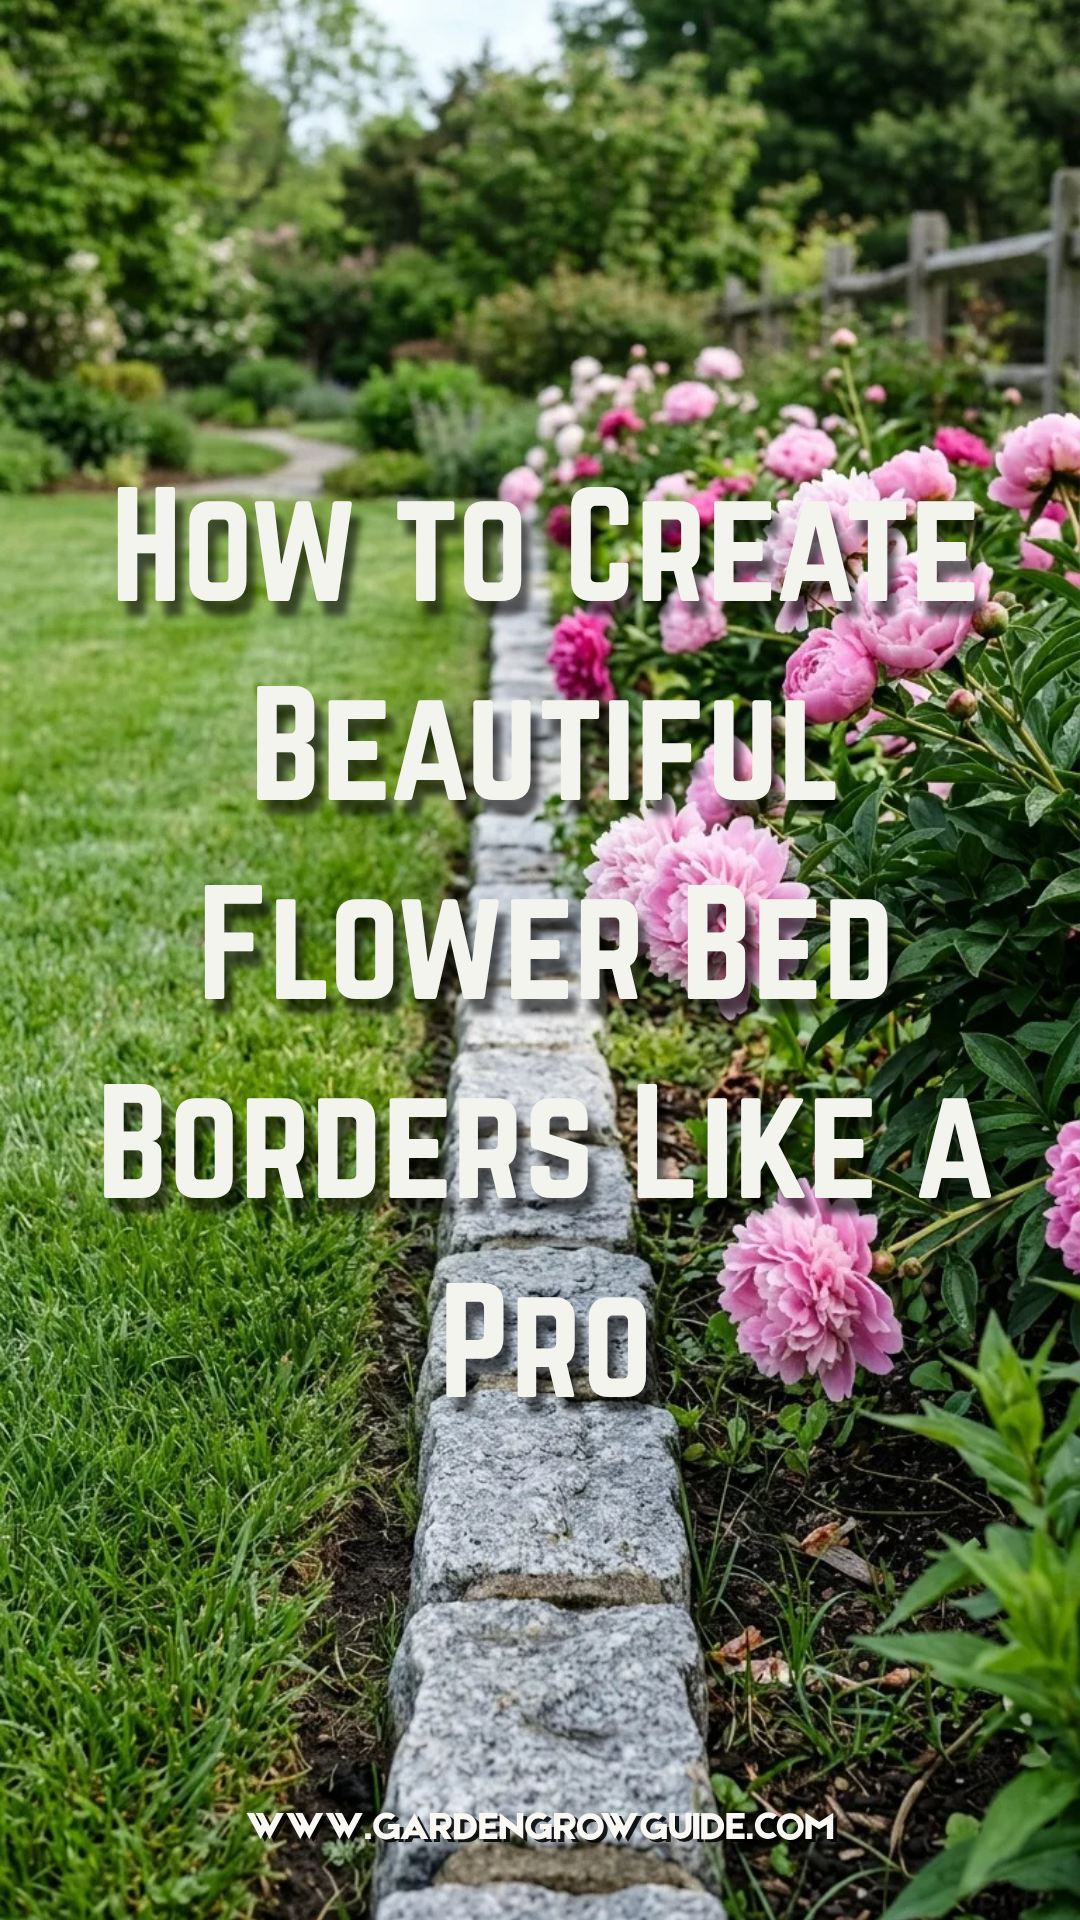
A garden without a border is like a masterpiece painting without a frame. While the flowers themselves are the stars of the show, the borders provide the structure, definition, and “finished” look that separates a DIY project from a professional landscape. Beyond aesthetics, a well-constructed flower bed border serves a practical purpose: it keeps aggressive turf grass from invading your soil, retains mulch during heavy rains, and provides a clear path for lawnmowers to follow.
Creating a professional-grade border requires a blend of creative vision and physical labor. Whether you prefer the rustic charm of natural stone or the sleek, modern lines of steel, mastering the art of the edge will transform your outdoor space.
1. Trench Edging
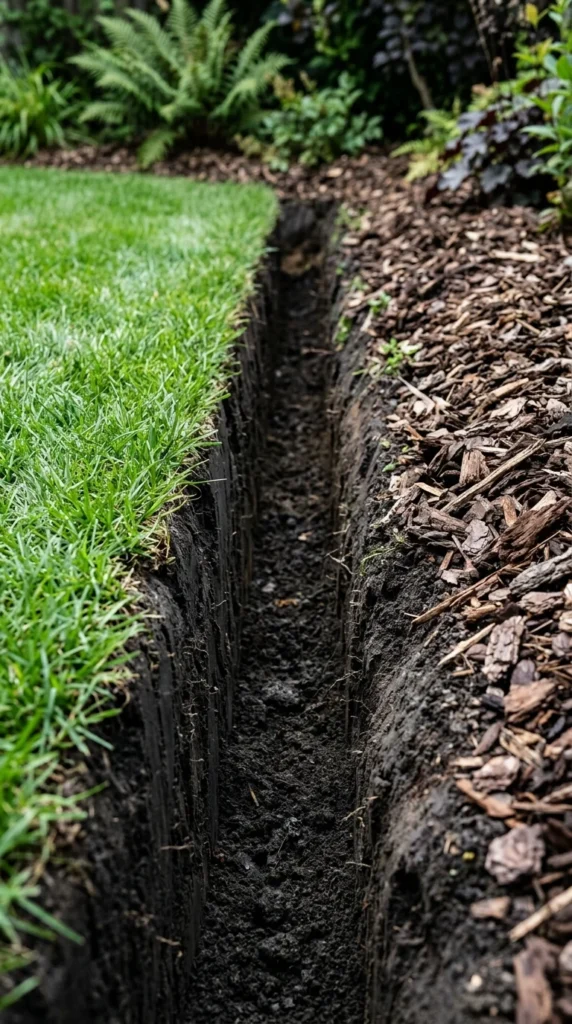
Also known as the “Victorian edge,” the trench is the most cost-effective and natural-looking way to define a garden. It involves digging a 3-to-4-inch deep V-shaped groove between the grass and the garden bed. This gap acts as a physical barrier that prevents grass roots from jumping into the flower bed. The beauty of this method is its flexibility; you can easily change the shape of your bed every season. To maintain it, you simply need to “re-cut” the edge once or twice a year with a manual half-moon edger or a motorized spade.
2. Brick Borders
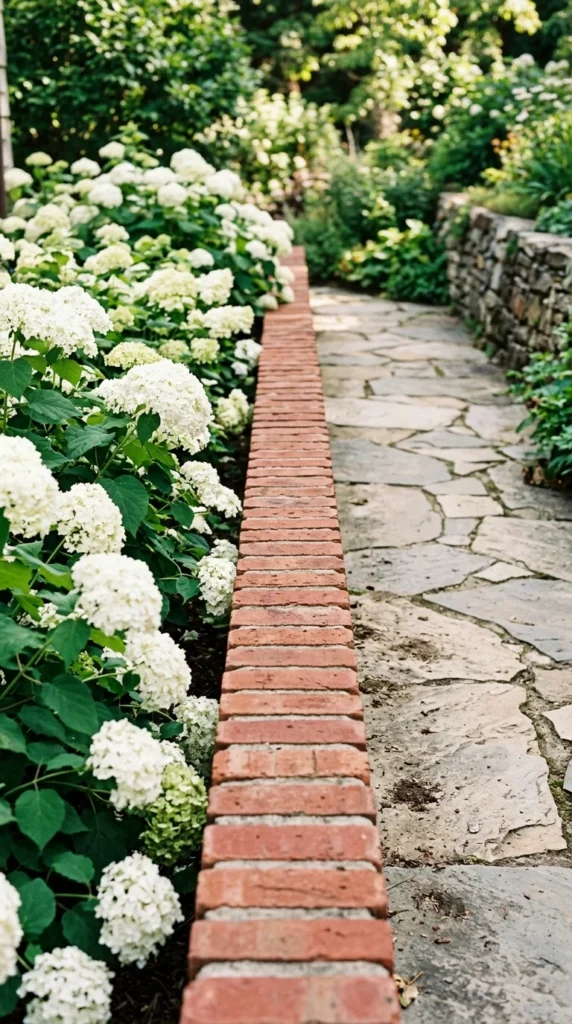
Bricks offer a timeless, formal appeal that complements traditional and colonial-style homes. There are several ways to lay them: “soldier” style (standing vertically), “sailor” style (laying flat and wide), or even diagonally for a “sawtooth” effect. For a professional finish, it is crucial to dig a shallow trench and lay a base of sand or crushed limestone. This prevents the bricks from shifting or sinking over time due to ground frost and rain.
3. Natural Stone
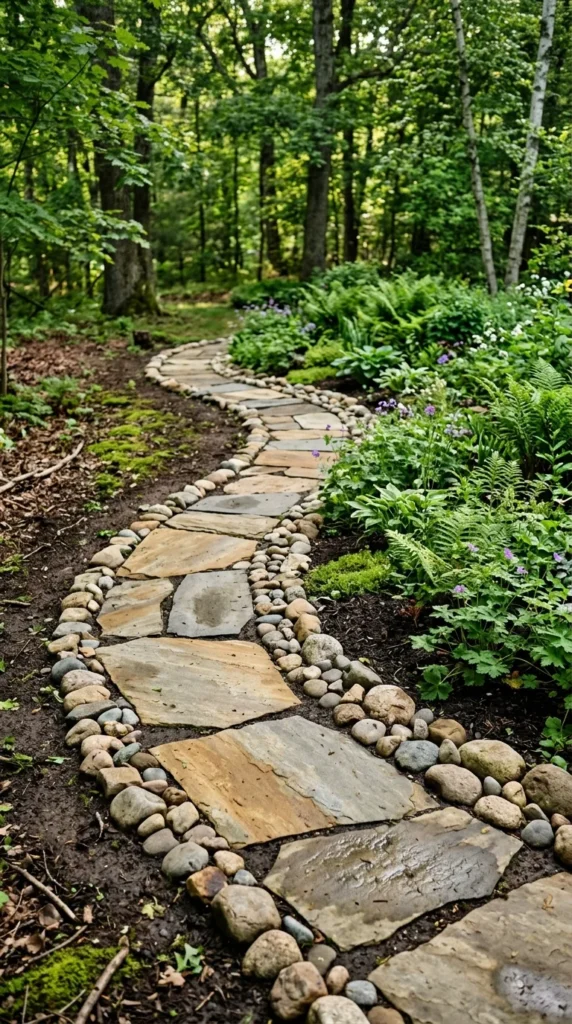
If your garden has a whimsical, cottage, or woodland feel, natural stone is the premier choice. Using fieldstone, river rocks, or flagstone creates a rugged, organic transition between the wildness of the plants and the order of the lawn. To make it look professional, avoid “stringing” small rocks like a pearl necklace. Instead, use stones of varying sizes and bury them slightly into the ground so they look like they have naturally emerged from the earth.
4. Metal Edging
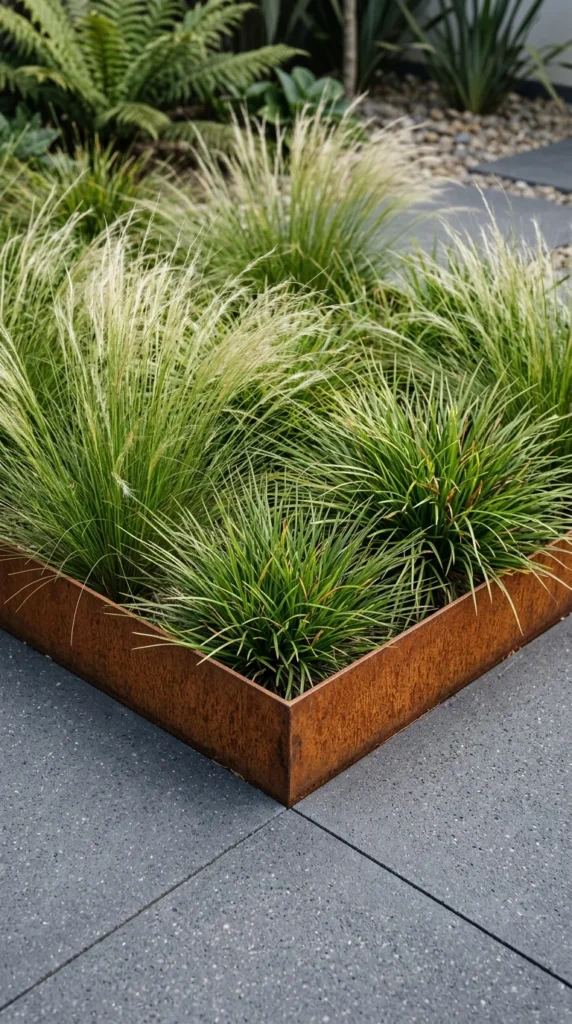
For those who desire a “barely there” look or a modern aesthetic, metal edging—specifically steel or aluminum—is the gold standard. It is incredibly durable, won’t rot, and can be bent into sharp angles or tight curves that other materials cannot achieve. Steel edging eventually develops a beautiful rusted patina (Corten steel), while aluminum remains silver or can be powder-coated in black or green. The key to a pro look here is ensuring the top of the metal sits only a half-inch above the soil line to remain subtle.
5. Wood Timber
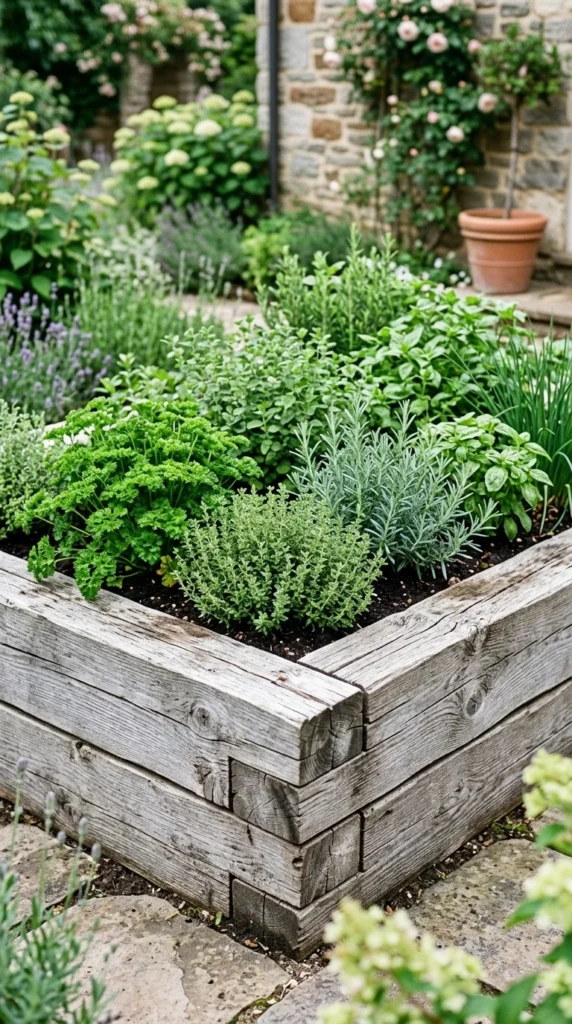
Timber borders provide a sturdy, architectural feel and are excellent for leveling sloped yards. Using pressure-treated lumber or naturally rot-resistant woods like cedar or redwood ensures longevity. To avoid a “boxy” DIY look, use heavy 4×4 or 6×6 timbers and secure them with long steel rebar spikes driven into the ground. Mitered corners and clean cuts are the hallmarks of a professional timber installation.
6. Cobblestones
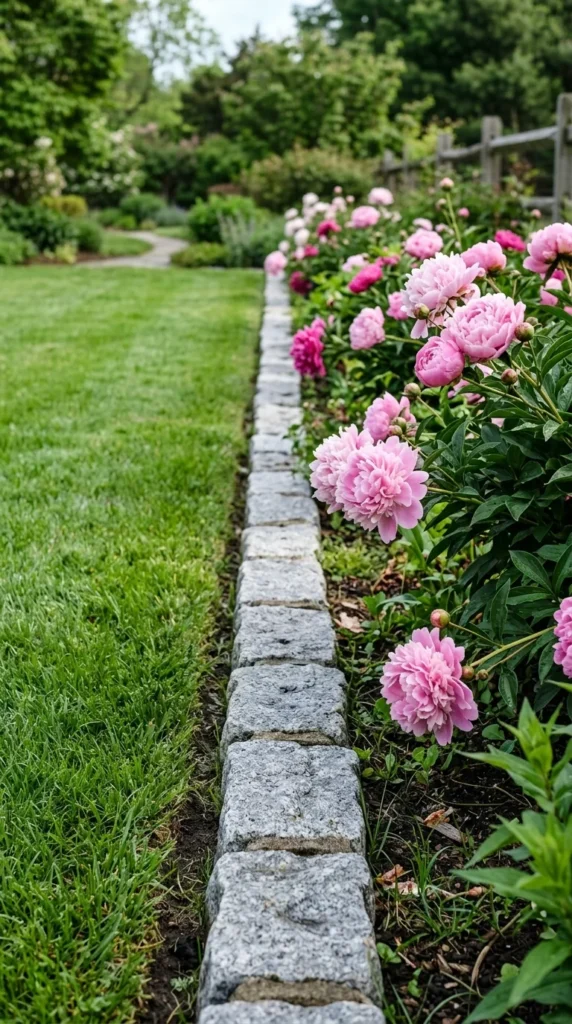
Cobblestones, often called Belgian blocks, provide an old-world European charm. They are incredibly heavy and durable, making them a permanent solution for garden edging. Unlike bricks, cobblestones are irregular in shape, which adds texture and character. Pros often set these in a thin bed of mortar or concrete to ensure they never move, creating a “mowing strip” that allows the wheels of a lawnmower to run right over the stones.
7. Woven Willow
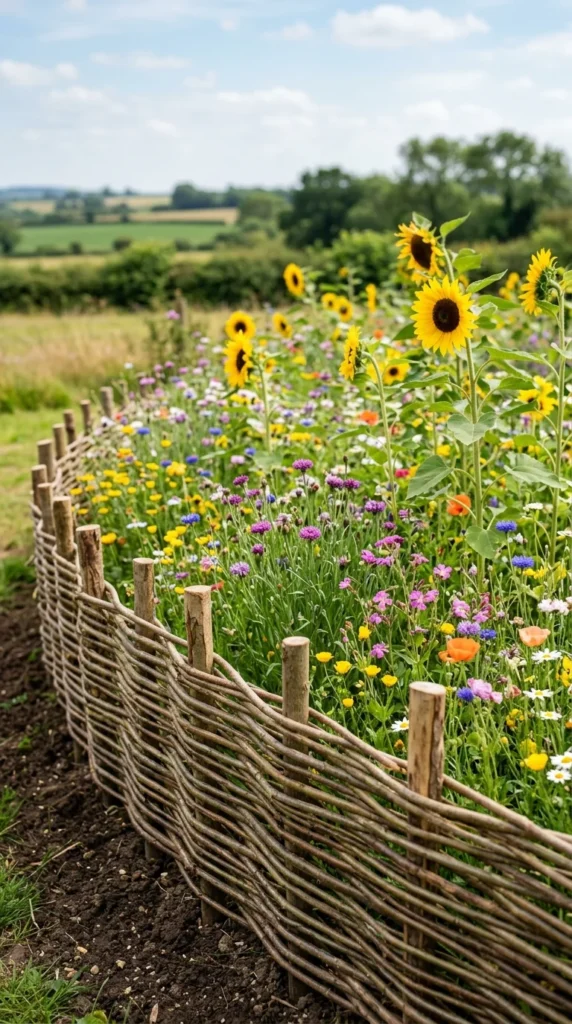
Woven willow or “wattle” edging is perfect for rustic, English cottage, or vegetable gardens. It is an eco-friendly choice made from renewable materials. While it doesn’t last as long as stone or metal (typically 3 to 5 years), it provides a soft, hand-crafted texture that is unmatched. It is particularly effective for keeping mulch inside raised mounds or defining paths in a potager garden.
8. Living Borders
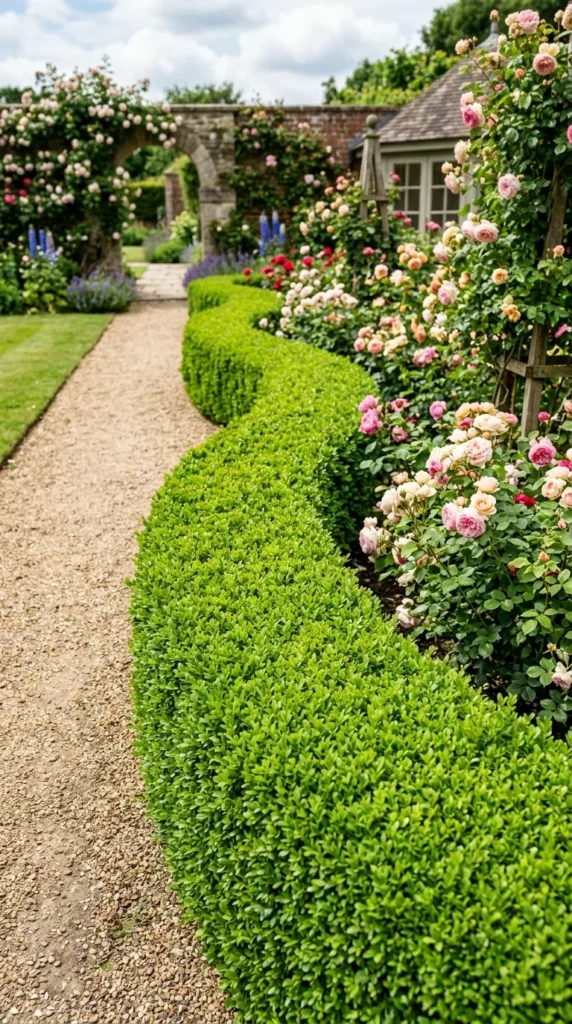
A living border uses low-growing, dense plants to create a soft “wall” around your flower bed. Common choices include boxwood, lavender, dwarf mondo grass, or thrift (Armeria maritima). This technique requires more maintenance in terms of pruning and watering, but it adds a layer of depth and color that hardscaping cannot provide. The professional secret here is spacing: plant your border species close enough together so they grow into a seamless ribbon of foliage.
Step-By-Step: The Professional Installation Process
Creating the border is only half the battle; how you install it determines if it will look good for one month or ten years. Follow these steps for a professional result:
Step 1: Mark the Line Professional landscapers never “eye it.” Use a garden hose or a heavy rope to lay out the curve of your border. Once you are happy with the shape, use bright landscape spray paint to mark the line directly onto the grass.
Step 2: Remove the Turf Use a sharp spade or a power edger to cut along your painted line. Peel back the grass (the “turf”) to reveal the bare soil. Ensure the transition between the grass and the bed is at least 3 inches deep.
Step 3: Level the Foundation If you are using heavy materials like brick, stone, or timber, you must level the ground. Use a hand tamper to compact the soil, and add a 1-inch layer of leveling sand. This prevents “heaving” when the ground freezes and thaws.
Step 4: Install and Secure Place your edging material. If using metal or plastic, use the provided stakes every 2 feet. If using stone, “knit” the stones together so there are no large gaps where grass can grow through.
Step 5: Backfill and Mulch Once the edging is in place, fill any gaps on the garden side with high-quality garden soil. Finish the project by adding a 2-to-3-inch layer of mulch. Ensure the mulch is slightly lower than the top of your border to prevent it from washing away.
Design Principles for Expert Borders
To truly elevate your garden, consider these three design secrets used by professionals:
- The Mowing Strip: If using stone or brick, set them at a height where the lawnmower blade can pass safely over them. This eliminates the need for string trimming and creates a very clean line.
- Scale and Proportion: A massive, multi-story house needs a substantial border (like 6-inch timbers or large boulders). A small cottage garden looks best with delicate trenching or thin metal strips.
- Color Contrast: Choose a border color that contrasts with your mulch. If you use dark chocolate mulch, a light grey stone border will “pop.” If you use red wood chips, a dark steel or black plastic edge provides the necessary definition.
By choosing the right material and taking the time to prepare the ground properly, you can create flower bed borders that not only protect your plants but also serve as a beautiful architectural feature of your home’s landscape.