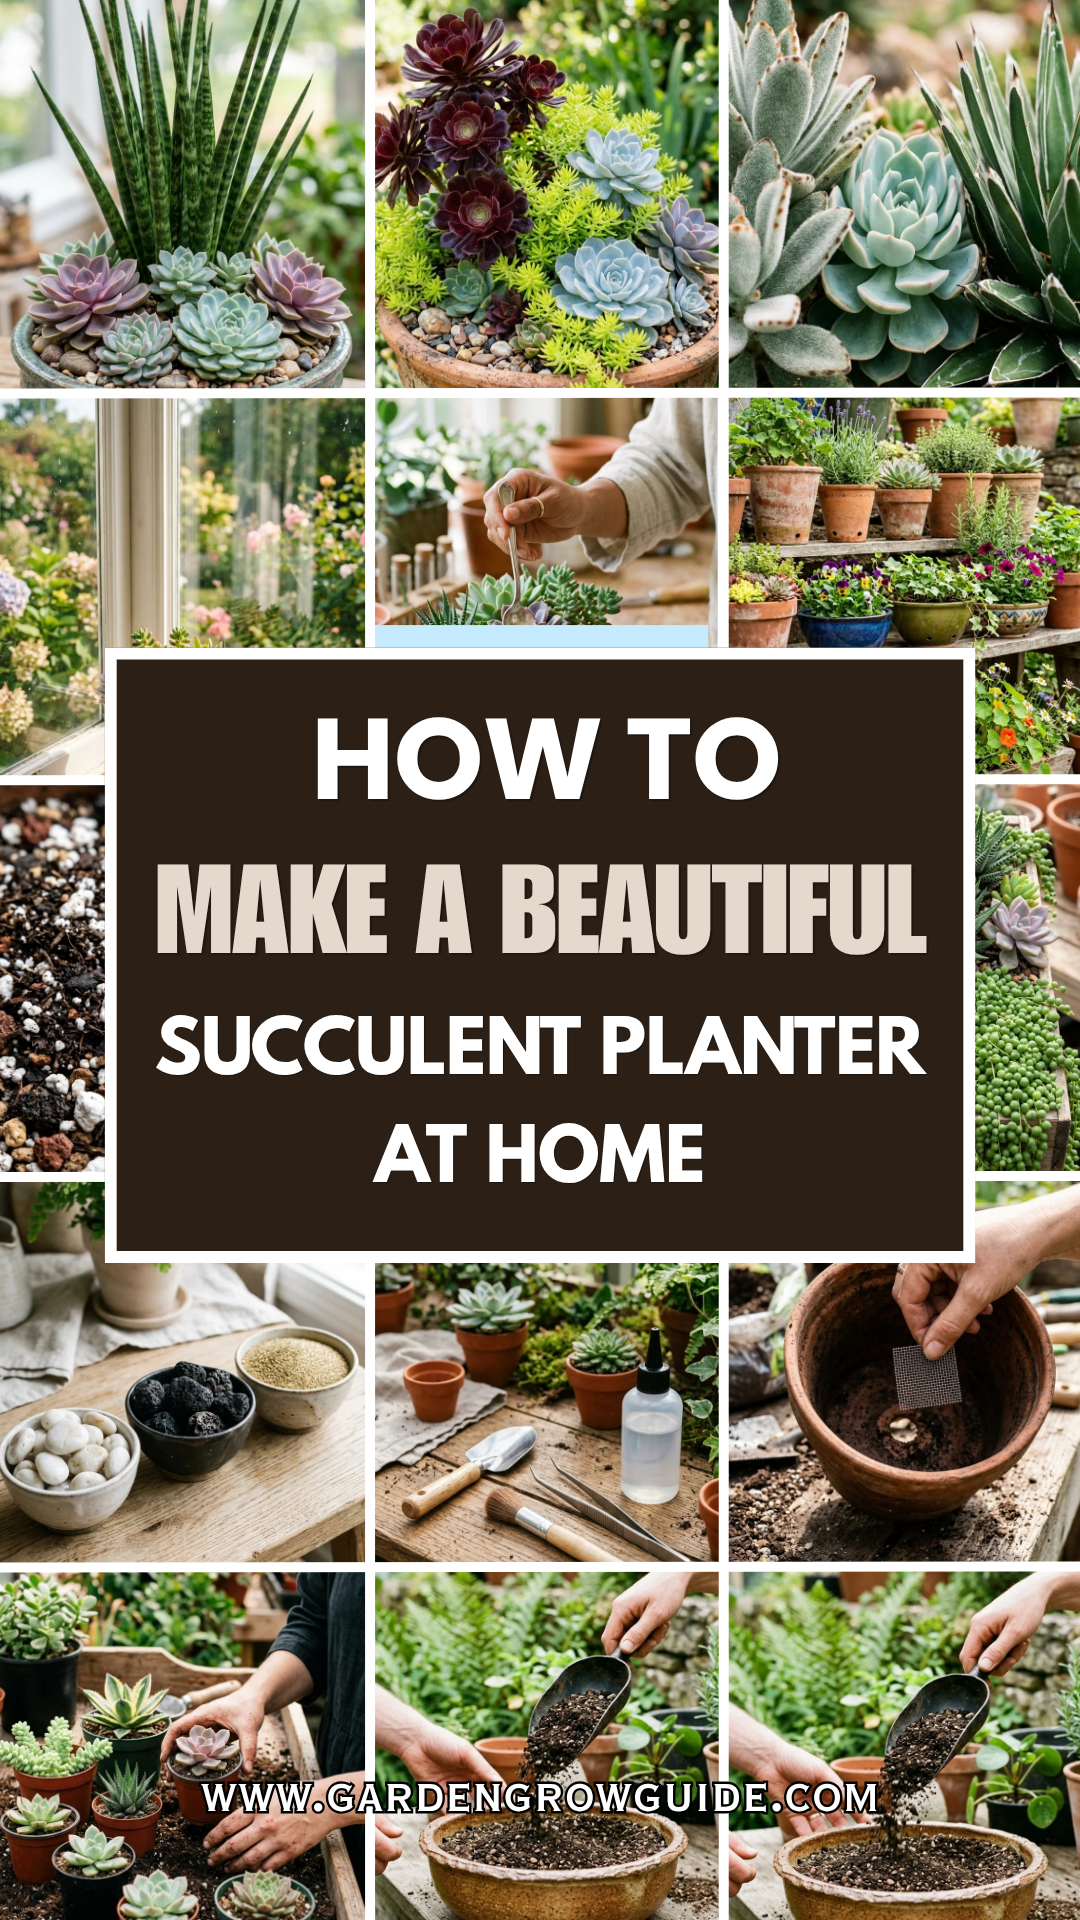
Succulents have transformed from niche botanical interests into staples of modern interior design. Their geometric shapes, vibrant hues, and resilient nature make them the perfect candidates for DIY home gardening projects. Creating a professional-looking succulent arrangement is not merely about putting plants in dirt; it is an exercise in color theory, texture, and horticultural care. This guide provides a comprehensive roadmap to building a beautiful succulent planter that will thrive for years.
Essential Supplies for Success
Before you begin, gathering the right materials is crucial. Succulents have specific needs that differ significantly from tropical houseplants, particularly regarding drainage and soil composition.
1. The Container
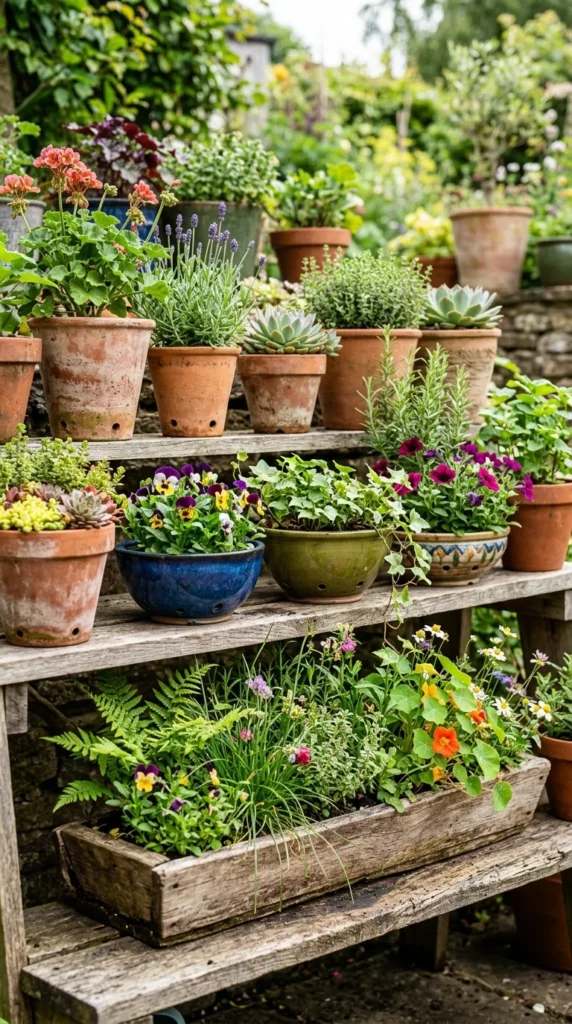
The vessel you choose dictates both the aesthetic and the health of your plants. While succulents can technically grow in almost anything, a container with a drainage hole is highly recommended for beginners. Porous materials like terracotta or unglazed ceramic are ideal because they allow moisture to evaporate through the walls, preventing the roots from sitting in water. If you choose a container without a hole, such as a glass terrarium or a vintage tin, you must be extremely precise with your watering schedule.
2. Specialized Soil
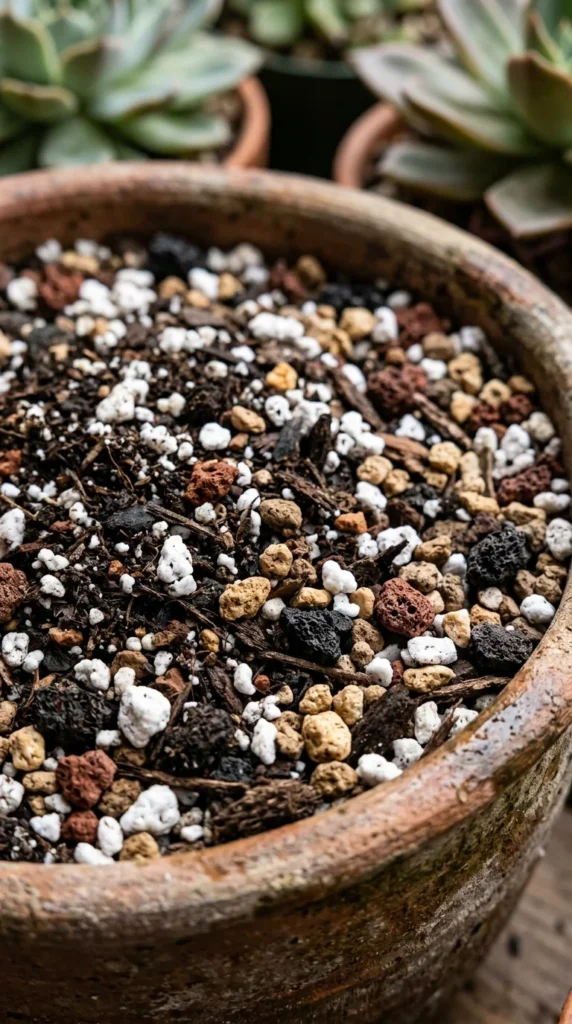
Standard potting soil is the enemy of the succulent. It retains too much moisture, which leads to root rot. Instead, use a dedicated cactus and succulent mix. These blends are formulated with inorganic materials like perlite, pumice, or coarse sand to ensure rapid drainage. A good rule of thumb is that the soil should feel gritty to the touch and should not clump together when squeezed while damp.
3. Succulent Varieties
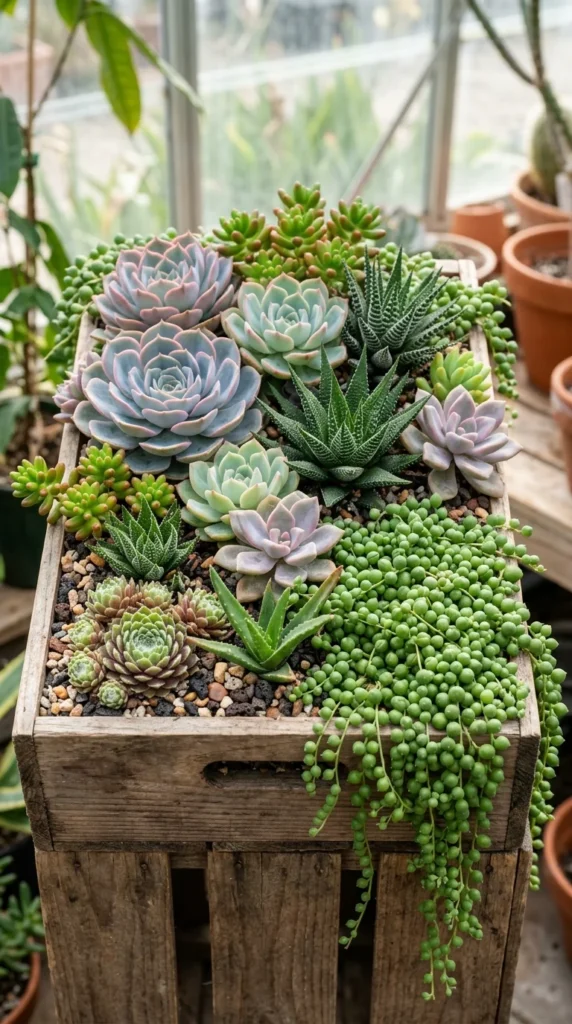
For a visually striking planter, choose a variety of species. Look for “thrillers” (tall, eye-catching plants), “fillers” (mid-sized plants that take up space), and “spillers” (vines that hang over the edge). Consider the light requirements of your chosen plants; mixing a high-light desert cactus with a low-light Haworthia will lead to one of them suffering. Stick to plants with similar care needs for a cohesive and long-lasting arrangement.
4. Top Dressing
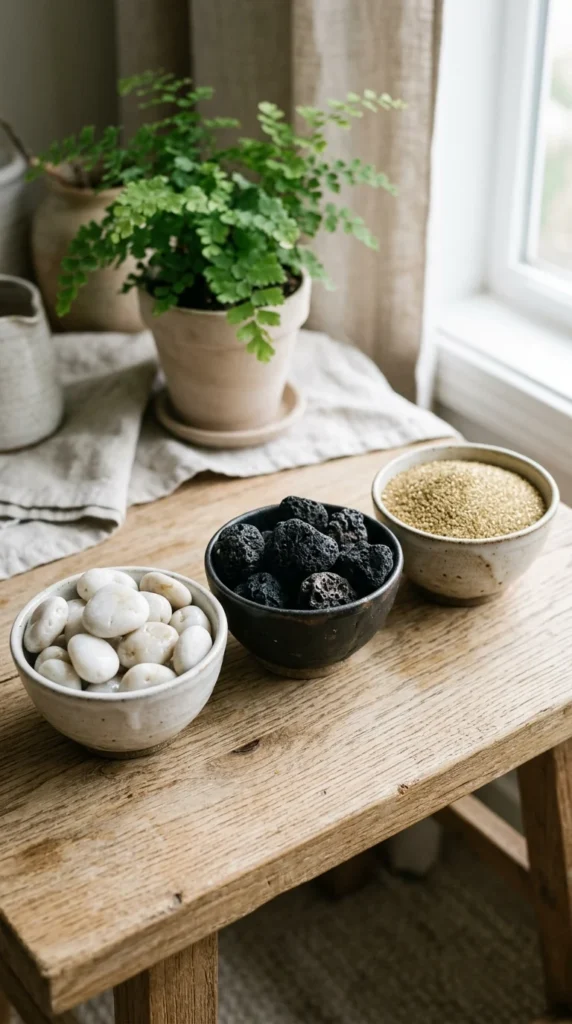
Top dressing is the professional secret to a finished look. These are the stones, pebbles, or mosses used to cover the exposed soil. Beyond aesthetics, top dressing serves a functional purpose: it keeps the leaves of the succulents off the damp soil, preventing rot, and it weighs down light soil mixes so they don’t wash away during watering.
5. Gardening Tools
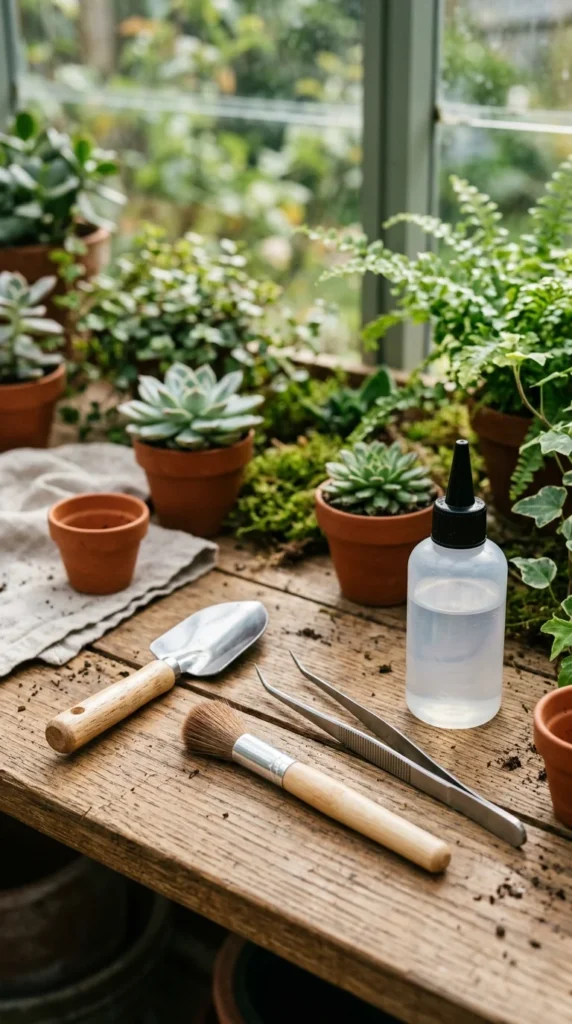
While your hands are your best tools, a few specialized items make the process easier. Long tweezers are perfect for placing small offsets in tight spaces. A soft-bristled brush is essential for cleaning soil off the delicate leaves of your plants once they are tucked in. A squeeze bottle with a narrow nozzle allows you to water the soil directly without getting moisture trapped in the succulent rosettes.
The Step-by-Step Planting Process
Once your workspace is set and your materials are ready, it is time to assemble your masterpiece. Follow these steps to ensure your plants are positioned for both beauty and growth.
1. Prepare Drainage
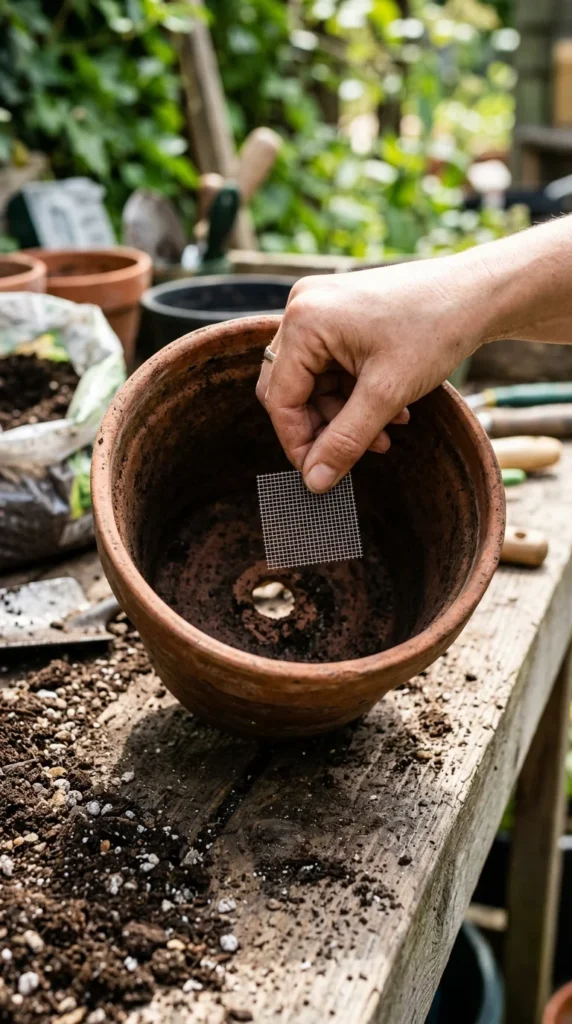
If your pot has a large drainage hole, start by covering it with a small piece of mesh or a coffee filter. This allows water to escape while preventing the gritty soil from falling out the bottom. Avoid the old myth of putting a layer of rocks at the bottom of a pot without a hole; this actually creates a “perched water table” that keeps moisture closer to the roots. Proper drainage always requires an exit point for water.
2. Fill Soil
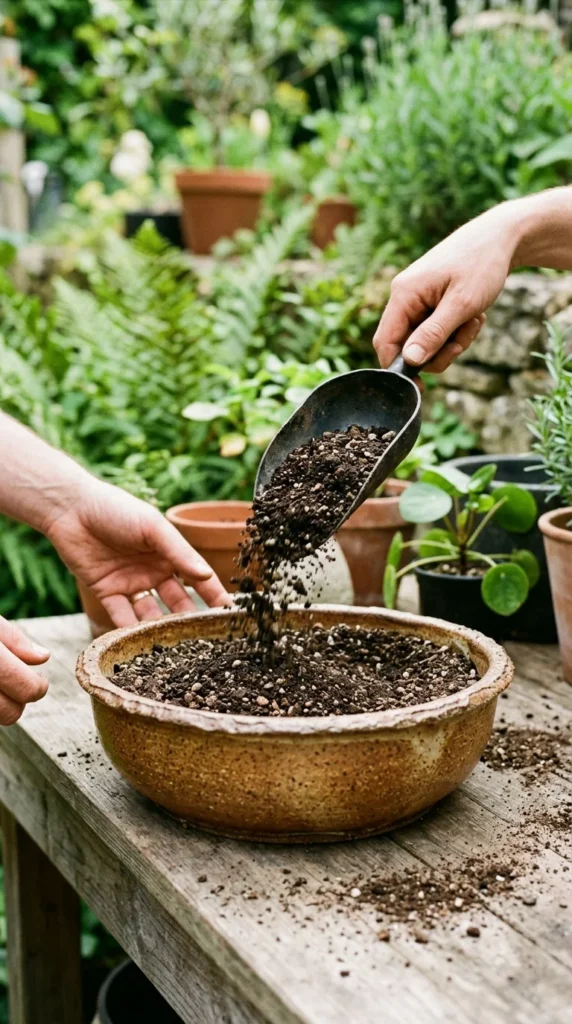
Fill your container with the succulent mix, leaving about an inch of space from the rim. Do not pack the soil down tightly; succulents prefer a loose environment where air can reach their roots. If you are working with a very deep pot, you can fill the bottom third with an inorganic filler like expanded clay pebbles to save on soil and reduce the weight of the planter.
3. Arrange Plants
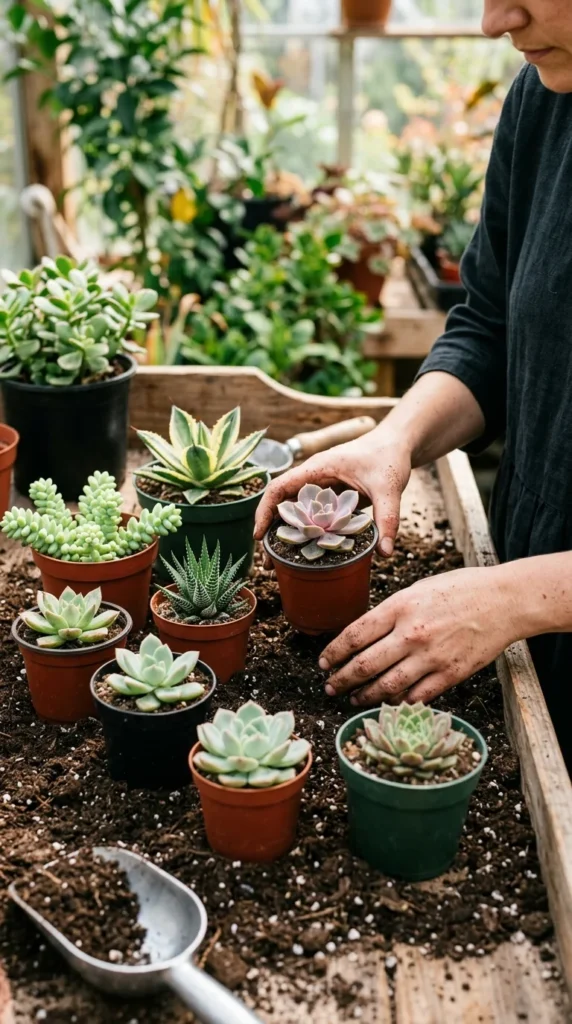
Before removing the plants from their nursery pots, arrange them on the surface of the soil to test the design. Place your “thriller” slightly off-center for an asymmetrical, natural look. Surround it with “fillers,” and place your “spillers” near the edges where they can gracefully cascade. Ensure there is a small amount of breathing room between the plants to allow for future growth.
4. Secure Roots
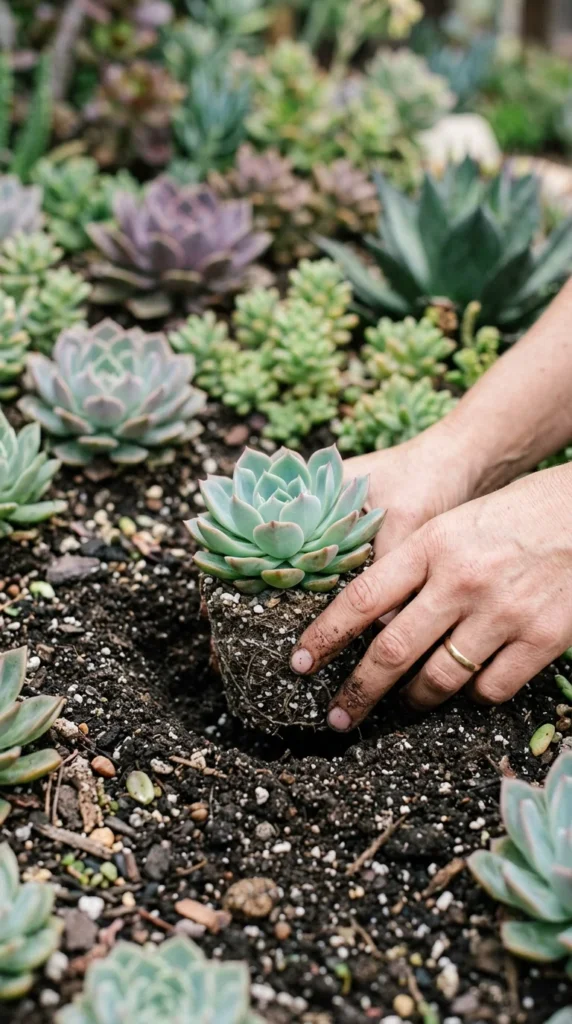
Remove the succulents from their plastic nursery pots by gently squeezing the sides. Tease the roots slightly if they are root-bound. Dig a small hole for each plant and set it into the soil. Be careful not to bury the leaves; only the roots and the very base of the stem should be underground. Press the soil gently around each plant to remove large air pockets.
5. Decorative Layers
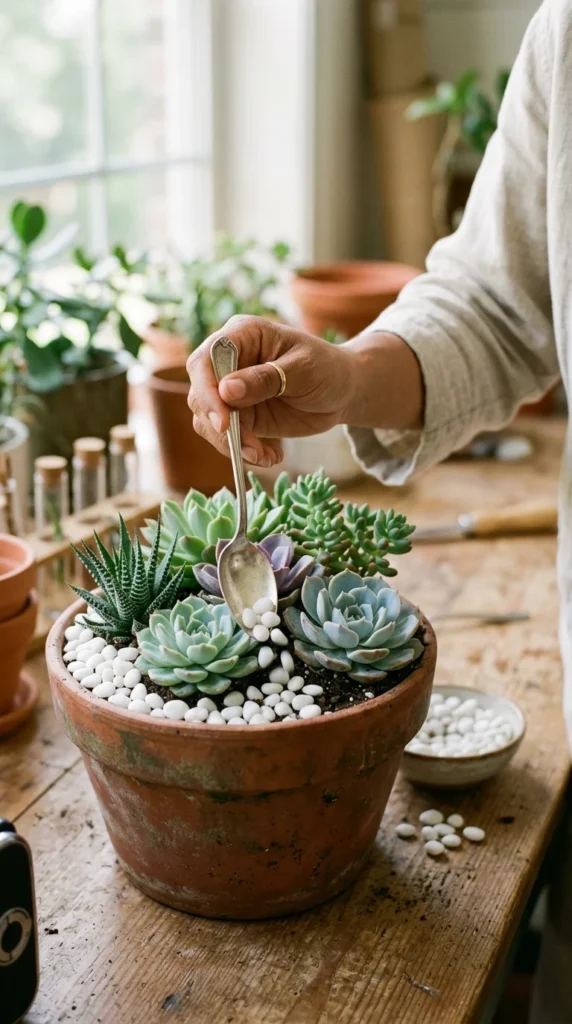
Once the plants are secure, add your top dressing. Use a spoon or a small shovel to distribute the pebbles evenly across the surface. This is also the time to add “hardscape” elements like a large decorative rock or a piece of driftwood to give the arrangement a more naturalistic, desert-landscape feel. Use your brush to sweep away any stray dirt from the leaves of the plants.
Design Principles for Visual Impact
To elevate your planter from a simple collection of plants to a piece of living art, consider these professional design principles.
1. Height Variation
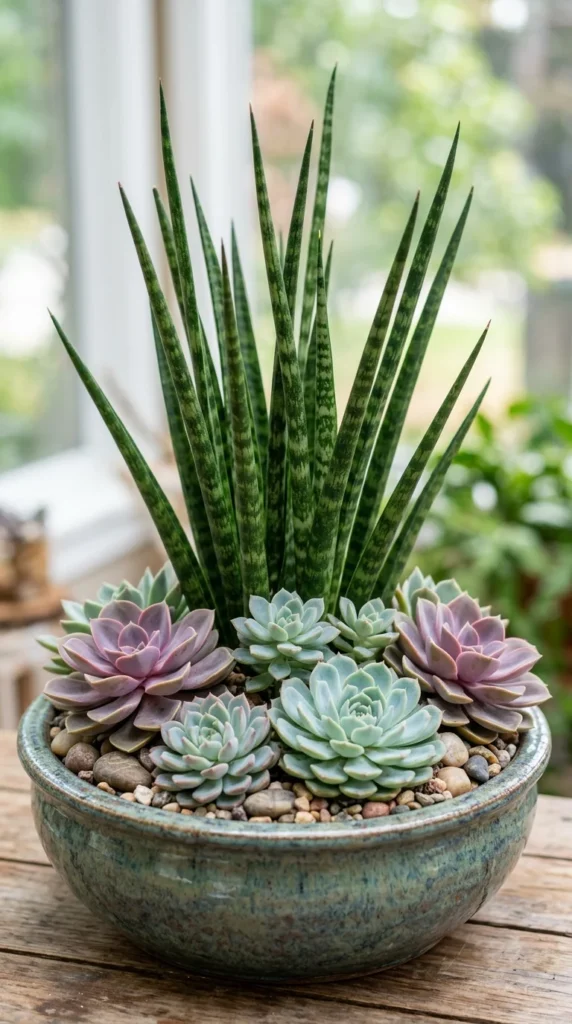
A flat arrangement looks two-dimensional. By incorporating plants of varying heights, you create depth and interest. Use tall, structural plants like Crassula ‘Gollum’ or upright Senecio to draw the eye upward. This verticality provides a focal point and makes the entire composition feel more dynamic.
2. Color Contrasts
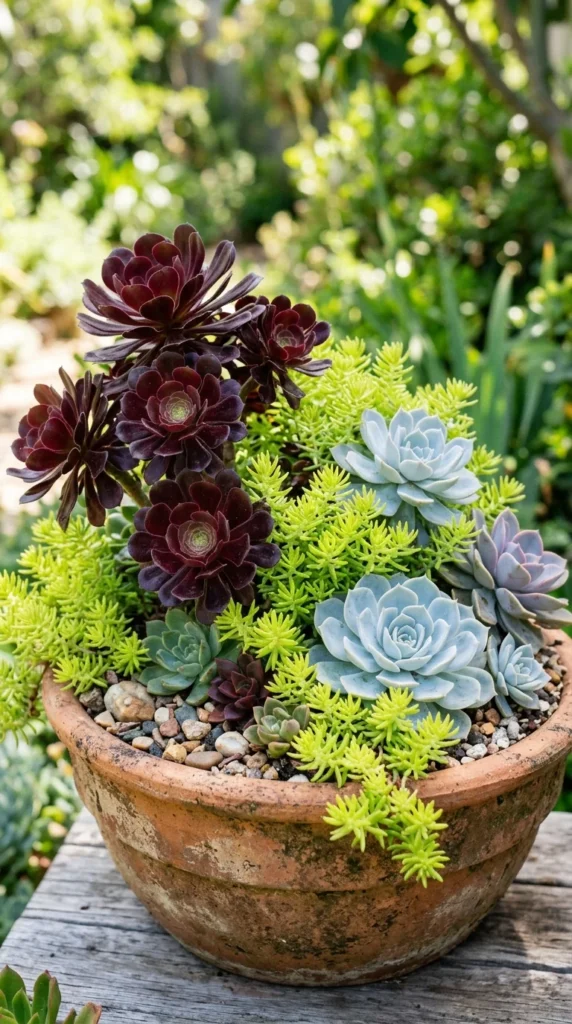
Succulents come in an incredible spectrum of colors, including blues, purples, pinks, and oranges. Use the color wheel to your advantage. Complementary colors (like purple and yellow) create a high-energy look, while analogous colors (like greens and blues) create a soothing, harmonious feel. Don’t be afraid to use “stress colors”—many succulents turn bright shades of red or orange when exposed to bright sun.
3. Texture Play
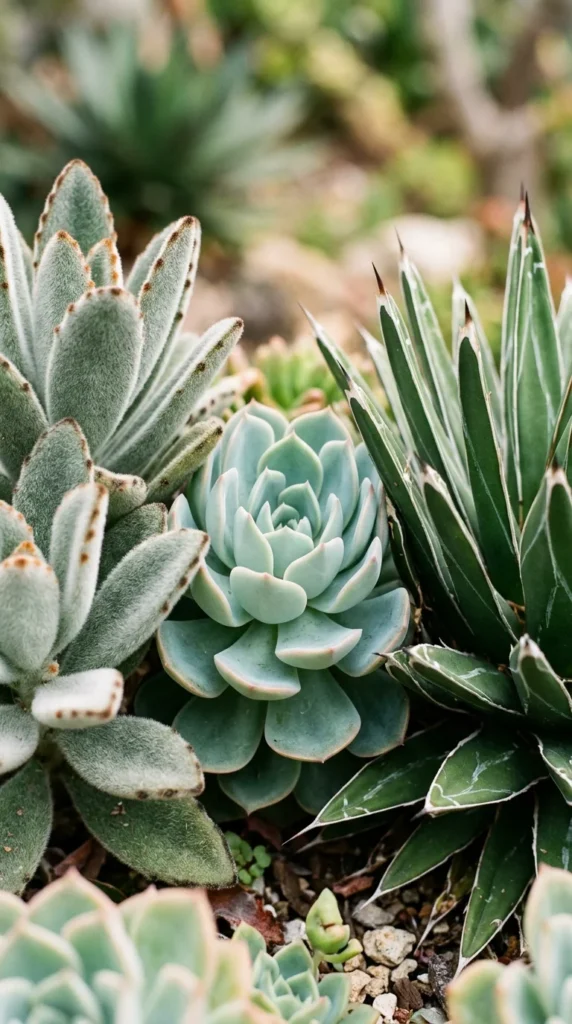
Texture is often overlooked but is vital for a sophisticated look. Mix plants with different leaf surfaces: matte, glossy, fuzzy, and waxy. Contrast the soft, rounded leaves of a Moonstone succulent with the sharp, serrated edges of an Aloe. These tactile differences add a layer of complexity that keeps the viewer’s eye moving across the arrangement.
Ongoing Care and Maintenance
The beauty of a succulent planter is only as good as its longevity. Proper maintenance ensures your arrangement remains healthy and vibrant.
1. Sunlight Exposure
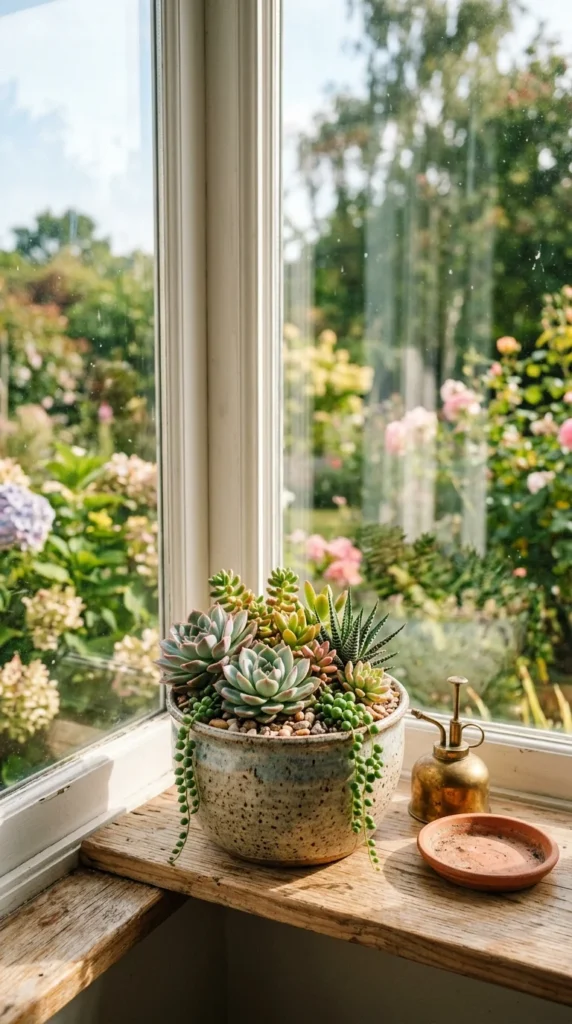
Most succulents require at least six hours of bright, indirect sunlight per day. If they do not get enough light, they will begin to “etio-late,” or stretch toward the light source, losing their compact shape and vibrant color. If you notice your plants becoming leggy, move them to a brighter location. However, be cautious of intense afternoon sun through glass, which can actually sunburn the leaves.
2. Watering Technique
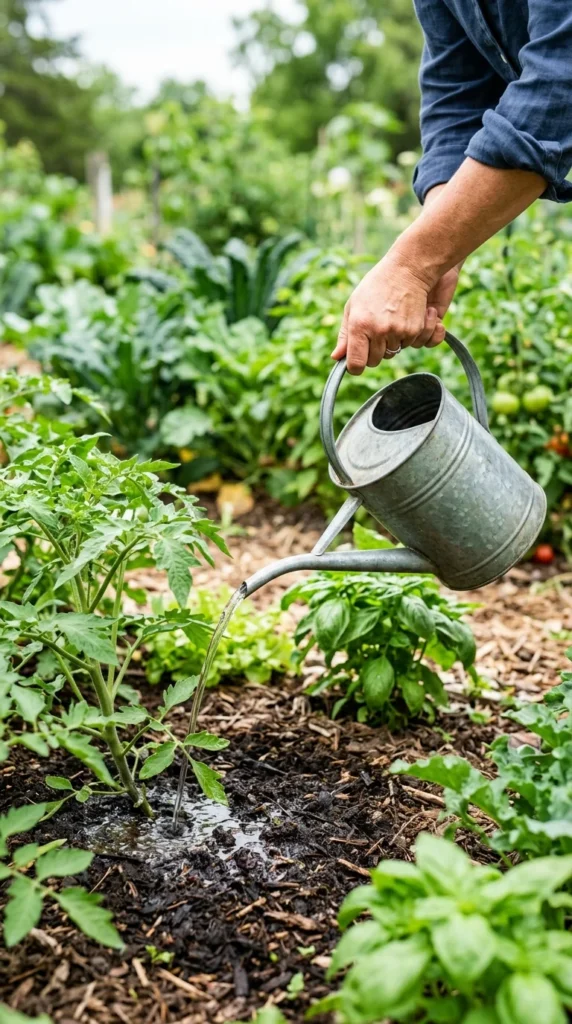
The “soak and dry” method is the golden rule for succulents. Water the planter thoroughly until water runs out of the drainage hole, then do not water again until the soil is completely dry all the way to the bottom. In most indoor environments, this means watering every two to three weeks. In the winter, succulents enter a dormant phase and require even less water. Always err on the side of underwatering; a thirsty succulent is easy to fix, but a rotted one is usually unsalvageable.