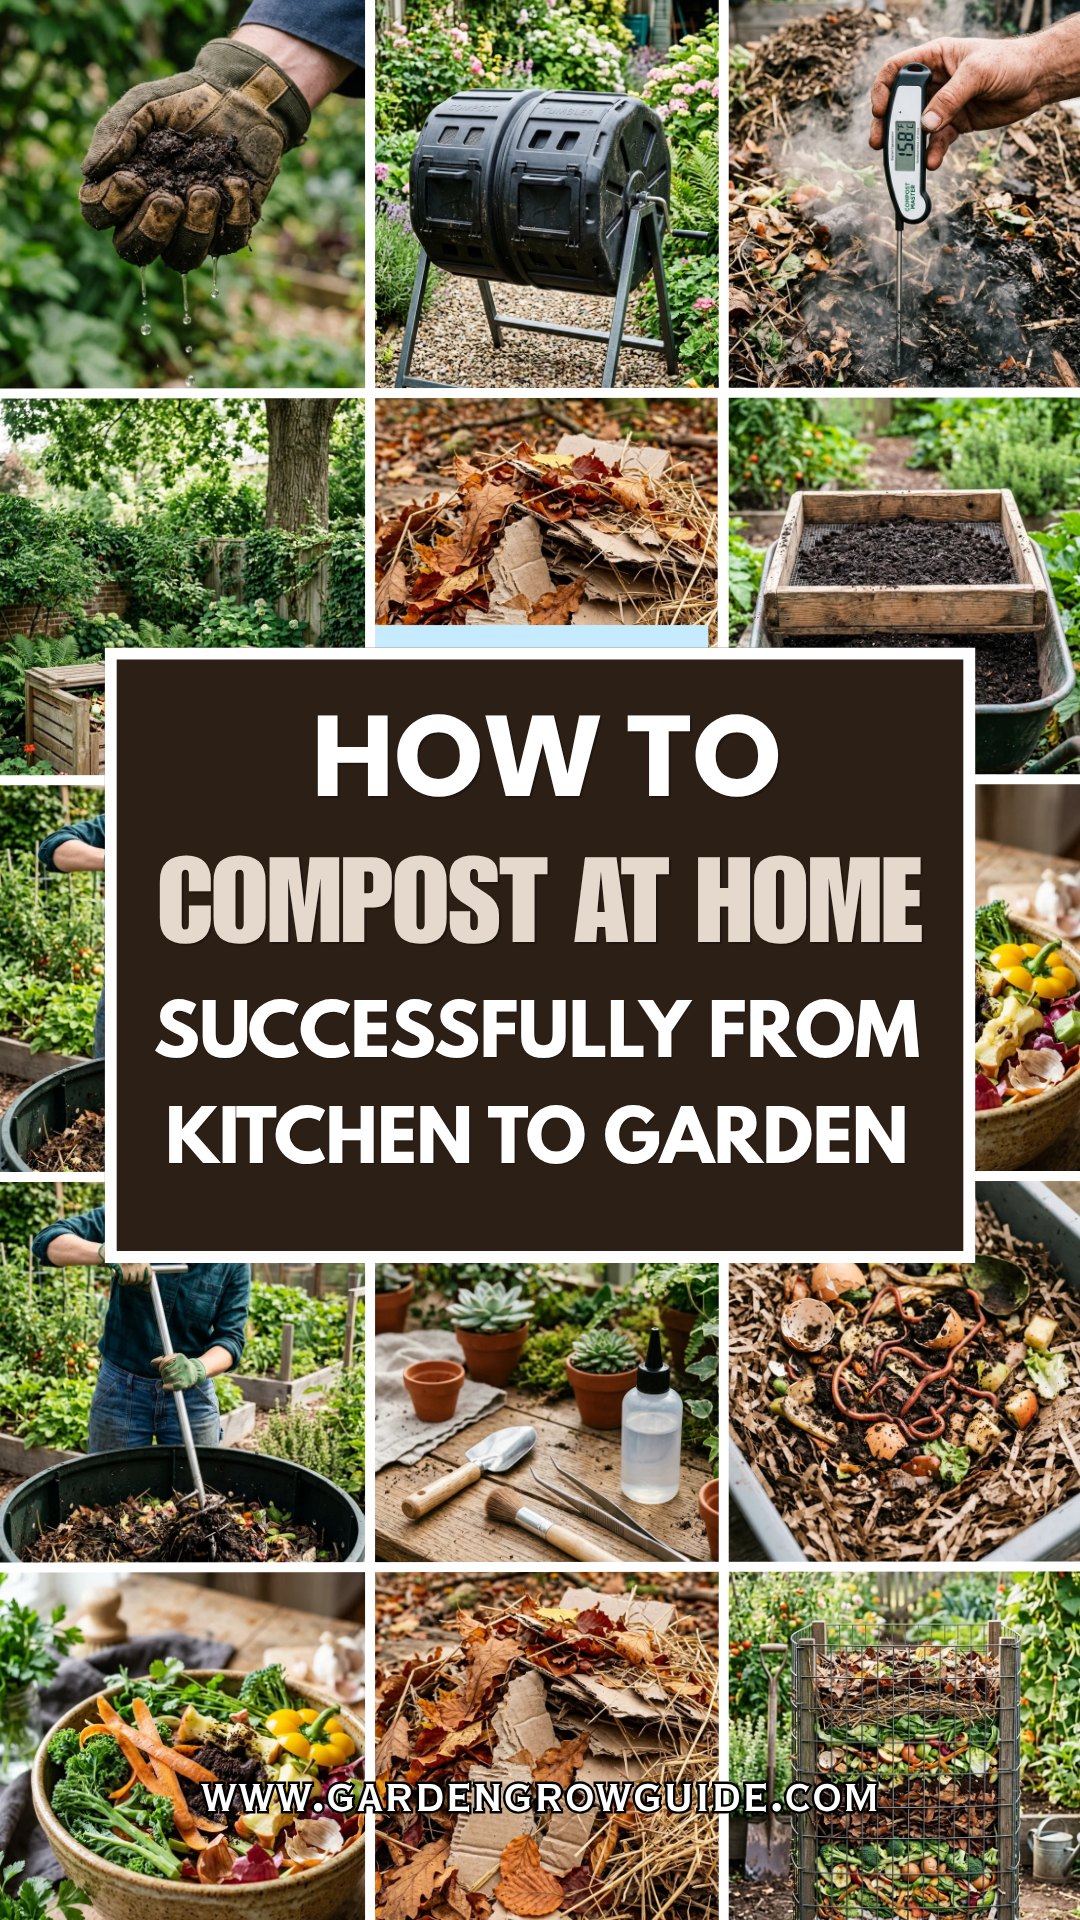
Composting is often referred to as “black gold” by gardeners, and for good reason. It is a biological process that transforms organic kitchen and yard waste into a nutrient-dense soil conditioner. By starting a compost pile, you are not only reducing the amount of waste sent to landfills—where organic matter produces methane gas—but you are also creating a powerful resource to feed your plants, improve soil structure, and retain moisture in your garden beds.
Successful composting is a balance of science and patience. It requires the right ingredients, a bit of air, and the correct moisture levels to allow beneficial microbes and fungi to thrive. Whether you live on a sprawling rural property or have a small urban balcony, there is a composting method that will work for you.
1. Location
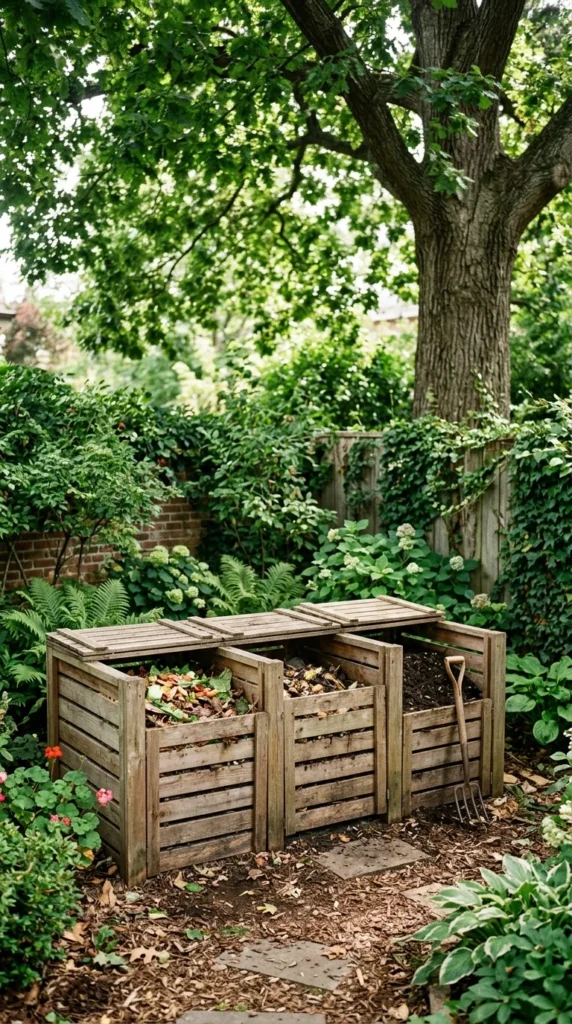
The first step to a successful compost journey is choosing the right spot. Your compost pile or bin needs to be easily accessible so that you actually use it, but tucked away enough that it doesn’t interfere with your outdoor living space.
Ideally, place your bin on bare earth. This allows earthworms and other beneficial soil organisms to migrate up into the pile to assist in the decomposition process. If you must place it on concrete or decking, you may need to “seed” the pile with a few shovels of finished compost or garden soil to introduce the necessary microbes. While a sunny spot can help heat the pile and speed up decomposition in the winter, a shaded area is often better in the summer to prevent the pile from drying out too quickly.
2. Nitrogen
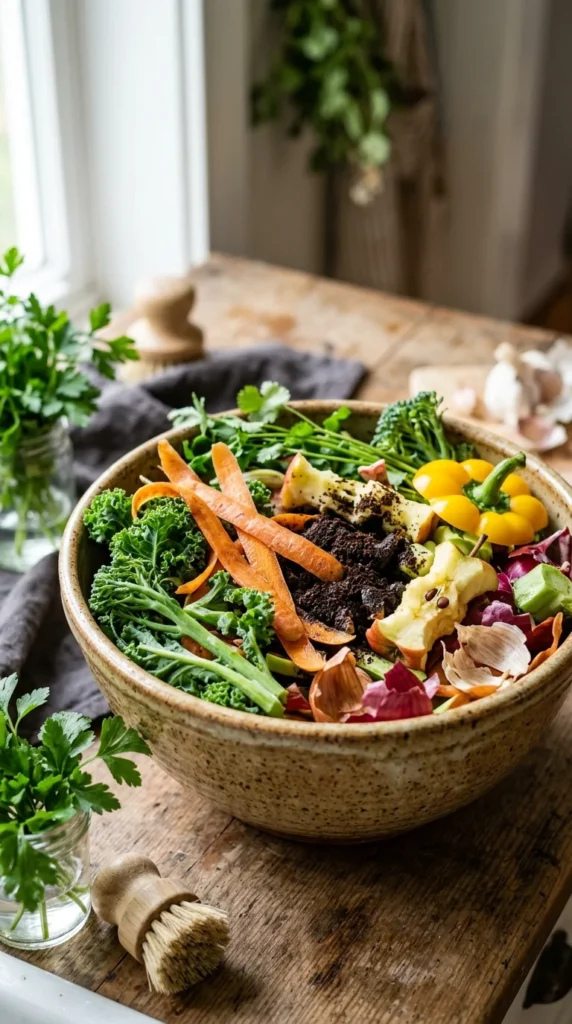
In the world of composting, nitrogen-rich materials are known as “Greens.” These are the fuel for the microorganisms that break down your waste. Greens are typically moist, fresh, and high in protein.
Common nitrogen sources include:
- Kitchen Scraps: Fruit and vegetable peels, cores, and leftovers.
- Coffee Grounds: Surprisingly, coffee is high in nitrogen and great for the pile.
- Grass Clippings: Freshly cut grass is a potent nitrogen source, but use it in thin layers to avoid matting.
- Fresh Manure: Manure from herbivores like chickens, cows, or rabbits is excellent, though it should be aged or hot-composted to kill pathogens.
3. Carbon
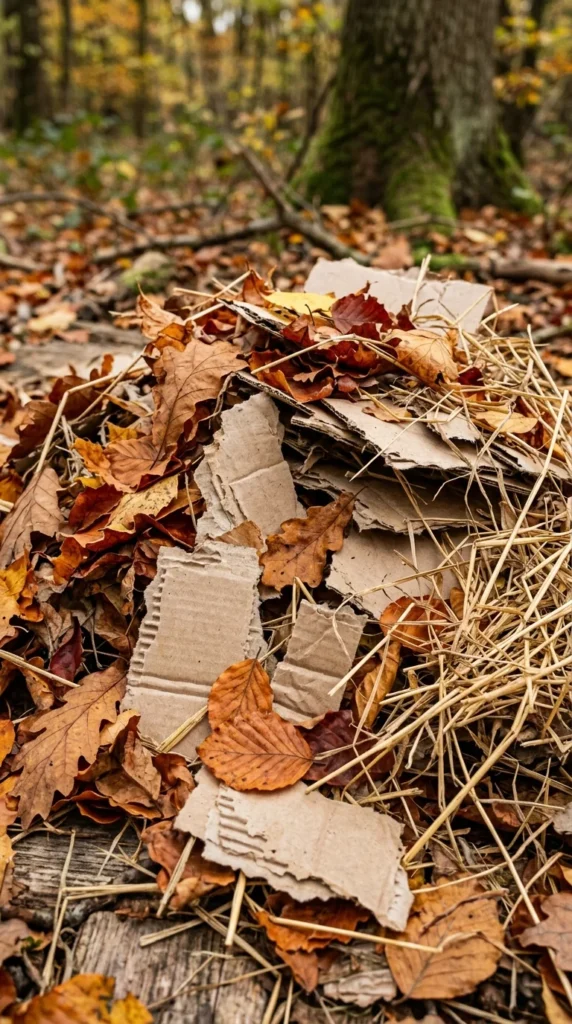
Carbon-rich materials are known as “Browns.” These provide the energy for the microbes and create the structure of the pile, allowing air to circulate. Without enough carbon, a compost pile can become wet, compacted, and smelly.
Common carbon sources include:
- Dry Leaves: One of the best and most abundant sources of carbon.
- Cardboard and Paper: Shredded brown boxes, egg cartons, and non-glossy newspaper work well.
- Straw and Wood Chips: Excellent for creating air pockets within the pile.
- Sawdust: Use sparingly, as it can compact easily; ensure the wood was not chemically treated.
4. Ratios
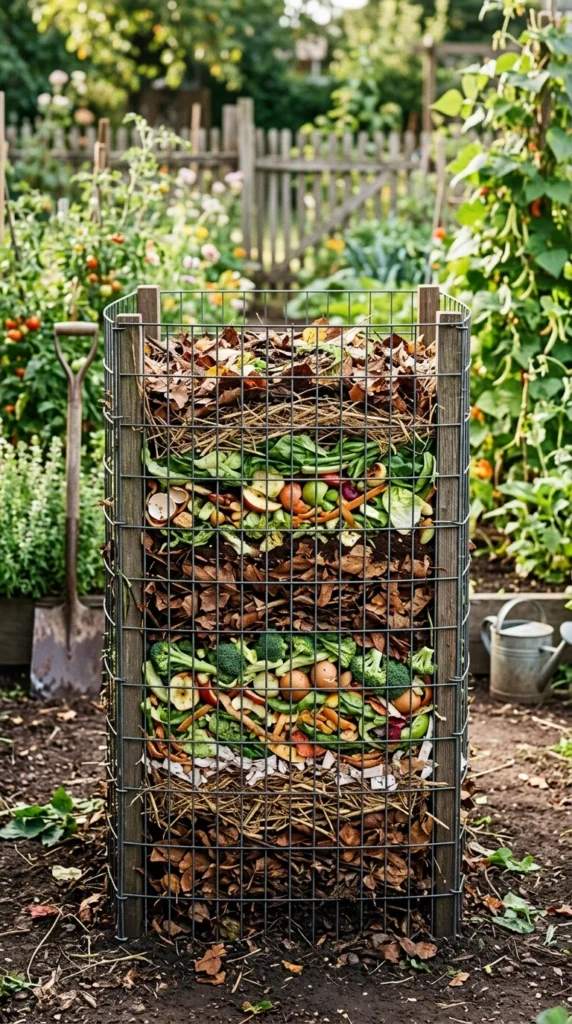
The secret to a fast-acting compost pile is the ratio of Browns to Greens. A general rule of thumb for beginners is to use a ratio of about 3 parts Brown to 1 part Green by volume. This ensures there is enough carbon to prevent odors and enough nitrogen to keep the decomposition process moving.
When you add a bucket of kitchen scraps (Greens), simply cover it with three buckets of dry leaves or shredded cardboard (Browns). This layering technique, often called “Lasagna Gardening,” prevents fruit flies from accessing the fresh food and keeps the pile balanced.
5. Aeration
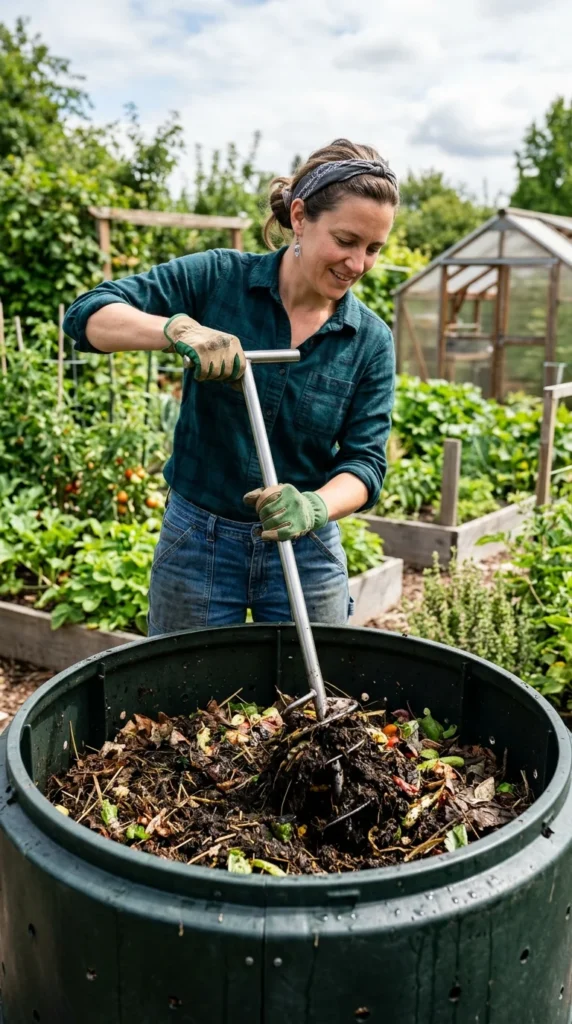
Decomposition is an aerobic process, meaning the microbes involved need oxygen to survive. If a pile becomes too compacted or too wet, it becomes anaerobic. Anaerobic decomposition is slow and produces a foul, rotten-egg smell.
To keep your pile healthy, you should “turn” it regularly. Using a pitchfork, shovel, or a specialized compost aerator, move the material from the outside of the pile to the center. This redistributes moisture and introduces a fresh supply of oxygen. For most home systems, turning the pile once every week or two is sufficient to maintain a steady rate of decomposition.
6. Moisture
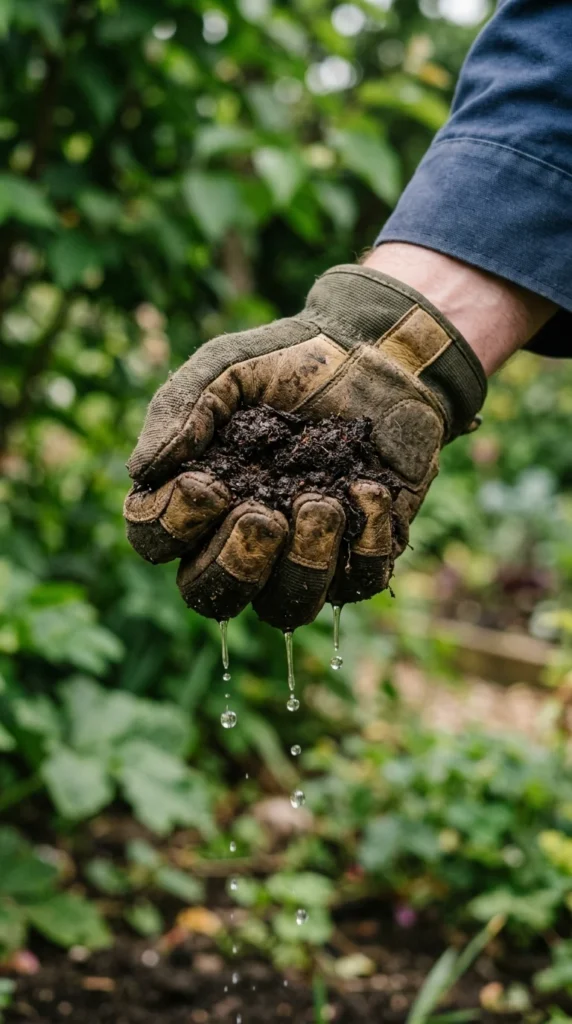
Your compost pile should be about as damp as a wrung-out sponge. Microbes need a thin film of water to move and work. If the pile is too dry, decomposition will stop completely. If it is too wet, the air pockets fill with water, and the pile will begin to smell.
During dry summer months, you may need to water your compost pile with a garden hose while turning it. Conversely, if you live in a very rainy climate, you might need to cover your pile with a tarp or a lid to prevent it from becoming waterlogged.
7. Tumblers
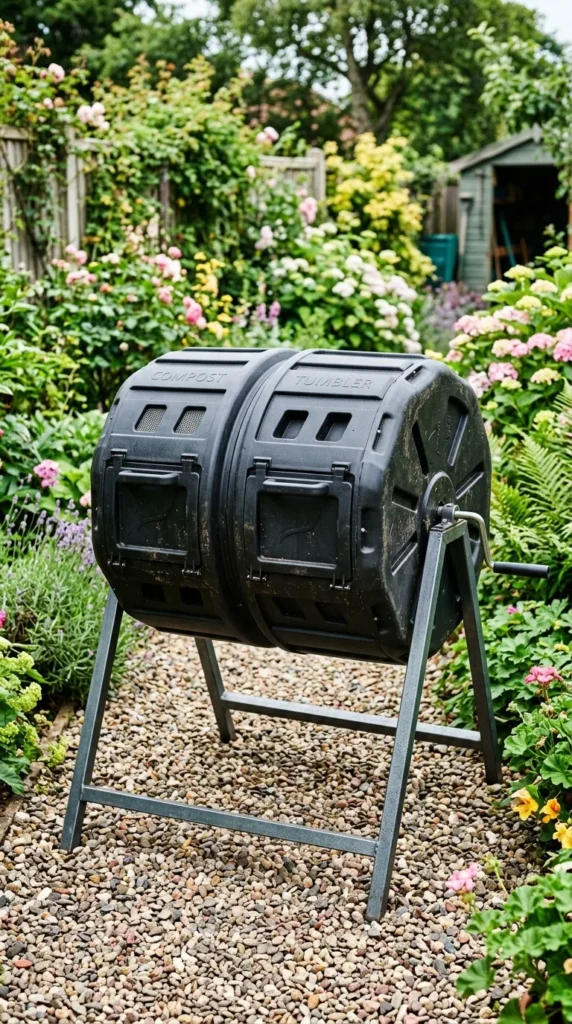
For those with limited space or physical limitations that make turning a heavy pile difficult, a compost tumbler is an excellent solution. These are sealed containers that can be rotated with a handle or by hand.
Tumblers offer several advantages:
- Pest Control: The sealed design keeps out rodents and raccoons.
- Speed: Because they are easy to turn daily, the contents stay aerated and break down quickly.
- Neatness: They keep the mess contained, making them ideal for urban patios.
- Heat Retention: The black plastic absorbs sunlight, heating the internal contents to speed up the process.
8. Vermicomposting
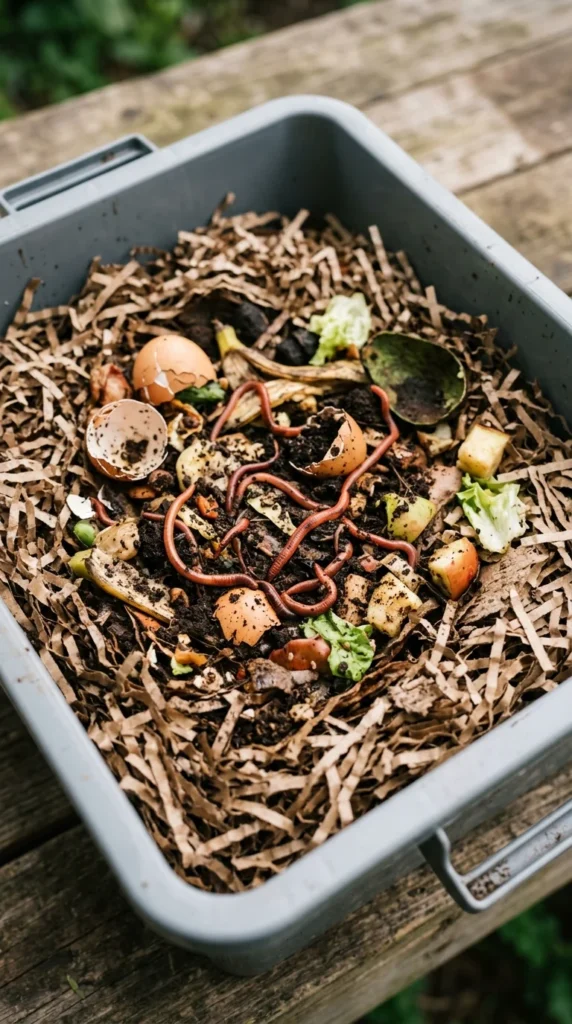
Vermicomposting, or worm composting, is the perfect method for apartment dwellers or those without a yard. This process uses specific types of worms—usually Red Wigglers (Eisenia fetida)—to eat through kitchen scraps and produce “castings,” which are among the richest fertilizers on earth.
Worm bins can be kept under a kitchen sink or in a closet. The worms require a bedding of moist shredded paper or coconut coir and a steady diet of vegetable scraps. Unlike traditional composting, you don’t turn a worm bin; the worms do all the aeration work for you as they tunnel through the bedding.
9. Troubleshooting
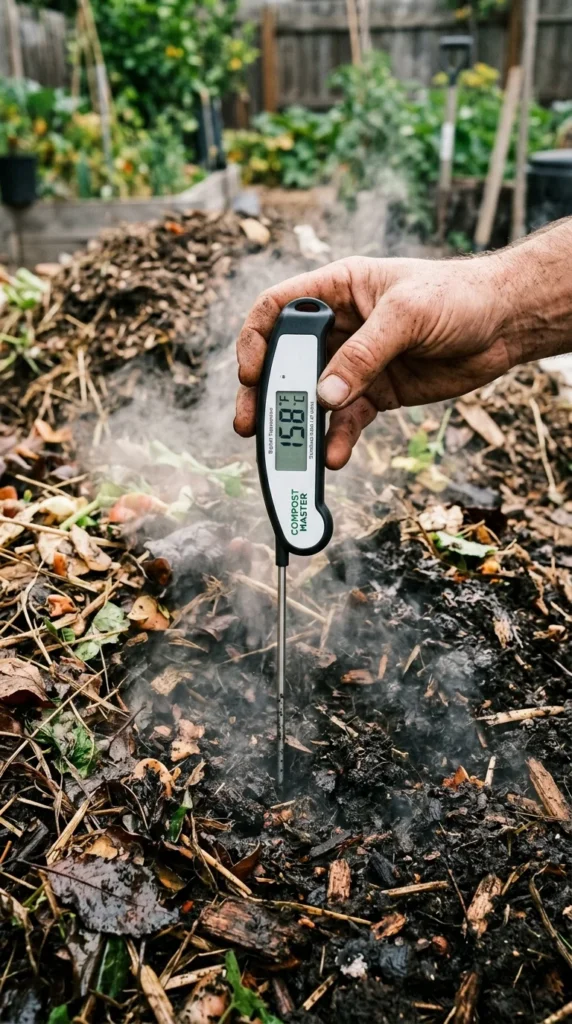
Even the most experienced composters encounter issues. Here is how to fix the most common problems:
- Smell: If it smells like ammonia, you have too many Greens; add more Browns. If it smells like rotten eggs, it’s too wet and needs air; turn the pile and add dry Browns.
- Pests: If rodents are digging in your pile, ensure you aren’t adding meat, dairy, or oily foods. Use a bin with a secure lid or a fine wire mesh bottom.
- Nothing is Happening: The pile is likely too dry or too small. Add water and more Greens, and ensure the pile is at least 3 feet tall and wide to retain heat.
10. Harvesting
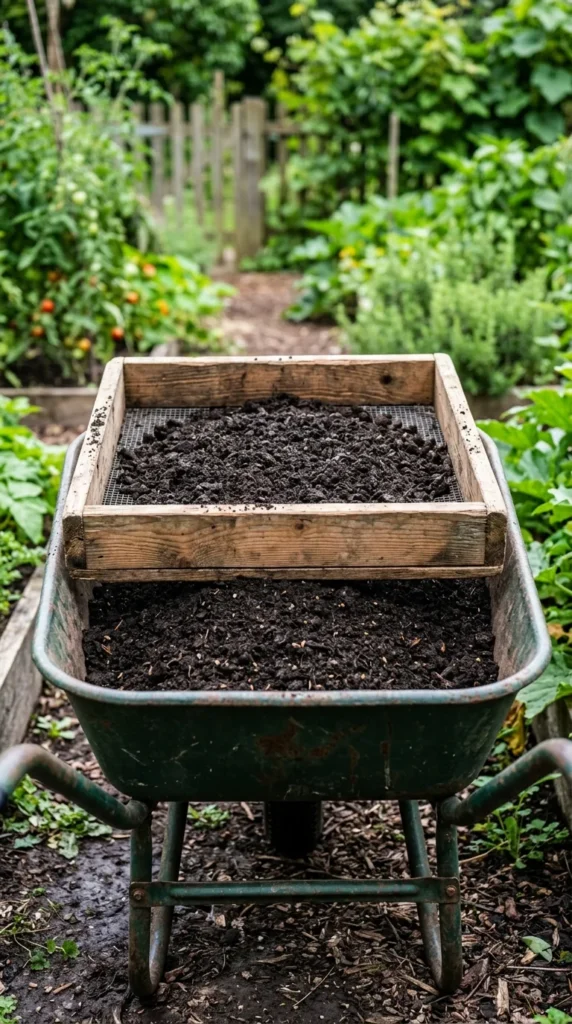
You will know your compost is ready when it is dark, crumbly, and has a pleasant, earthy smell like a forest floor. There should be no recognizable pieces of food or waste left, although a few stubborn sticks or pits may remain.
To harvest, you can use a screen or sifter to separate the finished fine material from the larger, unfinished chunks. The unfinished pieces go back into the new pile to act as a starter, while the “black gold” is ready for the garden. You can mix it into your garden soil, use it as a top-dressing for houseplants, or steep it in water to create “compost tea” for a liquid fertilizer boost.