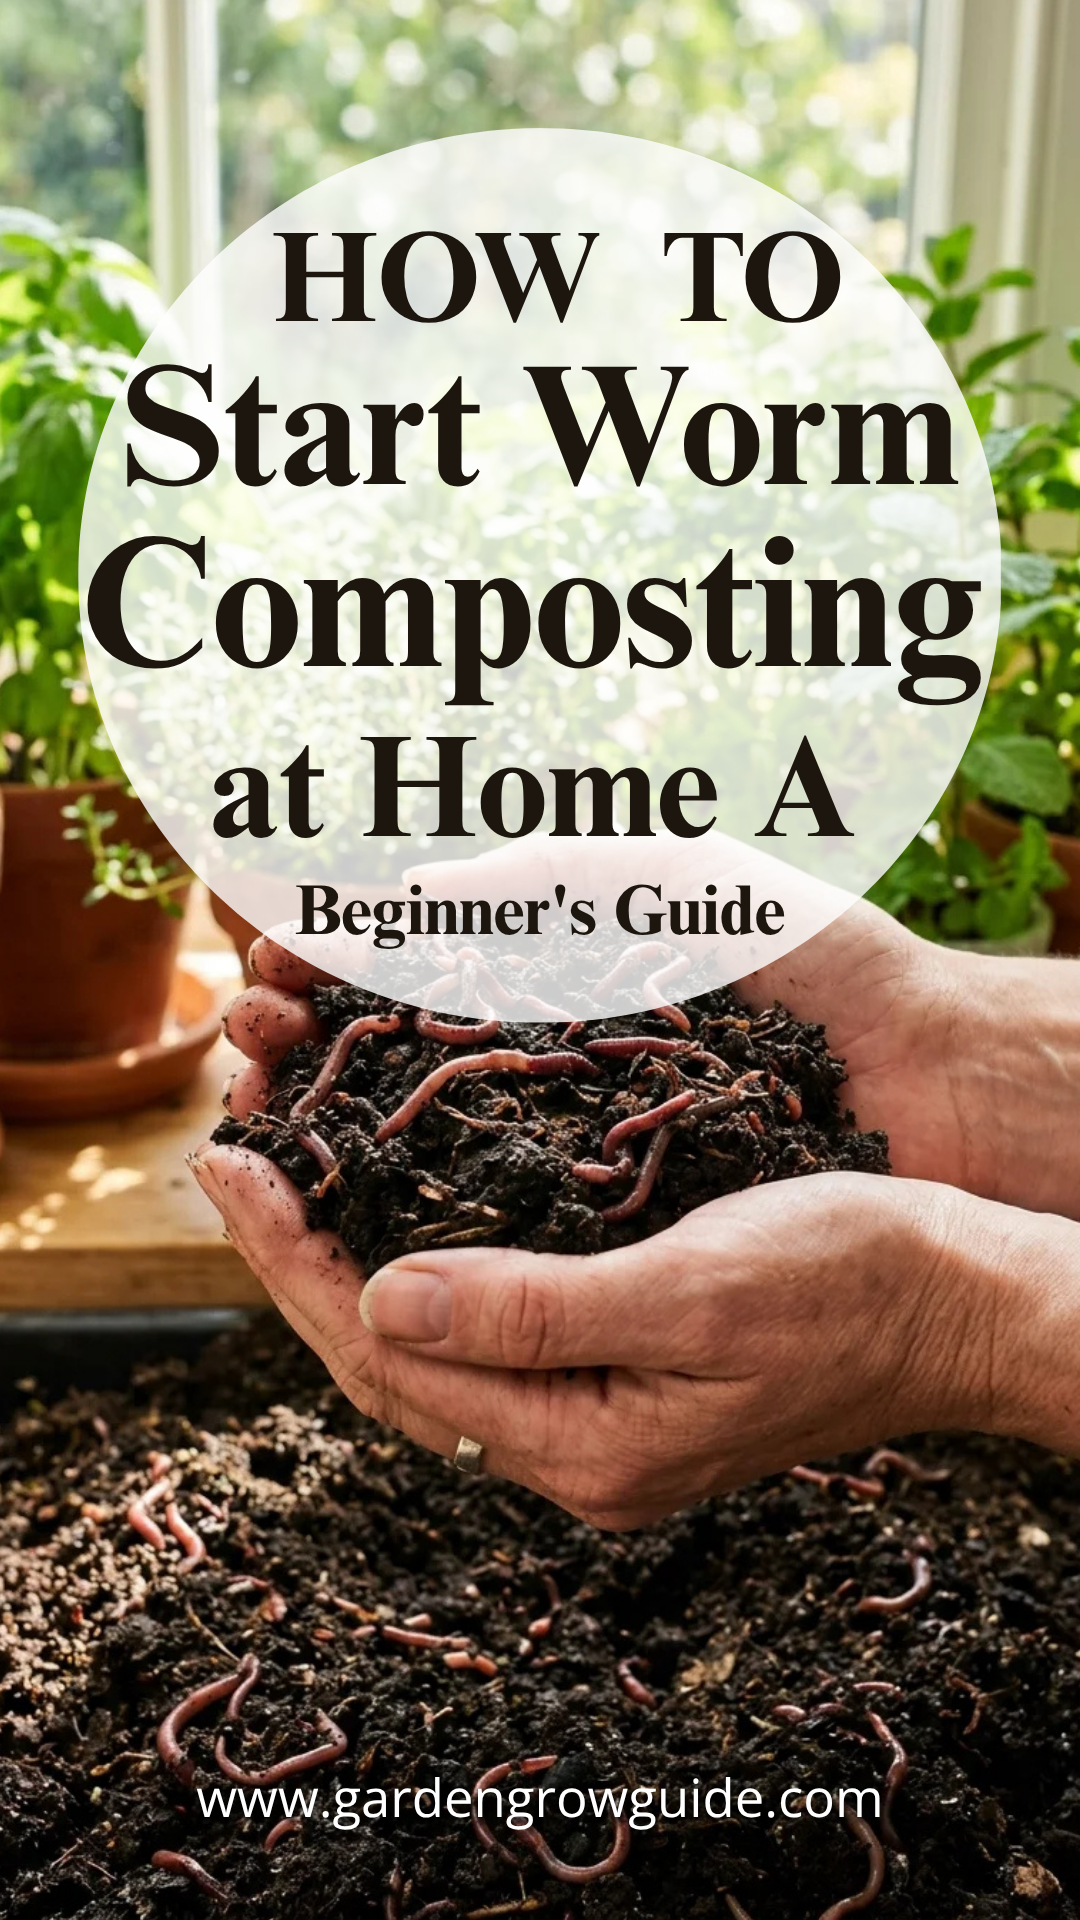
Worm composting, or vermicomposting, is a remarkably efficient and eco-friendly way to turn your kitchen scraps into “black gold.” Unlike traditional hot composting, which requires a large backyard and physical labor to turn piles, vermicomposting can be done in a small apartment, under a sink, or in a garage. It utilizes specialized worms to break down organic matter, producing a potent fertilizer that is far superior to standard commercial potting soil. This guide will walk you through everything you need to know to establish a thriving worm colony.
1. Red Wigglers
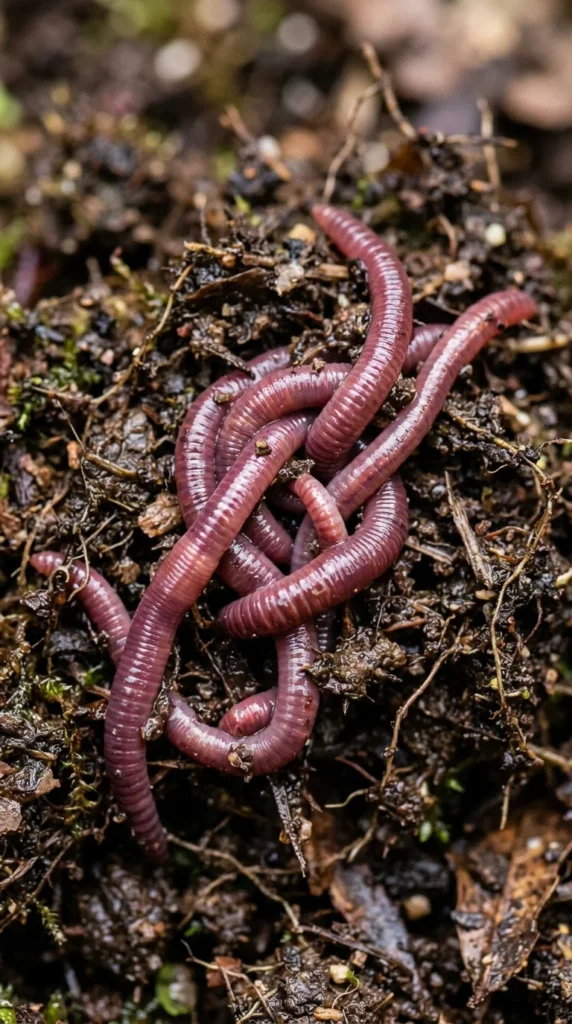
The most critical component of your system is the worm species. You cannot simply dig up earthworms from your backyard; garden earthworms are burrowers that need deep soil to survive. For composting, you need Eisenia fetida, commonly known as Red Wigglers. These worms are surface dwellers that thrive in high-density environments and have an incredible appetite for decaying organic matter. They can eat half their body weight in scraps every single day. When purchasing, start with about one pound of worms (approximately 1,000 individuals) for a standard-sized starter bin.
2. Composting Bin
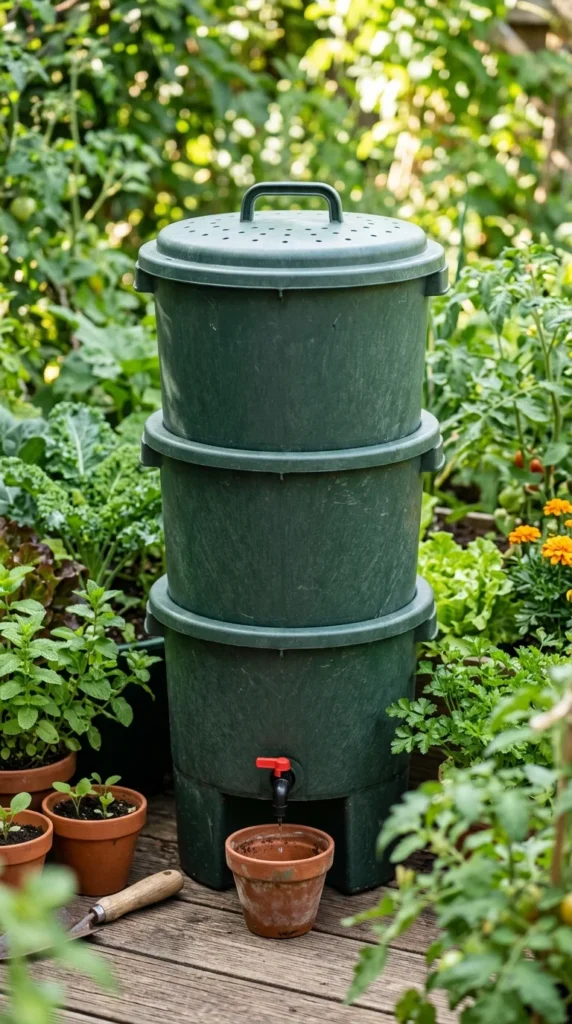
Your worms need a home that provides darkness, ventilation, and moisture retention. You can purchase specialized multi-tiered “worm factories” which allow for easy harvesting, or you can DIY a bin using a plastic storage tote. If you choose the DIY route, ensure you drill small aeration holes along the top sides and drainage holes at the bottom. A shallow bin is generally better than a deep one, as Red Wigglers prefer to work in the top 6 to 8 inches of material. The bin should be placed in a location with stable temperatures, ideally between 55°F and 77°F (13°C to 25°C).
3. Moist Bedding
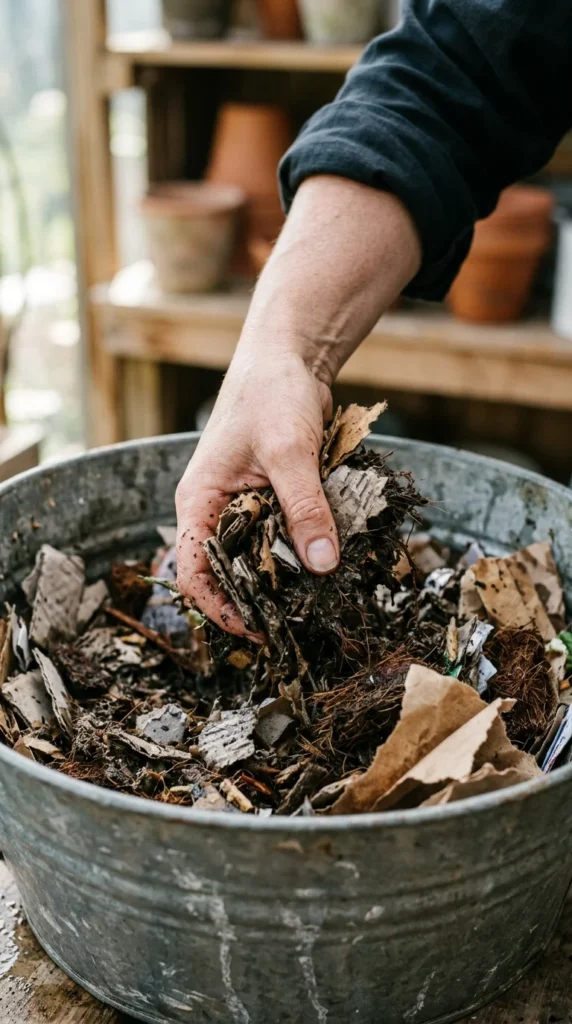
Bedding serves as both a home and a secondary food source for your worms. It must be able to hold moisture while remaining light and airy. Excellent materials include shredded non-glossy newspaper, corrugated cardboard, dried leaves, or coconut coir. Before adding the worms, soak the bedding in water and then wring it out thoroughly. It should feel like a damp sponge—moist to the touch but not dripping. Fill your bin about three-quarters full with this fluffy bedding to give the worms plenty of space to move.
4. Organic Scraps

Worms are not picky, but they do have preferences. They love fruit and vegetable scraps, coffee grounds (and filters), tea bags, and crushed eggshells (which provide necessary grit for their digestion). However, there are “forbidden” items that can cause odors or harm the colony. Avoid meat, dairy, oily foods, and highly acidic items like citrus peels or onions in large quantities. To help your worms process food faster, chop the scraps into small pieces. When feeding, bury the scraps under an inch of bedding to prevent fruit flies and odors.
5. Optimal Environment
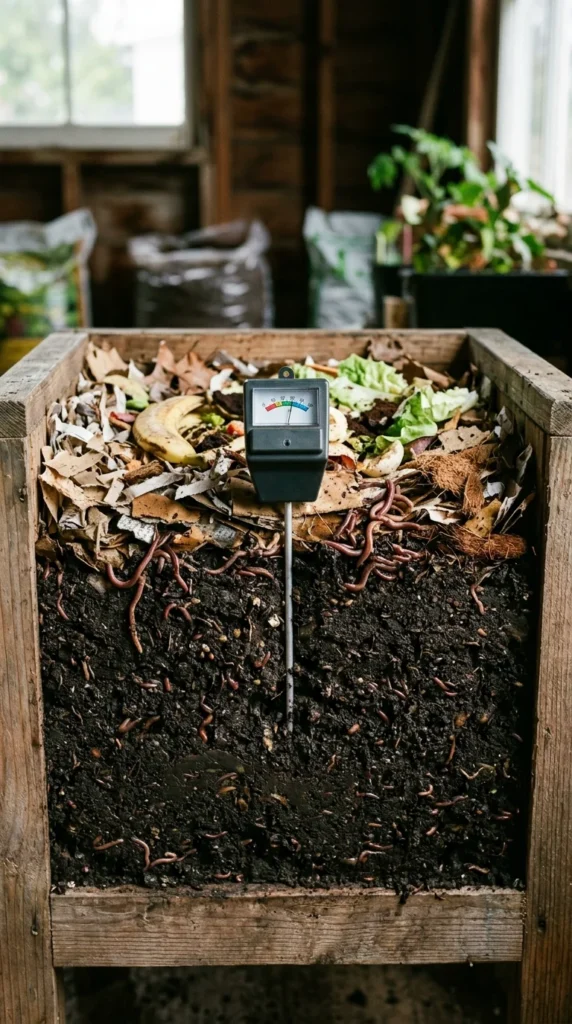
Maintaining the bin is a matter of balance. If the bin is too wet, it will start to smell like ammonia or rotten eggs; if this happens, add more dry shredded paper. If the bin is too dry, the worms’ skin will dry out, and they will stop eating; in this case, mist the surface with water. Monitoring the “worm tea”—the liquid that collects at the bottom—is also vital. Drain this liquid regularly. It is a fantastic liquid fertilizer when diluted, but if left to sit in the bin, it can drown your worms.
6. Harvesting Castings
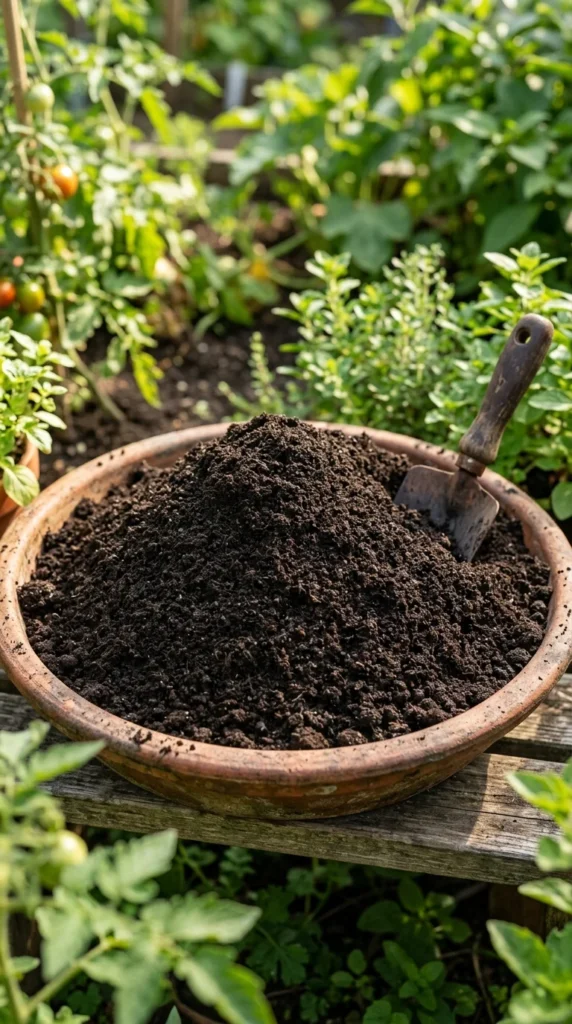
After three to six months, you will notice that the bedding has turned into a dark, earthy substance. This is vermicompost, or worm castings. To harvest, you can move all the finished compost to one side of the bin and place fresh bedding and food on the other side. Over the course of a week or two, the worms will migrate to the new food, leaving the finished castings behind for you to scoop out. This nutrient-dense material can be mixed into garden soil, used as a top dressing for houseplants, or steeped in water to make a “compost tea” for foliar feeding.
Troubleshooting Common Issues
Even the most attentive worm farmer will face challenges. If you notice a foul odor, it usually indicates overfeeding or a lack of oxygen. Stop feeding for a week and fluff the bedding to introduce air. If you see an explosion of fruit flies, ensure all food scraps are buried deep beneath the bedding and consider placing a piece of damp burlap or a “worm blanket” over the top of the material.
If your worms are trying to escape the bin by crawling up the sides and onto the lid, they are telling you something is wrong with their environment. Check if the bedding has become too acidic or if the bin has become too hot. Adding a handful of garden lime or crushed eggshells can help neutralize acidity, while moving the bin to a cooler spot can save the colony during a heatwave.
The Benefits of Vermicomposting
Starting a worm bin at home significantly reduces the amount of organic waste sent to landfills, where it would otherwise produce methane—a potent greenhouse gas. Furthermore, the fertilizer produced by worms is packed with beneficial microbes and plant-available nutrients that commercial fertilizers simply cannot replicate. By following these steps, you are not just managing waste; you are creating a closed-loop ecosystem that will help your garden thrive for years to come.