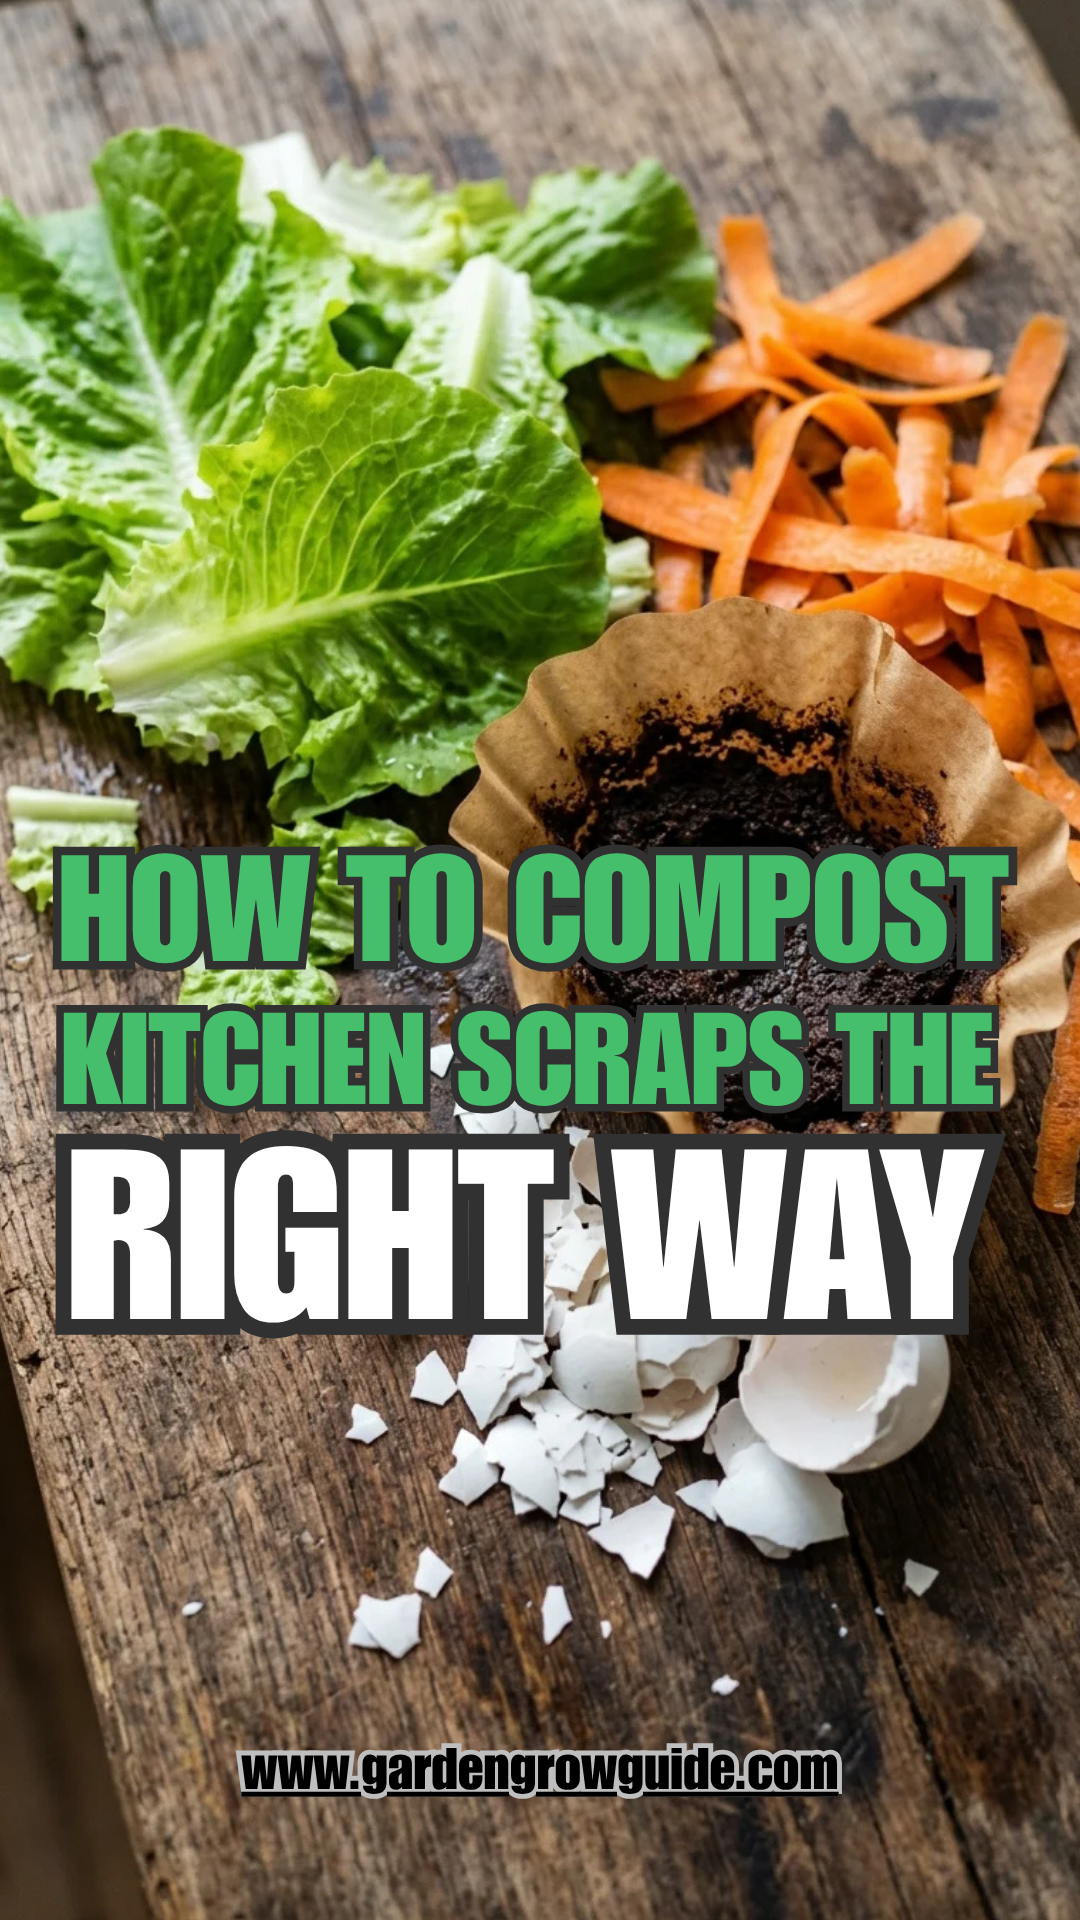
Composting is often referred to as “black gold” by gardeners, and for good reason. It is the natural process of recycling organic matter, such as leaves and food scraps, into a valuable fertilizer that can enrich soil and plants. By composting your kitchen waste, you are not only reducing the amount of garbage sent to landfills—where it produces harmful methane gas—but you are also creating a nutrient-dense additive that improves soil structure, retains moisture, and suppresses plant diseases.
Mastering the art of composting requires a basic understanding of biology and a bit of patience. While it might seem intimidating at first, the process is remarkably simple once you grasp the balance of “greens” and “browns.” This guide will walk you through everything you need to know to transform your kitchen leftovers into a powerhouse for your garden.
1. Green Waste
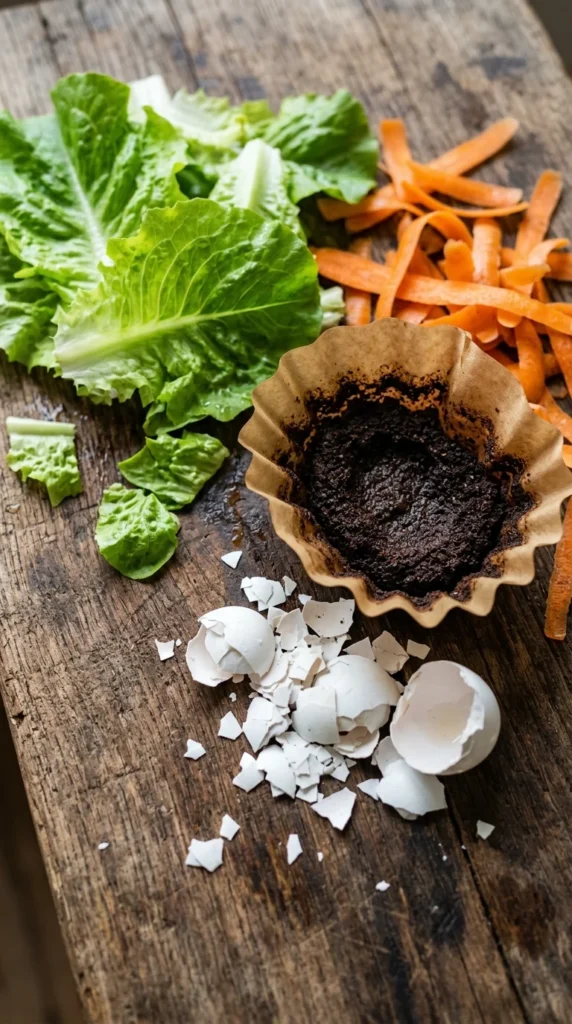
The engine of any compost pile is nitrogen, often referred to as “Green Waste.” These materials provide the protein and nutrients necessary for the microorganisms that break down organic matter to grow and reproduce. Nitrogen-rich items are typically moist and fresh.
Common kitchen “greens” include fruit and vegetable scraps, coffee grounds, tea bags (ensure they are plastic-free), and fresh grass clippings. Even though coffee grounds are brown in color, they are a potent source of nitrogen. When adding greens to your pile, try to chop them into smaller pieces; the more surface area available for bacteria to attack, the faster the decomposition process will occur.
2. Brown Waste
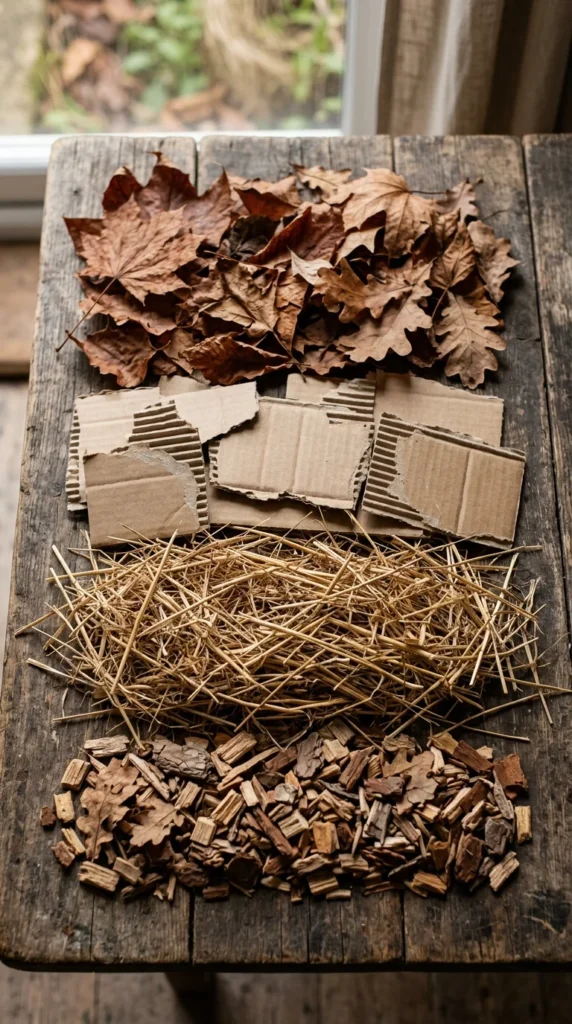
To balance the nitrogen, you need carbon, known as “Brown Waste.” Carbon provides the energy source for the microbes and helps create structure within the pile, allowing air to circulate. Without enough browns, a compost pile can become a slimy, smelly mess because there isn’t enough oxygen to support aerobic decomposition.
Essential browns include dried leaves, straw, shredded non-glossy paper, cardboard, and sawdust (in moderation). A good rule of thumb for a healthy compost pile is a ratio of approximately three parts brown to one part green. This ensures that the pile stays aerobic and decomposes efficiently without producing foul odors.
3. Bin Selection
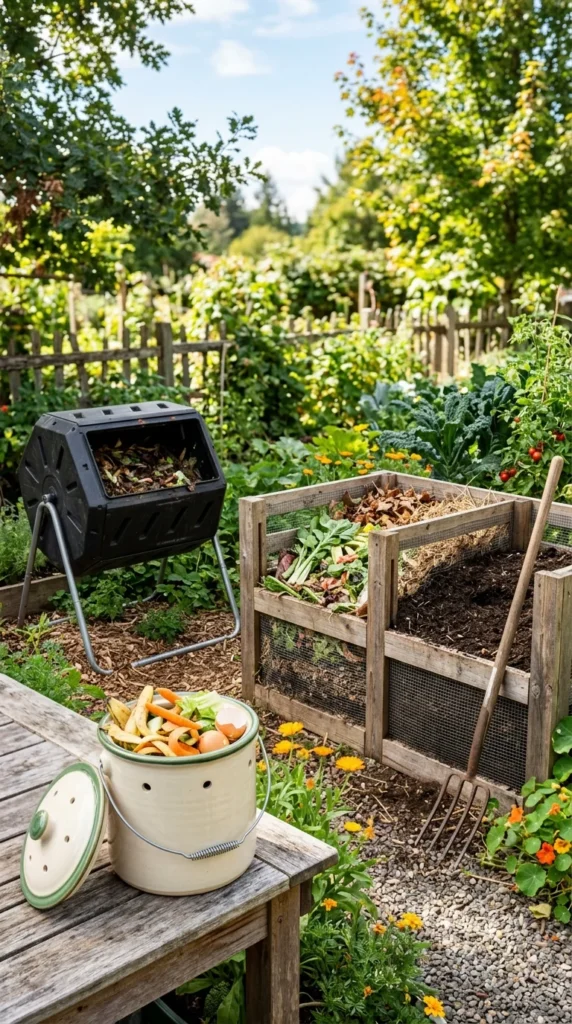
Before you start tossing scraps outside, you need a designated space. The type of bin you choose depends on your living situation and the amount of waste you produce. For urban dwellers or those with limited space, a tumbler is an excellent choice. Tumblers are sealed containers that can be rotated, which speeds up the process and keeps pests out.
If you have a larger backyard, a stationary bin or a simple open pile may suffice. These allow for larger volumes of waste and easier access for beneficial insects like earthworms. For those who want to keep things even simpler, “trench composting” involves burying scraps directly in the garden soil. Regardless of the vessel, ensure your bin has some form of ventilation to allow oxygen to reach the center of the pile.
4. Layering Technique
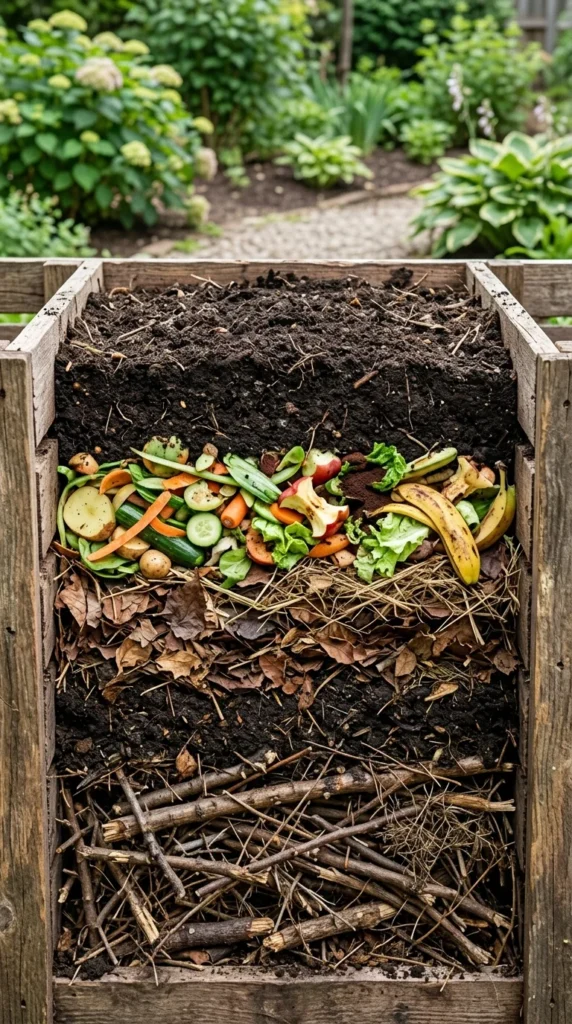
Successful composting is all about the “lasagna method.” You don’t want to just throw everything in a heap. Start with a base layer of coarse materials like twigs or straw to provide drainage and aeration at the bottom. On top of that, add a layer of brown materials, followed by a layer of green materials.
Each time you add a fresh layer of kitchen scraps (greens), be sure to cover it with a layer of browns (like dried leaves or shredded paper). This “capping” method is crucial for preventing fruit flies and neutralizing smells. As the pile grows, these layers will naturally begin to compress and mingle, but the initial structure helps kickstart the microbial activity.
5. Aeration Process
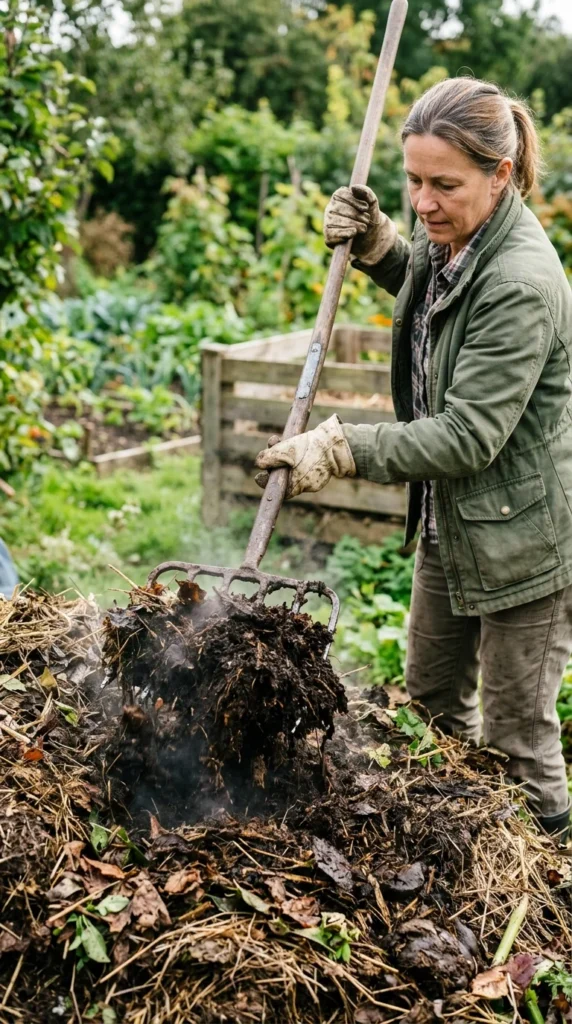
Microorganisms need oxygen to survive. If a compost pile becomes too compacted or too wet, it enters an anaerobic state, which slows down decomposition and produces a rotten egg smell. To prevent this, you must “turn” your compost.
Using a pitchfork or a specialized compost aerator, flip the material from the outside of the pile into the center every one to two weeks. This introduces fresh oxygen and ensures that the heat generated by the bacteria is distributed evenly. If you are using a tumbler, simply rotate the drum a few times a week. Frequent aeration can turn raw scraps into finished compost in as little as three months, whereas an unturned pile might take over a year.
6. Moisture Balance
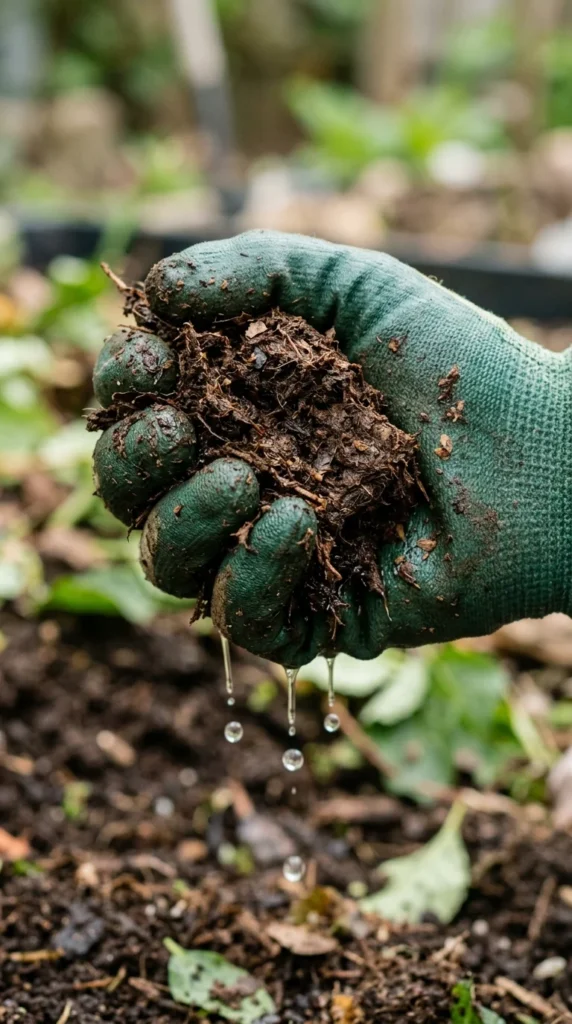
Your compost pile should stay about as moist as a wrung-out sponge. Moisture is vital because it allows microbes to move through the pile and digest the organic matter. If the pile is too dry, decomposition will stop completely. If it is too wet, it will become anaerobic and smelly.
During hot summer months, you may need to spray your pile with a garden hose while turning it. Conversely, if you live in a very rainy climate, you might need a lid or a tarp to prevent the pile from becoming waterlogged. If you find your pile is too soggy, add more dry brown materials like cardboard or straw to soak up the excess liquid.
7. Prohibited Items
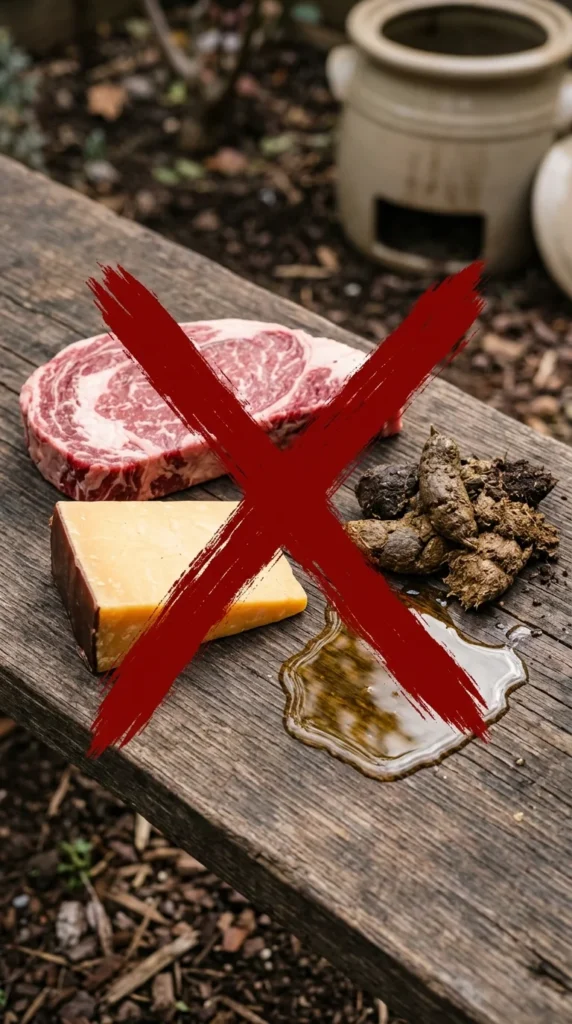
While most kitchen waste is fair game, there are several items you should never put in a standard backyard compost bin. Meat, fish, and dairy products should be avoided because they decompose slowly, create intense odors, and attract scavengers like rats and raccoons.
Oils, fats, and grease should also stay out, as they can coat the organic matter and prevent water and oxygen from reaching the microbes. Additionally, avoid adding pet waste (from cats or dogs), as it can harbor pathogens that aren’t killed off unless the compost pile reaches very high temperatures. Stick to plant-based scraps and eggshells to keep your compost safe and pleasant.
8. Finished Gold
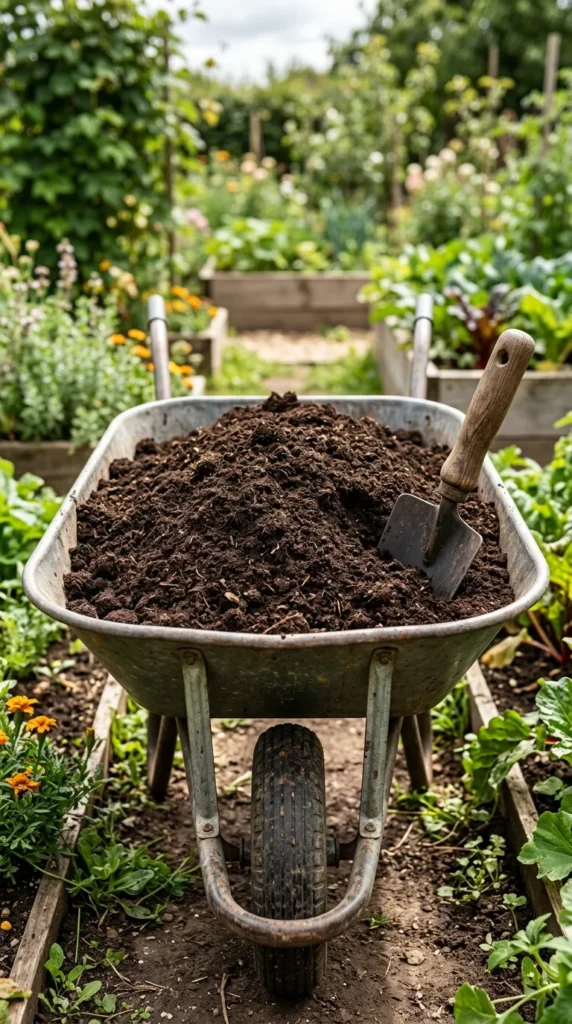
You will know your compost is ready when it no longer looks like kitchen scraps and instead resembles dark, crumbly soil. It should have a pleasant, earthy smell, much like a forest floor after rain. There should be no recognizable pieces of food left, though small bits of eggshells or woody twigs might remain.
To harvest your compost, you can use a simple screen made of hardware cloth to sift out the larger, unfinished chunks, which can go back into the new pile. The fine, dark material that passes through the screen is your “black gold.” Spread it over your garden beds, use it as a potting mix additive, or “top-dress” your lawn to provide a slow-release nutrient boost that will keep your plants thriving for months to come.