Building a raised garden bed is one of the most rewarding DIY projects a homeowner can undertake. Not only do these structures provide superior drainage and soil control, but they also save your back and knees from the strain of traditional in-ground gardening. However, the success of your build—and the longevity of the structure—depends heavily on using the right equipment.
Whether you are working with cedar, redwood, or pressure-treated lumber, having a curated toolkit ensures that your corners are square, your levels are true, and your assembly is efficient. Below are the fifteen essential tools every gardener needs to transition from a pile of lumber to a flourishing raised garden oasis.
1. Tape Measure
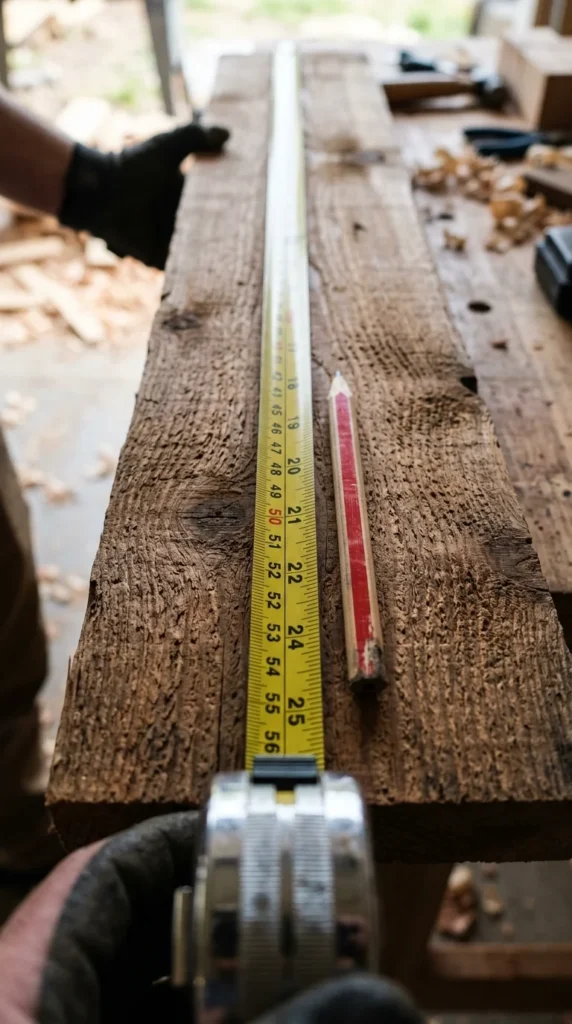
The foundation of any construction project is accuracy. A 25-foot tape measure is the industry standard, providing enough length to measure long sideboards while remaining manageable for smaller cuts.
When building raised beds, precision is vital for ensuring that parallel sides are identical in length. Even a quarter-inch discrepancy can result in a “racked” or skewed frame that won’t sit flat on the ground. Look for a tape measure with a “stand-out” feature of at least 8 feet, allowing you to take measurements solo without the tape collapsing.
2. Speed Square
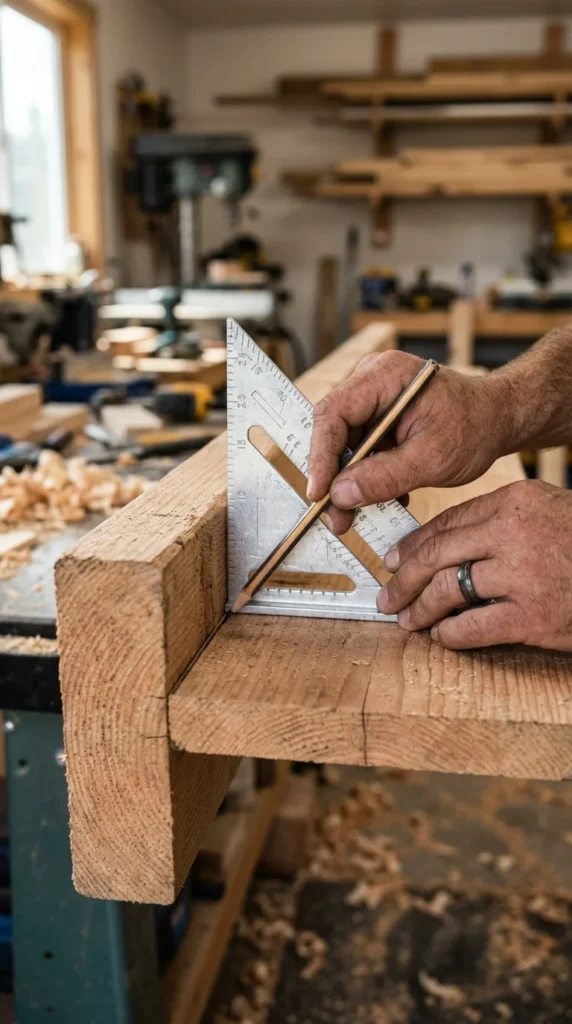
A speed square is a multi-purpose triangular marking tool that serves as a tri-square, miter square, and protractor. For raised beds, its primary job is ensuring your crosscuts are perfectly perpendicular to the edge of the board.
By hooking the lip of the square over the edge of your lumber, you can scribe a perfect 90-degree line for your saw to follow. This ensures that when you butt your boards together at the corners, there are no gaps, which prevents soil from leaking out and moisture from rotting the wood from the inside out.
3. Spirit Level
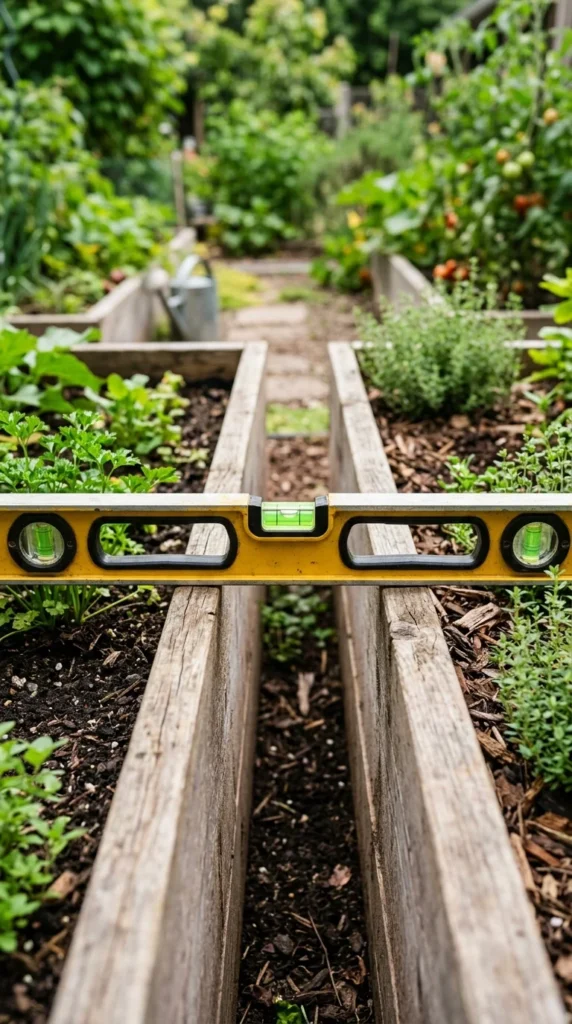
No ground is perfectly flat. A spirit level (or bubble level) is essential for ensuring your garden bed doesn’t look lopsided. A 4-foot level is ideal for this project because it can span the width or length of most standard beds.
If a bed is not level, water will pool at one end, leading to uneven hydration for your plants and potential soil erosion. Use the level not just on the finished frame, but also on the ground during the site preparation phase to identify high spots that need to be cleared.
4. Circular Saw
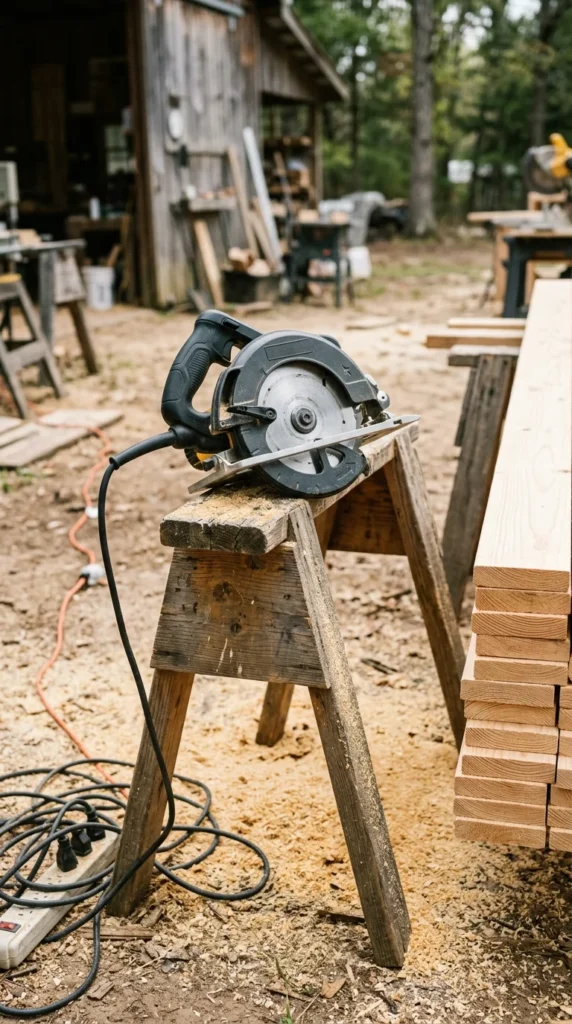
While many hardware stores offer basic cutting services, a circular saw gives you the freedom to make adjustments on-site. It is the workhorse of the building process, capable of slicing through 2×4, 2×6, or 4×4 lumber with ease.
When choosing a blade for your circular saw, a 24-tooth carbide-tipped blade is excellent for the “rip” and “cross” cuts required for rough construction lumber. Always ensure you are cutting on a stable surface, like sawhorses, to prevent the blade from binding.
5. Power Drill
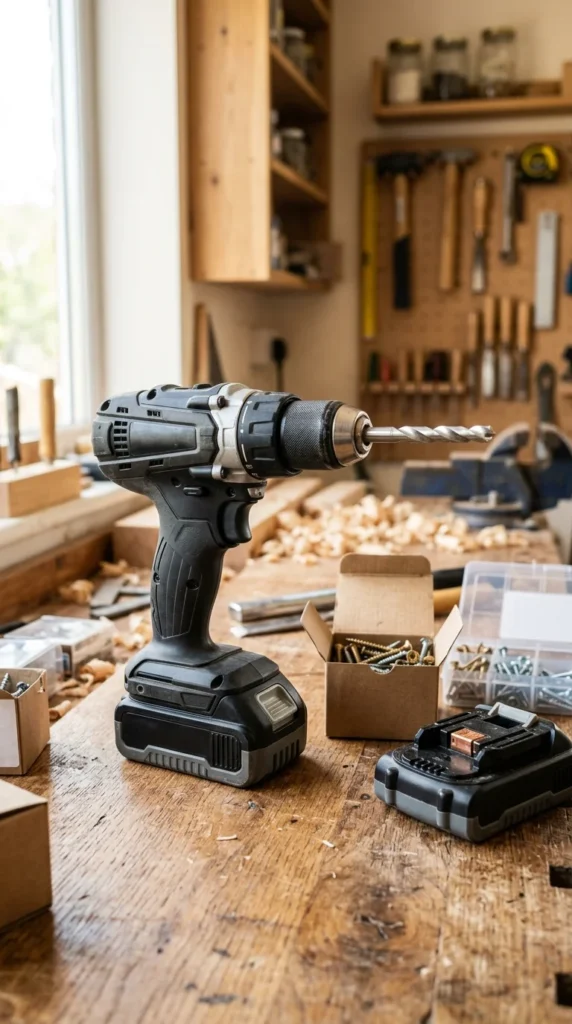
A cordless power drill is indispensable for “pre-drilling” pilot holes. Wood used for garden beds, especially at the ends of boards, is prone to splitting when a screw is driven in directly.
By drilling a hole slightly smaller than the diameter of your screw, you remove a small amount of material, allowing the screw to grip the wood fibers without forcing them apart. This step is critical for the structural integrity of your corners, which bear the most pressure from the weight of the soil.
6. Impact Driver
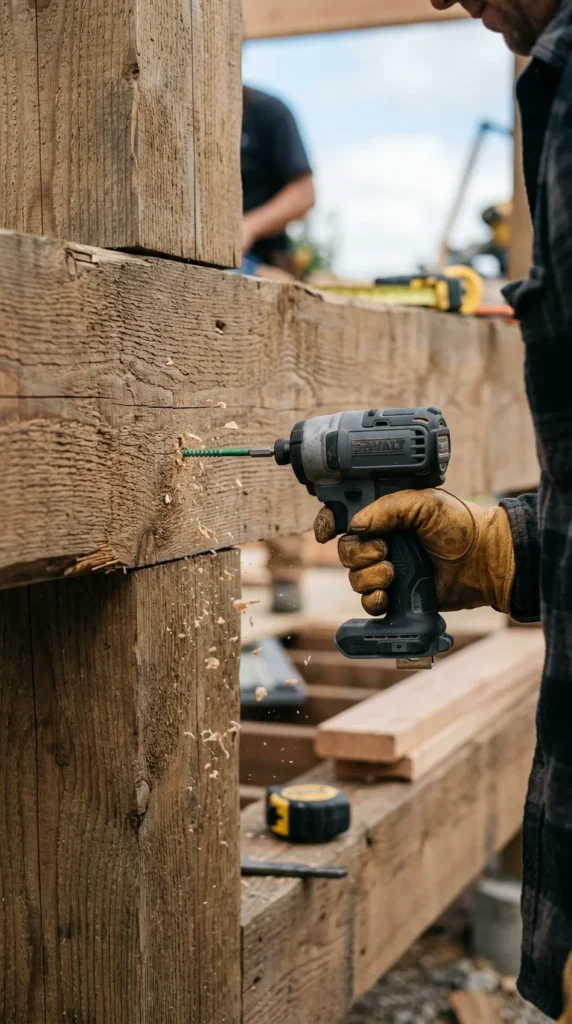
While a standard drill can drive screws, an impact driver is designed specifically for high-torque tasks. Building raised beds often involves driving 3-inch or 4-inch exterior screws through thick lumber.
An impact driver uses a rapid internal hammering mechanism to drive fasteners without stripping the screw heads or straining your wrists. It makes the assembly process significantly faster and ensures that the boards are pulled tightly together for a seamless fit.
7. Clamps
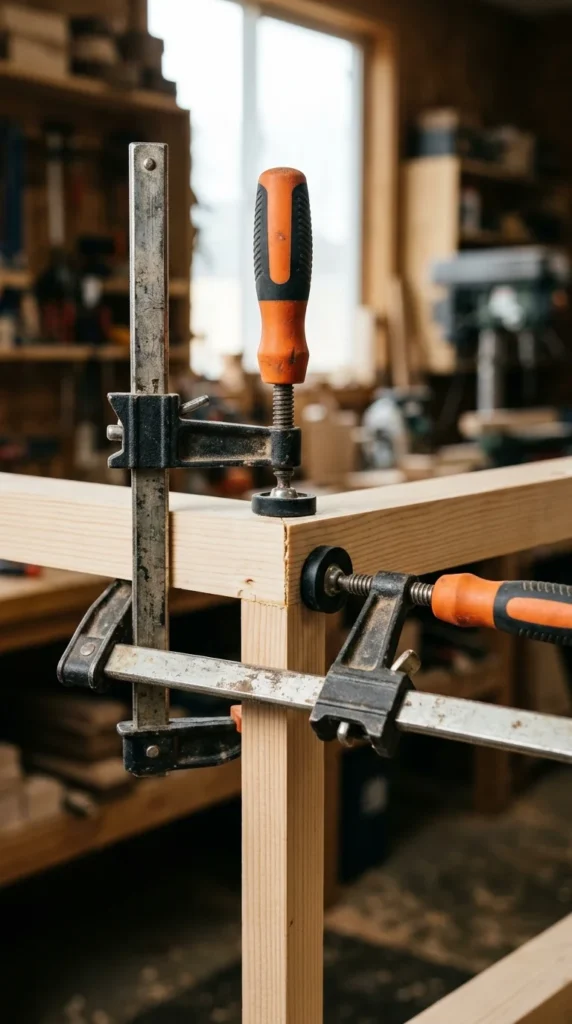
Trying to hold two heavy boards in place while simultaneously drilling and driving screws is a recipe for frustration. Clamps act as a second pair of hands.
Using corner clamps or large bar clamps allows you to lock your boards into a perfect right angle before you ever pick up your drill. This ensures that your measurements stay true during the fastening process and prevents the boards from shifting as the screw enters the wood.
8. Shovel
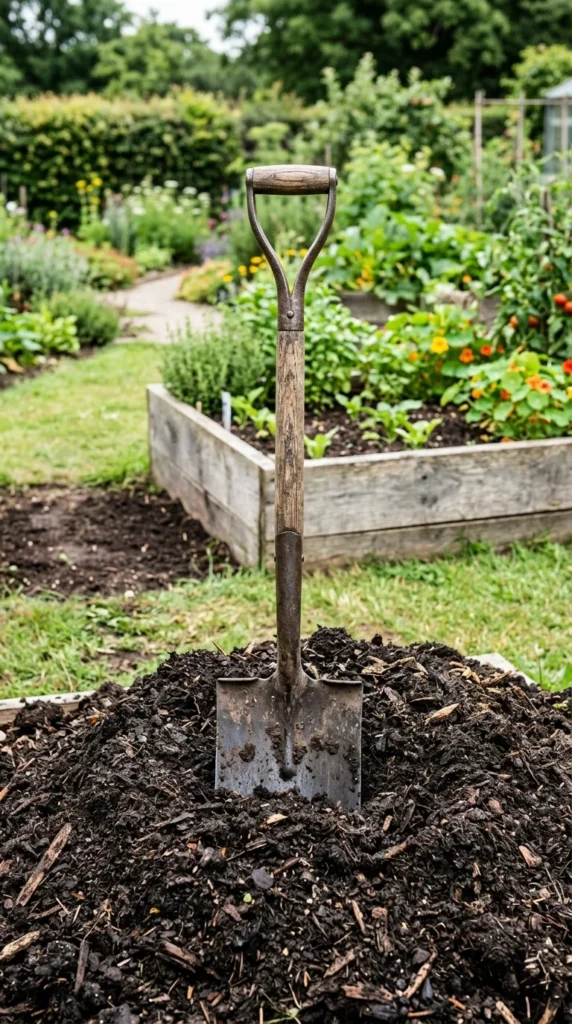
You will need a shovel for two distinct phases: site preparation and filling. Before the bed is built, use a spade to remove sod and level the footprint of the bed.
Once the structure is complete, a high-quality shovel is needed to move cubic yards of soil, compost, and mulch into the frame. A shovel with a forged steel head and a fiberglass or ash handle provides the durability needed to handle the heavy weight of wet garden soil.
9. Rubber Mallet
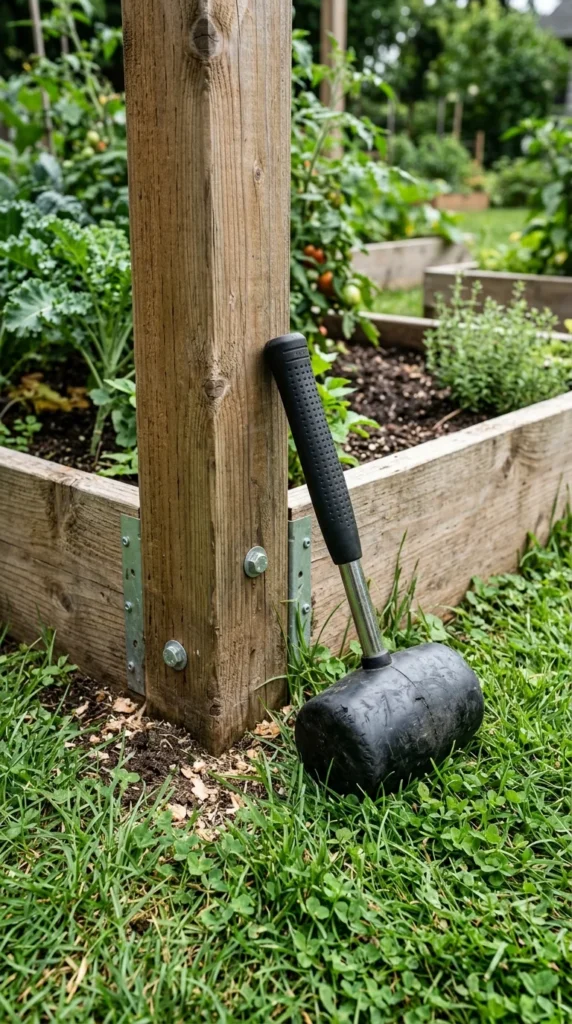
A metal hammer can mar the surface of your beautiful cedar or redwood planks. A rubber mallet, however, provides the force needed to nudge boards into alignment or drive wooden stakes into the ground without splintering the wood.
It is particularly useful if you are using a “drop-in” design where boards are slotted into grooved corner posts. The mallet allows you to “seat” the boards firmly into their tracks without compromising the aesthetics of the lumber.
10. Staple Gun
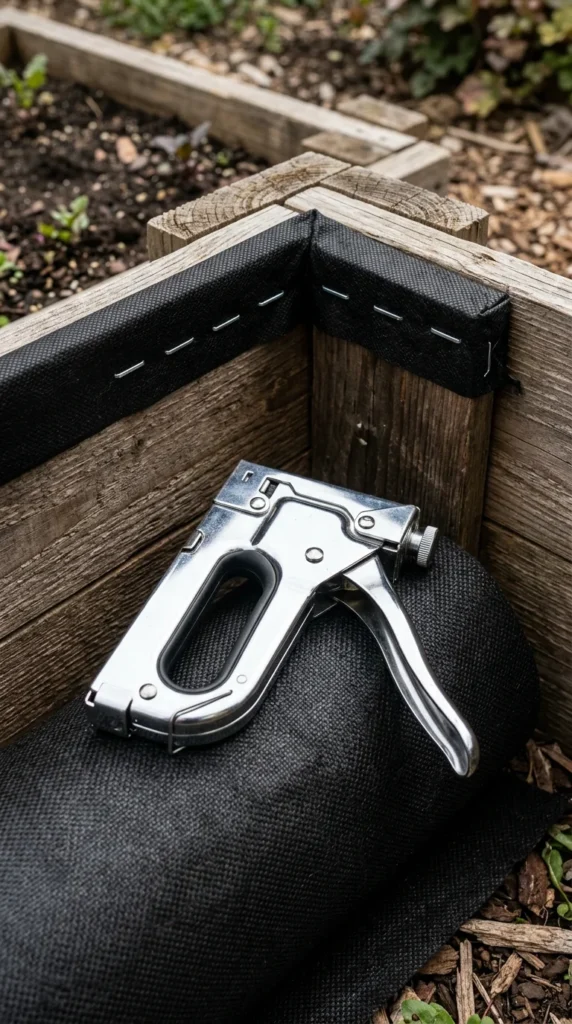
Most gardeners choose to line the bottom or sides of their raised beds. You might use hardware cloth (wire mesh) to keep out burrowing rodents or landscape fabric to prevent weeds from encroaching.
A heavy-duty staple gun is the fastest way to secure these liners. It allows you to pull the material taut against the interior of the frame and “tack” it every few inches. This keeps the liner from sagging or shifting when you pour in hundreds of pounds of soil.
11. Garden Rake
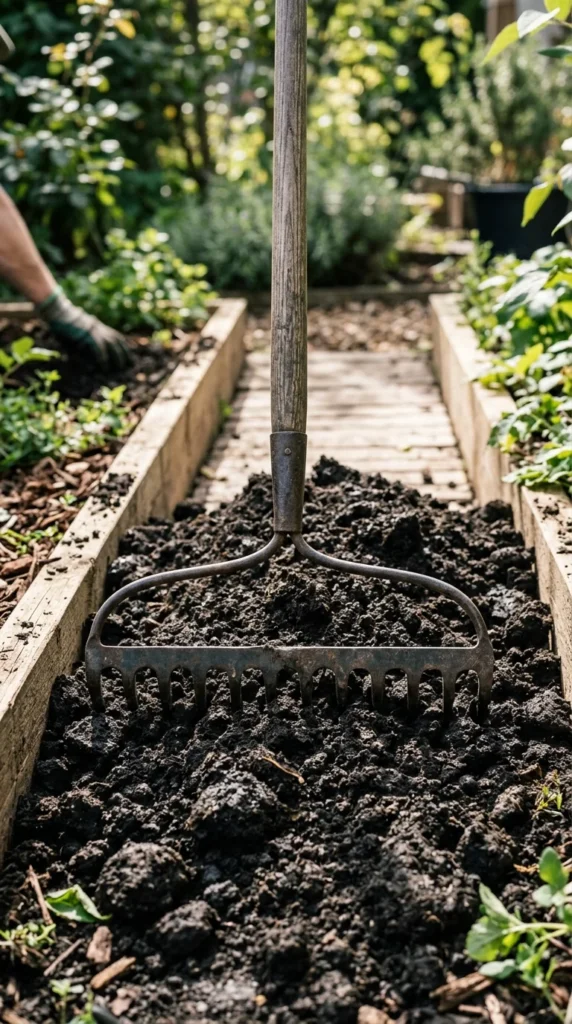
Once the soil is in the bed, a garden rake (also known as a bow rake) is used to level the surface. Unlike a leaf rake, a garden rake has stiff metal tines that can break up clumps of soil and spread heavy material evenly.
Leveling the soil is important for consistent seed depth and water distribution. The flat back of the rake can also be used to gently tamp down the soil surface after planting to ensure good seed-to-soil contact.
12. Safety Glasses
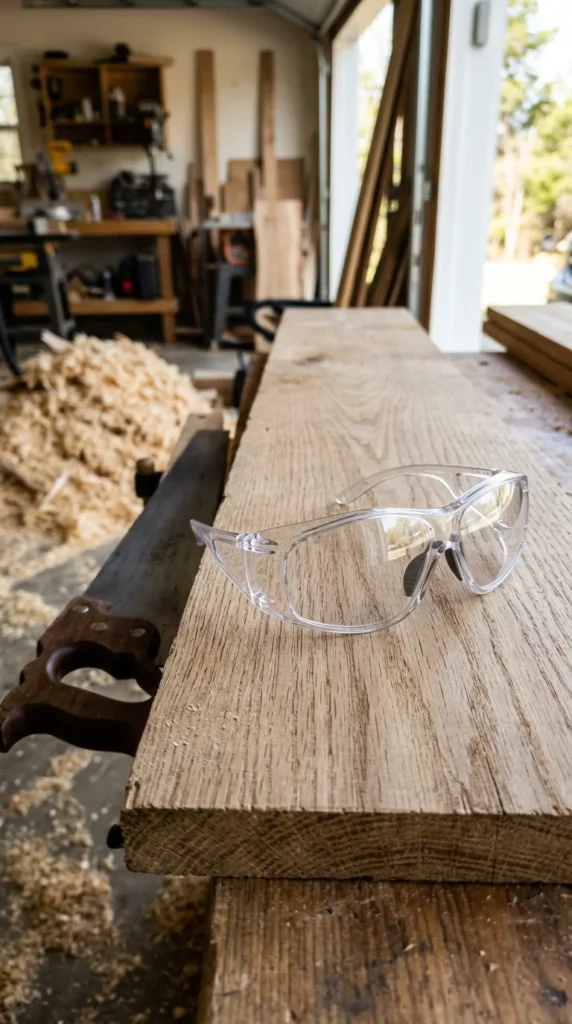
Safety should never be an afterthought. Cutting lumber with a circular saw sends high-velocity wood chips and fine dust into the air.
Invest in a pair of comfortable, wrap-around safety glasses to protect your eyes from debris. If you are working with pressure-treated lumber, safety glasses are even more critical, as the sawdust contains chemical preservatives that can be irritating to the eyes and mucous membranes.
13. Work Gloves
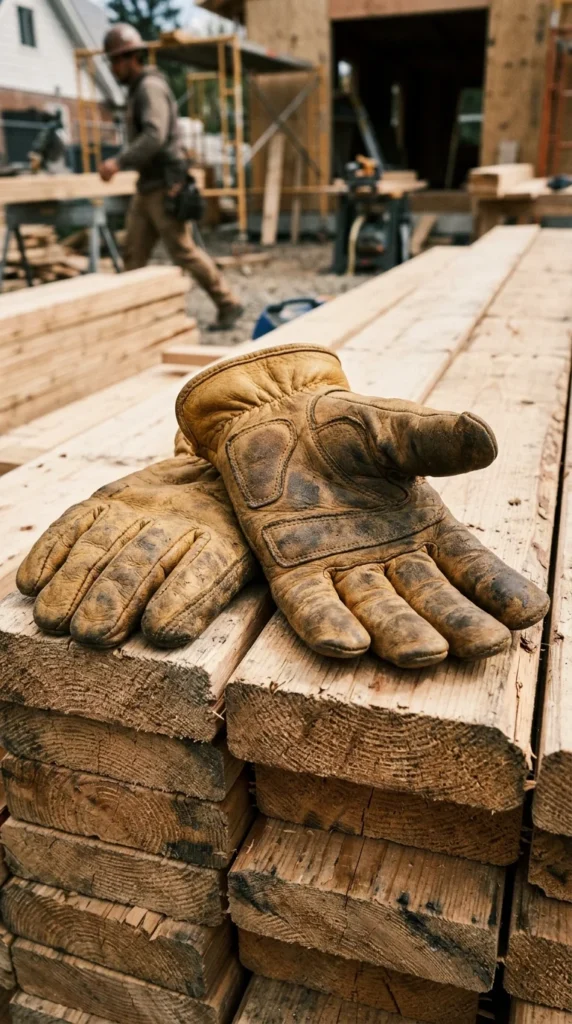
Handling raw lumber, especially rough-cut cedar, is an easy way to get painful splinters. Additionally, moving heavy stones, soil bags, or hardware cloth can be tough on the skin.
A good pair of leather or nitrile-coated work gloves provides the grip you need while protecting your hands from cuts, abrasions, and the drying effects of soil. Look for a pair that offers a balance between protection and dexterity so you can still handle small screws and drill bits.
14. Chalk Line
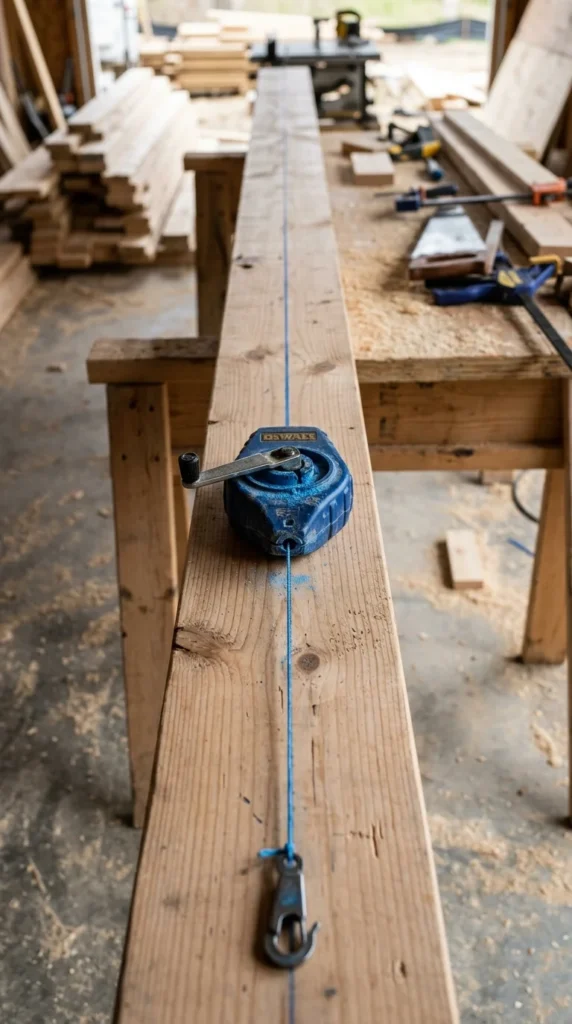
If you are building extra-long garden beds or need to cut a large sheet of plywood for a base, a chalk line is the most efficient way to mark a long, straight line.
By stretching the string tight between two points and “snapping” it, you leave a fine trail of chalk dust that serves as a perfect guide for your saw. It is much more accurate over long distances than trying to use a short ruler or straight edge.
15. Miter Saw
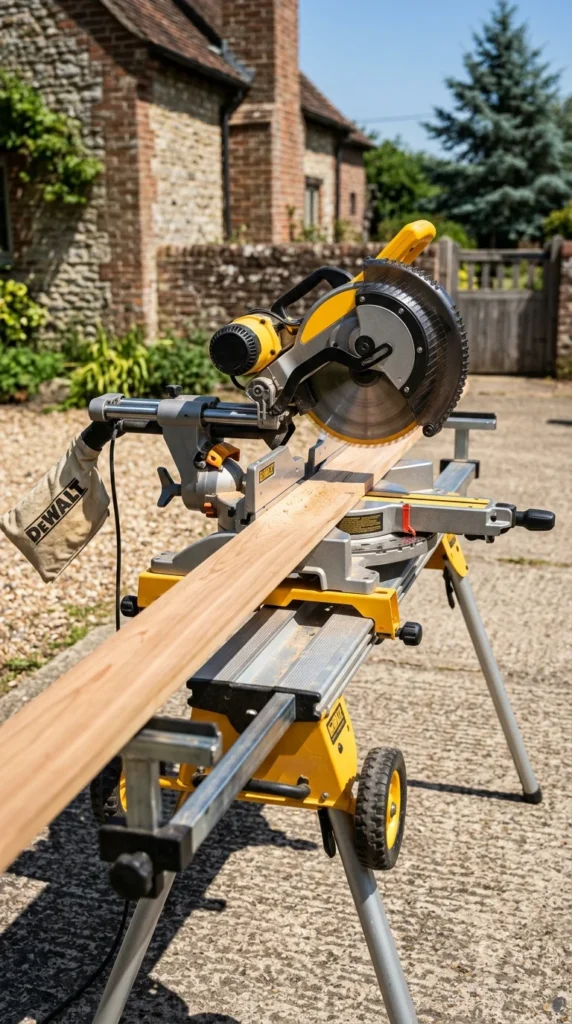
While a circular saw is portable, a miter saw (or “chop saw”) offers unmatched speed and precision for crosscuts. If you are building multiple beds, a miter saw will significantly reduce your build time.
It allows you to make perfectly square ends every single time, and if you want to get fancy with “mitered” decorative caps on the top of your garden beds, this tool allows you to cut the necessary 45-degree angles with surgical precision. It transforms a basic box into a professional-looking piece of garden architecture.