Building a raised garden bed is one of the most rewarding DIY projects for any homeowner or aspiring gardener. It offers better drainage, easier weed control, and a comfortable working height that saves your back and knees. However, the success of your construction depends heavily on the tools you use. Choosing the right equipment ensures that your garden beds are not only square and level but also durable enough to withstand years of soil pressure and weather exposure.
To build a professional-grade raised bed, you need a combination of measuring, cutting, assembly, and site preparation tools. Here is a comprehensive guide to the essential tools required for the job.
1. Tape Measure
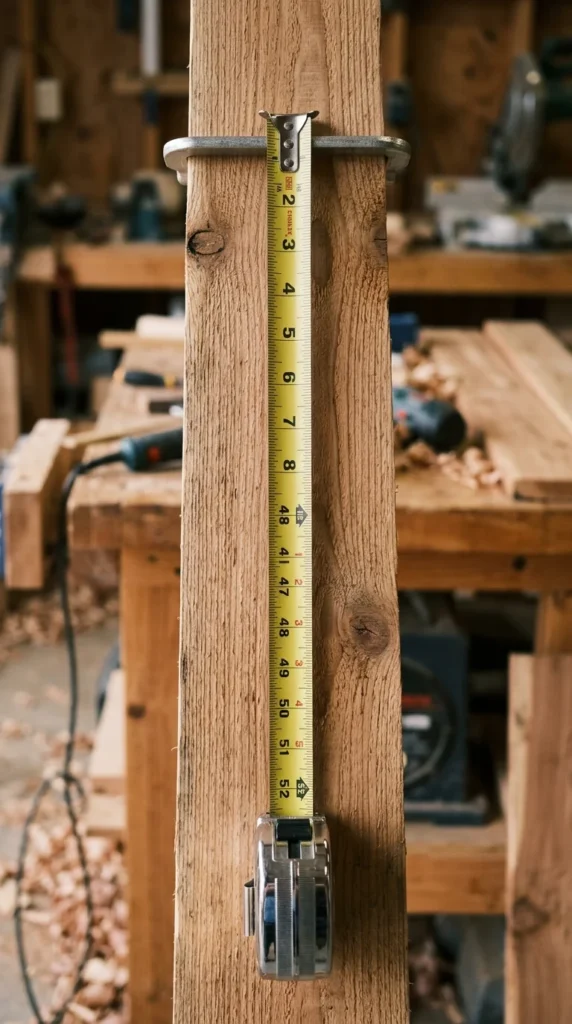
The foundation of any construction project is accuracy. A 25-foot locking tape measure is indispensable for ensuring your lumber is cut to the exact lengths required for your design. When building raised beds, consistency is key; if your parallel sides are even a fraction of an inch off, the entire structure will be skewed. Look for a tape measure with a wide blade for “standout,” which allows you to measure long distances alone without the tape collapsing.
2. Spirit Level
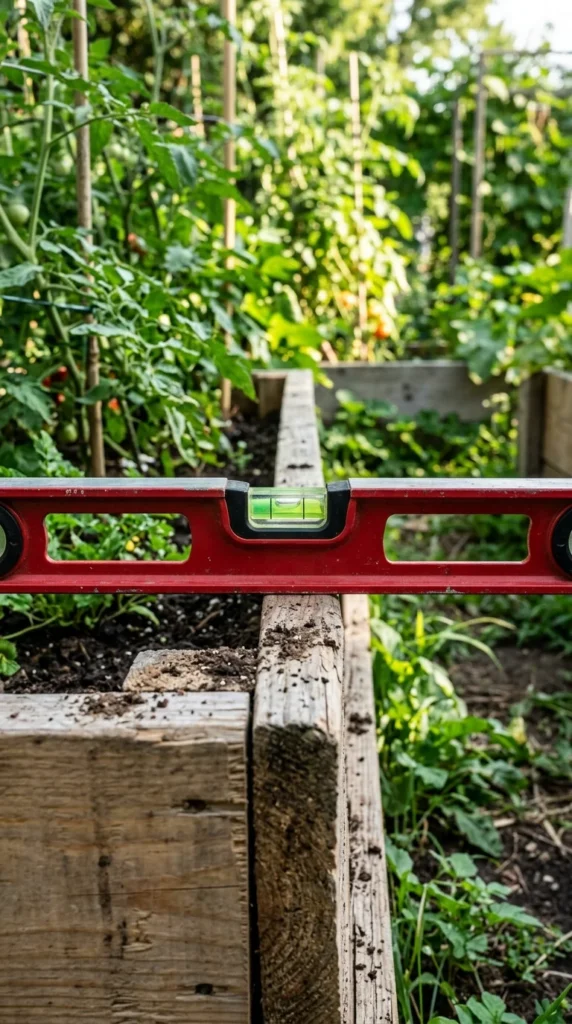
Raised beds must be level to ensure even water distribution. If one side of the bed is lower than the other, water will pool in the low spots, potentially drowning plants or rotting the wooden frame, while the high spots remain bone dry. A 4-foot spirit level is ideal for checking the horizontal plane of the boards and ensuring the vertical posts are perfectly plumb. For smaller beds, a shorter torpedo level can assist in tight corners.
3. Miter Saw
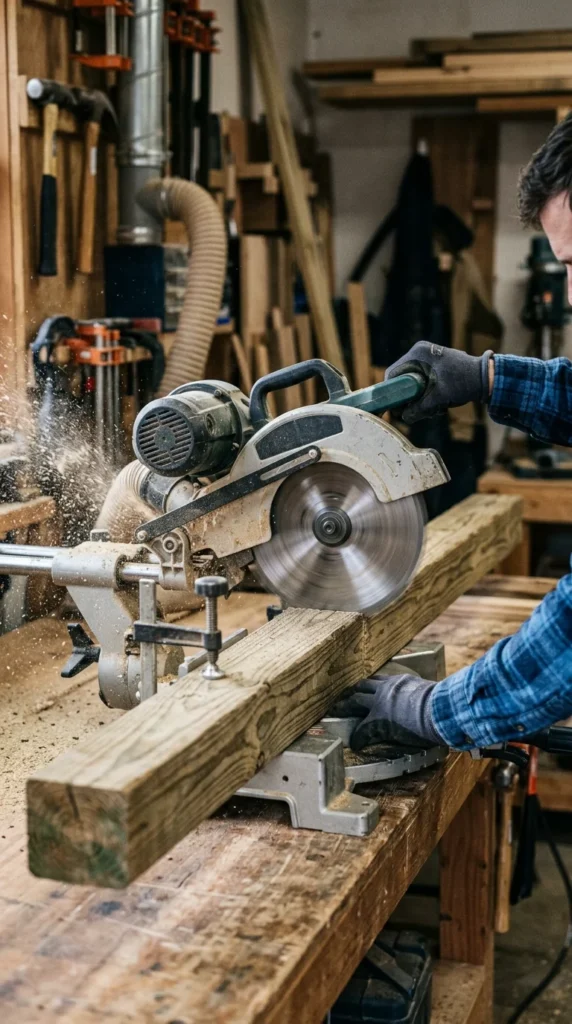
While a hand saw can get the job done, a power miter saw (or chop saw) provides the precision and speed necessary for clean, 90-degree crosscuts. If your design includes decorative trim or angled corners (like a hexagonal bed), a miter saw allows you to adjust the blade to specific degrees effortlessly. This tool ensures that the ends of your lumber are perfectly flat, allowing for tight, seamless joints that prevent soil from leaking through the corners.
4. Impact Driver
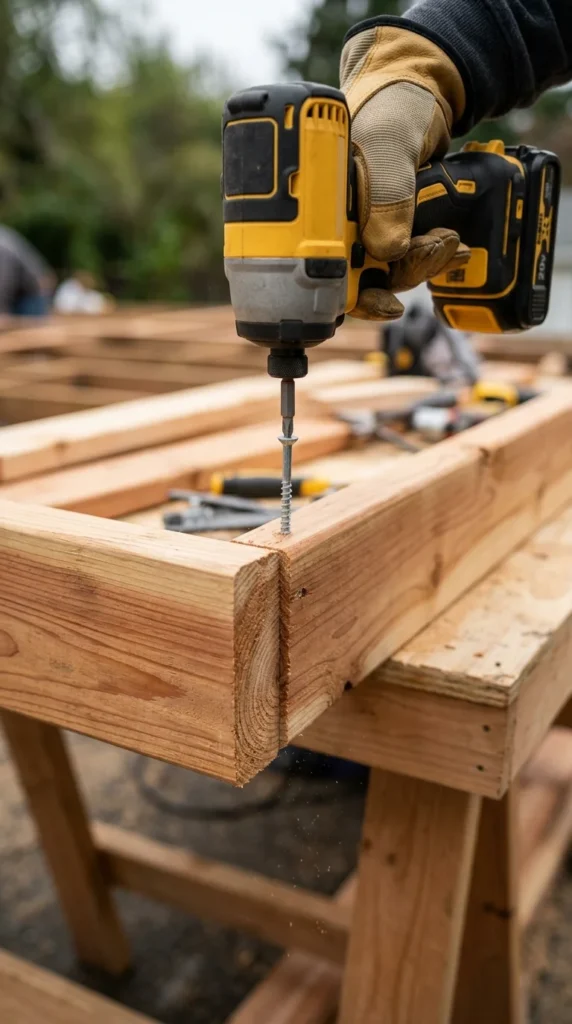
Driving long exterior screws into thick lumber requires significant torque. While a standard drill can work, an impact driver is specifically designed for high-torque applications. It uses a rapid hammering mechanism to drive screws into the toughest wood without stripping the screw heads or straining your wrist. When assembling large beds with 2-inch thick lumber, an impact driver will save you a tremendous amount of time and physical effort.
5. Drill Bits
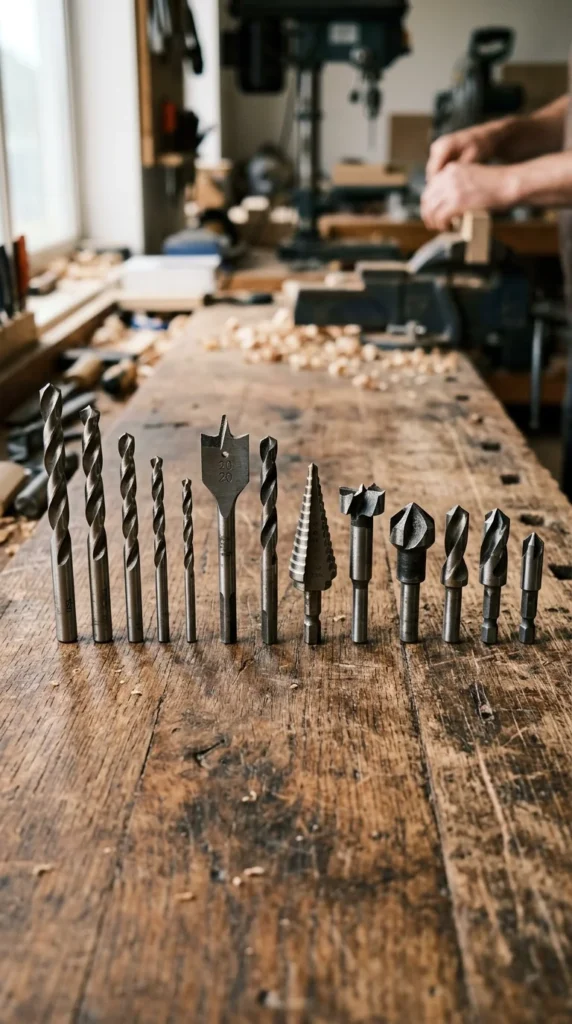
Never drive a screw directly into the end of a board without drilling a pilot hole first. If you skip this step, the wood is highly likely to split along the grain, compromising the structural integrity of your bed. A set of high-speed steel drill bits is essential. Additionally, using a countersink bit allows the head of the screw to sit flush with or slightly below the surface of the wood, providing a cleaner look and preventing snagged clothing or scratched hands later on.
6. Square Shovel
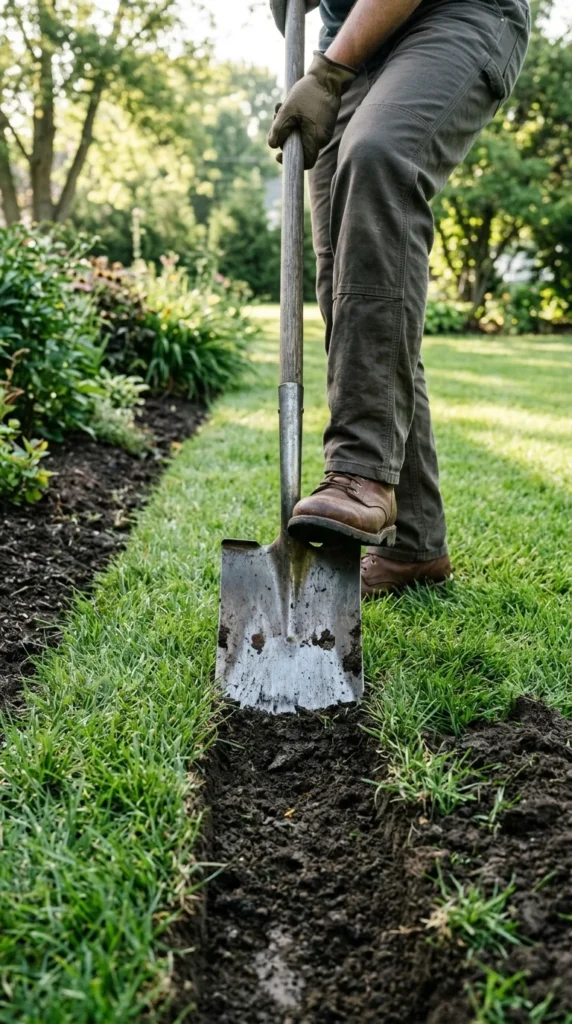
Before you can set your wooden frame down, you must prepare the ground. A square-point shovel (often called a garden spade) is much more effective than a rounded shovel for this task. It allows you to “slice” through sod and create a flat, level trench where the bottom boards of your garden bed will sit. Using this tool to remove grass and level the dirt ensures that your bed doesn’t wobble or sink unevenly over time.
7. Rubber Mallet
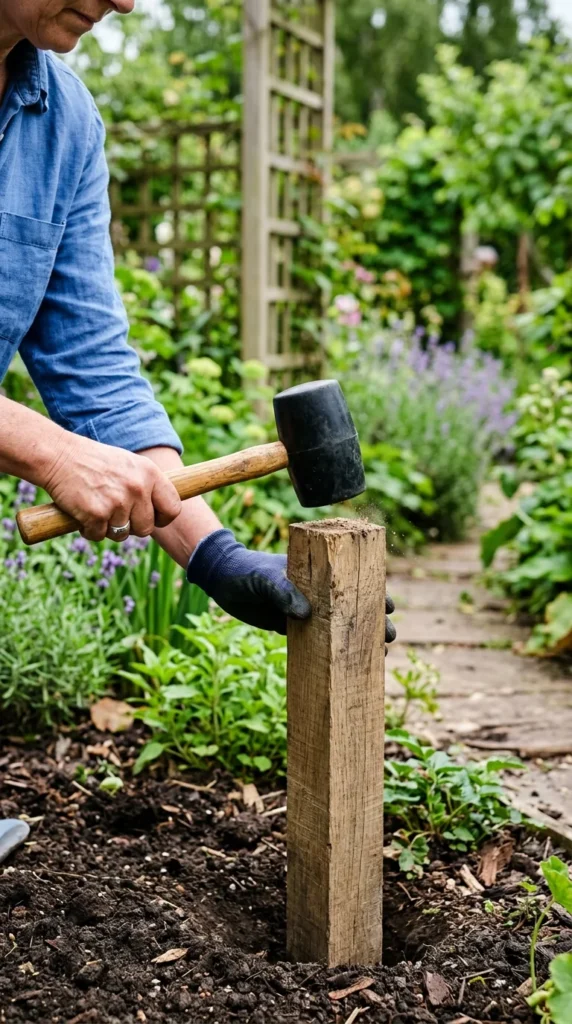
During assembly, you will often find that a board is just a hair out of alignment or a post needs to be driven a few inches into the soil. A metal hammer can mar or crack the wood, especially if you are using softer woods like cedar or redwood. A rubber mallet provides the force needed to nudge components into place without damaging the finish or structural fibers of the lumber.
8. Speed Square
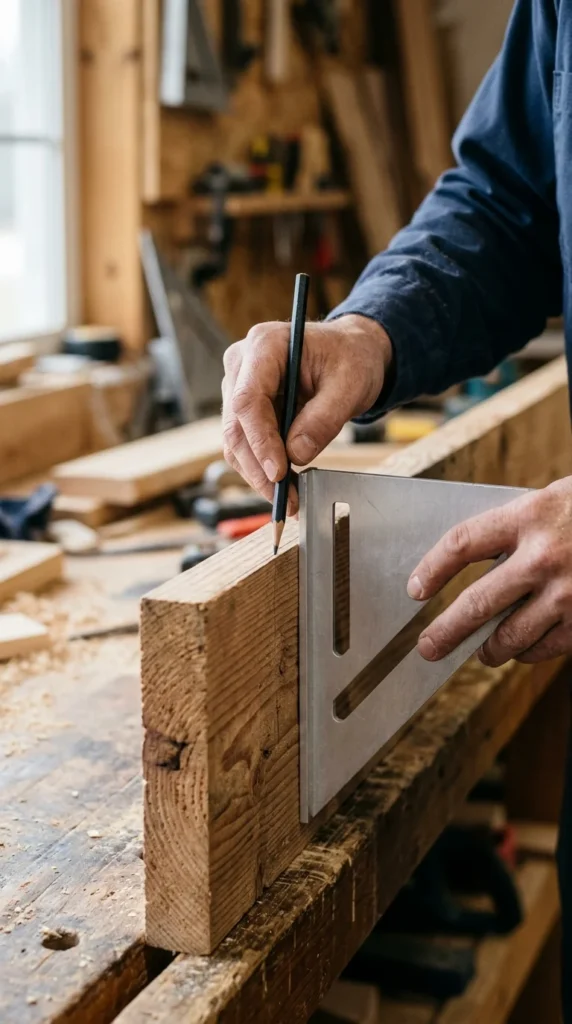
A speed square is a multi-purpose tool that acts as a fence for your saw, a marking guide, and a way to check that your corners are a perfect 90 degrees. Once you have assembled the first two sides of your raised bed, use the speed square to ensure the corner is “true.” If your bed isn’t square at the start, the subsequent boards will not line up, leading to gaps and a crooked final product.
9. Bar Clamps
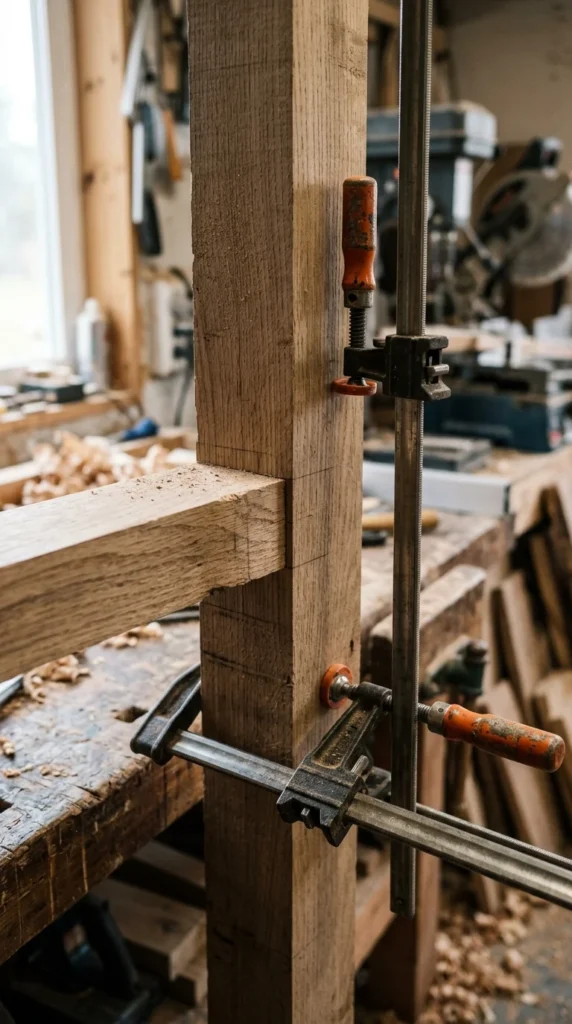
Building a raised bed is often a solo project, and holding heavy boards in place while trying to drill and drive screws can be frustrating. Bar clamps act as an extra set of hands. They hold the boards tightly together, ensuring the joints are flush and gap-free while you secure them. This is particularly important if your lumber has a slight warp or bow, as the clamps can force the wood into the correct position for fastening.
10. Safety Gear
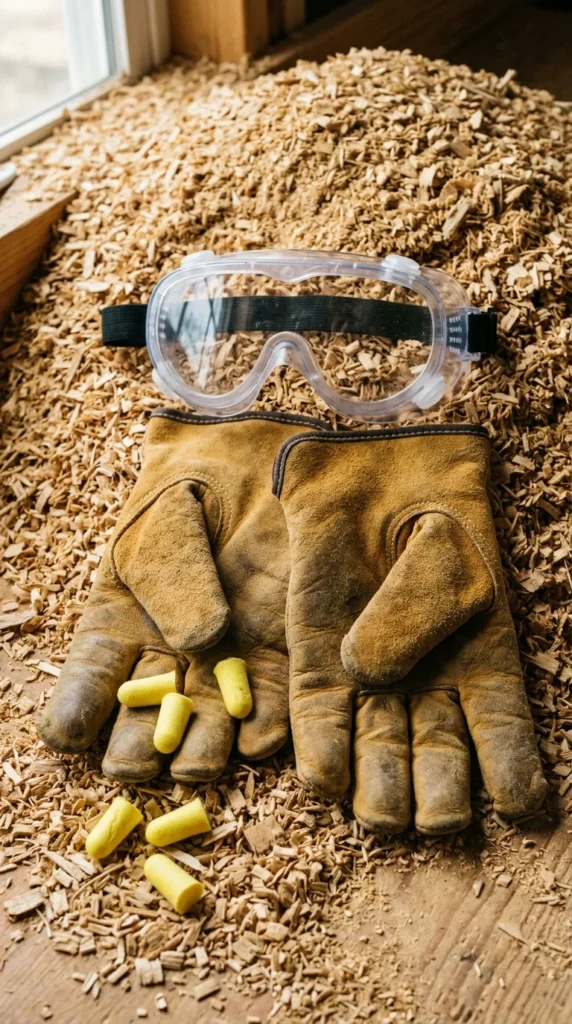
Safety should never be overlooked. When cutting lumber, especially pressure-treated wood, safety goggles are mandatory to protect your eyes from flying debris. Heavy-duty gloves protect your hands from splinters and the caustic chemicals sometimes found in wood treatments. Finally, because miter saws and impact drivers can exceed 100 decibels, ear protection is vital to prevent long-term hearing damage during a day of construction.
Choosing the Right Fasteners
While not a “tool” in the traditional sense, the hardware you choose is just as important. For raised beds, always use exterior-grade screws. Standard interior screws will rust and snap within a single season due to the moisture in the soil. Look for galvanized or stainless steel screws, or those with a specialized ceramic coating (often labeled as “deck screws”). For 2-inch thick lumber, 3-inch or 3.5-inch screws are the standard, providing enough depth to bite into the connecting board without poking through the other side.