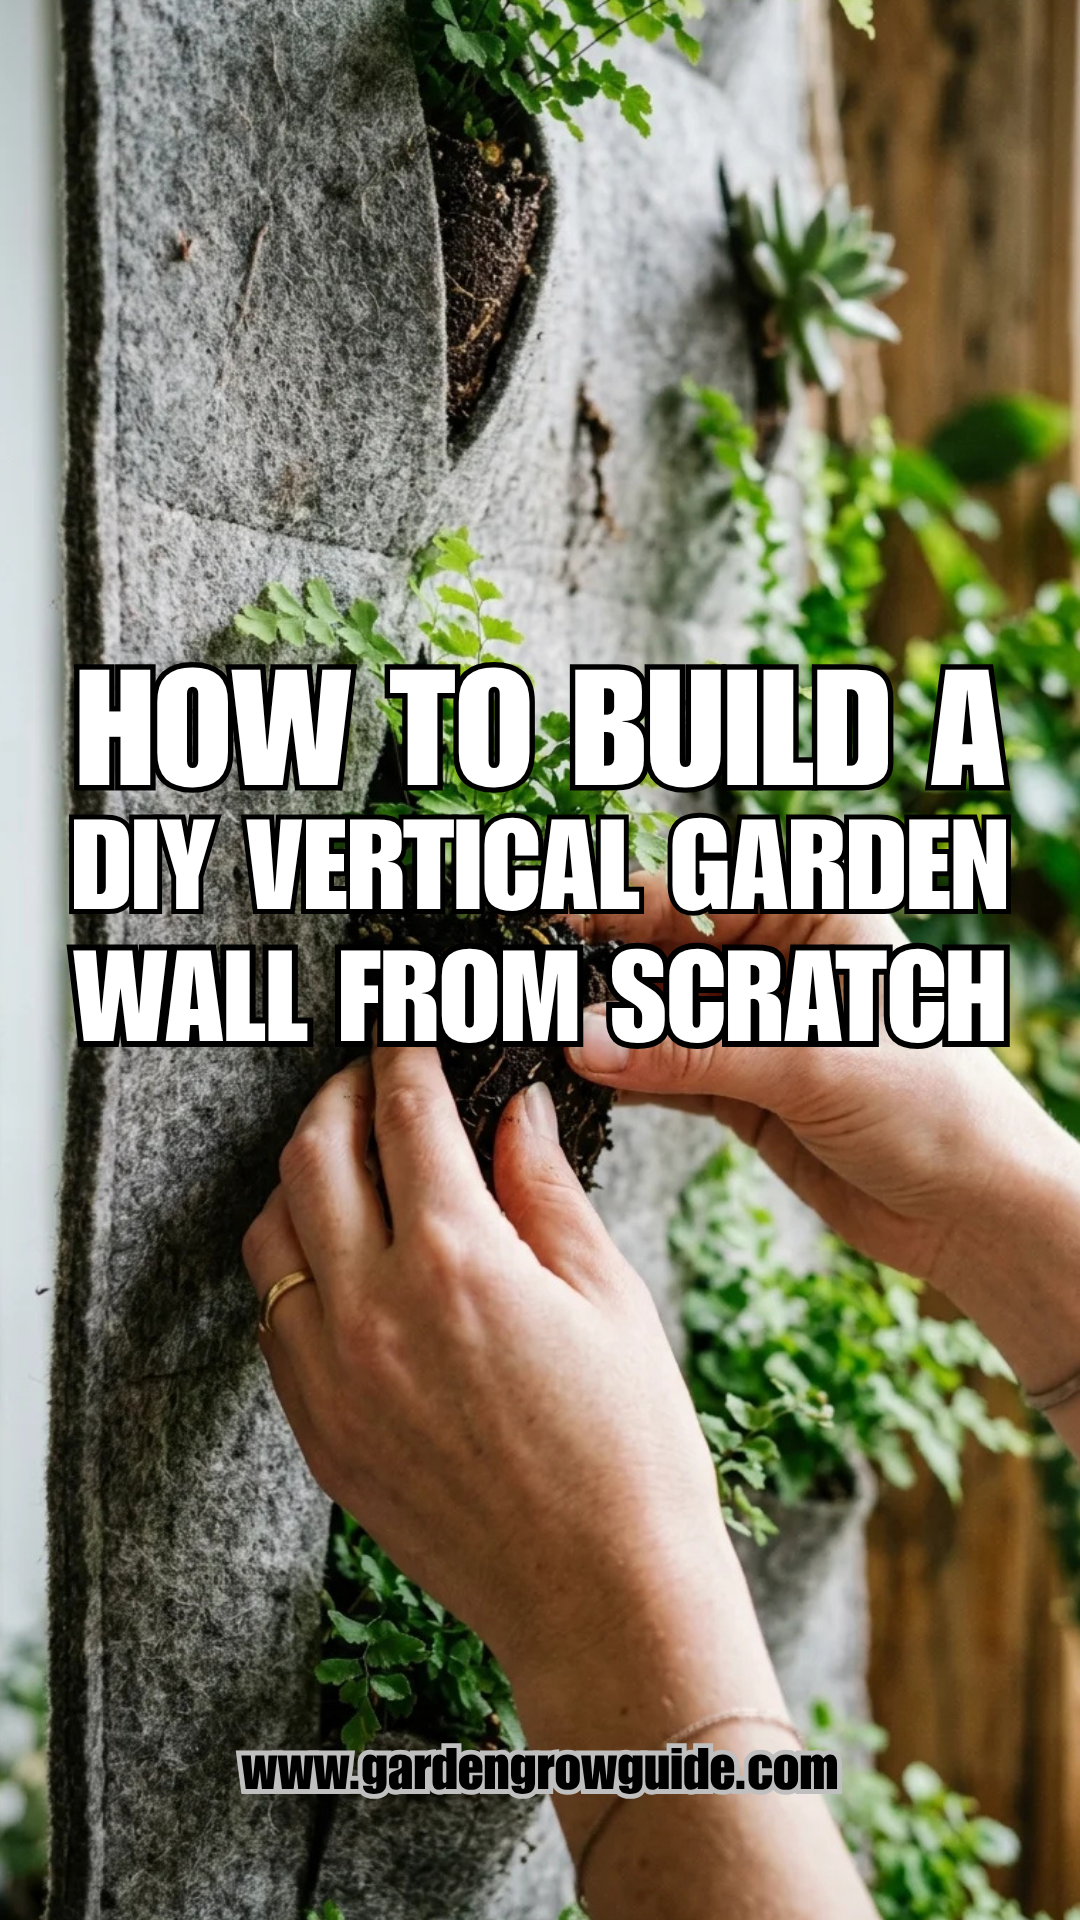
Vertical gardening is the ultimate solution for urban dwellers, hobbyist gardeners with limited space, or anyone looking to transform a bland wall into a living masterpiece. Unlike traditional gardening, a vertical wall utilizes upward space, creating a dense tapestry of foliage that improves air quality, provides insulation, and boosts mental well-being. Building one from scratch may seem daunting, but with the right structure and a bit of DIY spirit, you can create a professional-grade green wall that thrives for years.
1. Planning
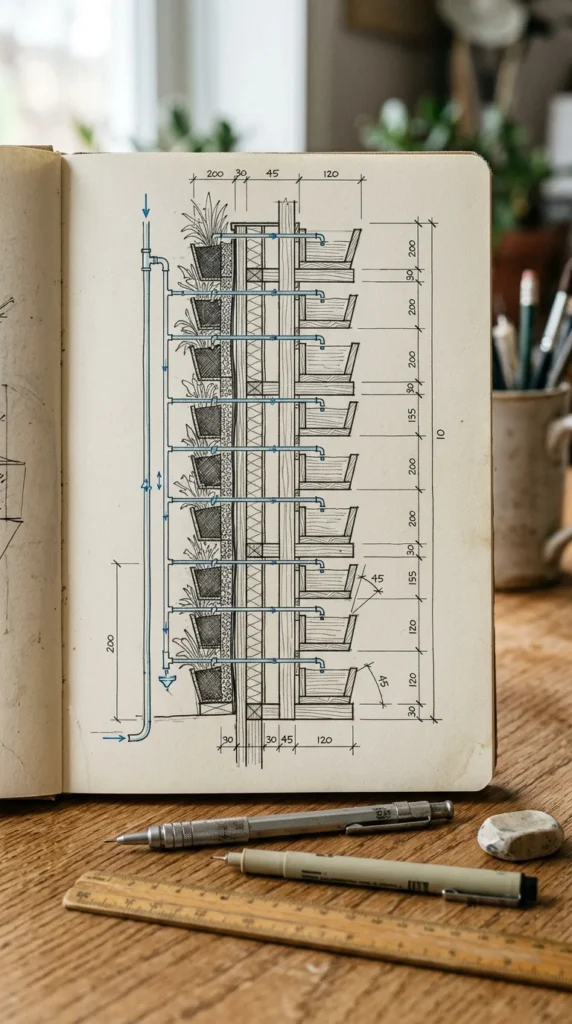
Before you pick up a hammer, you must decide on the scale and style of your project. Vertical gardens can be categorized into three main types: pocket systems (using fabric bags), tray systems (using tilted containers), or hydroponic felt systems. For a true “living wall” look, the hydroponic felt system or a custom wooden frame with integrated planters is often the most aesthetically pleasing and durable.
Consider the weight of the structure. A fully saturated vertical garden is heavy; soil and water can add hundreds of pounds to a wall. You must ensure the wall you choose can support the weight or build a freestanding frame. Additionally, think about the light: will your garden be in full sun or deep shade? This decision will dictate every plant choice you make later.
2. Materials
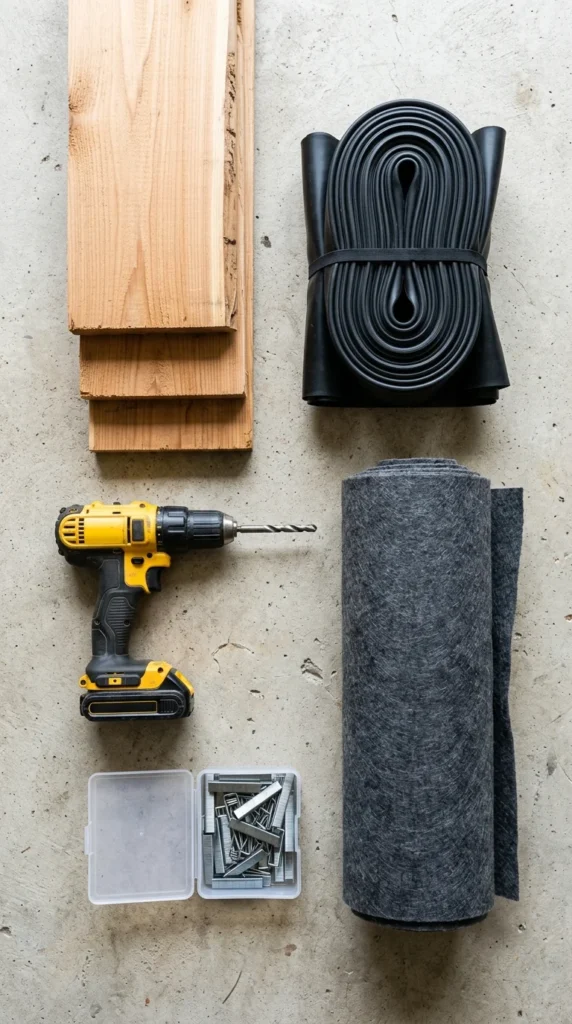
The longevity of your garden depends on the quality of your materials. Because this project involves constant moisture, you should avoid standard plywood or untreated pine, which will rot within a year.
Core Materials List:
- Lumber: Cedar or pressure-treated 2x4s for the frame.
- Backing: A sheet of 1/2-inch PVC board or thick plastic sheeting to create a water barrier.
- Moisture Barrier: Pond liner or 6-mil polyethylene plastic.
- Growing Medium: Industrial-grade synthetic felt (geotextile fabric) or pre-made felt pockets.
- Fasteners: Stainless steel screws and heavy-duty staples to prevent rust.
- Irrigation: A 1/4-inch drip irrigation kit with a small submersible pump or a hose attachment.
3. Location
Choosing the right spot is about more than just aesthetics. You need access to a water source and, ideally, a power outlet if you plan to automate the irrigation. If you are building indoors, ensure there is adequate ventilation to prevent mold growth on the surrounding walls.
Light exposure is the most critical factor for plant health. South-facing walls receive intense heat and light, requiring drought-tolerant plants and frequent watering. North-facing walls are cooler and better suited for ferns and mosses. Measure the light levels throughout the day before committing to a location.
4. Frame

The frame is the skeleton of your garden. Build a sturdy rectangular box using your cedar or pressure-treated lumber. For a wall-mounted unit, it is best to build the frame separately and then mount it using French cleats or heavy-duty masonry bolts.
If you are worried about moisture touching your house siding, design the frame with a “stand-off” gap of at least one inch. This allows air to circulate behind the garden, preventing dampness from seeping into your home’s structure. Ensure all corners are squared and reinforced with L-brackets if the garden is larger than 4×4 feet.
5. Moisture
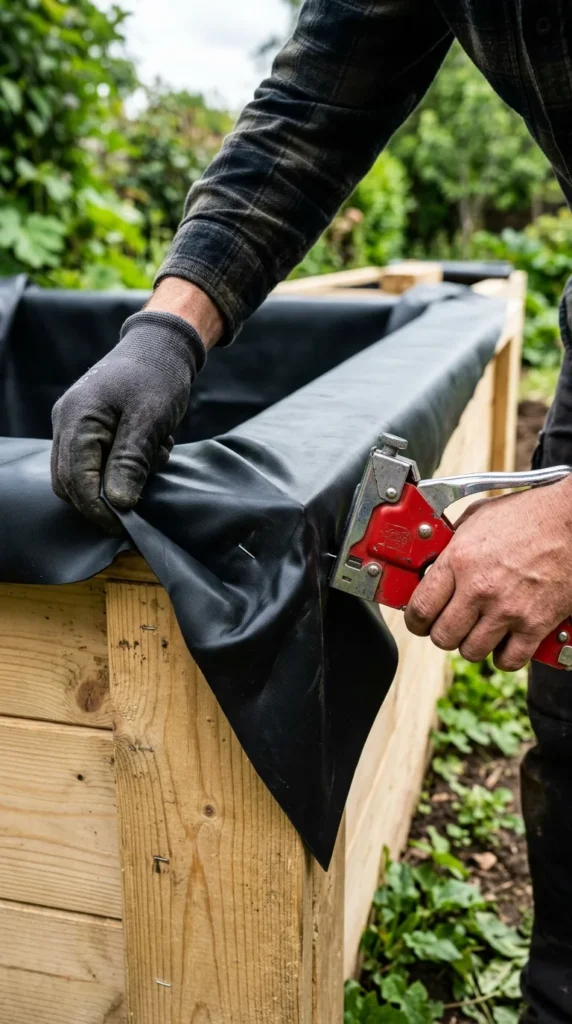
The biggest mistake DIYers make is failing to properly waterproof the backing. Without a solid barrier, water will eventually rot the frame and damage the wall behind it. Attach your PVC board or waterproof backing to the frame first.
Over this backing, layer your pond liner. Stretch it tight and staple it to the edges of the frame. This creates a waterproof “envelope.” Any water that doesn’t get absorbed by the plants will run down this liner into a collection trough at the bottom, rather than soaking into your wood or drywall.
6. Substrate
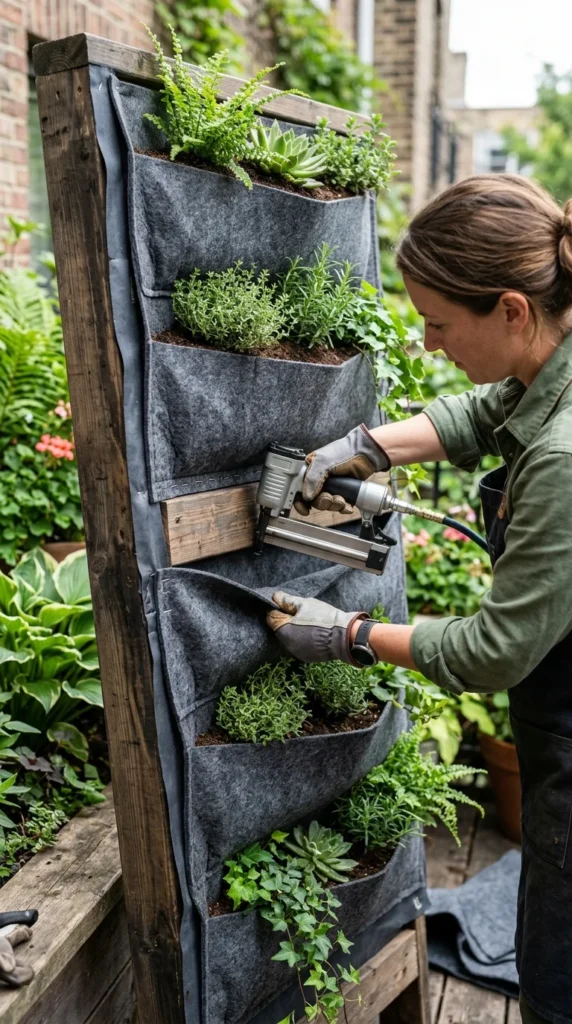
In a vertical garden, the “soil” isn’t always soil. Many professional walls use two layers of synthetic felt. The roots grow between these layers, and the felt wicks water evenly across the entire surface.
To create the pockets, take a large sheet of felt and staple it to the top of the frame. Then, every 6 to 8 inches, create a fold or a “pouch” and staple the felt across the width of the frame. This creates a row of pockets where your plants will live. If you prefer a more traditional approach, you can mount angled wooden slats to hold long planter boxes, but the felt method allows for a much denser, “carpet-like” growth pattern.
7. Irrigation
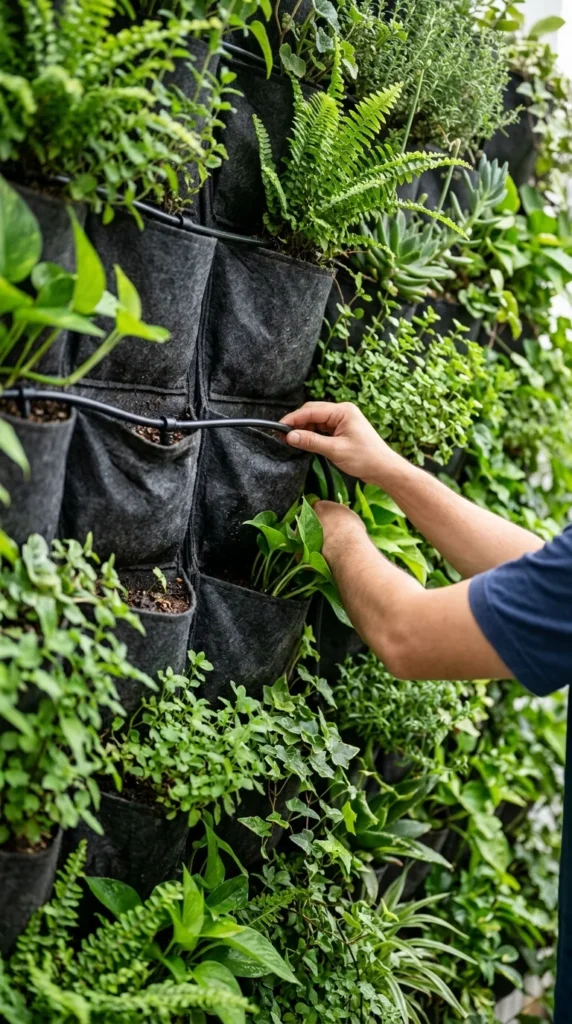
A vertical garden dries out much faster than a traditional garden because of the increased surface area and gravity. Manual watering is rarely successful for large walls; you need an irrigation system.
Run a main distribution line along the top of the frame. Attach emitters or “soaker” hoses that allow water to drip slowly into the top layer of felt. Gravity will do the rest, pulling the moisture down through the lower layers. If you are building a closed-loop system, place a reservoir at the bottom with a small pump to recirculate the water back to the top. This saves water and ensures the plants at the bottom don’t get over-saturated while the top stays dry.
8. Plants
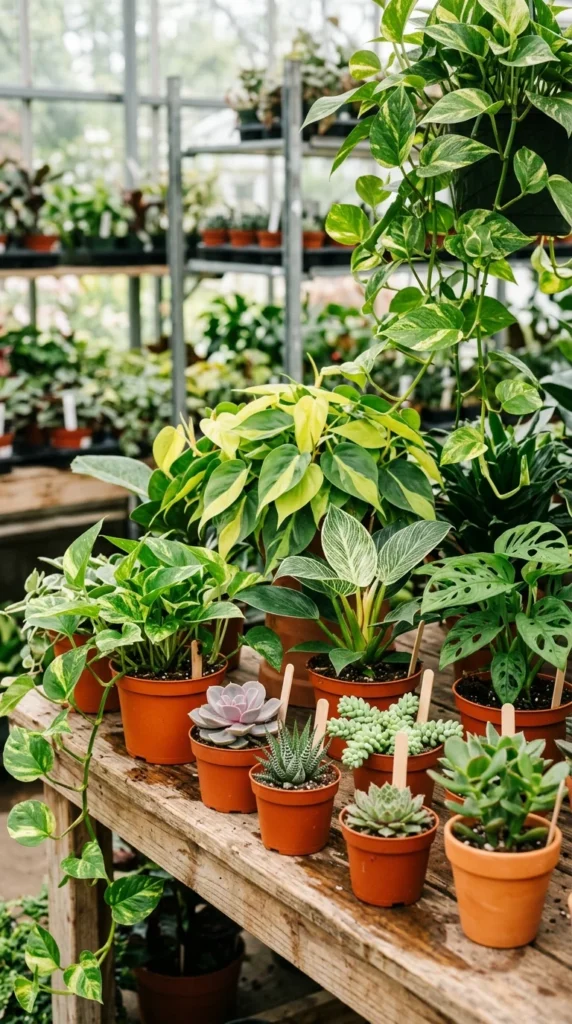
Selecting the right plants is a balancing act. You want species with similar water and light requirements. For beginners, Pothos (Epipremnum aureum) is the king of vertical gardens; it is nearly indestructible, grows quickly, and trails beautifully.
- For Low Light: Ferns (Staghorn or Maidenhair), Philodendrons, and Calatheas.
- For High Light: Succulents (Echeveria or Sedum), Herbs (Thyme and Rosemary), and trailing Petunias.
- For Edibles: Lettuce, strawberries, and kale thrive in vertical pockets as long as they get at least 6 hours of sun.
Try to group plants by their thirst levels—place the most water-hungry plants at the bottom where the moisture naturally collects.
9. Assembly
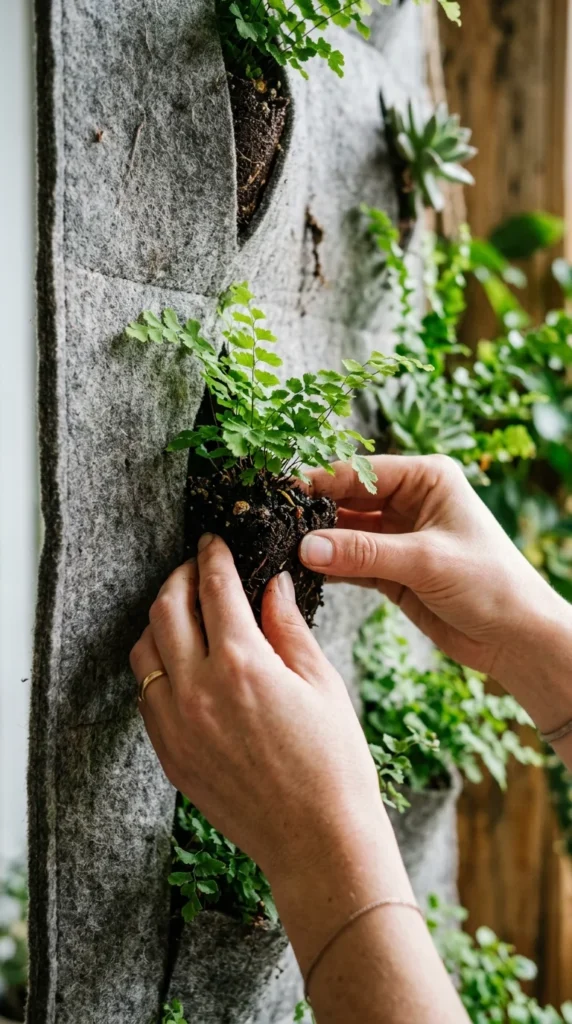
Once the structure is built and the irrigation is tested, it’s time to plant. If using the felt method, cut a small horizontal slit in the outer layer of the felt. Remove the plant from its nursery pot, trim the root ball slightly if necessary, and wrap it in a small amount of damp sphagnum moss or a thin piece of felt.
Insert the root ball into the slit. Ensure it is snug so the plant doesn’t fall out as it grows. Start from the bottom and work your way up. This prevents you from spilling soil or water on the plants you’ve already tucked in. Once finished, give the entire wall a gentle misting to settle the plants into their new home.
10. Upkeep
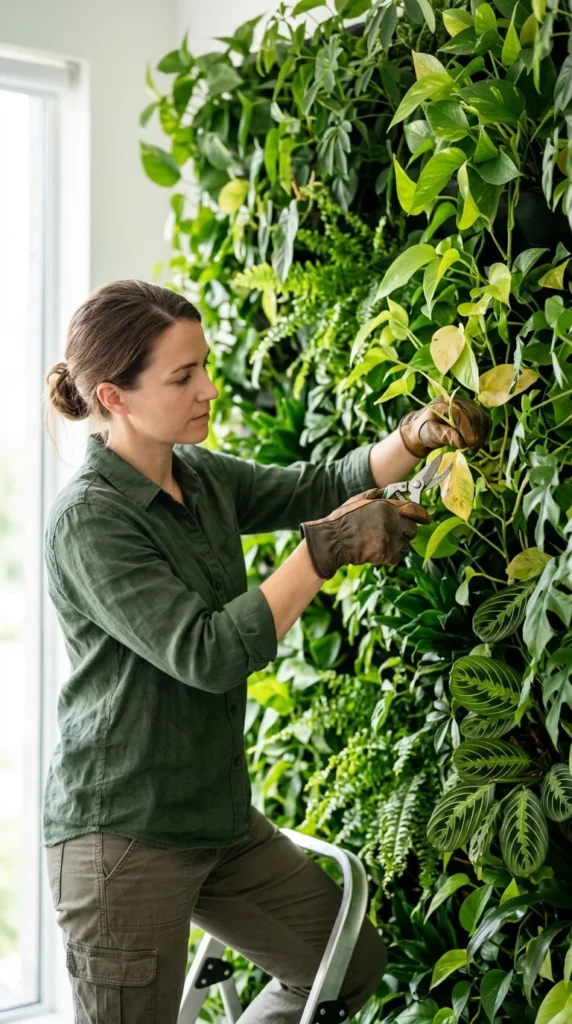
A vertical garden is a living entity that requires ongoing attention. For the first few weeks, check the moisture levels daily. The felt should feel like a wrung-out sponge—damp but not dripping.
Maintenance Tips:
- Pruning: Trim aggressive growers to prevent them from shading out smaller plants.
- Fertilizing: Since there is limited soil, use a liquid seaweed or fish emulsion fertilizer in your irrigation water once a month.
- Cleaning: Dust the leaves of indoor walls to ensure they can photosynthesize efficiently.
- Pest Control: Check the “pockets” regularly for spider mites or aphids, as the dense foliage can hide pests easily.
With proper care, your DIY vertical garden will grow into a lush, breathtaking feature that brings the serenity of nature into your immediate environment.