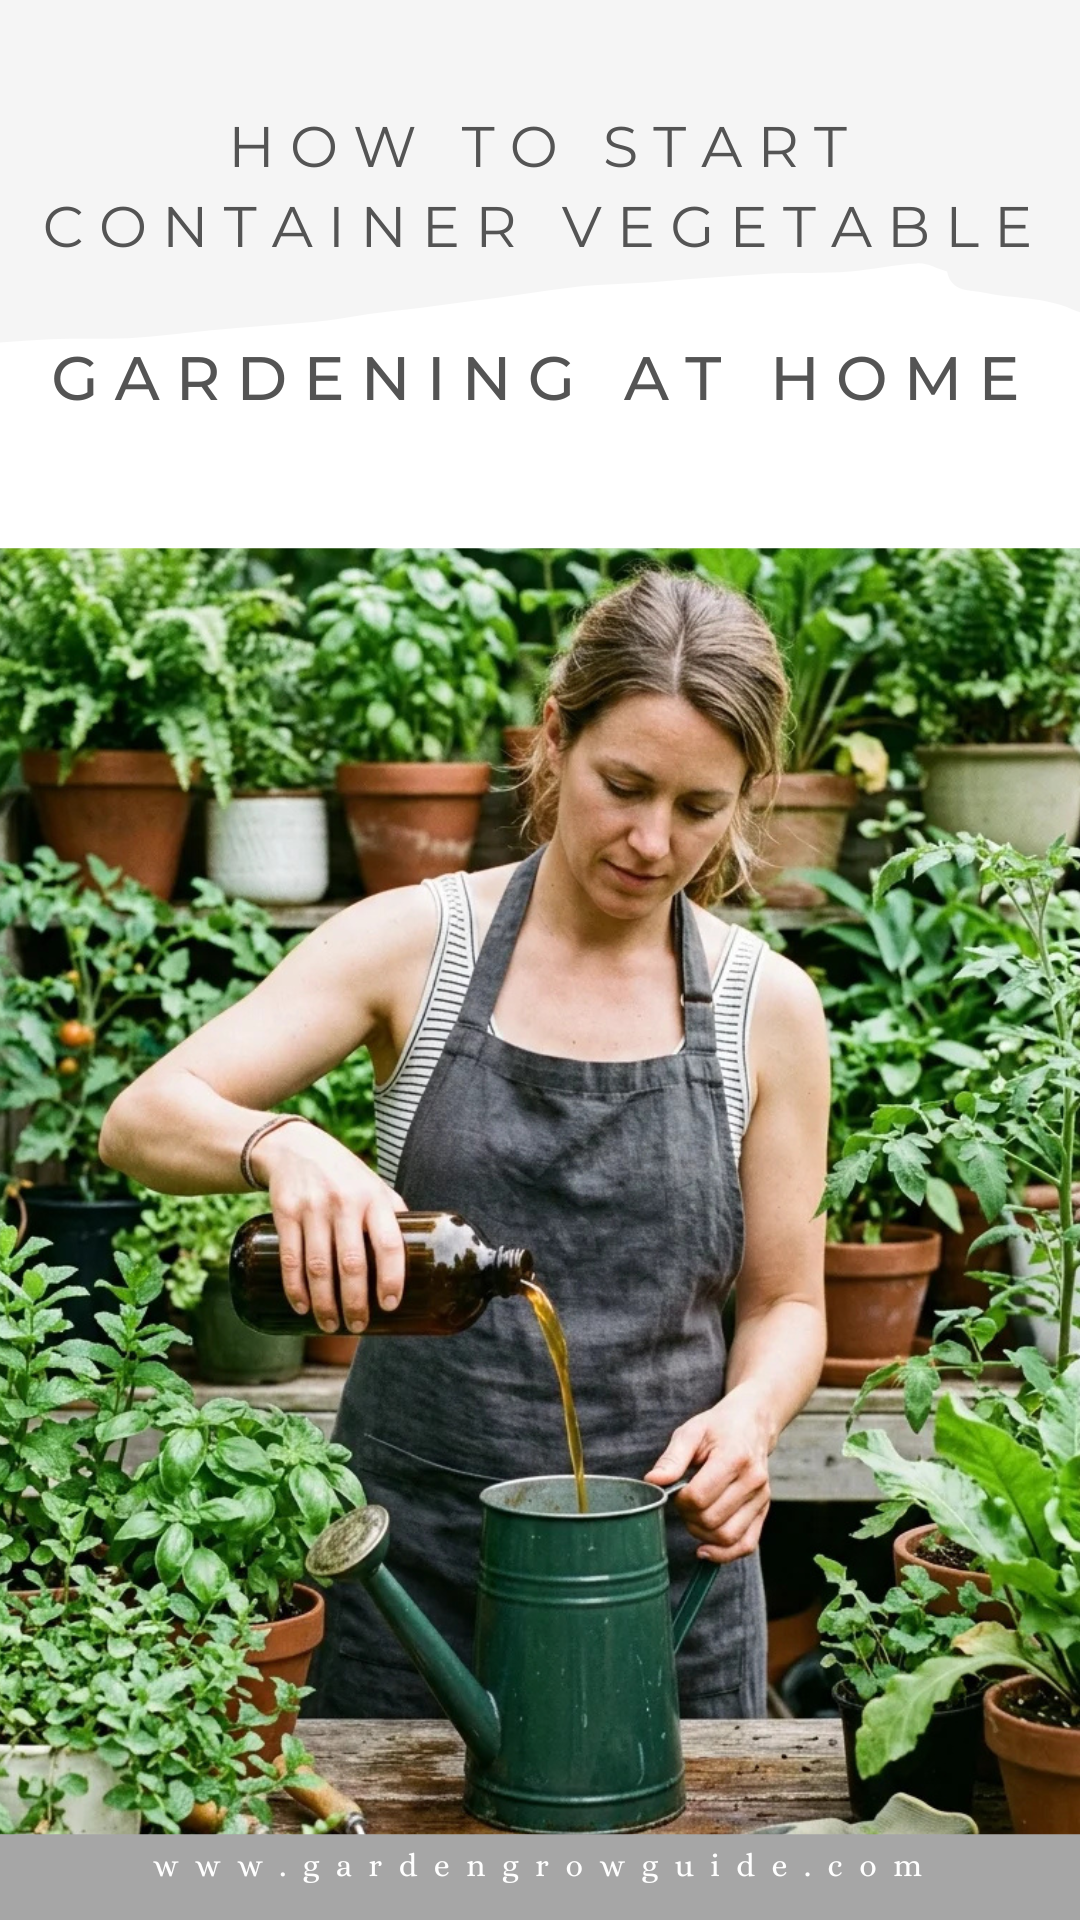
Container vegetable gardening is the perfect solution for aspiring gardeners who are limited by space, poor soil quality, or physical mobility. Whether you have a sprawling deck, a tiny apartment balcony, or just a sunny windowsill, you can cultivate a productive and beautiful “farm” in miniature. This guide provides a comprehensive roadmap to help you transition from a beginner to a successful container gardener.
1. Location
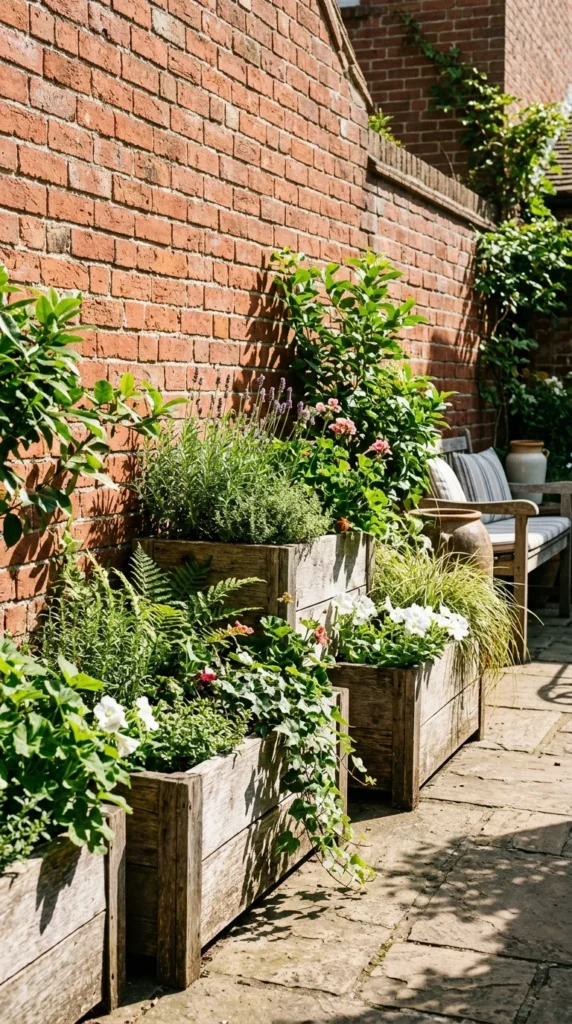
The success of your container garden begins with where you place your pots. Most vegetables are sun-lovers, requiring at least six to eight hours of direct sunlight daily. South-facing locations are generally the most productive. However, if your space is partially shaded, you can still grow leafy greens like spinach, lettuce, and kale, which can thrive with four to five hours of sun.
Beyond light, consider accessibility to water. Lugging heavy watering cans across a long distance can become a chore, so proximity to a hose or tap is ideal. Also, be mindful of wind; high-rise balconies can experience strong gusts that dry out soil rapidly and may topple tall plants like corn or staked tomatoes. If wind is an issue, look for heavy pots or secure your containers to a railing.
2. Containers
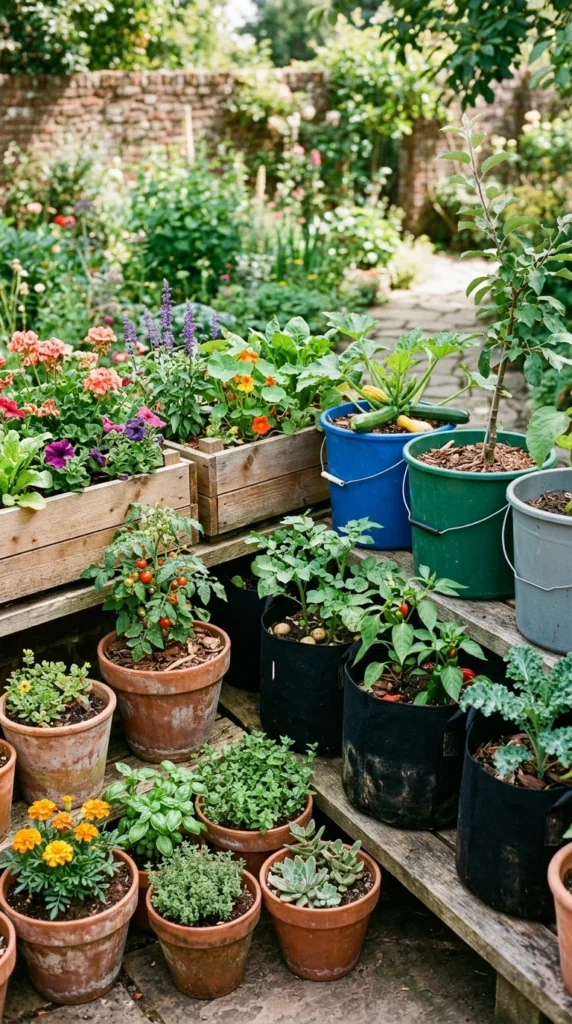
When it comes to containers, drainage is the most critical factor. Without holes in the bottom of your pot, water will accumulate at the roots, leading to “wet feet” and eventually root rot. If you find a beautiful pot without a hole, you must drill one yourself.
The material of the container also affects how your plants grow:
- Terracotta: Porous and breathable, but dries out very quickly.
- Plastic: Lightweight and retains moisture well, though it can become brittle over time in the sun.
- Fabric Grow Bags: Excellent for root health as they “air prune” the roots, preventing them from circling the pot.
- Wood: Cedar or redwood is naturally rot-resistant and provides great insulation for roots against temperature swings.
Size matters significantly. Beginners often make the mistake of using pots that are too small. Larger containers hold more soil, which means they stay moist longer and provide more nutrients. A five-gallon bucket is the gold standard for large plants like tomatoes or peppers, while shallow troughs work well for herbs and lettuce.
3. Potting Mix
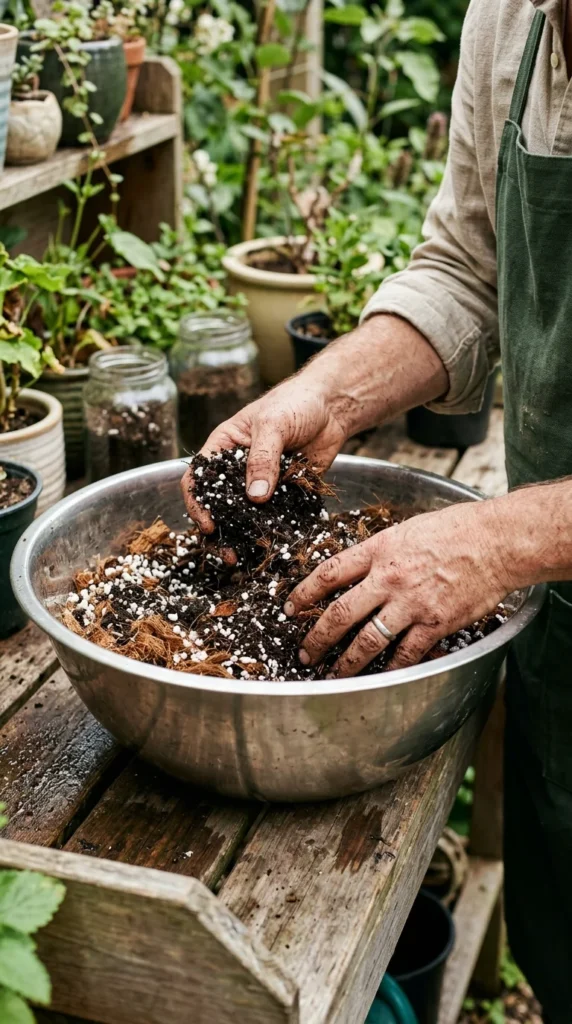
Never use “garden soil” or “topsoil” from the ground in your containers. Natural soil is too heavy; it compacts easily in a confined space, suffocating roots and preventing water from draining. It may also contain weed seeds and soil-borne diseases.
Instead, invest in a high-quality “soilless” potting mix. These mixes are typically composed of:
- Peat Moss or Coconut Coir: To retain moisture.
- Perlite or Vermiculite: To provide aeration and drainage.
- Compost: To provide initial nutrients.
A good potting mix should feel light and fluffy. Because containers have a limited volume of soil, the quality of this medium determines the health of your plant’s entire root system.
4. Vegetable Selection
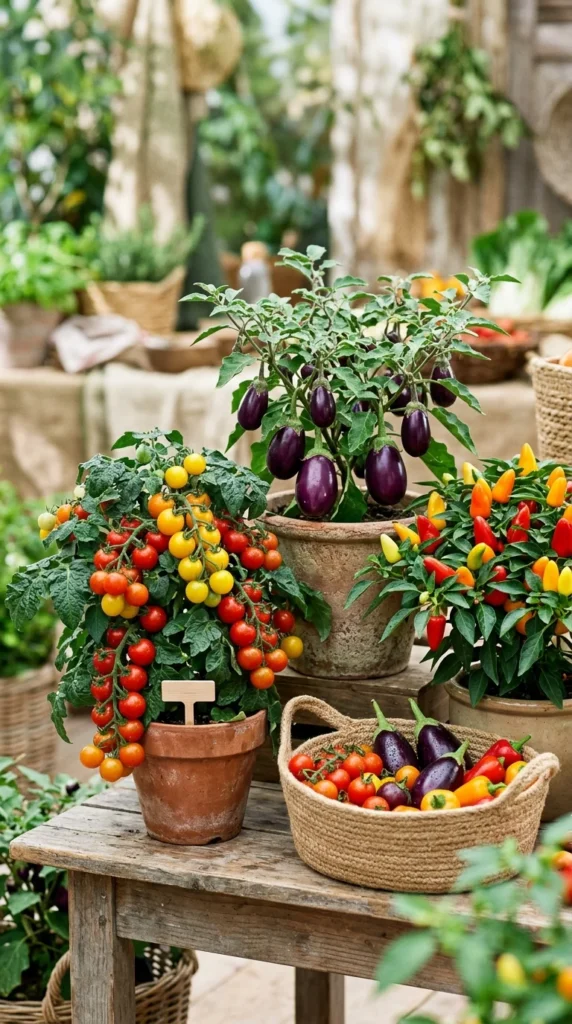
Not all vegetables are suited for life in a pot. When browsing seeds or seedlings, look for keywords like “bush,” “dwarf,” “compact,” or “patio.” These varieties are specifically bred to grow in smaller spaces without sacrificing yield.
- Leafy Greens: Lettuce, arugula, and Swiss chard are incredibly easy to grow and have shallow root systems.
- Herbs: Basil, mint, parsley, and rosemary thrive in pots and can be kept right outside your kitchen door.
- Root Vegetables: Radishes and carrots do well, provided the container is deep enough for the carrot variety you choose.
- Nightshades: Determinate (bush) tomatoes, peppers, and eggplants are container staples but require larger pots and more sunlight.
5. Planting
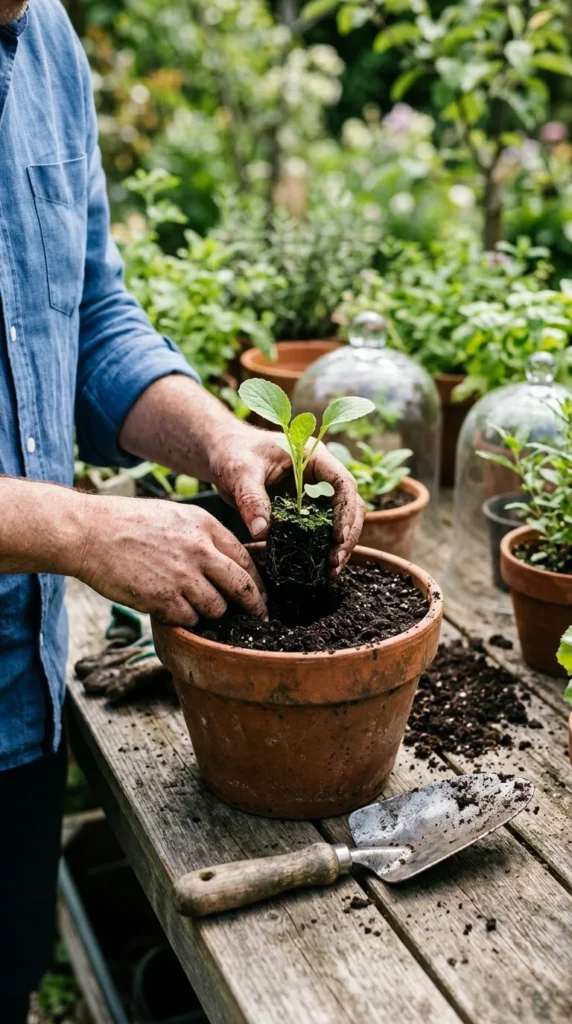
When you are ready to plant, you have two choices: seeds or transplants (seedlings). Starting from seed is more affordable and offers more variety, but it requires patience. If you are a beginner, buying “starts” from a local nursery gives you a head start on the growing season.
When transplanting, handle the seedlings gently by the root ball, not the stem. Dig a hole slightly larger than the root ball, place the plant inside, and firm the soil around it. For tomatoes, you can actually bury the stem deeper than it was in the nursery pot, as they will grow extra roots along the buried stem, creating a stronger plant. Always water your plants immediately after transplanting to settle the soil and reduce shock.
6. Watering
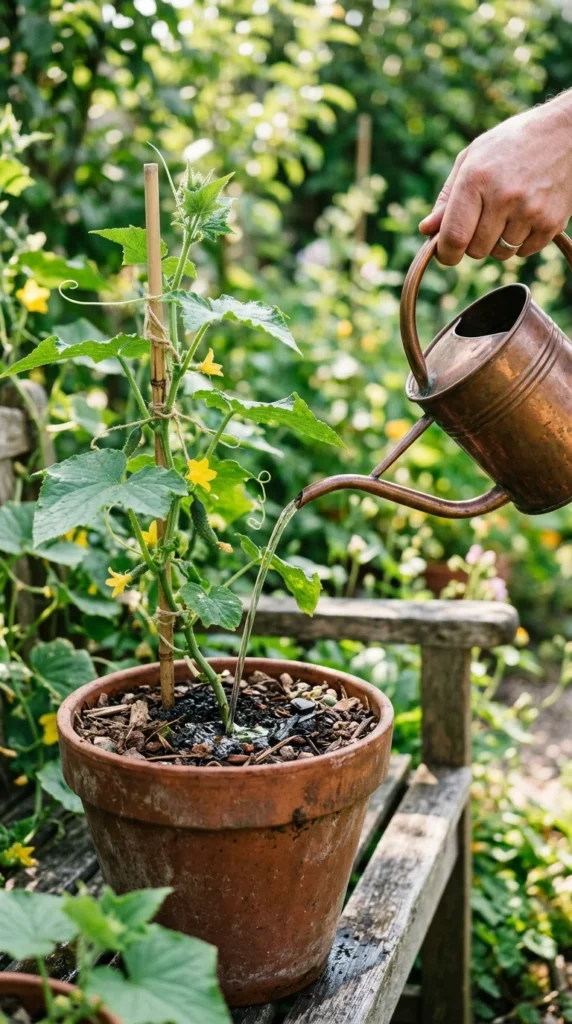
Watering is the most frequent task in container gardening. Because pots are above ground and exposed to air on all sides, they dry out much faster than traditional garden beds. In the heat of summer, you may need to water your containers twice a day.
The best way to tell if your plant needs water is the “finger test.” Stick your finger one to two inches into the soil. If it feels dry, it’s time to water. If it feels damp, wait. When you water, do so until you see water running out of the drainage holes at the bottom. This ensures the entire root ball is saturated and helps flush out any built-up salts from fertilizers. Avoid wetting the foliage, as damp leaves can encourage fungal diseases; instead, aim the water at the base of the plant.
7. Fertilizing
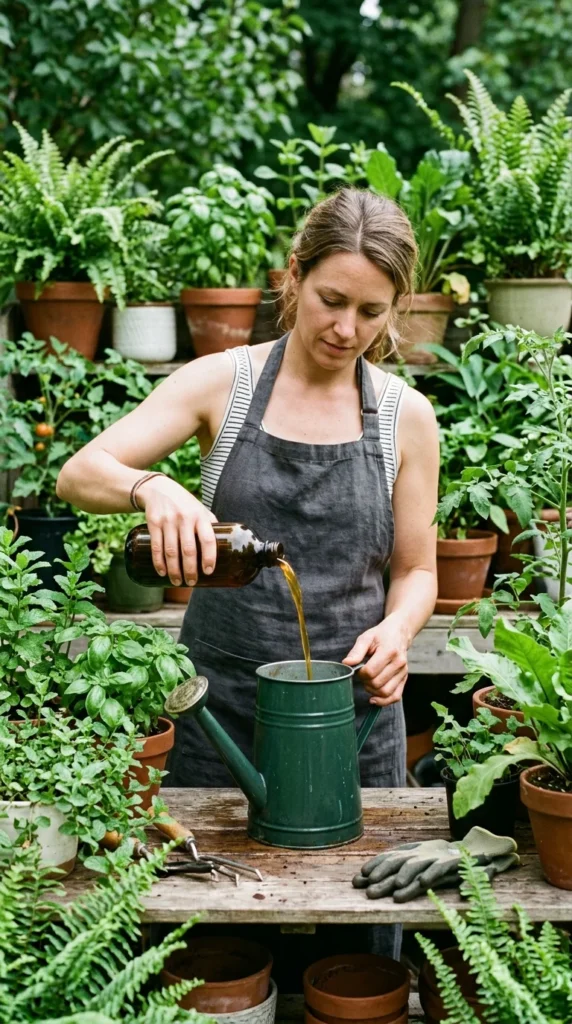
Nutrients in container soil are leached out every time you water. Consequently, container vegetables require more frequent feeding than those in the ground. While a good potting mix may contain some fertilizer, it usually runs out after about four to six weeks.
You can use slow-release granular fertilizers that you mix into the soil at planting time, or liquid fertilizers that you apply every two weeks. For edible crops, organic options like fish emulsion, seaweed extract, or compost tea are excellent choices. They provide a broad spectrum of nutrients and promote a healthy soil ecosystem within the pot. Always follow the instructions on the label, as over-fertilizing can “burn” the roots or lead to excessive leaf growth with no fruit.
8. Pest Management
Container gardens aren’t immune to pests, but they are often easier to manage because they are more contained. Common culprits include aphids, whiteflies, and spider mites. Because your garden is likely close to your living space, it is best to use non-toxic, organic pest control methods.
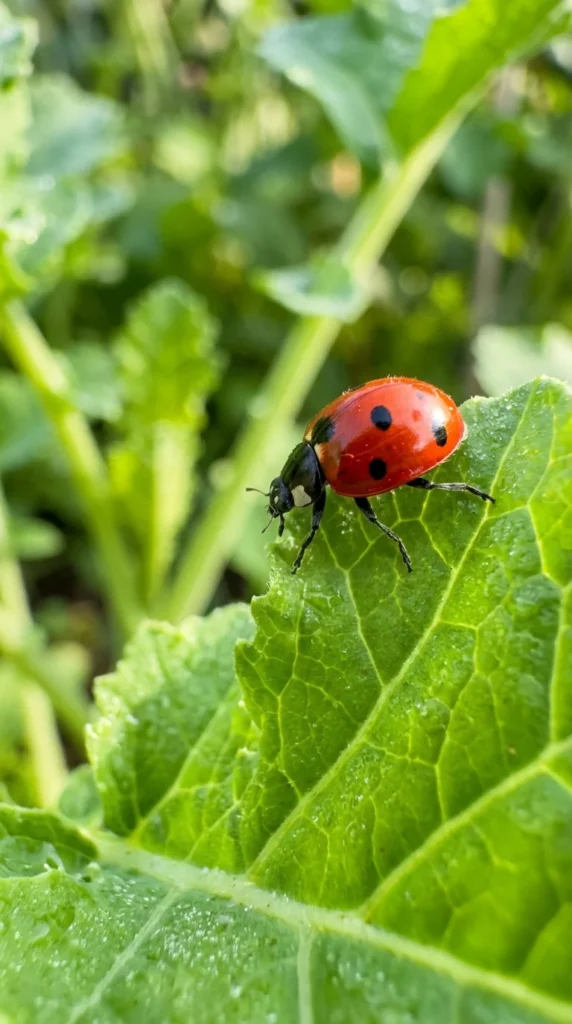
Check your plants regularly. If you see a few bugs, you can often just wash them off with a strong stream of water from a spray bottle or pick them off by hand. For more persistent infestations, insecticidal soaps or neem oil are effective and safe for vegetables. Encouraging “beneficial insects” like ladybugs and lacewings can also help keep pest populations in check naturally. Maintaining healthy plants through proper watering and feeding is the best defense, as pests are most attracted to stressed or weakened plants.