Composting is often referred to as “black gold” by gardeners, and for good reason. It is the most effective way to recycle kitchen scraps and yard waste into a nutrient-rich soil amendment that supercharges plant growth. While commercial compost tumblers are available, building your own DIY compost bin is a rewarding, cost-effective project that allows you to customize the size and style to fit your specific landscape needs.
A well-constructed bin facilitates the aerobic decomposition process, providing the necessary oxygen, moisture, and heat to break down organic matter quickly. Whether you are a seasoned permaculturist or a suburban gardener looking to reduce your carbon footprint, this guide will walk you through the essential steps to building a high-quality, durable compost bin from scratch.
1. Ideal Location
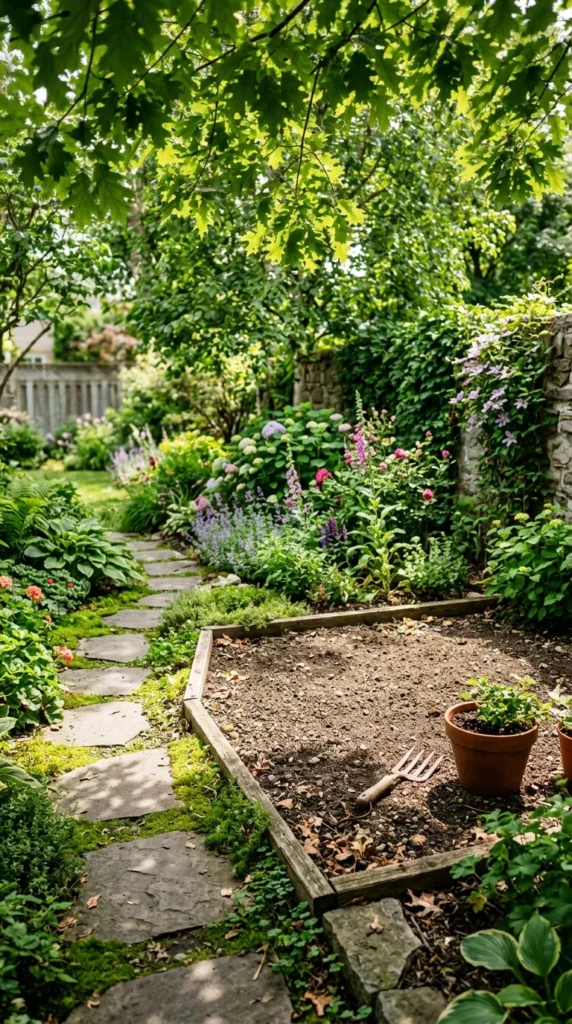
Before you drive a single nail, you must choose the right spot. The location of your compost bin significantly impacts how quickly your organic matter decomposes. You want a site that is level and has good drainage to prevent water from pooling at the base.
Ideally, the bin should be placed in an area that receives a mix of sun and shade. Too much sun can dry out the pile, killing the beneficial microbes, while too much shade can keep it too cool and damp. Proximity to your kitchen or garden is also vital; if the bin is too far away, you may find it inconvenient to transport scraps. Ensure there is enough space around the bin to move a wheelbarrow or turn the pile with a pitchfork comfortably.
2. Essential Materials
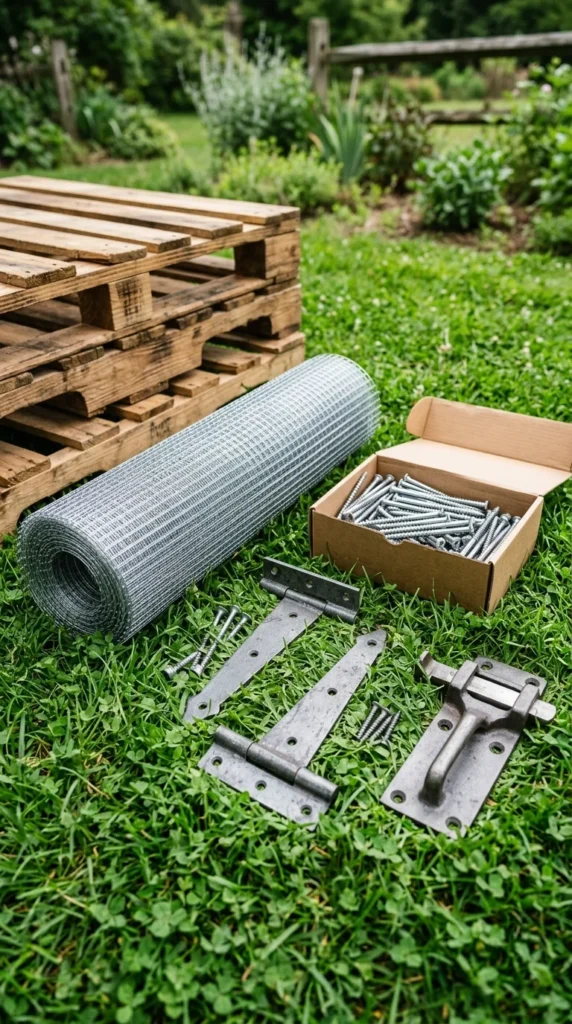
The materials you choose will determine the longevity of your bin. For a classic wooden bin, cedar is the gold standard because it is naturally rot-resistant without the need for chemical treatments. If you are on a budget, heat-treated (marked “HT”) shipping pallets are an excellent reclaimed option. Avoid pressure-treated wood manufactured before 2004, as it may contain arsenic; modern treated wood is safer, but many organic gardeners still prefer untreated options.
You will also need:
- Hardware Cloth: A galvanized wire mesh (1/2 inch) to line the bin. This keeps rodents out while allowing airflow and beneficial worms to enter.
- Fasteners: Stainless steel or exterior-grade deck screws to prevent rusting.
- Hardware: Heavy-duty hinges and a latch if you plan on adding a front door or a lid.
- Tools: A circular saw or hand saw, a cordless drill, a level, a tape measure, and a staple gun.
3. Base Construction
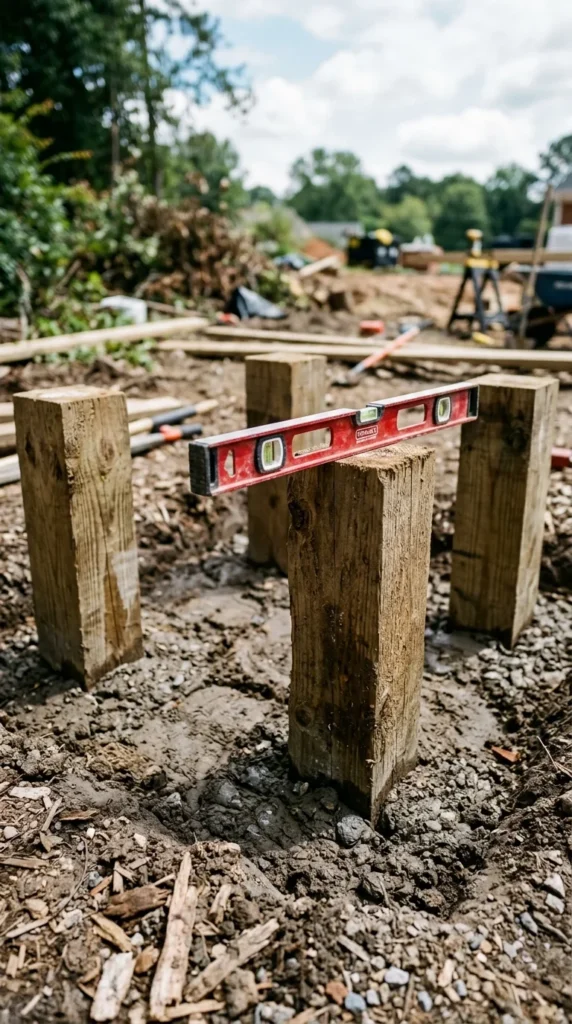
A sturdy bin starts with a solid foundation. While some bins sit directly on the soil, many builders prefer to anchor the structure using 4×4 wooden posts. Dig four holes approximately 12 inches deep at the corners of your planned bin dimensions (a 3×3 foot square is standard).
Insert the posts and use a level to ensure they are perfectly vertical. If you live in a particularly windy area or want a permanent structure, you can backfill the holes with a little gravel for drainage or even a dry-pour concrete mix. If you prefer a portable bin, you can skip the holes and build a free-standing frame, but ensure the ground is perfectly level to prevent the bin from leaning as it fills with heavy organic material.
4. Wall Assembly
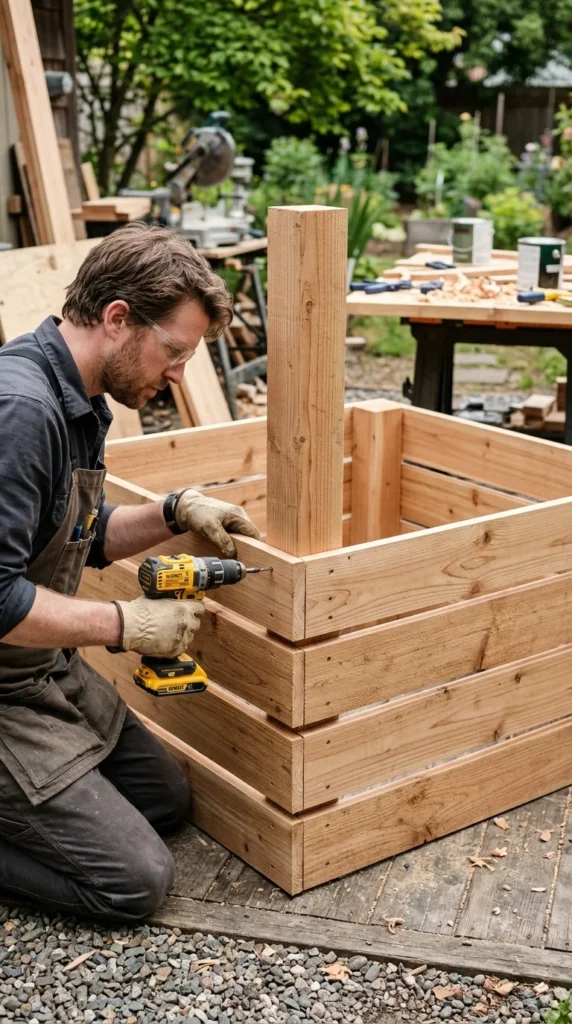
Once the posts are set, it is time to build the walls. The key to a successful compost bin is “breathability.” Decomposition is an aerobic process, meaning the microbes doing the work need oxygen. Instead of solid walls, use horizontal slats (1×4 or 1×6 boards) and leave a 1/2-inch to 1-inch gap between each board.
Start from the bottom and work your way up. Align the boards with the outer edges of your corner posts and screw them into place. If you are building a three-sided bin (popular for easy access), leave the front open for now. If you want a fully enclosed bin, consider making the front slats removable. You can do this by screwing two pieces of wood vertically to the front posts to create a “channel” or “groove” that the front slats can slide into and out of.
5. Aeration System
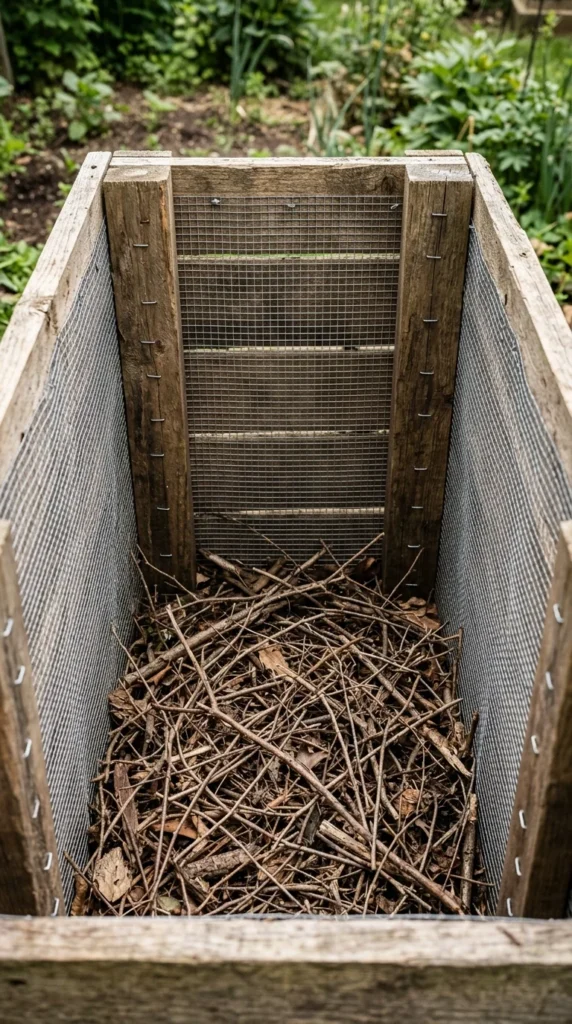
To optimize the decomposition process and prevent the bin from becoming a home for unwanted pests, line the interior with hardware cloth. Use a heavy-duty staple gun to attach the wire mesh to the inside of the wooden slats. This creates a barrier that keeps the compost contained while still allowing air to circulate freely through the gaps in the wood.
At the bottom of the bin, it is helpful to create a “base layer” for aeration. Before adding your first kitchen scraps, lay down several inches of coarse material like small branches, twigs, or thick straw. This prevents the compost from compacting at the bottom and ensures that oxygen can rise through the pile from the ground up, preventing the bottom layers from becoming anaerobic and smelly.
6. Protective Lid
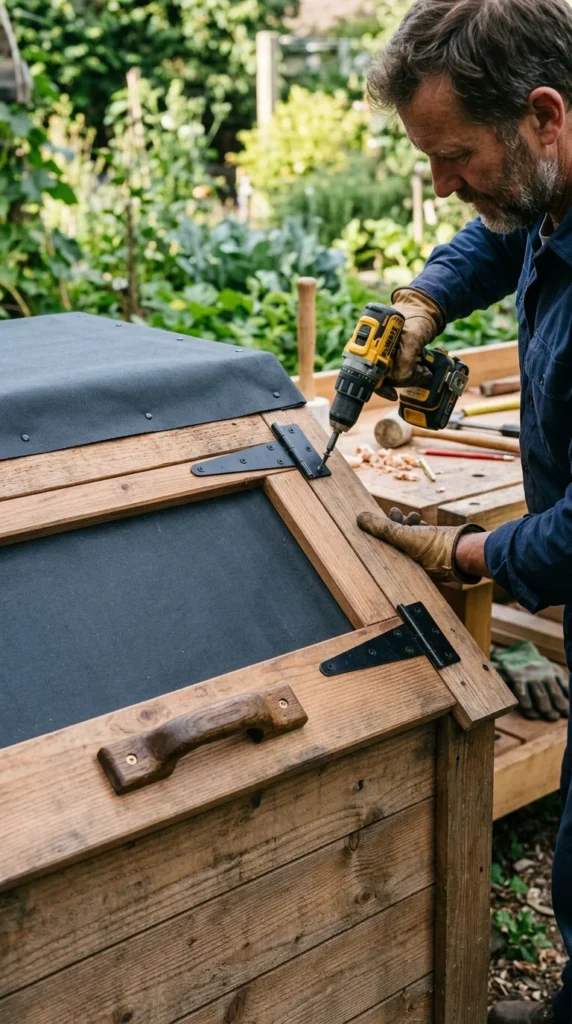
A lid is not strictly necessary for composting, but it offers several benefits. It helps regulate the moisture level of the pile by preventing heavy rain from soaking the contents. It also helps retain heat during the winter months, which keeps the microbes active longer. Finally, a secure lid is the best defense against curious local wildlife like raccoons or stray dogs.
You can build a simple lid by creating a rectangular frame that matches the top dimensions of your bin and attaching a piece of plywood or corrugated metal to it. Attach the lid to the back of the bin using heavy-duty gate hinges. For added convenience, attach a small chain or a wooden prop-stick to hold the lid open while you are dumping your kitchen scraps.
7. Composting Routine
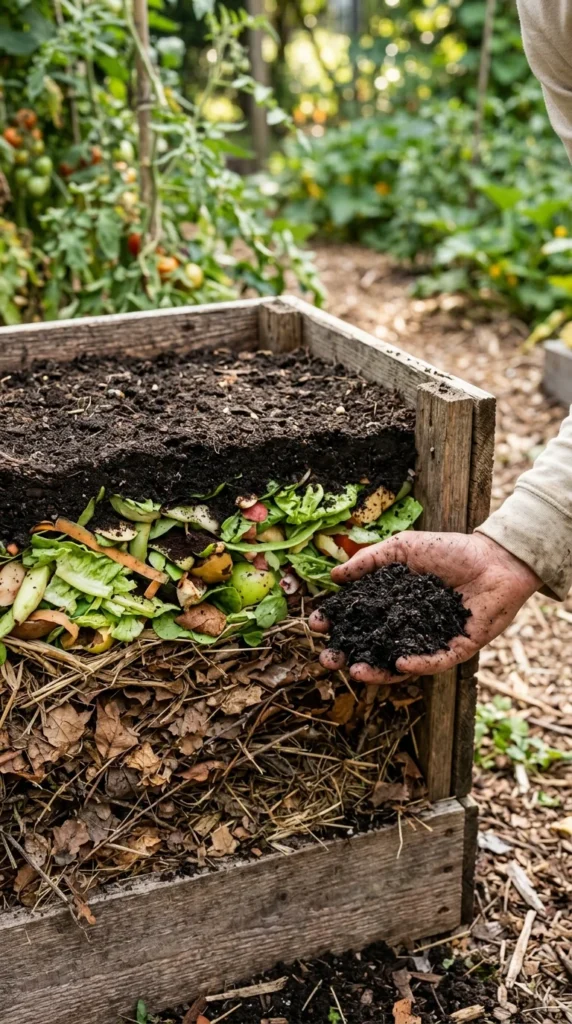
Now that your bin is built, it’s time to start composting! Success lies in the balance of “Greens” and “Browns.”
- Greens (Nitrogen): These are wet materials like fruit and vegetable scraps, coffee grounds, and fresh grass clippings.
- Browns (Carbon): These are dry materials like fallen leaves, shredded cardboard, straw, and sawdust.
A good rule of thumb is a ratio of 3 parts Brown to 1 part Green. Whenever you add a bucket of kitchen scraps (Greens), cover it with a layer of dried leaves or shredded paper (Browns). This prevents odors and fruit flies. Every few weeks, use a pitchfork to turn the pile, moving the material from the outside to the center. If the pile feels dry, spray it lightly with a hose; it should feel like a wrung-out sponge. In 3 to 6 months, you will find dark, earthy, crumbly compost at the bottom of your bin, ready to nourish your garden.