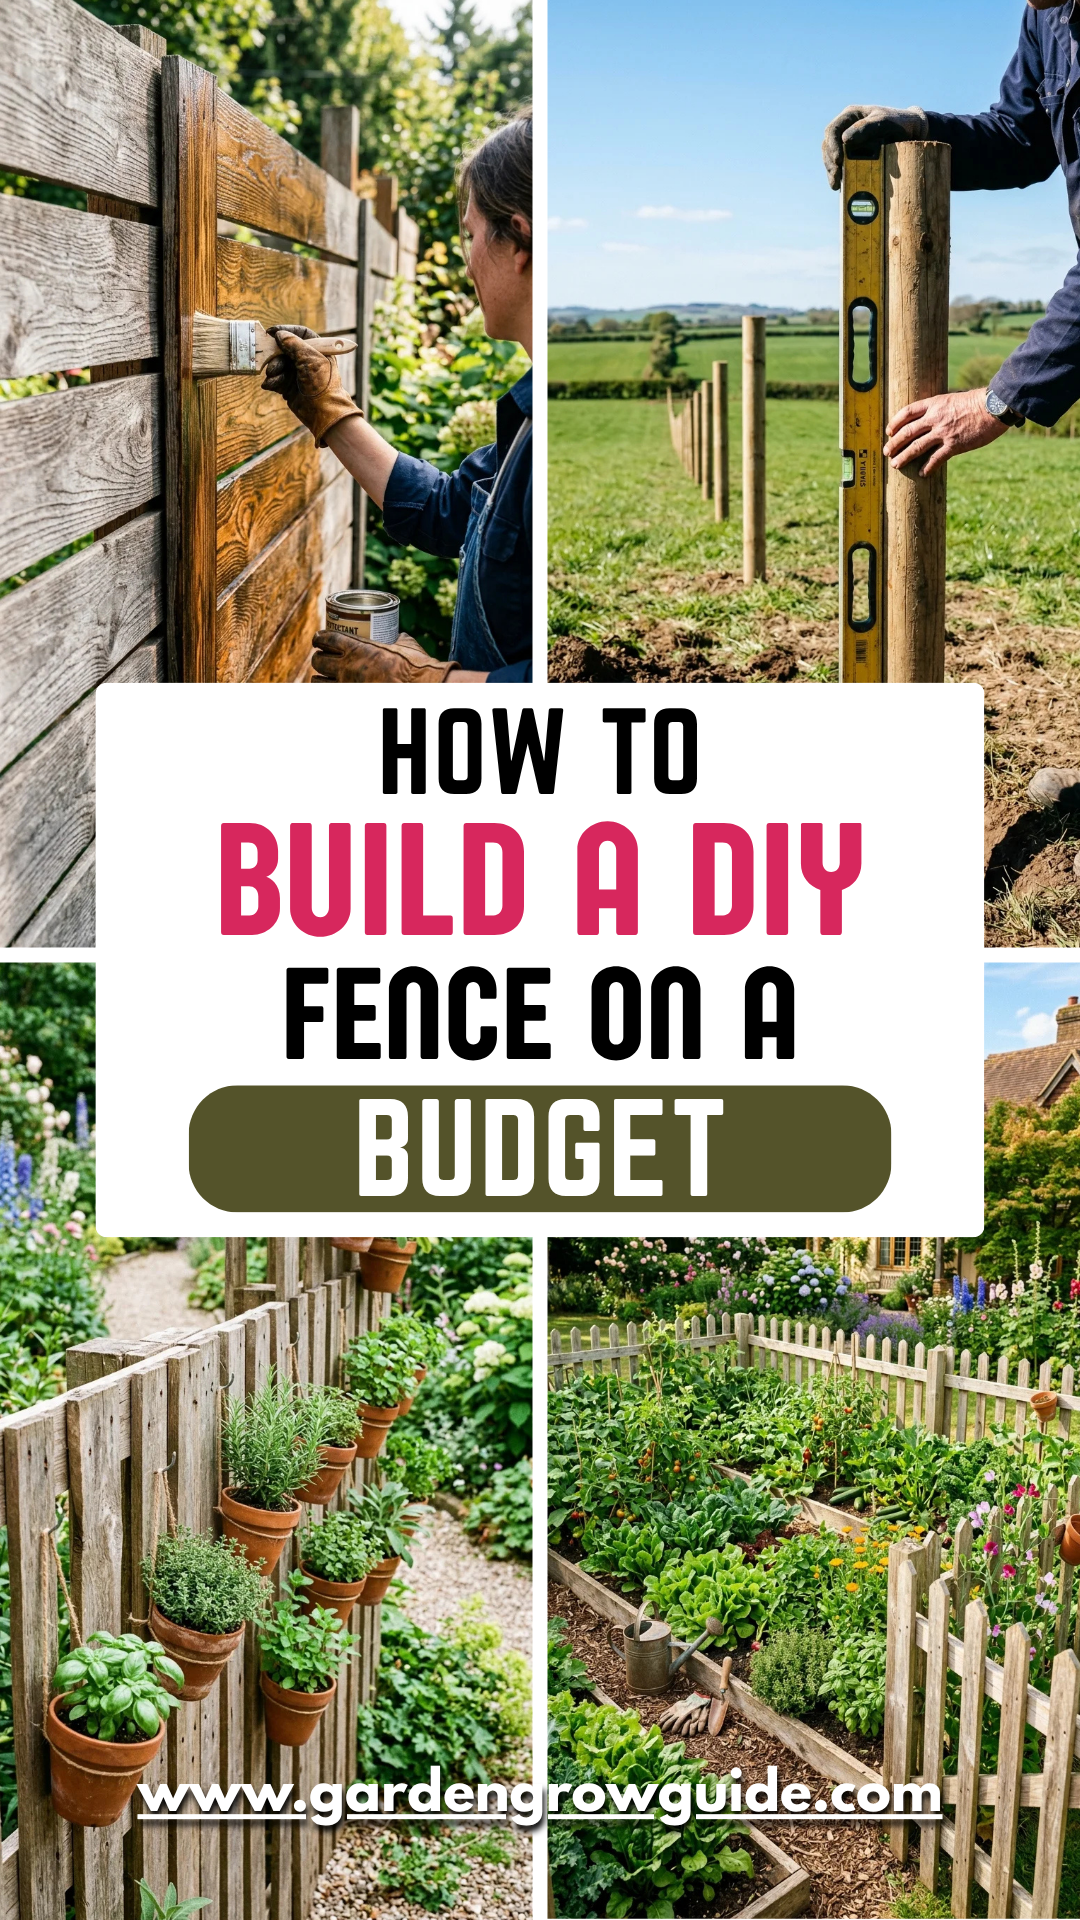
Creating a boundary for your garden doesn’t have to be a multi-thousand-dollar investment. Whether you are looking to keep out pests like rabbits and deer, provide a climbing structure for your peas and beans, or simply define the aesthetic borders of your property, building a DIY garden fence is one of the most rewarding home improvement projects you can undertake. By sourcing affordable materials and providing the labor yourself, you can achieve a professional look for a fraction of the retail cost.
1. Planning
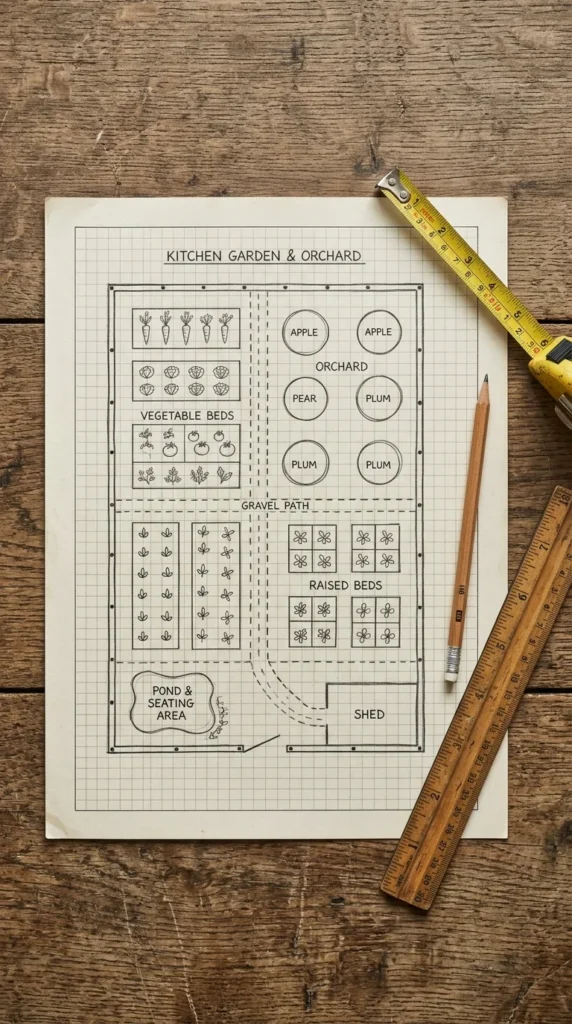
Before you strike a single shovel into the dirt, meticulous planning is essential. Start by measuring the perimeter of the area you intend to enclose. Use stakes and string to mark the exact line where the fence will sit. This “string line” ensures that your fence remains perfectly straight over long distances.
During this phase, check your local building codes and Homeowners Association (HOA) regulations. Some areas have height restrictions or require specific materials. Furthermore, always call your local utility company to mark underground lines before you dig. A budget project can quickly become expensive if you accidentally sever a water or power line.
2. Materials
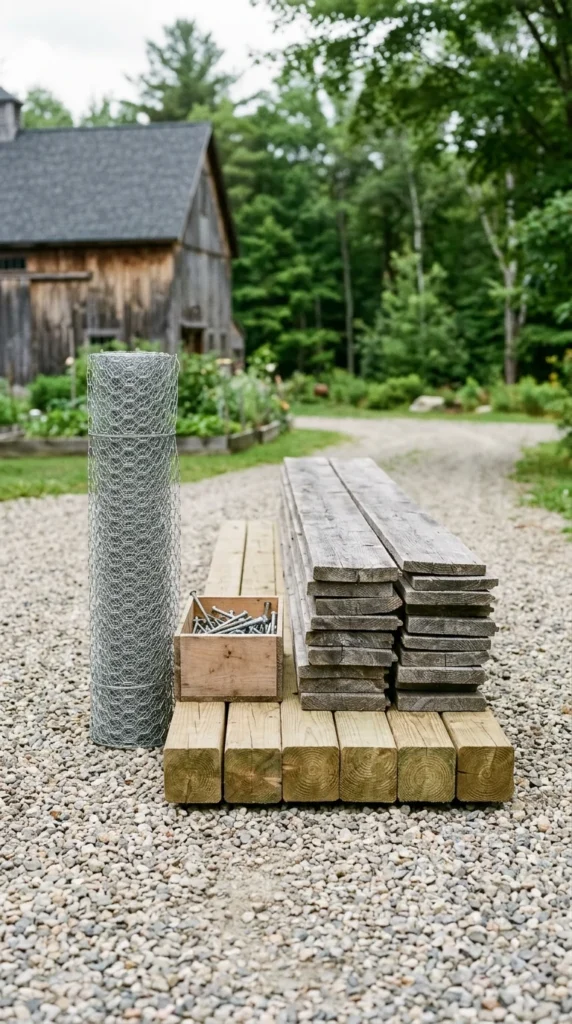
To keep costs low, you must be strategic about your materials. Pressure-treated pine is the most common budget-friendly choice for posts because it resists rot and insects. For the infill, or the “body” of the fence, you have several low-cost options:
- Reclaimed Pallets: Often available for free from local businesses.
- Poultry Netting (Chicken Wire): Excellent for keeping out small animals.
- Cattle Panels: Sturdy, thick wire grids that are affordable and modern-looking.
- Cedar Pickers: Thinner than standard pickets but naturally rot-resistant and cheap.
Gather your tools early. You will need a post-hole digger, a level, a hammer or drill, and a saw. If you don’t own these, consider renting them or borrowing from a neighbor to keep your “budget” status intact.
3. Post-Holes
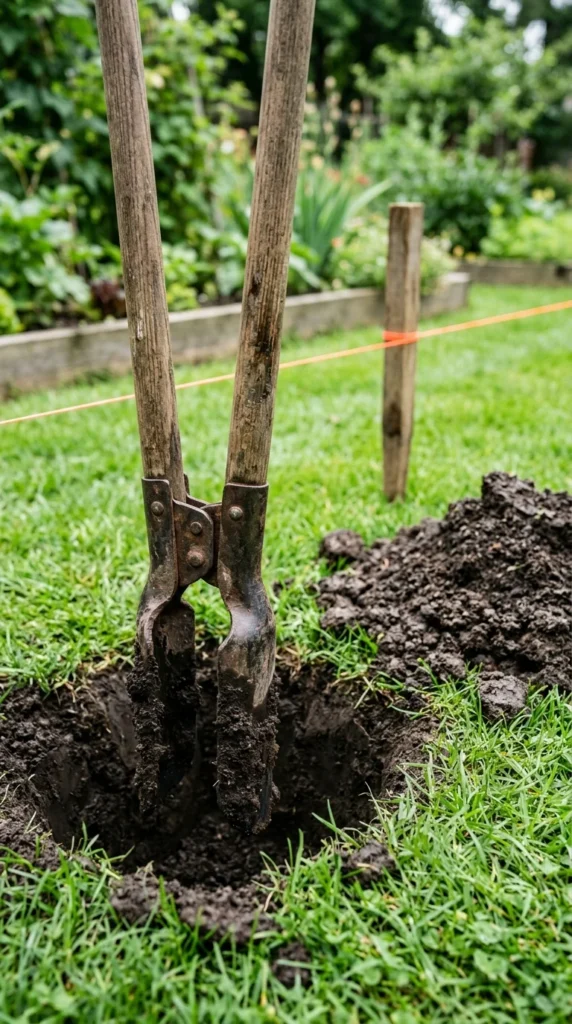
The longevity of your fence depends entirely on the stability of your posts. General rule of thumb: one-third of the post should be underground. For a standard 4-foot garden fence, you should aim to dig holes at least 2 feet deep.
Space your holes consistently, usually every 6 to 8 feet. If you space them too far apart, the fence will sag; too close together, and you’ll spend more money on extra posts. In areas with soft soil or high winds, you may need to add a bag of quick-set concrete to each hole, but for many light garden fences, tightly packed gravel and soil (tamping) around the post are sufficient and cheaper.
4. Installation
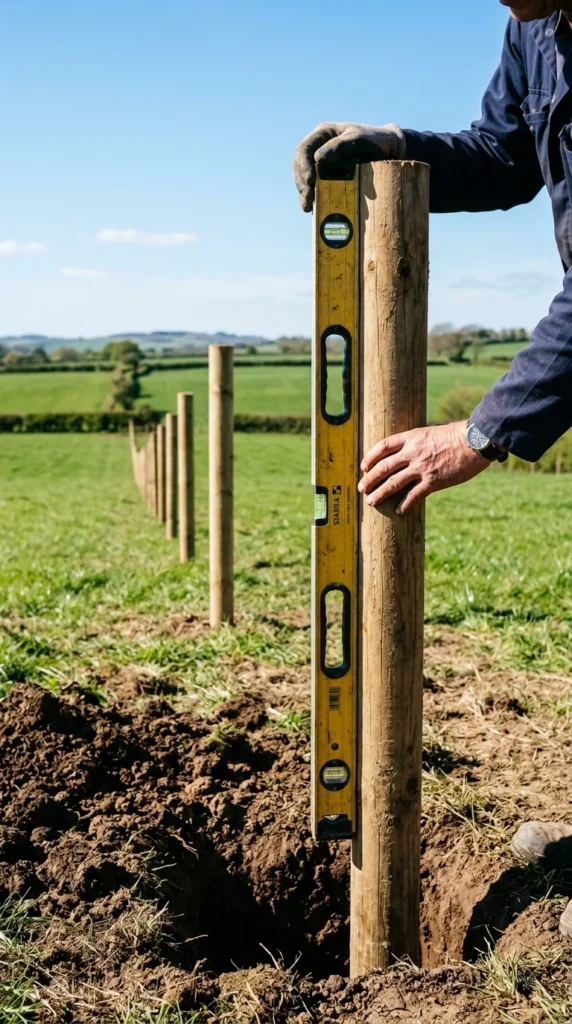
Setting the posts is the most critical labor step. Place the post in the hole and use a level on two adjacent sides to ensure it is perfectly vertical (plumb). While holding it steady, backfill the hole with soil or gravel, tamping it down firmly every few inches with a heavy stick or the end of a shovel.
Once the posts are set, it is time to attach the horizontal rails. These are the “ribs” of your fence that provide the structure for your pickets or wire. For a budget fence, two rails (one near the top and one near the bottom) are usually sufficient. Use galvanized screws rather than nails, as they hold better over time and won’t rust.
5. Pallets
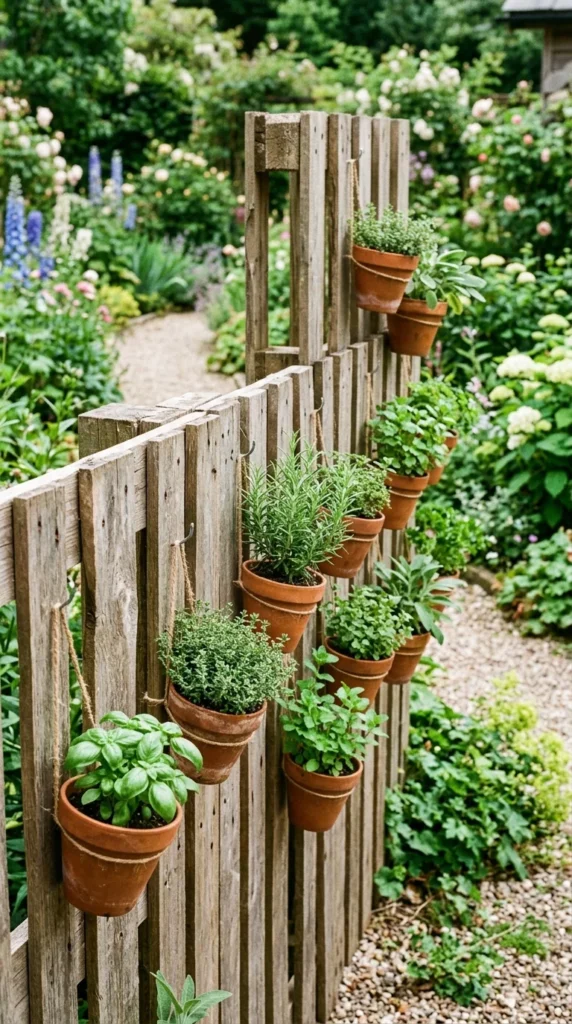
Using pallets is the ultimate “pro-tip” for budget fencing. Many warehouses and hardware stores give these away for free. You can either dismantle the pallets to use the individual boards as pickets or, for a faster and more “industrial-chic” look, use the entire pallet as a fence section.
If using the whole pallet, simply slide the pallet over your 4×4 posts (if the pallet is double-faced) or screw it directly to the face of the posts. This creates a thick, sturdy barrier that is perfect for hanging planters or tools. Just ensure the pallets are marked with an “HT” (Heat Treated) stamp rather than “MB” (Methyl Bromide) to ensure they are safe for use around food crops.
6. Wire
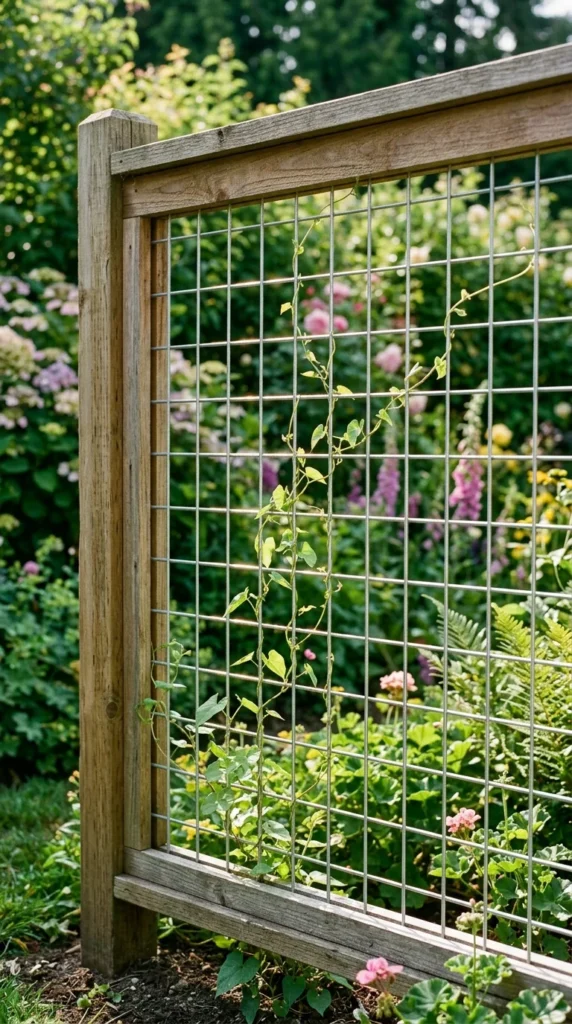
Wire fencing is the most cost-effective way to cover a large perimeter. It provides a “see-through” look that doesn’t block the view of your beautiful plants while still providing a barrier. Welded wire mesh is sturdier and looks cleaner than chicken wire, though it costs slightly more.
To install, staple one end of the wire roll to your starting post using heavy-duty fencing staples. Unroll the wire to the next post, pulling it as tight as possible. A sagging wire fence looks sloppy and is less effective at keeping out pests. Use a “fence stretcher” tool or a simple 2×4 board to help gain leverage as you pull and staple.
7. Wattle
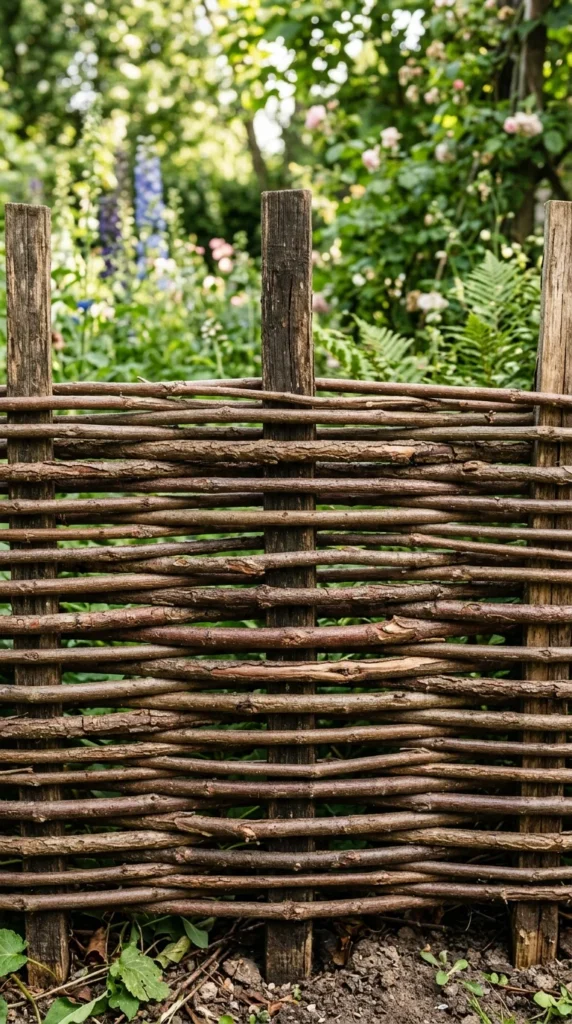
If you have access to a wooded area or a lot of trees on your property, a wattle fence costs absolutely nothing. Wattle is an ancient technique involving weaving flexible branches (like willow, hazel, or even long privet clippings) between vertical stakes driven into the ground.
This method is incredibly charming and gives the garden a “fairytale” or English cottage appearance. It is highly effective at windbreaking while still allowing air to circulate. While it takes more time and “elbow grease” to weave the branches, the material cost is zero, making it the king of budget DIY projects.
8. Upcycling
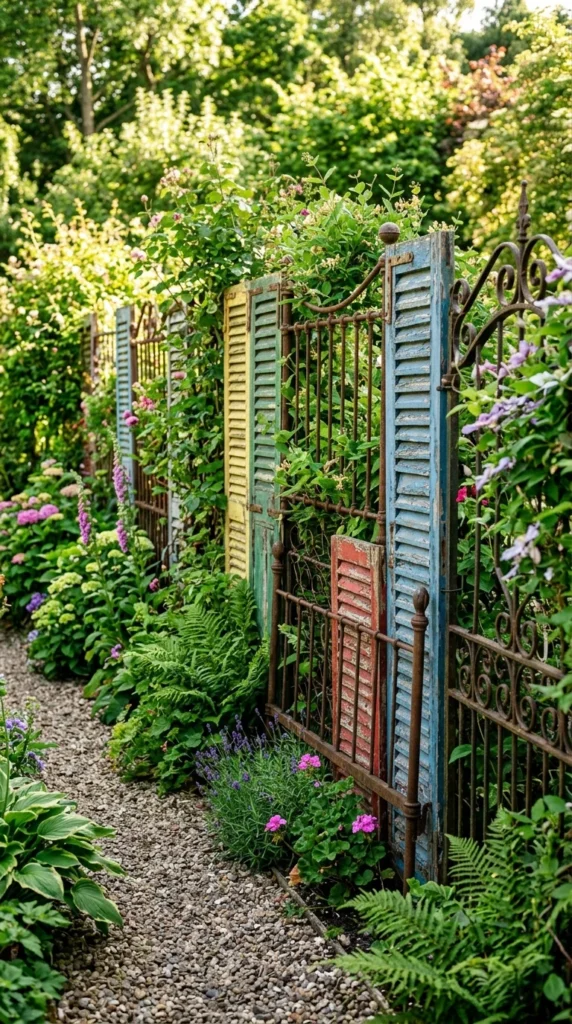
Don’t limit yourself to traditional lumber. Upcycling items found at garage sales, thrift stores, or “free” listings on social media can result in a one-of-a-kind garden feature. Old doors, window frames (with glass removed), or even lengths of heavy rope can be used to define your garden’s edges.
When upcycling, the key to a cohesive look is a consistent height or a unifying paint color. If you find five different styles of old wooden chairs, removing the backs and using them as fence pickets can create a whimsical, artistic boundary that serves as a conversation piece as much as a fence.
9. Maintenance
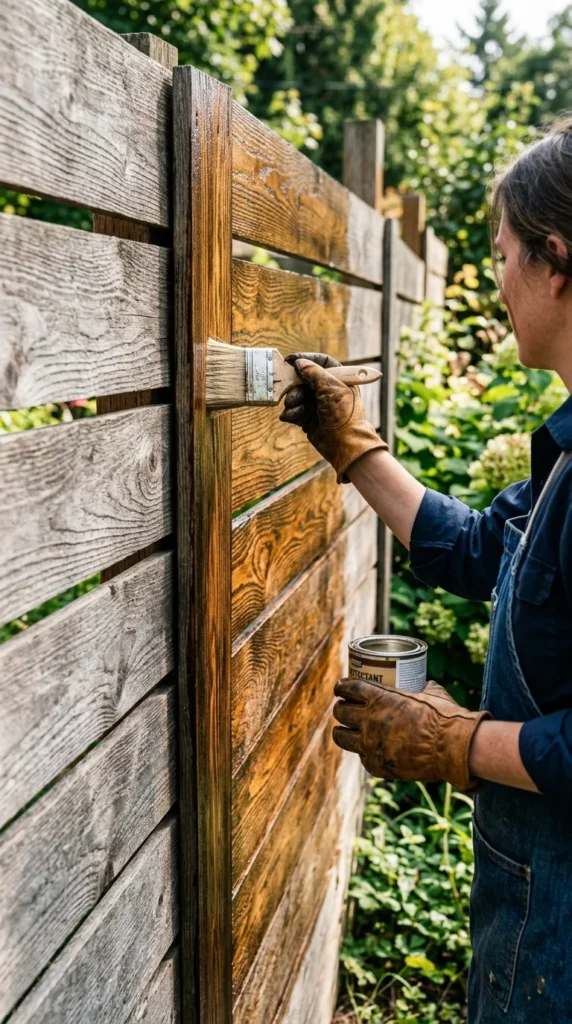
A budget fence only stays budget-friendly if you don’t have to replace it in two years. To extend the life of your DIY project, apply a coat of outdoor wood sealer or stain. This protects the wood from UV damage and moisture, which causes warping and rot.
If you used metal wire, check periodically for rust and touch up spots with rust-inhibiting spray paint. For wattle fences, you may need to tuck in new branches every year as the old ones dry and shrink. Regular maintenance ensures your hard work stands the test of time and weather.
10. Completion
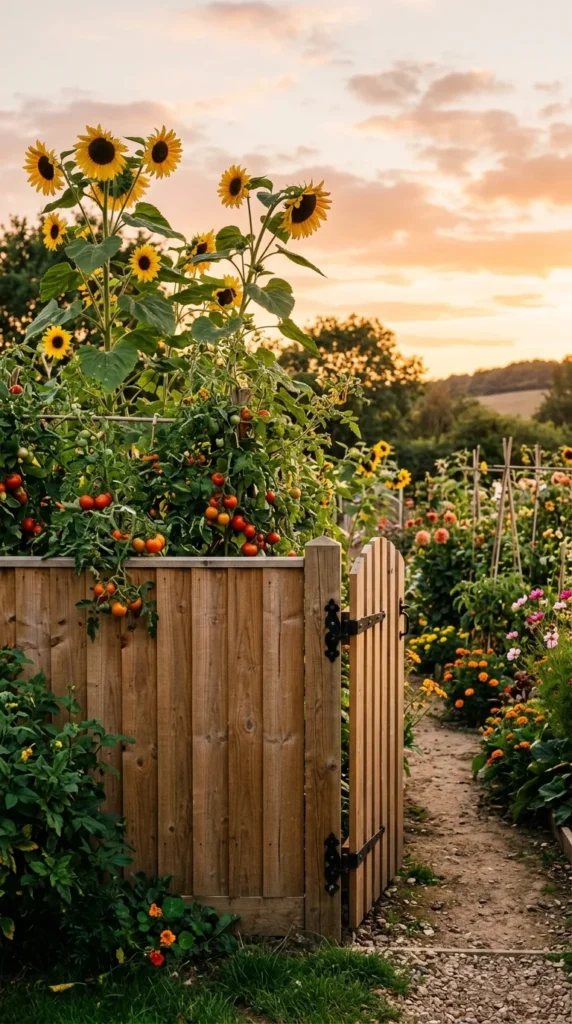
Once the last screw is tightened or the last branch is woven, step back and admire your handiwork. A DIY garden fence does more than just protect your plants; it adds structure and “bones” to your outdoor space. By using reclaimed materials, planning carefully, and doing the labor yourself, you have created a functional asset for your home without breaking the bank.
Decorate your new fence with solar-powered fairy lights, hanging flower baskets, or birdhouses to truly make it your own. Your garden is now a protected sanctuary, ready for a season of growth and beauty.