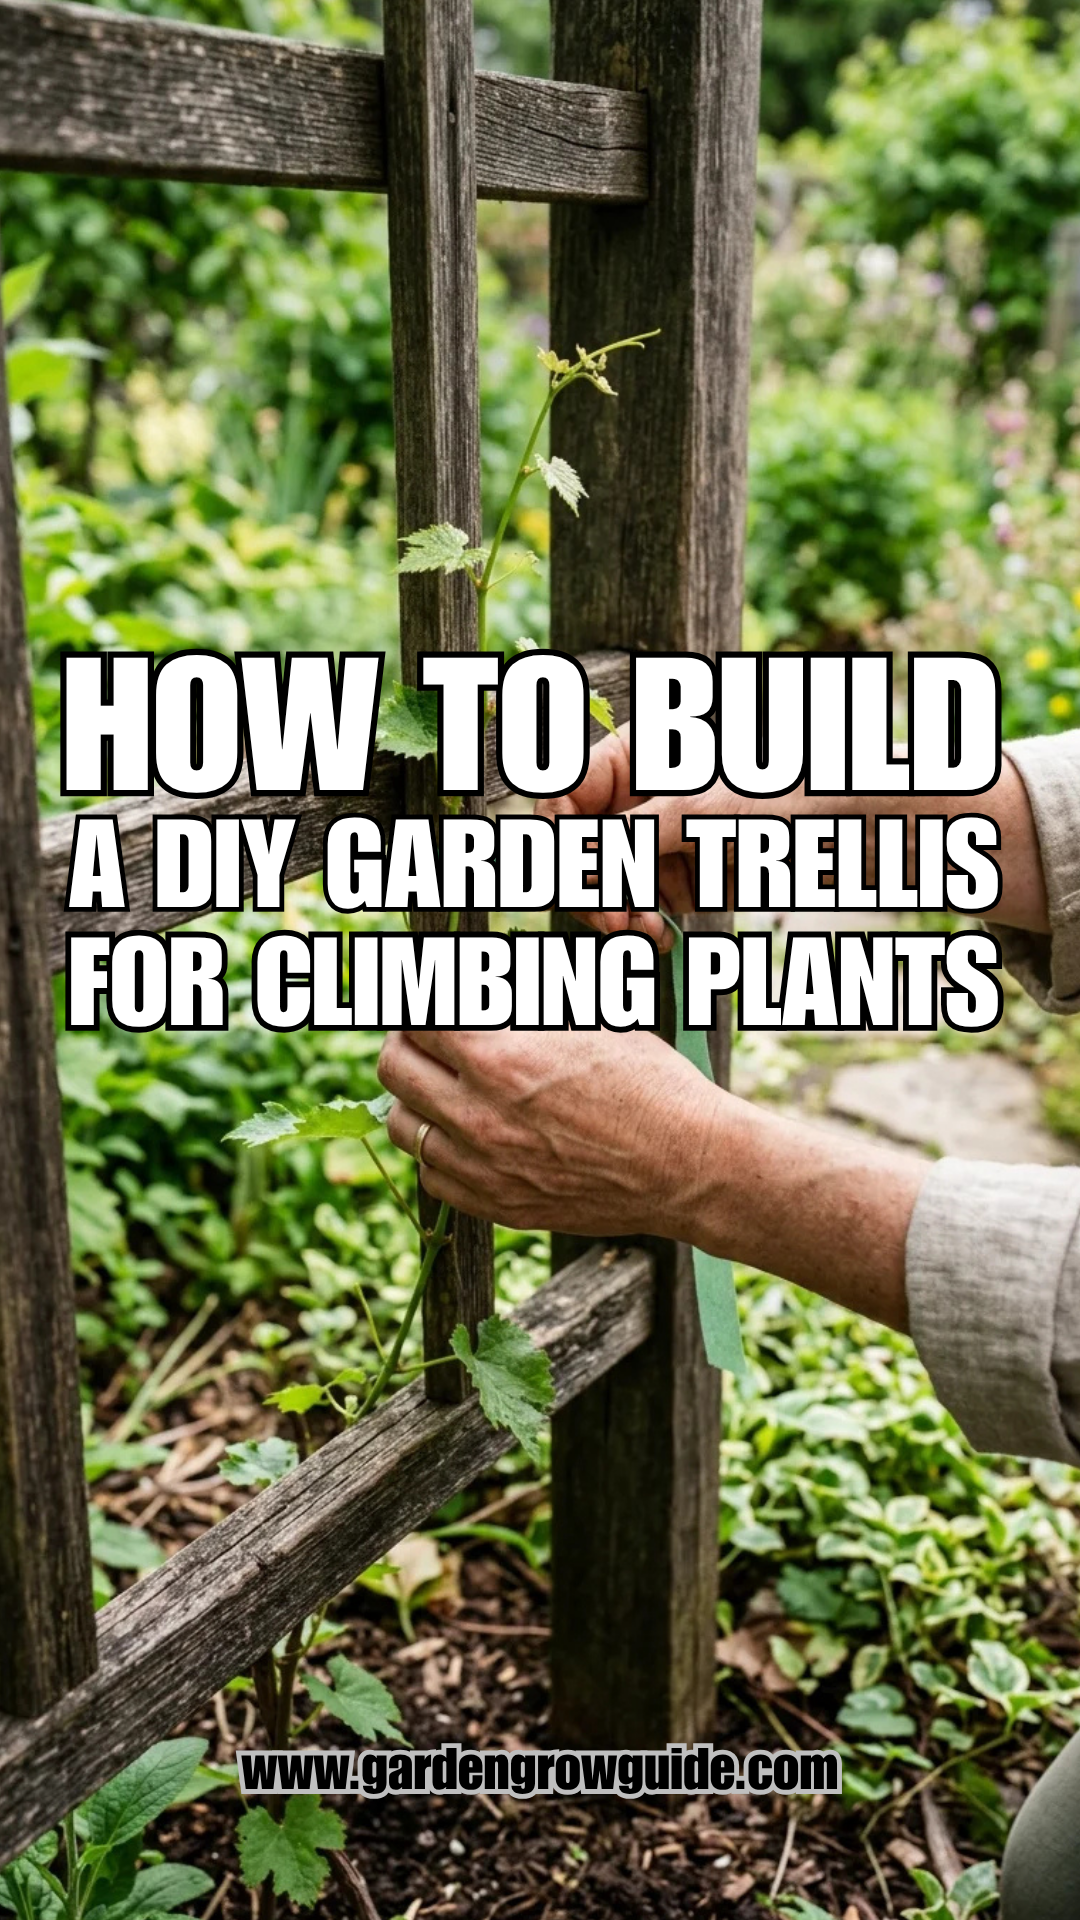
Vertical gardening is the secret weapon of the urban gardener and the seasoned horticulturalist alike. By utilizing vertical space, you not only maximize your harvest in a small footprint but also improve the health of your plants. Air circulation is increased, pests are easier to spot, and the aesthetic appeal of a garden is transformed from a flat plot into a three-dimensional landscape. Building your own trellis allows for customization that store-bought versions simply cannot match, ensuring the structure fits your specific plant needs and garden aesthetic.
Planning
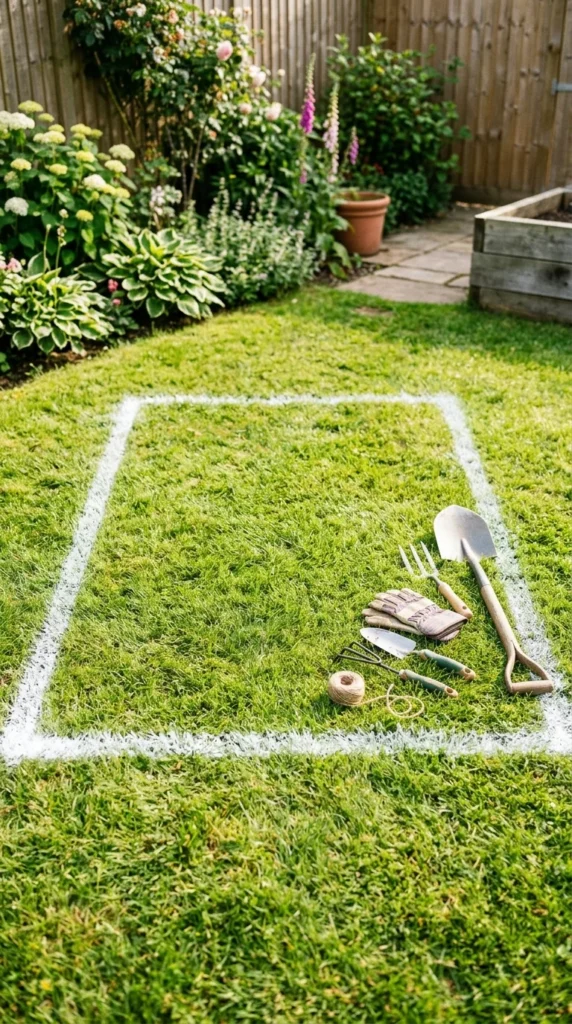
Before picking up a hammer, you must assess the environment. Consider the “load-bearing” nature of your plants. A delicate sweet pea vine requires much less structural integrity than a heavy, fruit-laden butternut squash or a woody wisteria.
Sunlight is the next critical factor. A tall trellis will cast a shadow, which could be a blessing for shade-loving greens like spinach but a curse for sun-hungry peppers. Map out where the shadows will fall during the peak growing season. Finally, think about longevity. If you want a permanent fixture, choose rot-resistant woods like cedar or redwood. For seasonal structures, lightweight bamboo or reclaimed branches may suffice.
Materials
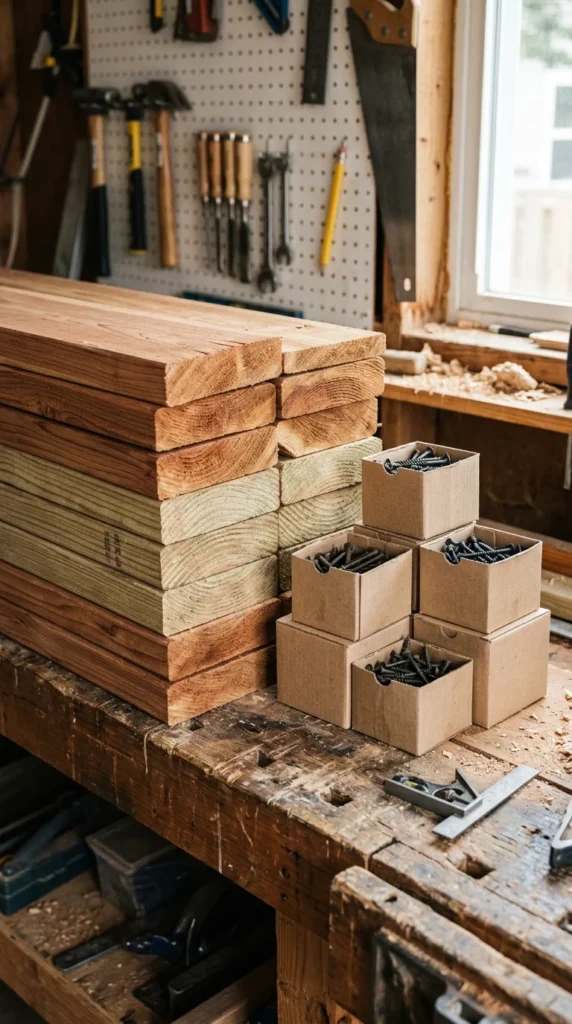
The durability of your DIY trellis depends heavily on your choice of materials.
- Wood: Cedar, redwood, and pressure-treated pine are the gold standards for outdoor structures. Cedar contains natural oils that resist rot and insects.
- Fasteners: Always use galvanized or stainless steel screws and nails to prevent rust streaks from ruining the look of your wood over time.
- Support Media: Depending on the plant, you might need “fill” for the frame. This can be chicken wire, cattle panels, jute twine, or nylon netting.
- Anchoring: Long stakes or “rebar” are essential for ensuring your trellis doesn’t topple during a summer thunderstorm.
1. A-Frame
The A-frame trellis is the workhorse of the vegetable garden. It is incredibly stable and provides two sides of growing surface. This design is perfect for beans, peas, and cucumbers. Because of the angled sides, the fruit often hangs down inside the “tent,” making harvesting effortless and keeping the produce clean and off the soil.
To build one, create two rectangular frames using 2×2 lumber. Attach them at the top using heavy-duty door hinges. This allows you to fold the trellis flat for storage during the winter. Stretch a plastic or wire mesh across the frames and secure it with staples. When you set it in the garden, push the legs several inches into the soil to prevent it from walking during high winds.
2. Obelisk
If you are looking for a focal point in a flower garden, the obelisk is the answer. This four-sided pyramidal structure mimics classic European garden designs. It works exceptionally well for ornamental climbers like Clematis, Mandevilla, or Morning Glories.
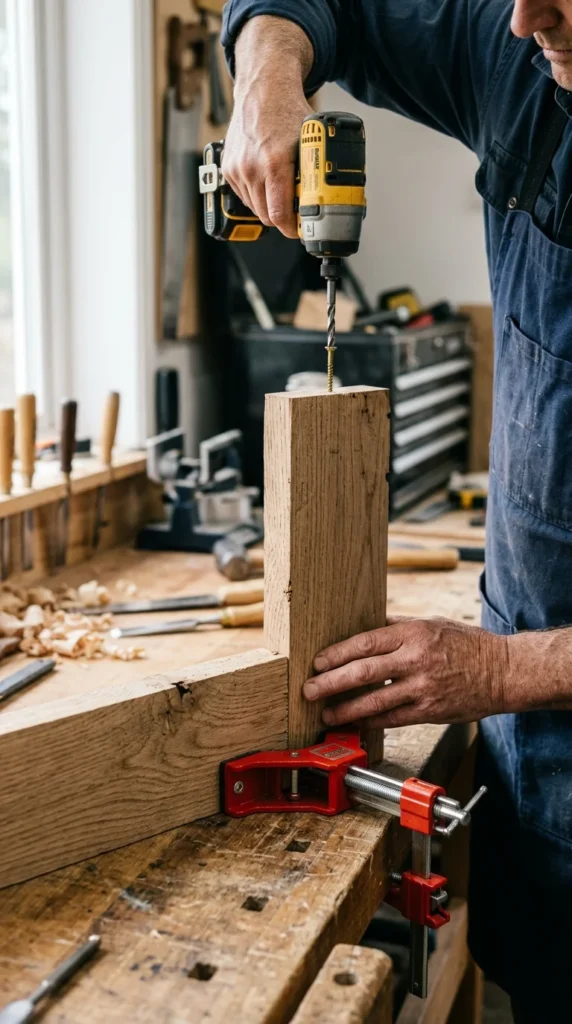
Construction involves four long upright posts (usually 1×1 or 2×2) that lean inward and meet at a point. Horizontal “rungs” are added at regular intervals to provide stability and climbing rungs for the plants. For a professional finish, top the obelisk with a decorative wooden finial. This adds height and architectural interest even in the dead of winter when the plants have died back.
3. Cattle Panel
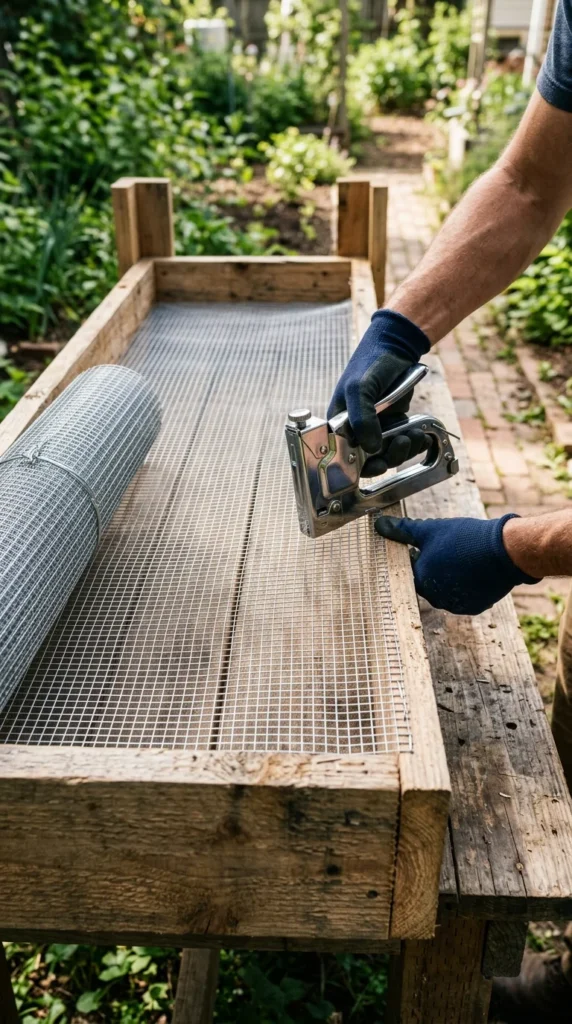
For those growing heavy crops like melons, pumpkins, or gourds, the cattle panel trellis is the ultimate solution. These panels are made of heavy-gauge galvanized wire and are virtually indestructible.
The most popular way to use them is the “Arch” method. By securing the ends of a 16-foot panel into the inner edges of two parallel raised beds, the panel naturally bows into a perfect arch. This creates a stunning “living tunnel.” As the plants grow up and over the arch, the fruit hangs down, supported by the strong wire. It is a space-saving miracle that turns a garden path into a magical walkway.
4. Wall Lattice
When you want to dress up a bare wall or fence, a wall-mounted lattice is the best approach. However, a common mistake is mounting the lattice directly against the wall. This prevents air from circulating behind the plants, leading to mildew and rot.
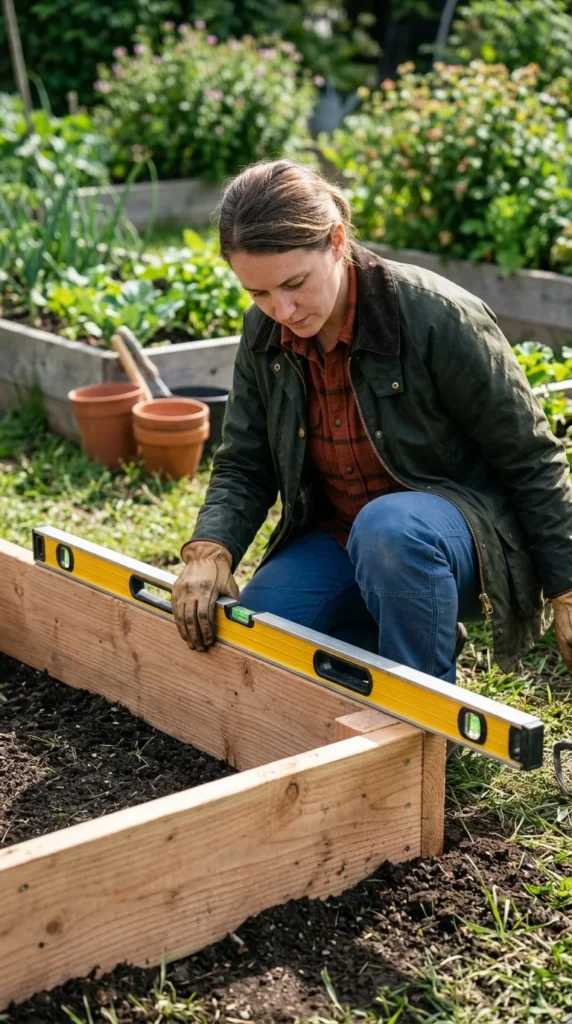
To do it right, use “spacers”—small blocks of wood or plastic—to hold the lattice at least two inches away from the wall surface. This gap allows the plant’s tendrils to wrap around the slats and ensures the wall stays dry. Use a diamond or square pattern made from thin laths of wood for a classic, clean look that complements any architectural style.
5. String Trellis
The string trellis is the preferred method for professional greenhouse growers and hobbyist tomato enthusiasts. It is cheap, highly adjustable, and takes up almost zero space when not in use.
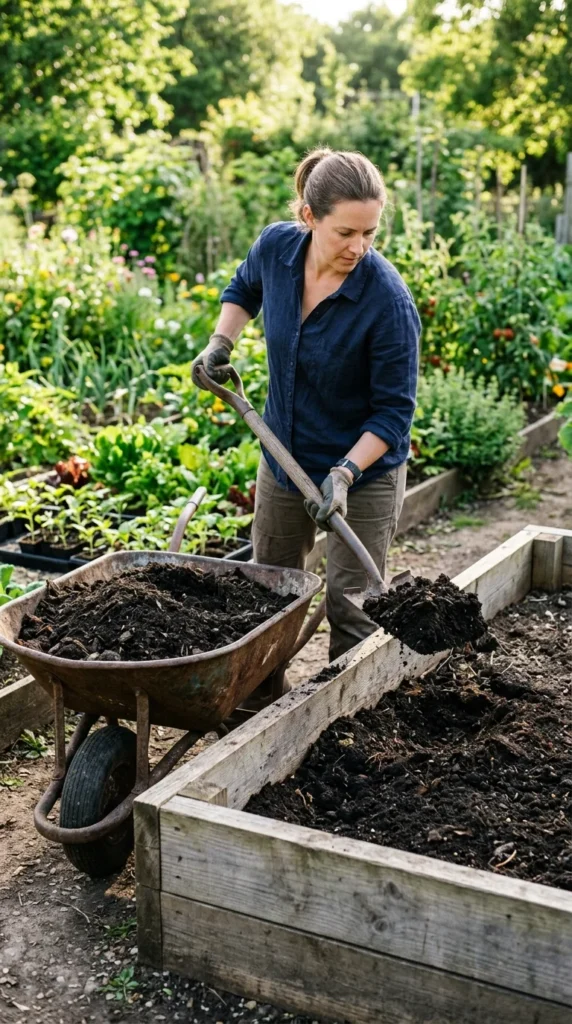
The setup requires a strong overhead support, such as a horizontal beam or a high wire. From this beam, you drop lengths of biodegradable jute or heavy-duty nylon string down to the base of each plant. The bottom of the string is either tied to a ground stake or gently looped around the base of the plant’s stem. As the plant grows, you simply wind the main stem around the string. This is particularly effective for “indeterminate” tomatoes that continue to grow taller throughout the season.
6. Fan Trellis
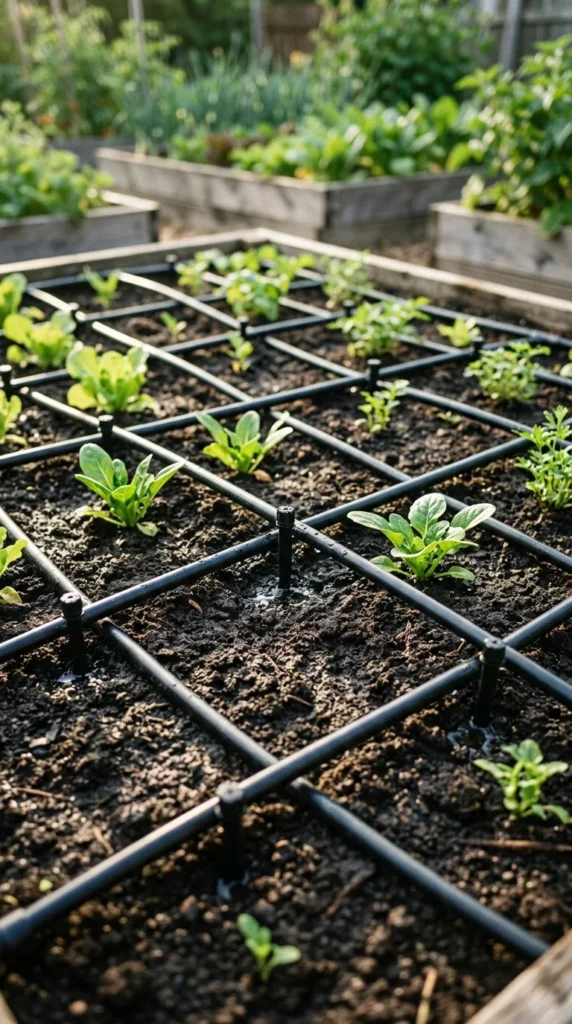
The fan trellis is specifically designed for plants that benefit from being spread out wide, such as climbing roses or fruit trees trained in the “espalier” style. By spreading the branches horizontally and vertically in a fan shape, you encourage “lateral” bud development, which typically results in more flowers and more fruit.
You can build a fan trellis by joining several long laths at the base with a single bolt and then fanning them out at the top. Secure the spread with two or three horizontal cross-pieces. This shape is not only functional but acts as a piece of wall art for your garden or patio.
Training
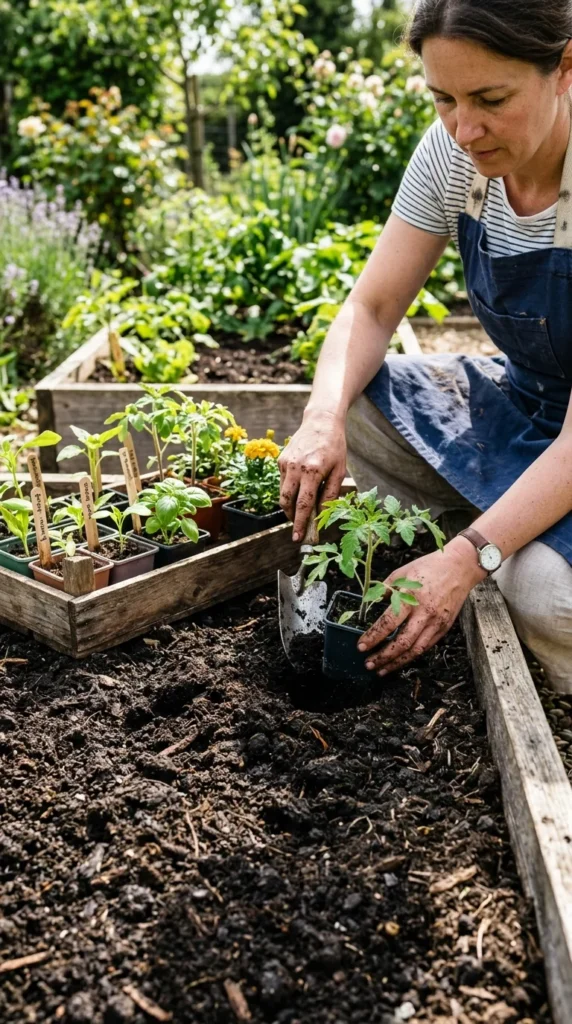
Building the trellis is only half the battle; you must also teach your plants how to use it. While some plants, like peas, have “tendrils” that automatically grab onto anything they touch, others, like climbing roses, have no natural way to attach themselves.
Use soft ties—like strips of old t-shirts, pantyhose, or specialized garden tape—to loosely anchor the stems to the trellis. Avoid using thin wire or tight zip-ties, as these can cut into the plant as the stems thicken. For “twiners” like pole beans, ensure you are winding them in the direction they naturally want to grow (usually counter-clockwise). Check your plants once a week to tuck in stray branches and ensure the weight is evenly distributed across the structure.
Maintenance
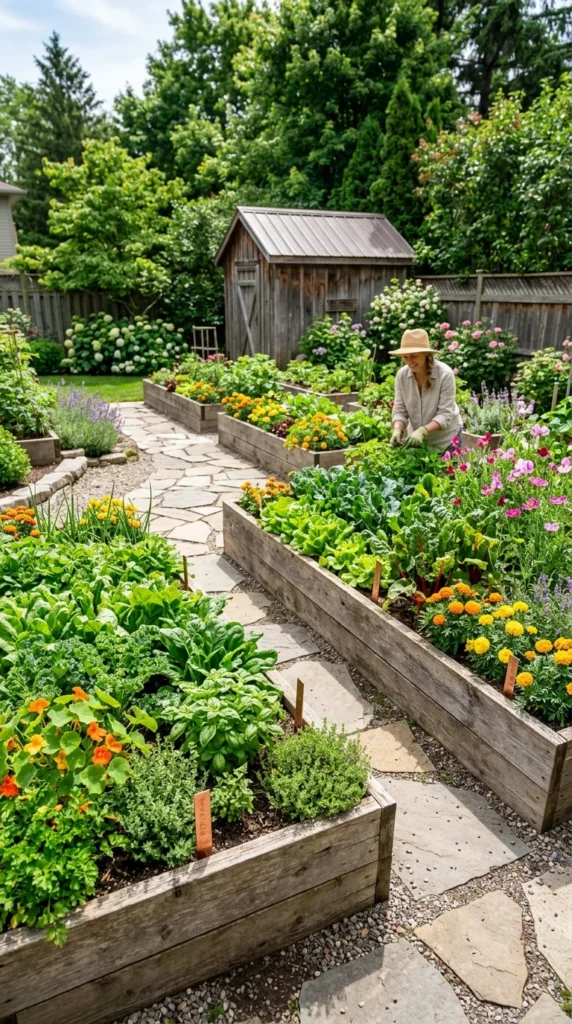
Outdoor wooden structures face a constant battle against UV rays and moisture. To ensure your DIY trellis lasts for a decade rather than a couple of seasons, annual maintenance is required.
In the late autumn, after the plants have been removed, inspect the wood for any signs of “soft rot.” Tighten any screws that may have loosened due to the wood’s natural expansion and contraction. Applying a fresh coat of linseed oil or a water-based exterior sealant every two years will keep the wood hydrated and prevent cracking. If you used metal cattle panels, check for any spots where the galvanization might have chipped and touch them up with rust-inhibiting paint to prevent corrosion. Proper care ensures that your vertical garden remains a sturdy and beautiful centerpiece for years to come.