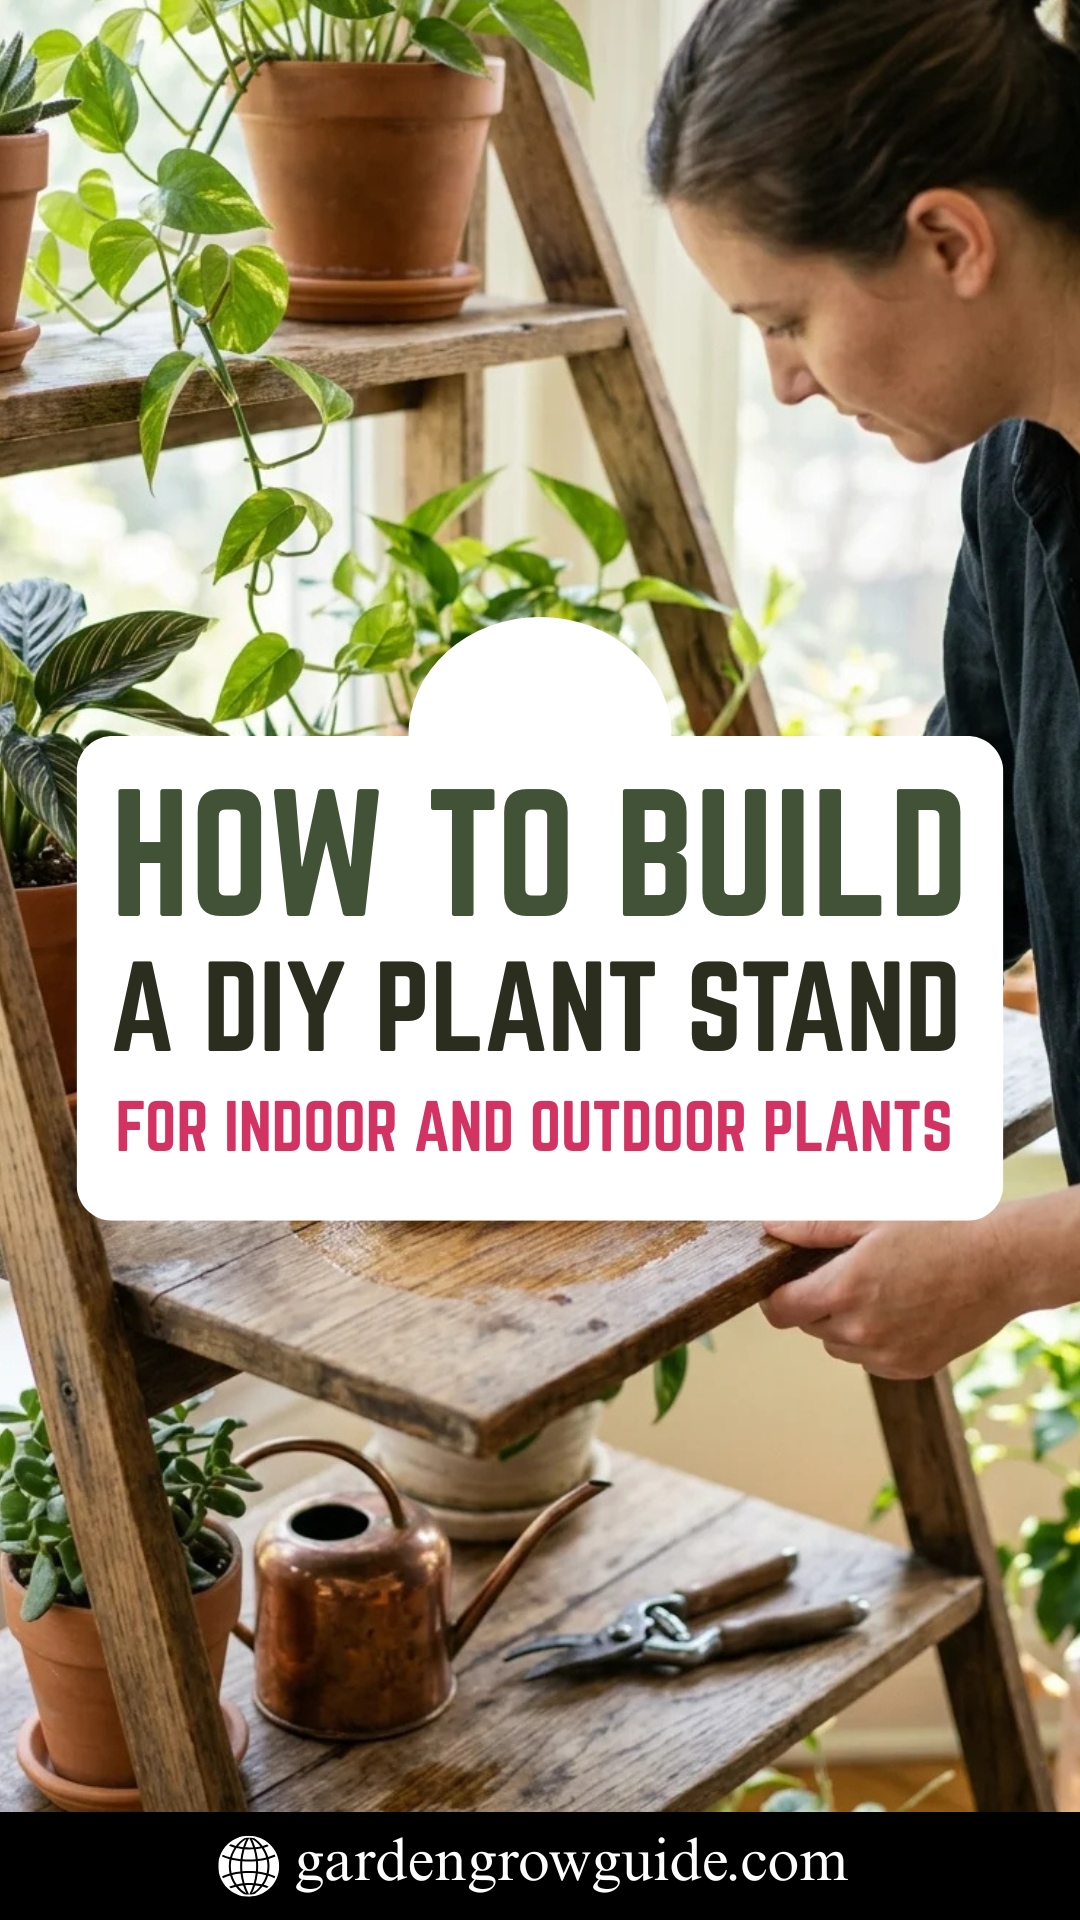
Creating your own plant stands is one of the most rewarding DIY projects for any home gardener or interior design enthusiast. Not only do these structures help organize your botanical collection, but they also elevate your plants—literally and figuratively—allowing them to catch more sunlight and become focal points in your decor. Whether you are looking to build a rugged, weather-resistant cedar stand for your patio or a sleek, mid-century modern pedestal for your living room, the principles of construction remain the same.
Preparation
Before sawdust begins to fly, preparation is the foundation of a successful build. Start by assessing the space where the stand will live. For outdoor stands, you must consider the slope of the ground and exposure to rain. For indoor stands, floor protection and aesthetic integration are key.
Measure the pots you intend to display. A common mistake is building a stand with platforms too narrow for standard 10-inch or 12-inch pots. Sketch your design on graph paper, noting the “cut list”—the exact dimensions of every piece of wood you will need. This phase prevents wasted material and ensures that your final product is structurally sound and balanced.
Tools
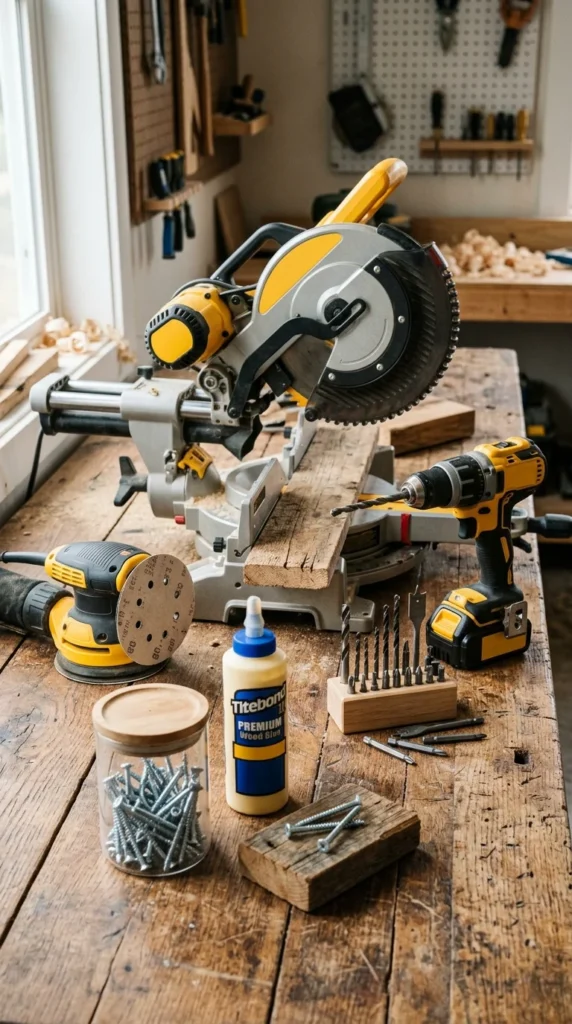
The complexity of your plant stand will dictate the tools required, but a standard DIY toolkit usually suffices for most designs. To achieve professional results, you will need:
- Miter Saw or Hand Saw: For making clean, square cuts across the wood grain.
- Power Drill and Driver: Essential for pre-drilling pilot holes (to prevent wood splitting) and driving screws.
- Orbital Sander: To smooth out rough edges and prepare the surface for staining or painting.
- Tape Measure and Square: Precision is vital for stability; a stand that wobbles is a hazard to your plants.
- Clamps: These act as an extra set of hands while the wood glue sets or while you are driving screws into awkward angles.
Materials
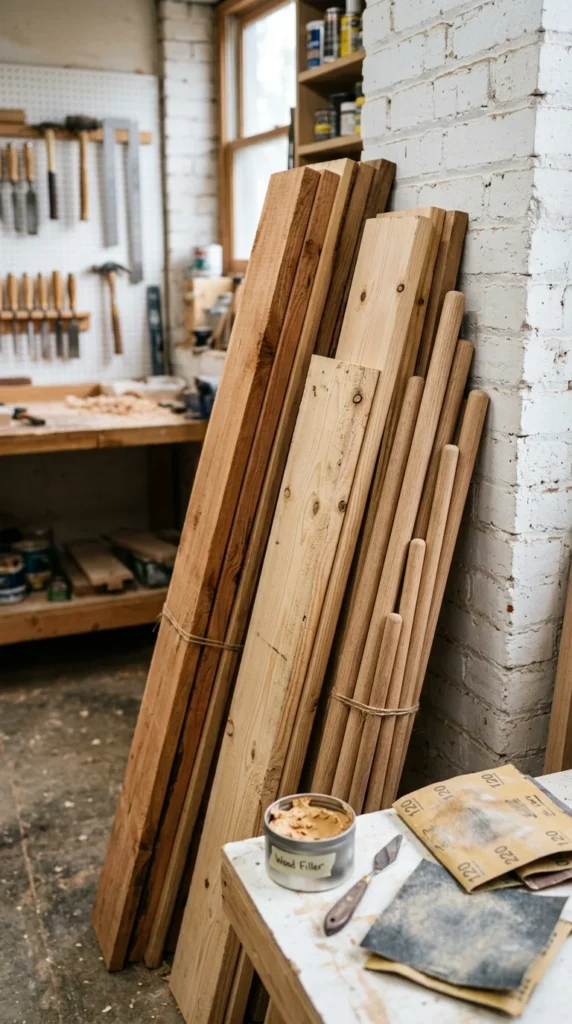
Selecting the right material is the most critical decision for longevity.
- For Outdoor Use: Opt for naturally rot-resistant woods like Cedar, Redwood, or Teak. These woods contain natural oils that repel insects and withstand moisture. Alternatively, pressure-treated lumber can be used, though it often requires a period of “drying out” before it can be painted or stained.
- For Indoor Use: Pine is affordable and easy to work with, making it perfect for beginners. For a more high-end look, hardwoods like Oak, Walnut, or Maple offer beautiful grain patterns and superior durability.
- Fasteners: Use galvanized or stainless steel screws for outdoor projects to prevent rust streaks. For indoor projects, pocket-hole screws or finish nails provide a cleaner look.
A-Frame
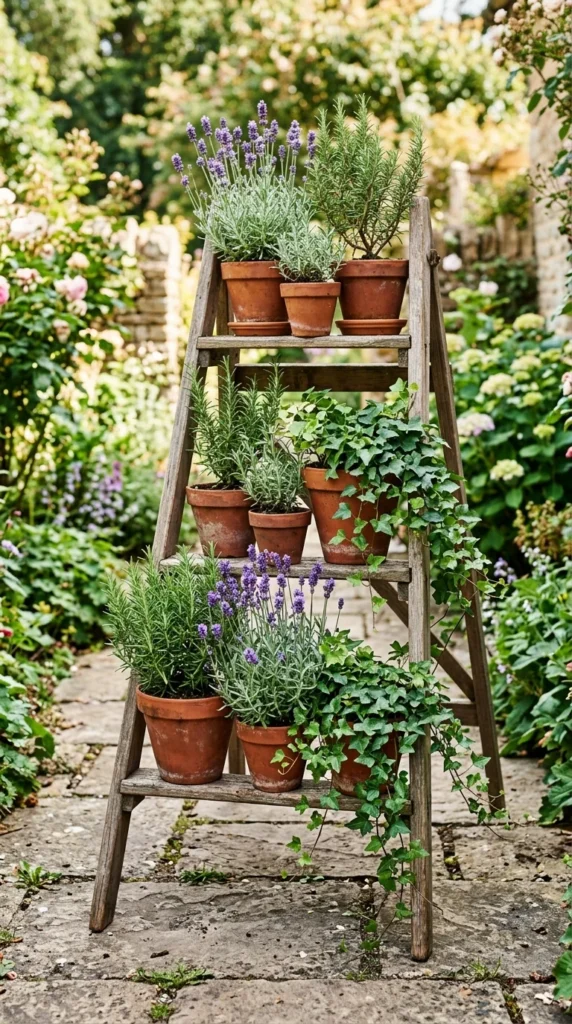
The A-frame, or ladder-style stand, is a classic choice for outdoor patios and balconies because of its incredible stability and high capacity.
- The Legs: Cut four long boards (e.g., 2x4s or 1x4s) at a slight angle (usually 15 to 25 degrees) at both ends so they sit flush on the ground and lean toward each other at the top.
- The Support Braces: Connect the front and back legs using horizontal cross-braces. This creates the “A” shape.
- The Shelves: Cut slats of varying lengths. The bottom shelf will be the longest, and the top shelf the shortest. Screw these slats across the horizontal braces.
- Stability: Ensure the shelves are level. Because this design has a wide footprint, it is less likely to tip over in high winds, making it the gold standard for outdoor vertical gardening.
Pedestal
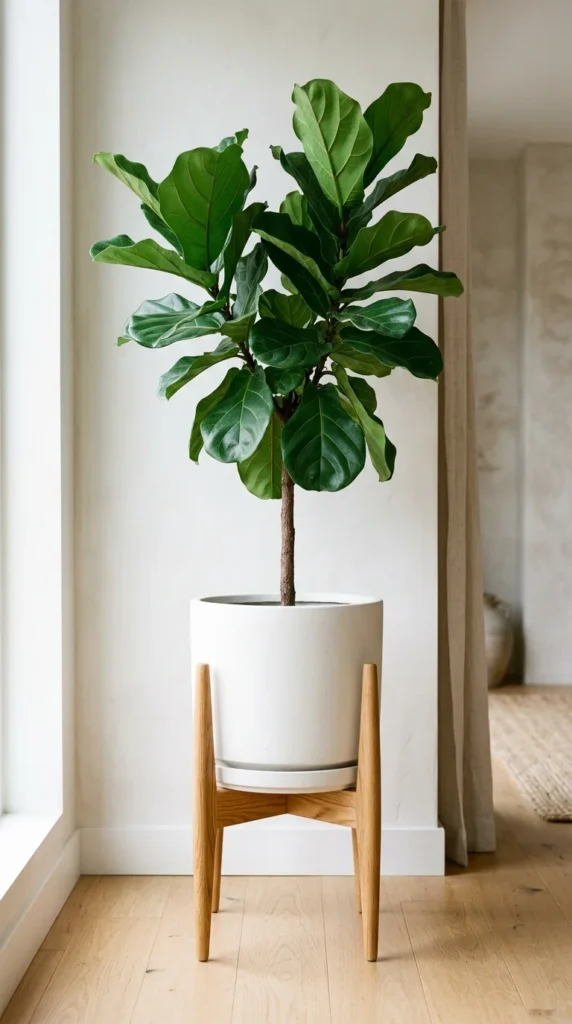
The mid-century modern (MCM) pedestal is a minimalist’s dream. It consists of a simple “X” frame that cradles a pot, supported by four vertical legs.
- The Cross-Stretcher: Take two pieces of wood the width of your pot. Cut a “half-lap” joint in the center of each—this means removing a notch half the thickness of the wood so they can interlock to form a flat “X”.
- The Legs: Cut four identical legs. The height is up to you, but 12 to 18 inches is standard.
- Assembly: Attach the legs to the ends of the “X” frame. For the cleanest look, use pocket-hole screws from the underside or wooden dowels.
- Sanding: Because this design is often viewed up close indoors, spend extra time sanding with progressively finer grits (80, 120, to 220) until the wood feels like silk.
Tiered
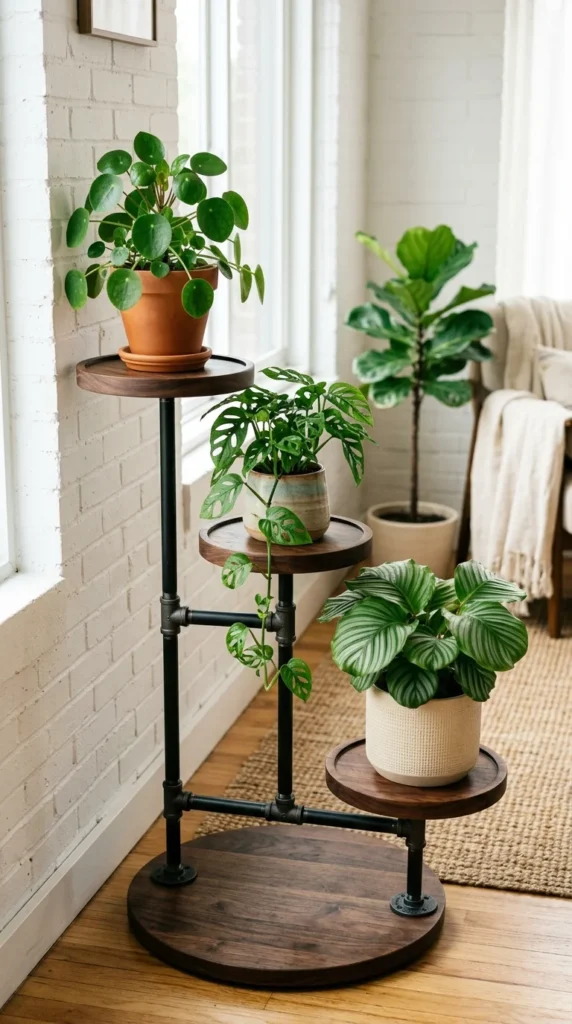
A tiered stand is perfect for creating a “jungle” effect in a small corner. This design utilizes vertical space by placing plants at staggered heights.
- Central Pillar: Use a sturdy 4×4 post or a series of joined 2x4s as the central spine.
- Platforms: Cut circular or square platforms from plywood or solid wood.
- Staggered Brackets: Attach the platforms to the central pillar using heavy-duty L-brackets or by notched joinery. Rotate each platform 90 degrees from the one below it to ensure that the plants on the lower levels still receive light and have room to grow upward.
- Base: This design requires a heavy, wide base to prevent it from being top-heavy. A wide cross-base or a heavy decorative box at the bottom works best.
Finishing
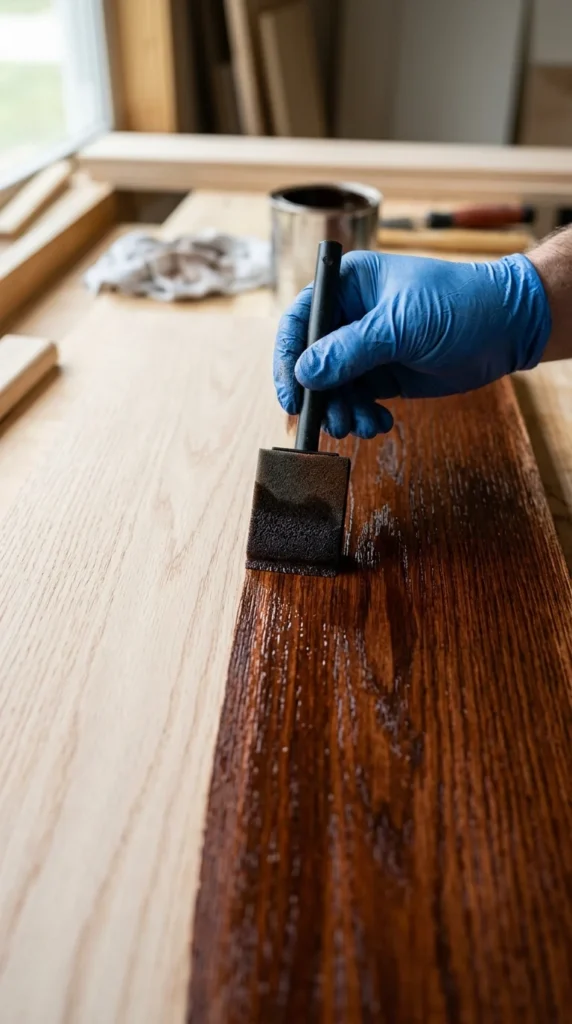
Finishing is what separates a “craft project” from a piece of furniture. It also provides the necessary protection against the inevitable water spills that occur during plant care.
- Sanding: Always sand in the direction of the grain. Remove all dust with a tack cloth before applying any liquid.
- Staining: Apply a wood conditioner first if you are using softwoods like pine to prevent blotchiness. Apply the stain, let it sit for a few minutes, and wipe off the excess.
- Sealing: For indoor stands, a polyurethane or polycrylic spray provides a hard, water-resistant shell. For outdoor stands, use an exterior-grade spar urethane, which contains UV blockers to prevent the wood from turning grey in the sun. Apply at least three coats, sanding lightly between each.
Maintenance
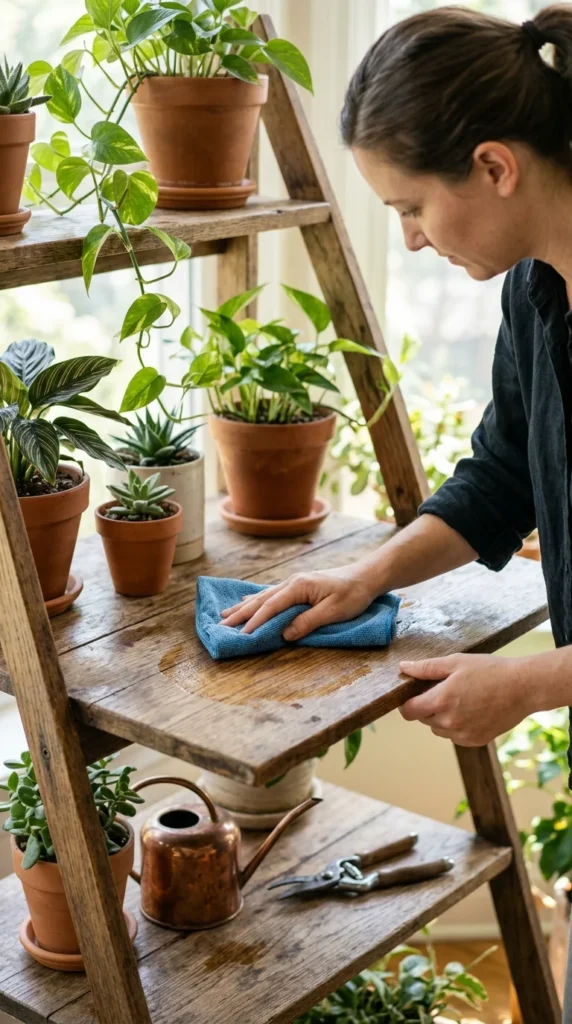
Once your DIY plant stand is in use, a little maintenance will ensure it lasts for decades.
- Water Management: Even with a good sealer, standing water can eventually damage wood. Use saucers under all pots to catch overflow, and wipe up any spills immediately.
- Tightening Hardware: Wood expands and contracts with changes in humidity. Once a year, check the screws and joints. If a joint has become wobbly, a bit of wood glue or an extra screw can reinforce it.
- Seasonal Care: For outdoor stands, consider moving them into a garage or covering them during extreme winter months. Re-applying a clear topcoat every two to three years will keep the wood looking fresh and prevent rot from taking hold.