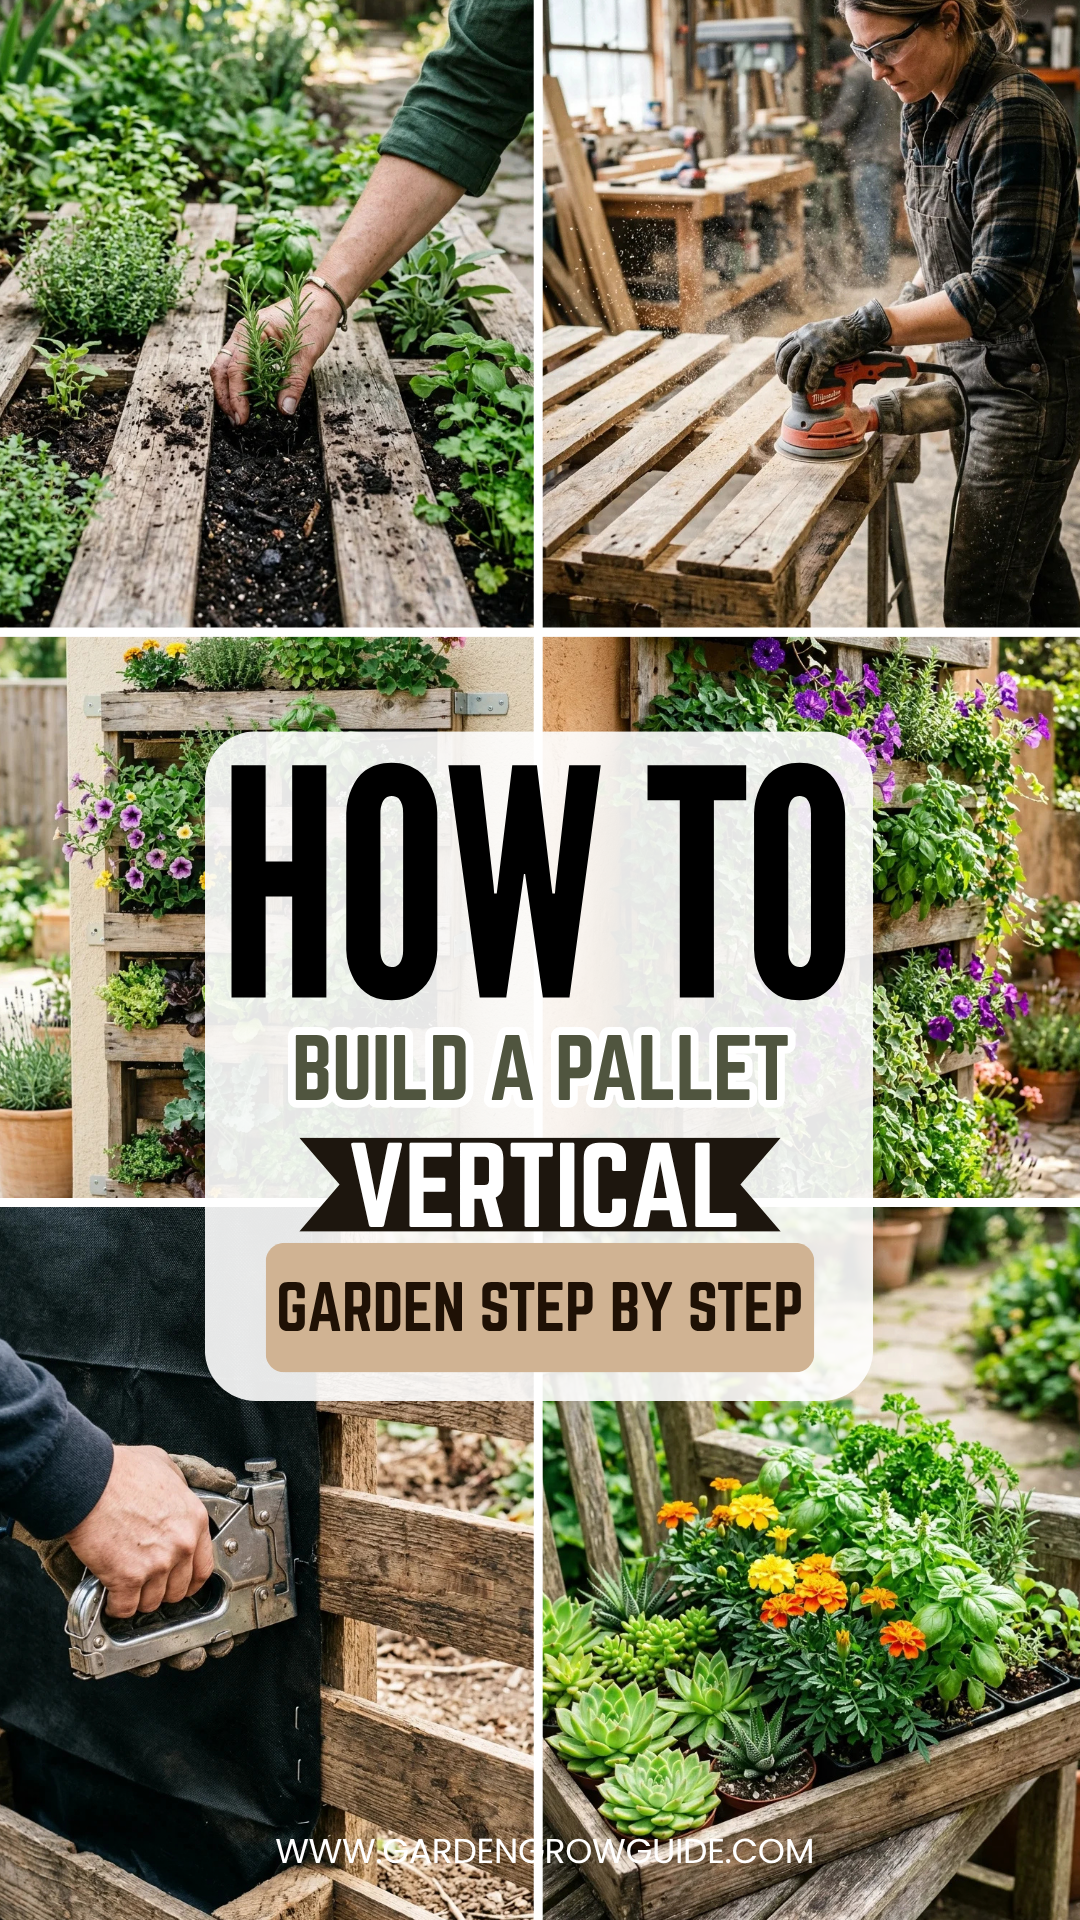
Vertical gardening has revolutionized how urban dwellers and small-space enthusiasts approach horticulture. By utilizing the vertical plane, you can turn a cramped balcony or a bare backyard wall into a productive oasis. One of the most accessible and eco-friendly ways to achieve this is through the humble shipping pallet. Upcycling a pallet not only saves it from a landfill but provides a rustic, charming framework for a variety of plants. This guide will walk you through the comprehensive process of building your own pallet vertical garden from scratch.
1. Sourcing Pallets
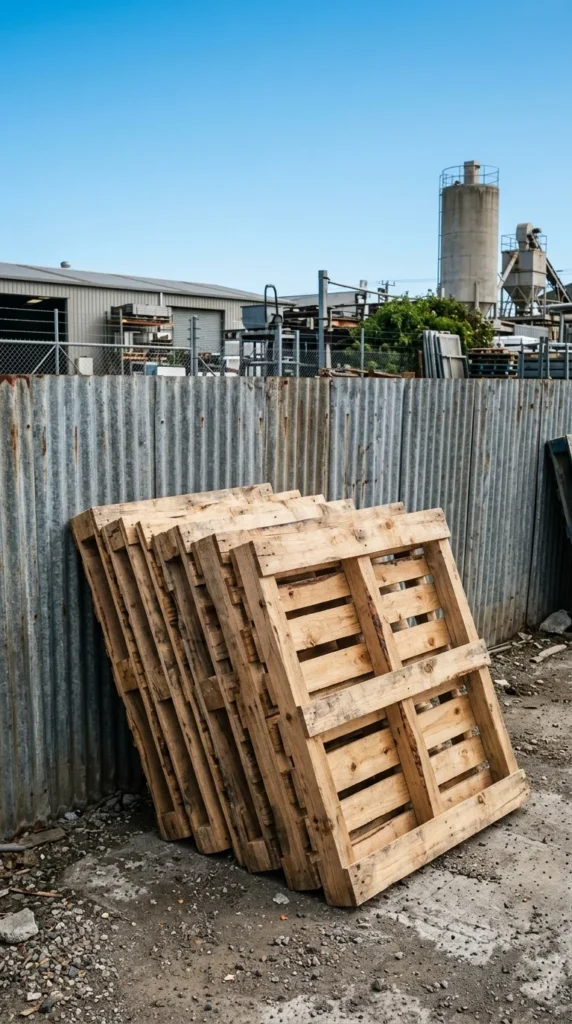
The first step is finding the right pallet. Look behind grocery stores, hardware shops, or small businesses. However, not all pallets are created equal. You want a pallet that is structurally sound with minimal cracked boards. Ensure the wood isn’t excessively stained with oil or mystery chemicals, as these can leach into your soil and plants.
2. Safety Check
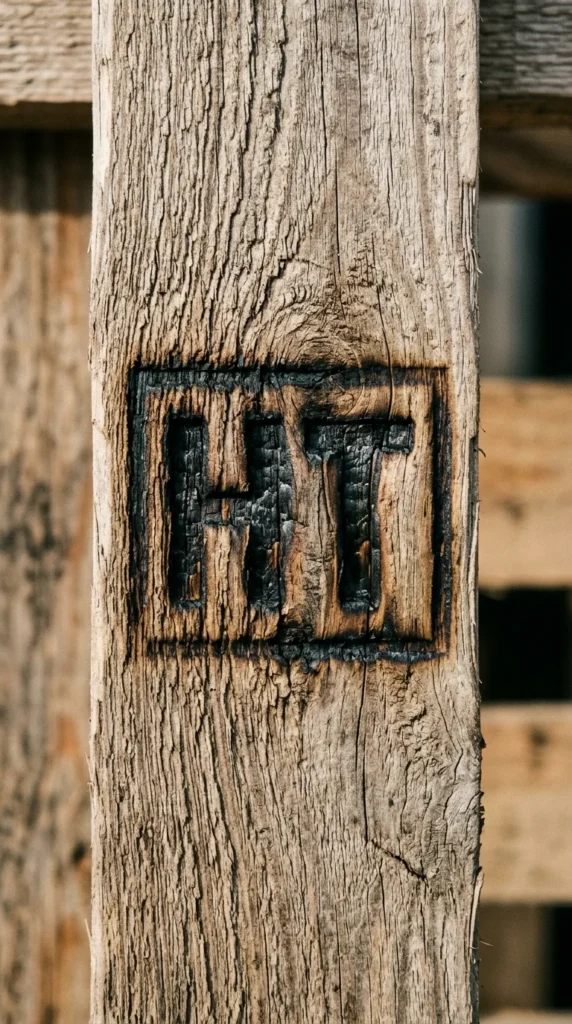
Before you begin working, you must check the International Plant Protection Convention (IPPC) stamp on the side of the pallet. This stamp tells you how the wood was treated. Look for the “HT” mark, which stands for Heat Treated. This is safe for gardening. Avoid pallets marked with “MB” (Methyl Bromide), as this indicates the wood was treated with a toxic pesticide. Also, avoid pallets that are painted (often blue or red), as these are usually chemically treated for heavy industrial reuse.
3. Sanding Wood
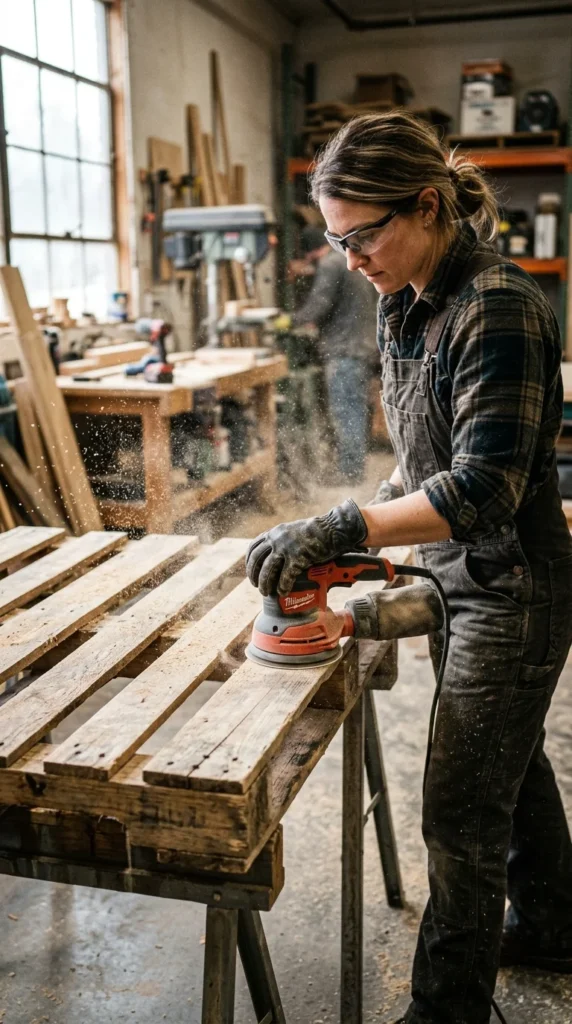
Pallets are notorious for being rough and full of splinters. To make the garden safe for handling and to give it a more finished look, you must sand it down. Start with a coarse 80-grit sandpaper to remove the biggest burrs and rough patches, then move to a finer 120-grit for a smoother finish. Pay extra attention to the corners and the edges where you will be reaching in to water or harvest your plants.
4. Applying Finish
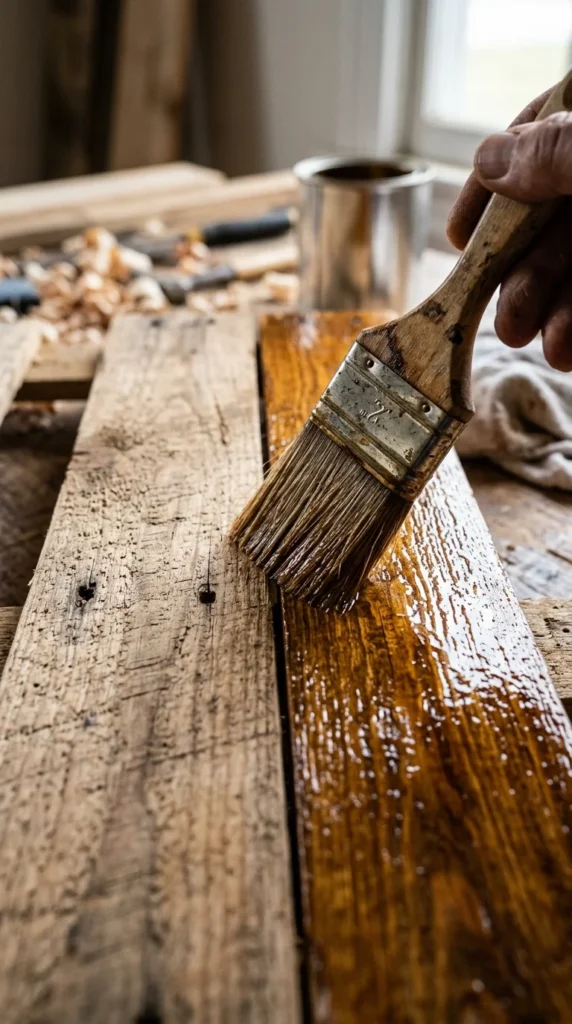
To ensure your vertical garden lasts more than one season, you need to protect the wood from moisture. Apply a non-toxic, eco-friendly wood sealer or a high-quality exterior stain. If you plan on growing edibles like lettuce or strawberries, ensure the finish is food-safe. You can also paint the pallet a vibrant color to match your outdoor decor, though a clear coat often highlights the beautiful, rugged character of the reclaimed wood.
5. Stapling Fabric
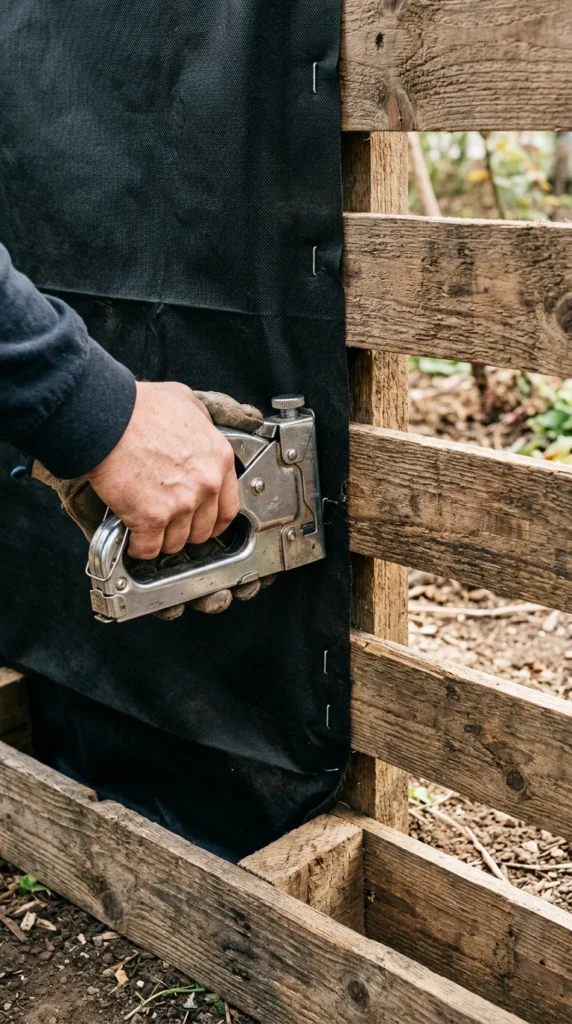
This is the most critical structural step. You need to create “pockets” or a backing to hold the soil in place. Flip the pallet over and cover the back, bottom, and sides with heavy-duty landscape fabric. Use a staple gun to secure the fabric every two to three inches along the wooden supports. For extra durability, double or triple-layer the fabric. This ensures that when the pallet is stood upright, the soil remains contained while still allowing excess water to drain out.
6. Adding Soil
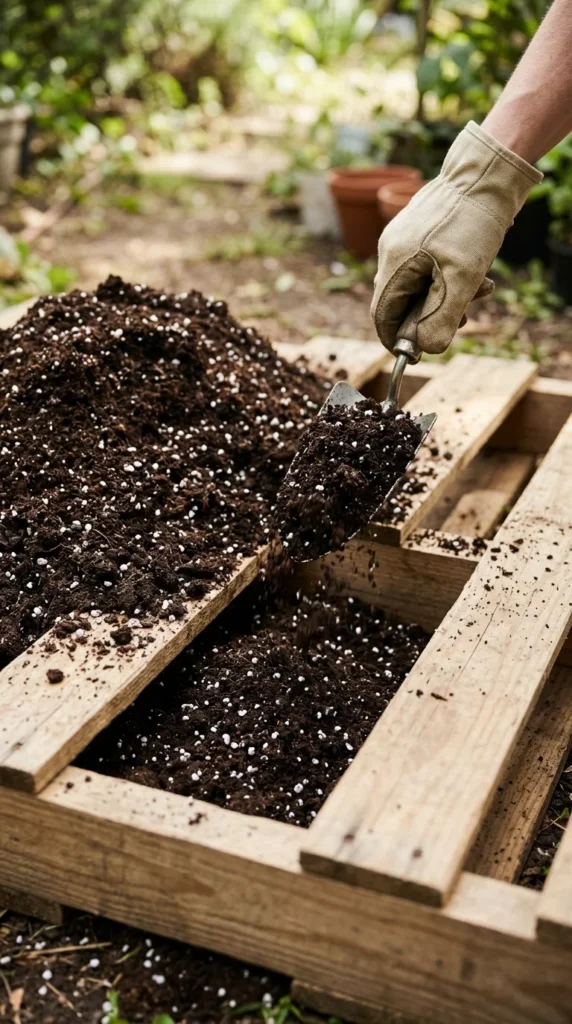
Once the fabric is secure, lay the pallet flat on the ground. Pour a high-quality potting mix into the slats. Do not use standard garden soil, as it is too heavy and won’t drain well in a vertical environment. Potting mix is lighter and designed to retain moisture while providing aeration. Press the soil down firmly but don’t compact it too much; you want enough room for the roots to breathe.
7. Selecting Plants
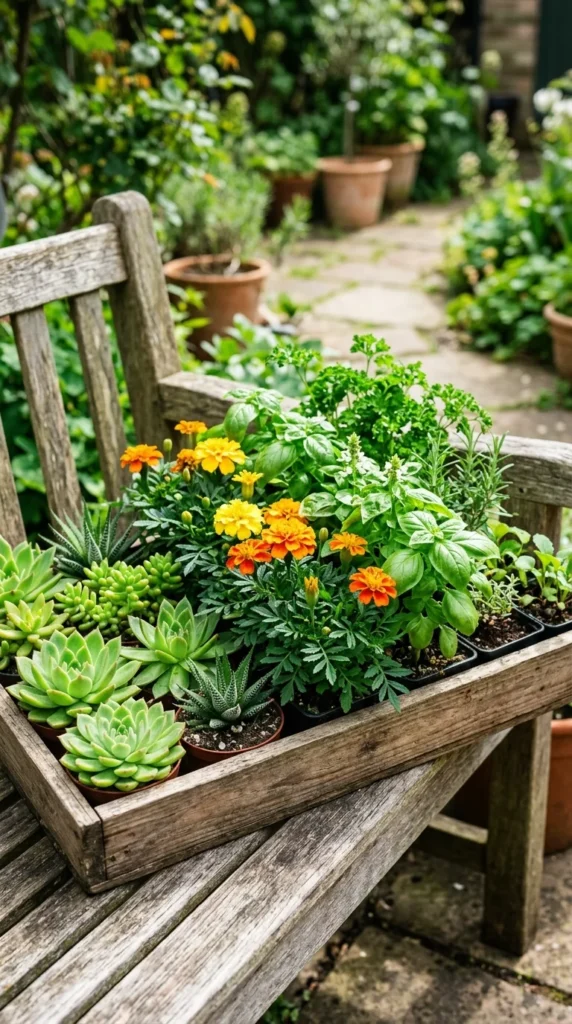
Choosing the right plants is essential for a successful vertical garden. For the top row, choose plants that grow upright, like chives or dwarf peppers. For the middle rows, use “filler” plants like leaf lettuce, spinach, or herbs like thyme and oregano. For the bottom rows, trailing plants like strawberries, creeping jenny, or ivy look spectacular as they spill over the edges and cover the wood. Ensure all plants in the pallet have similar sunlight and water requirements.
8. Final Planting
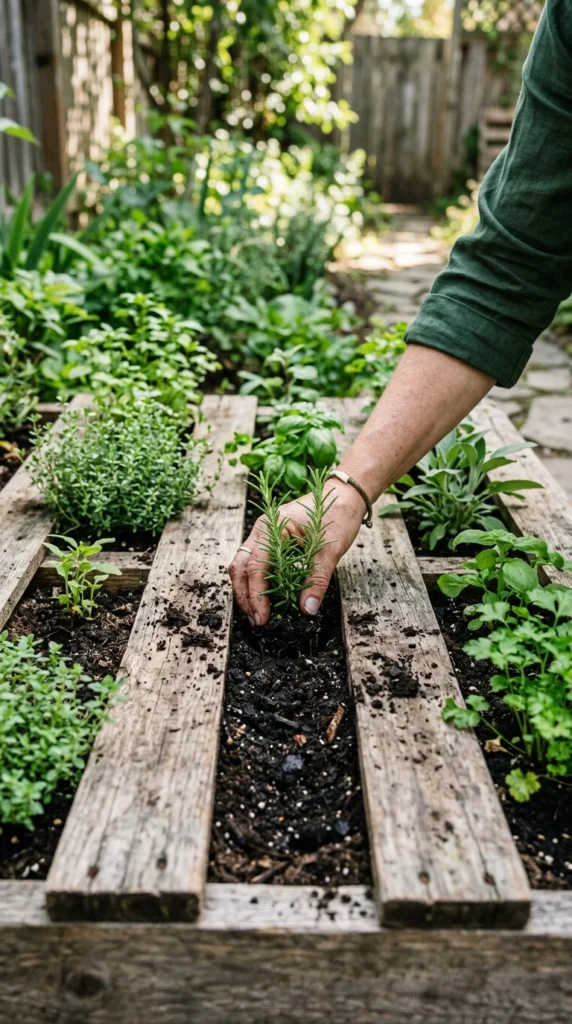
With the pallet still lying flat, begin tucking your plants into the slats. Start from the bottom and work your way up. Dig a small hole in the soil through the openings, insert the root ball, and firm the soil around it. Pack the plants in tightly; a full look from the start helps prevent soil erosion when you finally stand the pallet up. Leave the pallet flat for about one to two weeks. This allows the roots to take hold and stabilize the soil before gravity takes over.
9. Vertical Placement
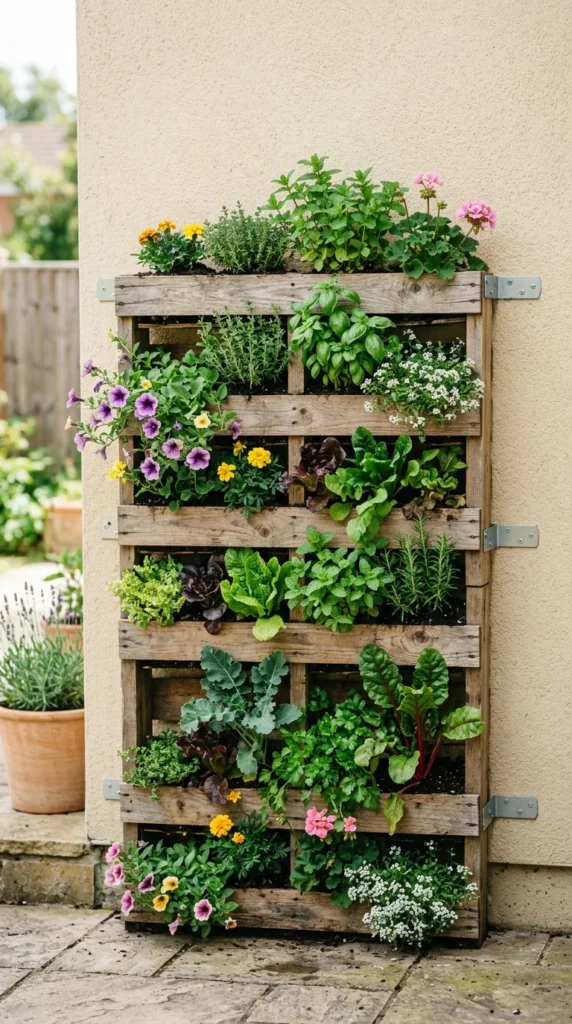
After the plants have rooted, it is time to go vertical. Lift the pallet carefully and lean it against your chosen wall or fence. For safety, it is highly recommended to screw the pallet directly into the wall using heavy-duty brackets or masonry anchors. This prevents the garden from tipping over during high winds or if a pet bumps into it. Once secured, give the garden a thorough watering from the top, allowing the moisture to trickle down through the layers to the bottom plants.
Maintenance and Care
To keep your pallet garden thriving, regular maintenance is key:
- Watering: Vertical gardens dry out faster than traditional beds. Check the soil daily. Water from the top, as the water will naturally migrate downward, though the top layers will always need more frequent hydration.
- Fertilizing: Because the soil volume is limited, nutrients wash away quickly. Use a liquid organic fertilizer every two weeks during the growing season to keep foliage lush.
- Pruning: Trim trailing plants regularly to prevent them from shading out the plants in the rows below them.
- Seasonal Changes: If you live in a cold climate, you may need to move the pallet to a sheltered area or wrap it in burlap during the winter, as the roots are more exposed to the cold than they would be in the ground.