Pruning is both an art and a science, serving as one of the most critical tasks in a gardener’s calendar. To the uninitiated, it might seem like simple “cutting,” but the tools you use and the techniques you apply determine whether a plant flourishes or becomes susceptible to disease and decay. At the heart of this practice lies the pruning shear, also known as secateurs. Selecting the right pair and using them with precision can transform your gardening experience from a chore into a therapeutic craft.
1. Bypass Shears
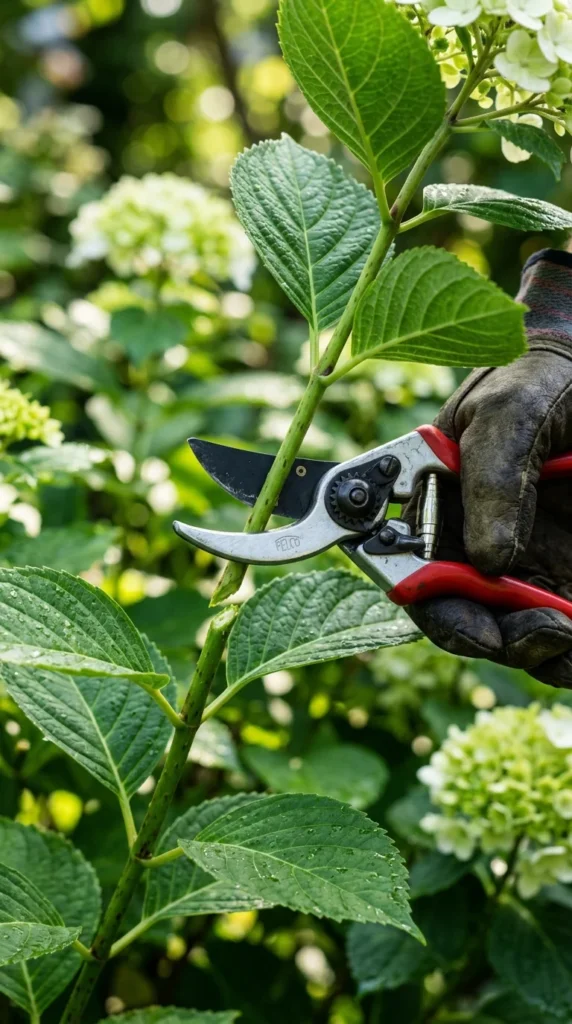
Bypass shears are the most popular choice for gardeners and for a good reason. They work exactly like a pair of scissors, where two blades slide past each other to create a clean, precise cut. One blade is sharpened, while the other is a thicker “hook” that holds the branch in place.
These are essential for pruning live, green wood. Because the cut is clean, the plant’s “wound” heals much faster, reducing the risk of fungal infections or pest infestations. When using bypass shears, it is vital to keep the cutting blade closest to the main body of the plant to ensure the cleanest possible finish on the remaining limb.
2. Anvil Shears
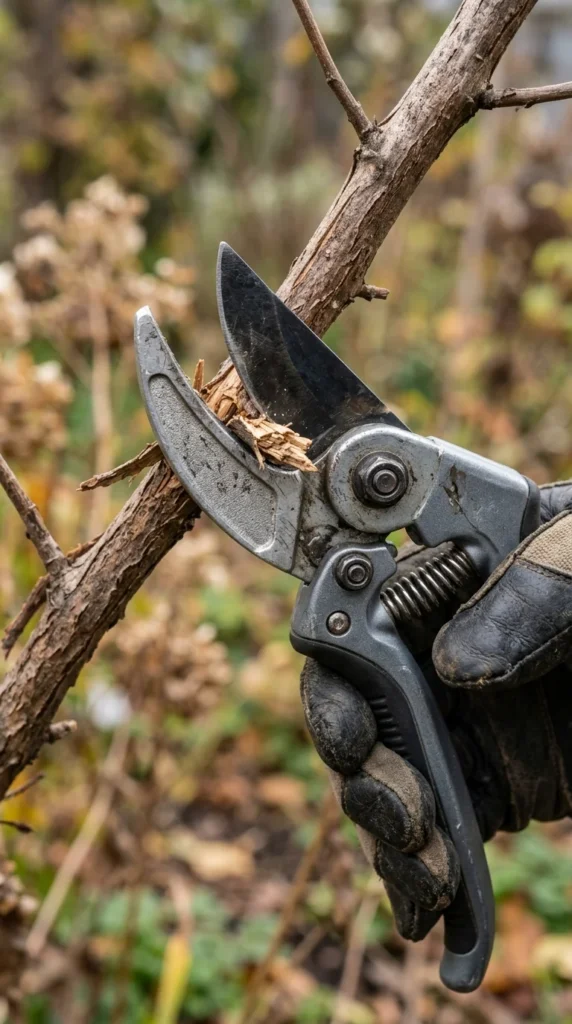
Anvil shears operate differently than their bypass counterparts. They feature a single straight blade that closes against a flat metal plate (the anvil). This mechanism functions similarly to a knife on a cutting board.
While they are powerful, they have a “crushing” action. For this reason, they should never be used on soft, living tissue, as the crushing force can bruise and damage the plant’s vascular system. Instead, anvil shears are the perfect tool for clearing away dead, brittle, or woody growth. Their mechanical advantage makes it easier to snap through tough, dried-out branches that might resist a bypass blade.
3. Blade Quality
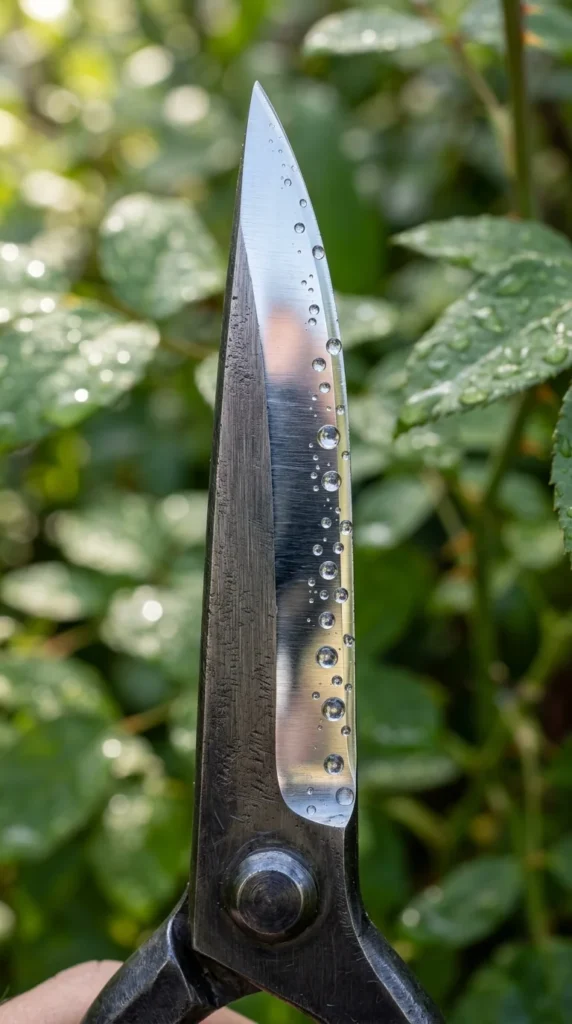
The soul of any pruning shear is the blade. Most high-end shears use high-carbon steel or forged steel. High-carbon steel is preferred because it can be sharpened to a razor edge and holds that edge for a significant amount of time. However, it is prone to rust if not cared for.
Alternatively, many modern shears feature titanium coatings or non-stick fluoropolymer coatings. These coatings serve two purposes: they prevent rust and reduce friction, allowing the blade to glide through sticky sap and resin without gumming up. When choosing shears, look for blades that are replaceable; a high-quality frame can last a lifetime if you can simply swap out the blade when it eventually wears down.
4. Handle Comfort
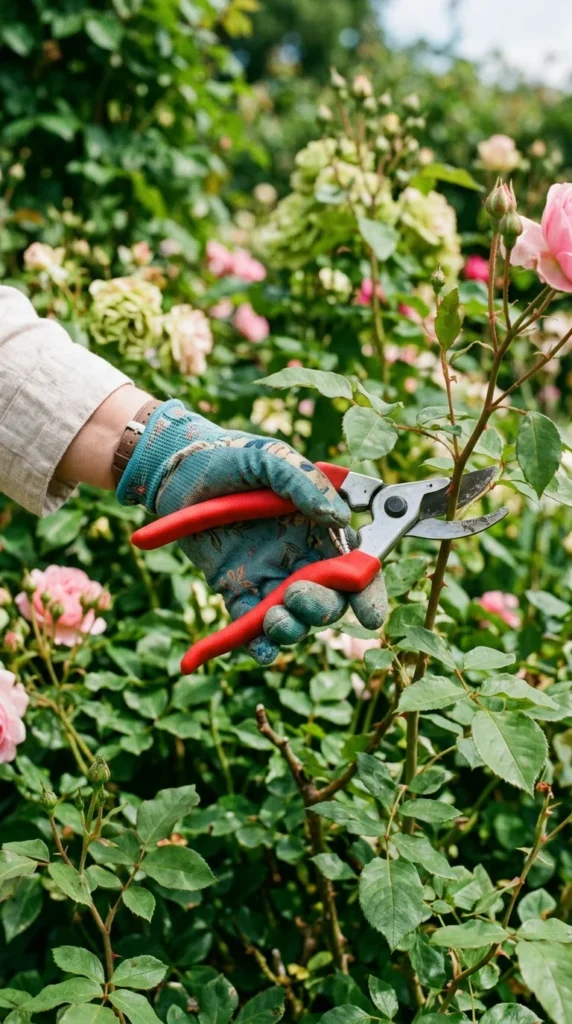
Pruning can be repetitive and strenuous on the small muscles of the hand and wrist. Ergonomics should be a top priority in your selection process. Look for handles with a non-slip grip, often made of rubber or high-quality synthetic polymers.
Many professional models feature “rolling handles” that rotate as you squeeze. This design significantly reduces the friction between your fingers and the handle, preventing blisters and reducing the risk of carpal tunnel syndrome during long pruning sessions. Additionally, a high-quality spring mechanism is essential; it should be firm enough to open the shears automatically but not so stiff that it requires excessive force to close.
5. Hand Size
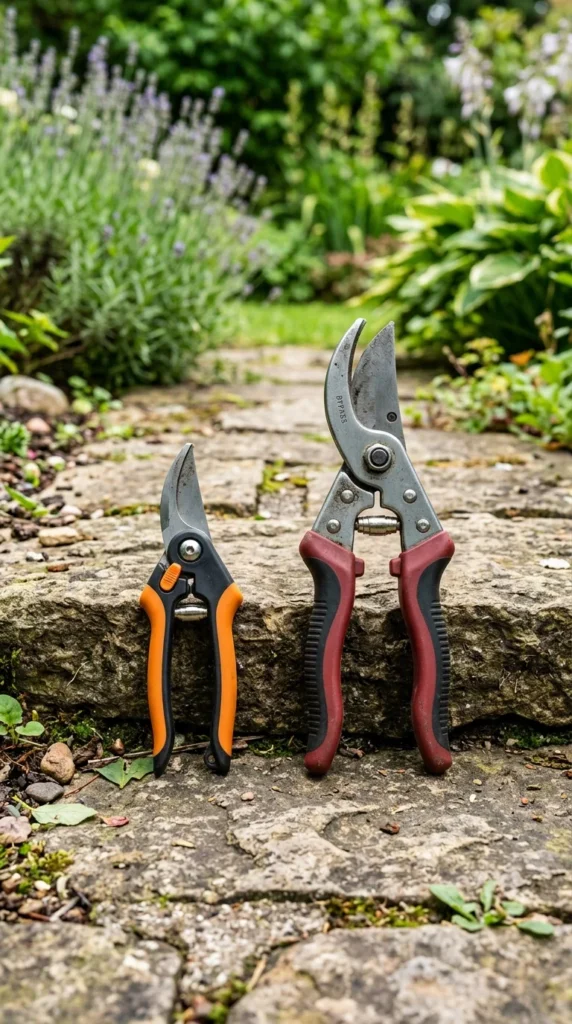
One size does not fit all when it comes to garden tools. Using shears that are too large for your hand will lead to quick fatigue and lack of control, while shears that are too small won’t provide the leverage needed for thicker cuts.
Manufacturers often categorize shears by hand size (Small, Medium, Large) or offer specific “left-handed” models. If you are left-handed, it is imperative to buy a dedicated left-handed shear. Using right-handed shears in the left hand forces the blades apart during the cut, resulting in a jagged, torn edge rather than a clean slice.
6. Cutting Technique
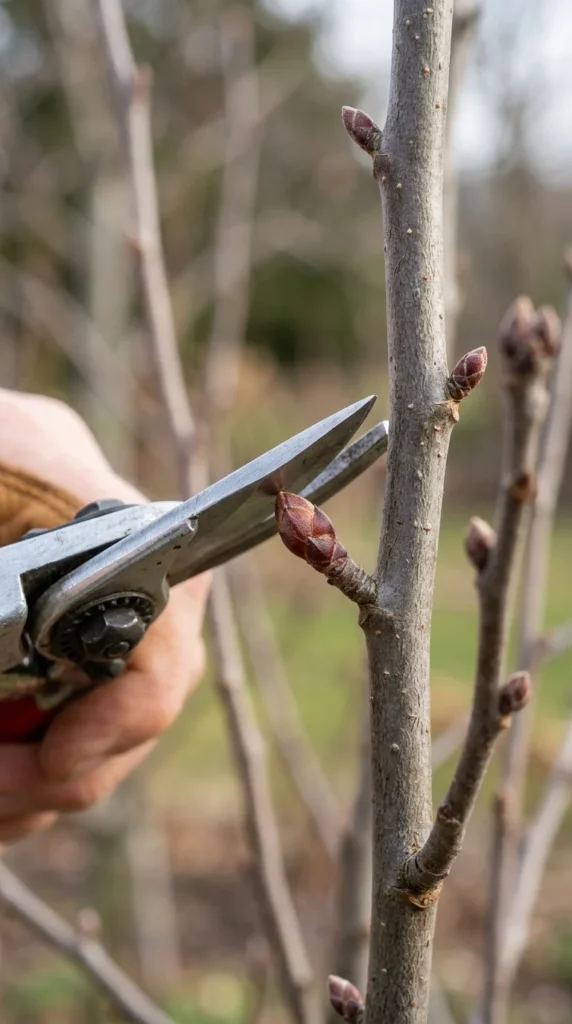
Using the shears correctly is just as important as choosing the right pair. The golden rule of pruning is to cut at a 45-degree angle. This angle ensures that rainwater runs off the cut surface rather than pooling on top of it, which prevents rot.
Furthermore, you should always aim to cut about 1/4 inch above a “bud” (the small bump where new growth emerges). If you cut too close, you may damage the bud; if you cut too far away, you leave a “stub” that will die back and potentially invite disease into the heart of the plant. Always let the tool do the work—if you have to twist or strain to get through a branch, the branch is too thick for shears, and you should switch to loppers or a pruning saw.
7. Cleaning Process
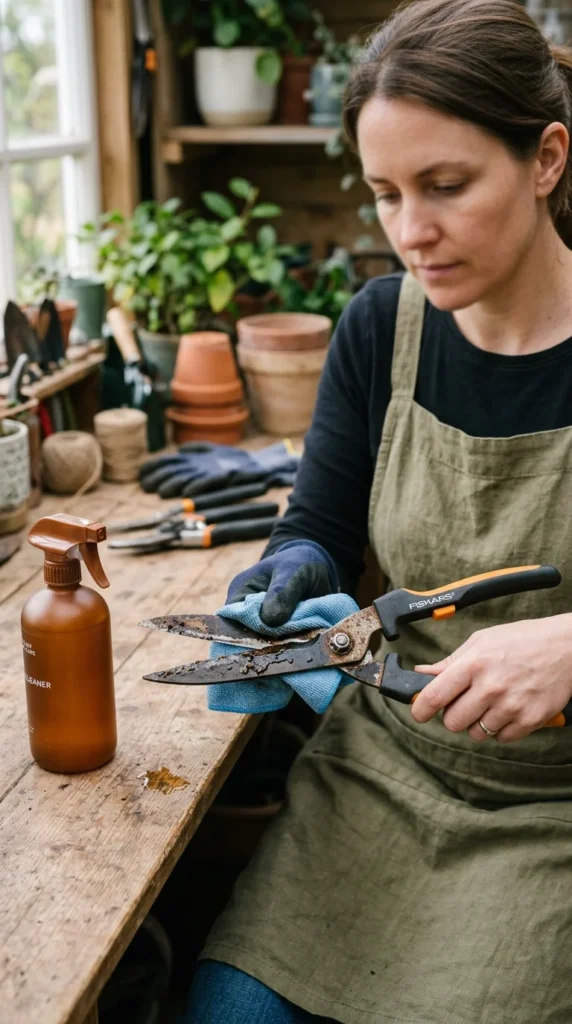
Plant diseases, such as fire blight or black spot, can be easily spread from one plant to another via dirty pruning shears. To prevent this, you must clean your shears between plants, especially if you suspect a plant is diseased.
A simple solution of 70% isopropyl alcohol or a 10% bleach solution works well for sterilization. Beyond sterilization, you should regularly remove “sap buildup.” Sap acts like glue and can seize the mechanism. Use a stiff brush or steel wool and a bit of soapy water to scrub the blades, then dry them immediately to prevent oxidation.
8. Sharpening Tools
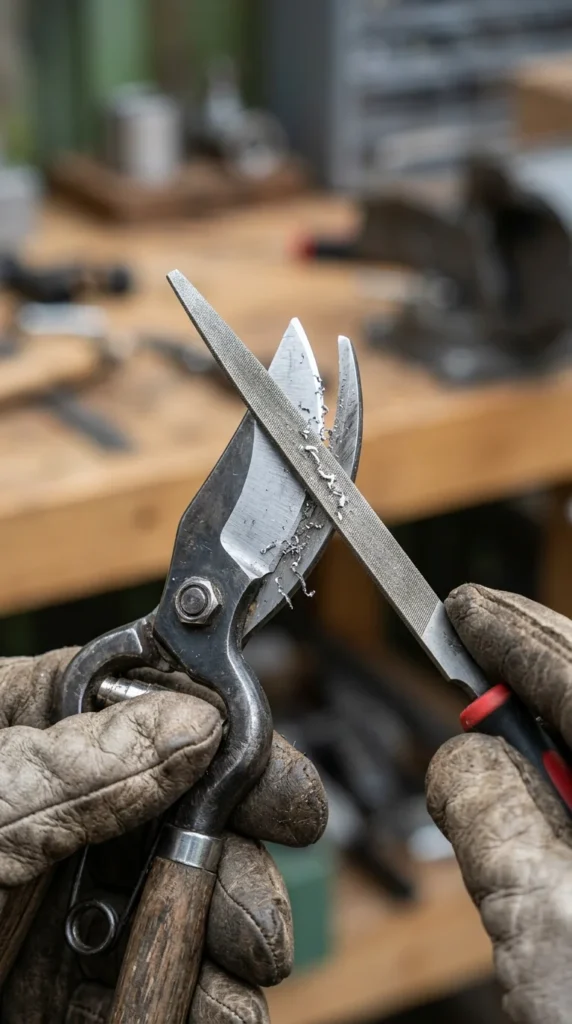
A dull shear is a dangerous shear. It requires more force to use and produces ragged cuts that don’t heal. Sharpening should be a regular part of your maintenance routine.
To sharpen bypass shears, only sharpen the beveled (slanted) side of the cutting blade. Use a diamond file or a whetstone, following the factory angle of the blade. Move the sharpener in a smooth, curved motion from the base of the blade to the tip. Once you’ve sharpened the bevel, flip the shears over and lightly run the stone flat against the back of the blade once to remove any “burrs” or metal curls.
9. Storage Tips
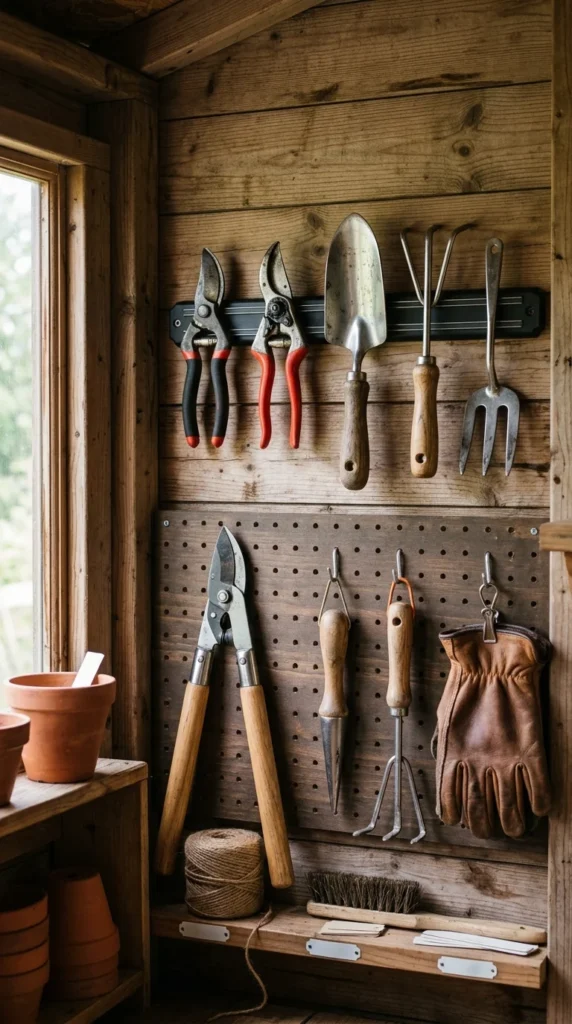
How you store your shears at the end of the day determines their lifespan. Never leave them on the ground or outside overnight, as moisture will cause the spring and blades to rust.
Before storing, apply a light coat of oil—3-in-One oil, mineral oil, or even a specialized tool lubricant—to the blades and the pivot bolt. This creates a barrier against moisture. Store them in a dry place, preferably hanging up or in a tool roll. Keeping the blades closed with the safety lock engaged not only protects the sharp edges from getting nicked by other tools but also prevents accidental cuts when you reach into your tool bag.