
Spring is the definitive season of renewal, a time when the dormant earth wakes up and gardeners everywhere feel the irresistible urge to dig their hands into the soil. However, a successful growing season doesn’t happen by accident. It requires a systematic approach to transition the landscape from its winter slumber to its summer peak. Completing a spring garden checklist is the most effective way to ensure your plants have the nutrients, structure, and protection they need to thrive.
By following a step-by-step guide, you can break down the overwhelming task of garden maintenance into manageable bites. From the initial cleanup of winter debris to the strategic planting of new life, each phase of the process serves a vital purpose. Here is your comprehensive guide to completing your spring garden checklist.
1. Cleanup
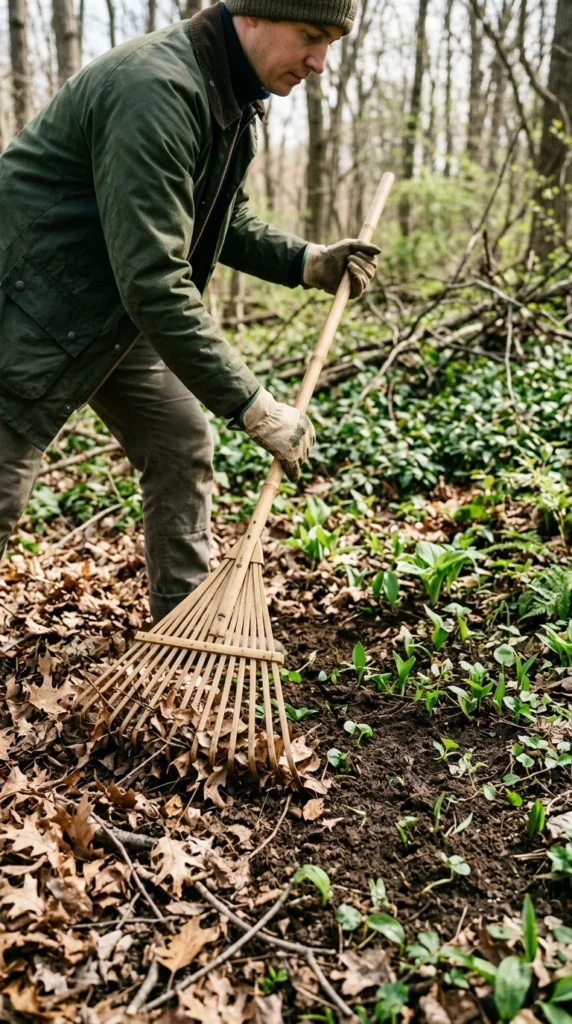
The first step in any spring garden plan is clearing away the remnants of winter. During the cold months, wind and snow deposit a layer of debris across garden beds, lawns, and pathways. Fallen leaves, broken branches, and dead annuals from the previous year can harbor pests and diseases if left to rot.
Start by raking out beds, but be gentle; many beneficial insects, such as ladybugs and bees, often overwinter in leaf litter. Once the temperature consistently stays above 50°F (10°C), it is safe to remove the debris without disturbing these important pollinators. Clear out any “mummy” fruit left on trees and pull up dead vegetable plants to prevent the spread of fungal spores. This process not only makes the garden look aesthetically pleasing but also allows the soil to breathe and warm up more quickly under the spring sun.
2. Tool Maintenance
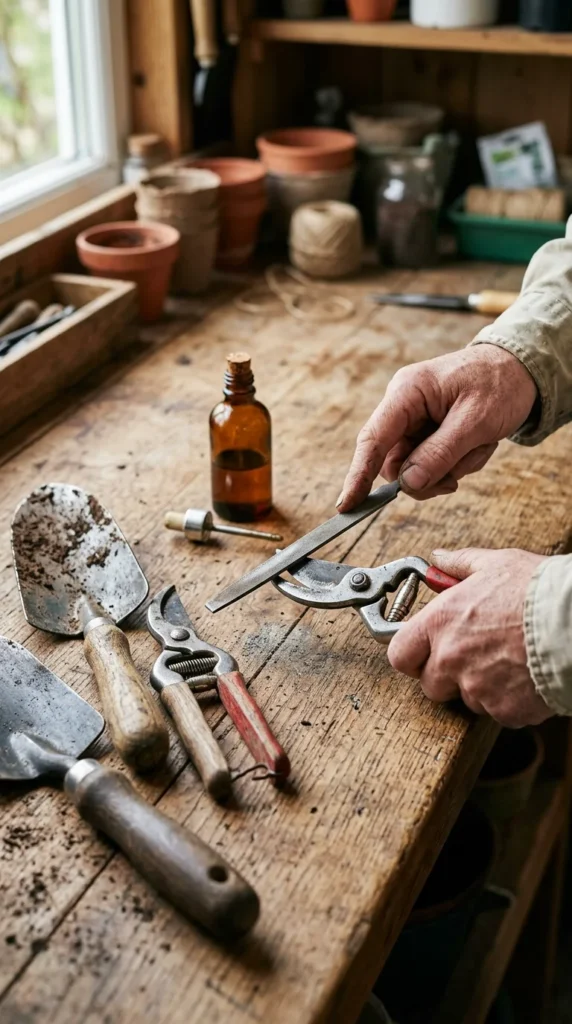
Before you begin the heavy lifting, your tools need to be in peak condition. Dull blades on pruners and shears don’t just make your job harder; they create jagged wounds on plants that take longer to heal and are more susceptible to infection.
Spend an afternoon cleaning, sharpening, and oiling your equipment. Use a stiff brush and soapy water to remove dried soil and rust. For blades, use a whetstone or a specialized tool sharpener to regain a crisp edge. Don’t forget to oil the wooden handles of shovels and rakes with linseed oil to prevent cracking. Finally, sanitize your cutting tools with a solution of rubbing alcohol to ensure you aren’t transferring pathogens from one plant to another as you move through the garden.
3. Soil Preparation
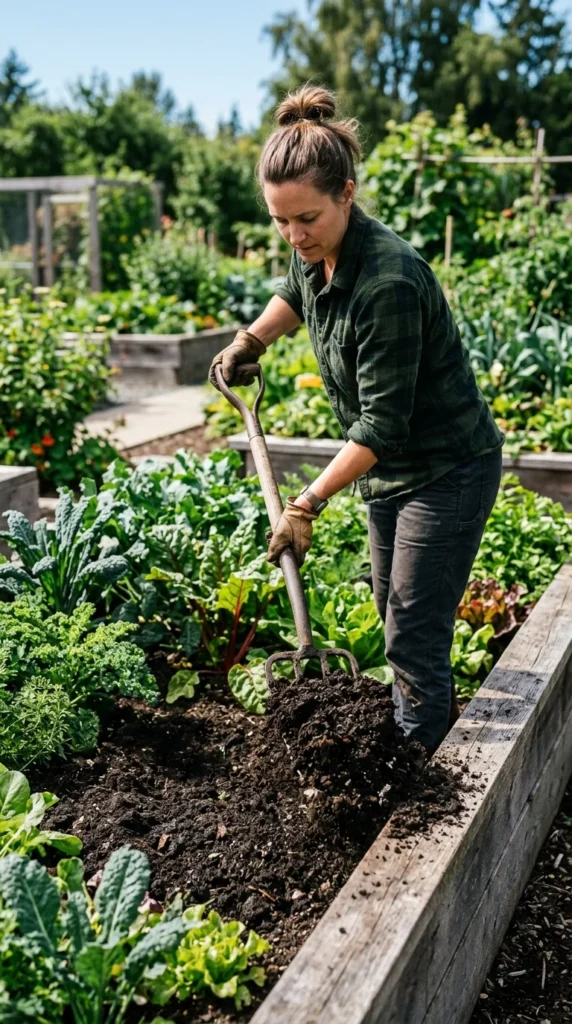
Your garden is only as healthy as the soil it grows in. After the compaction and nutrient leaching of winter, the soil needs a boost. Start by performing a soil test to determine the pH levels and nutrient content. This allows you to apply amendments with precision rather than guesswork.
Once the soil is dry enough to crumble—avoid working it while it’s soaking wet to prevent compaction—incorporate two to three inches of high-quality organic matter, such as well-rotted manure or garden compost. This improves soil structure, increases water retention, and provides a slow-release source of nutrients. If your soil is particularly heavy clay, adding grit or gypsum can help improve drainage, ensuring that new roots have the oxygen they need to grow.
4. Pruning
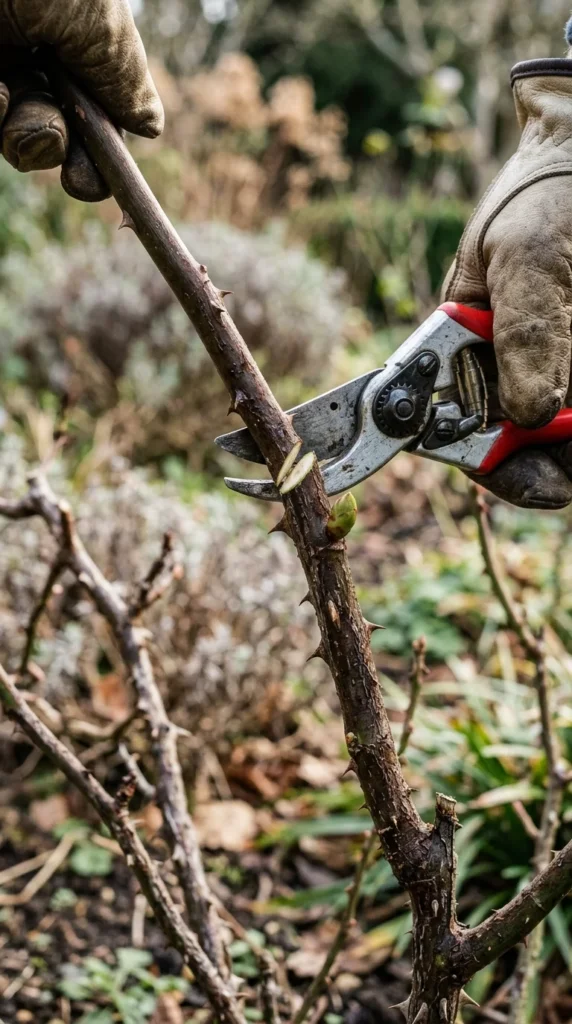
Early spring is the ideal time to prune many trees and shrubs, particularly those that bloom on “new wood” (growth produced in the current season). Pruning while the plant is still dormant or just beginning to wake up allows you to see the branch structure clearly without the obstruction of leaves.
Begin by removing the “three Ds”: dead, damaged, or diseased wood. Next, look for crossing branches that rub against each other, as these create entry points for pests. For summer-flowering shrubs like Hydrangea paniculata or Rose of Sharon, a hard prune will encourage vigorous new growth and more blooms. However, be cautious: avoid pruning spring-flowering shrubs like lilacs, azaleas, or forsythia until after they have finished blooming, or you will accidentally cut off this year’s flower buds.
5. Edging
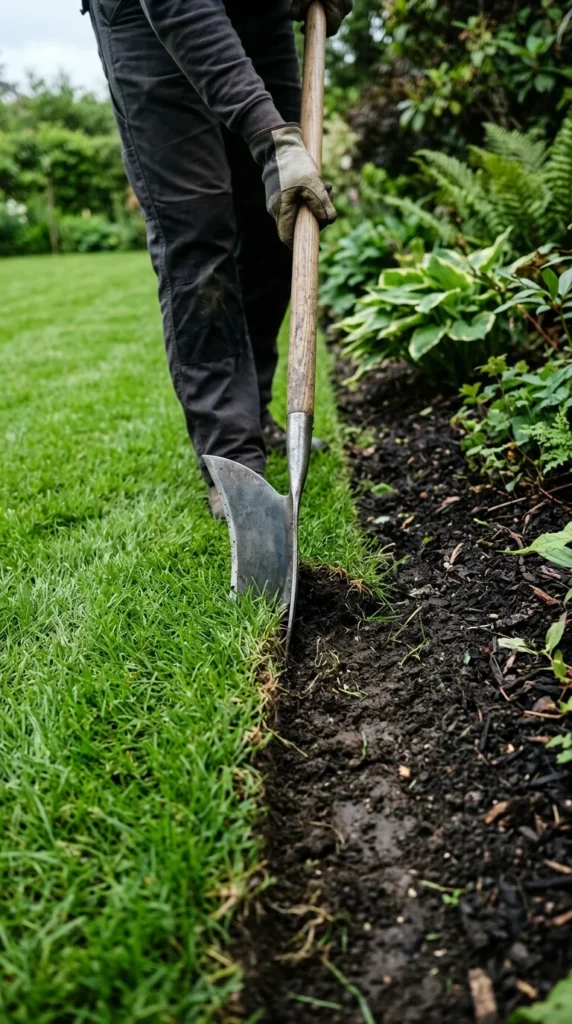
Nothing defines a garden and gives it a professional look quite like clean edges. Over the winter, grass and weeds often creep into flower beds, blurring the lines of your landscape design. Spring is the perfect time to re-establish these boundaries.
Using a half-moon edger or a sharp spade, cut a clean trench about three to four inches deep along the perimeter of your beds. This vertical cut creates a physical barrier that makes it harder for grass rhizomes to invade your garden. It also creates a “lip” that will hold your mulch in place, preventing it from washing away during heavy spring rains.
6. Mulching
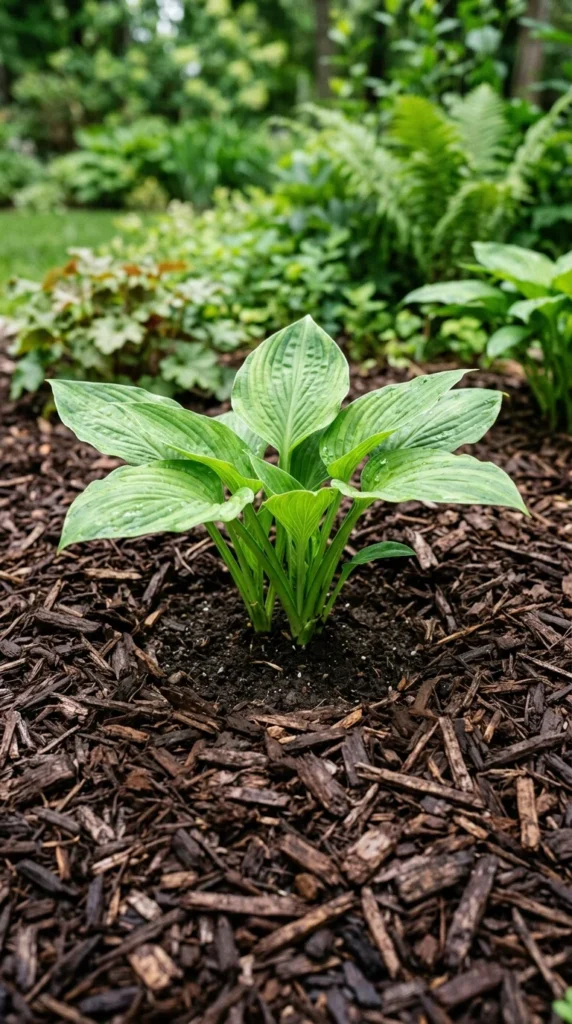
Mulching is the finishing touch that provides both beauty and function. A fresh layer of mulch suppresses weed seeds, retains soil moisture, and regulates soil temperature during the fluctuations of early spring.
Apply a two-to-three-inch layer of organic mulch, such as shredded bark, cedar chips, or pine needles, over your prepared garden beds. Be careful not to “volcano mulch”—the practice of piling mulch high against the trunks of trees or the stems of plants. This can trap moisture against the bark and lead to rot or fungal issues. Instead, keep the mulch a few inches away from the base of the plants, creating a donut shape that allows for air circulation.
7. Hardscape Repair
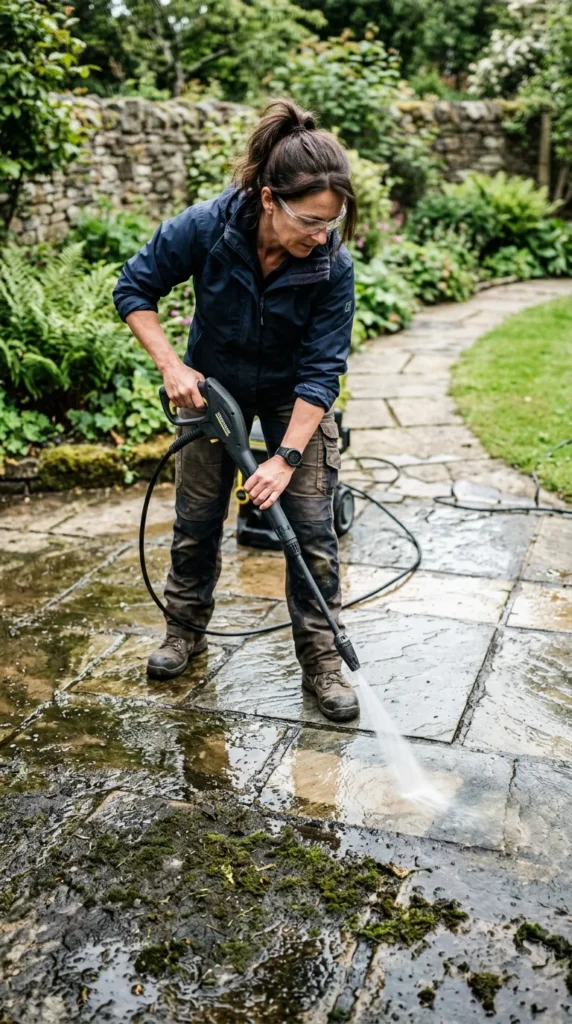
The garden isn’t just about the plants; it’s also about the structures that support them. Winter weather can be harsh on wooden fences, stone paths, and trellises. Use the early spring to inspect your hardscaping for damage.
Check for loose pavers that might be tripping hazards and reset them with sand. Inspect wooden structures for rot and apply a fresh coat of stain or sealant if necessary. If you have a garden pond or fountain, clean out the filters and check the pumps before turning them back on for the season. Taking care of these mechanical and structural tasks now ensures that you can focus entirely on your plants once the peak growing season arrives.
8. Planting
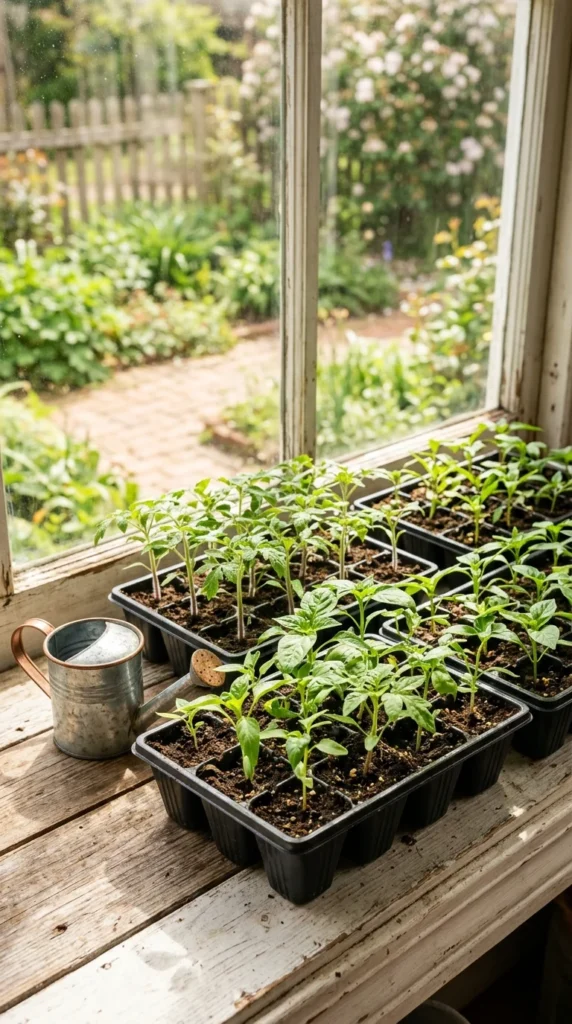
Once the threat of a hard frost has passed, it is time to start planting. Depending on your hardiness zone, this might involve direct-sowing hardy annuals like sweet peas and poppies or transplanting seedlings you’ve started indoors.
When planting, ensure you are placing the right plant in the right place. Consider the sunlight requirements and the eventual size of the plant to avoid overcrowding. For new transplants, “harden them off” by gradually exposing them to outdoor conditions over the course of a week. This prevents transplant shock and ensures they are strong enough to withstand the wind and direct sun of the open garden.
9. Irrigation Setup
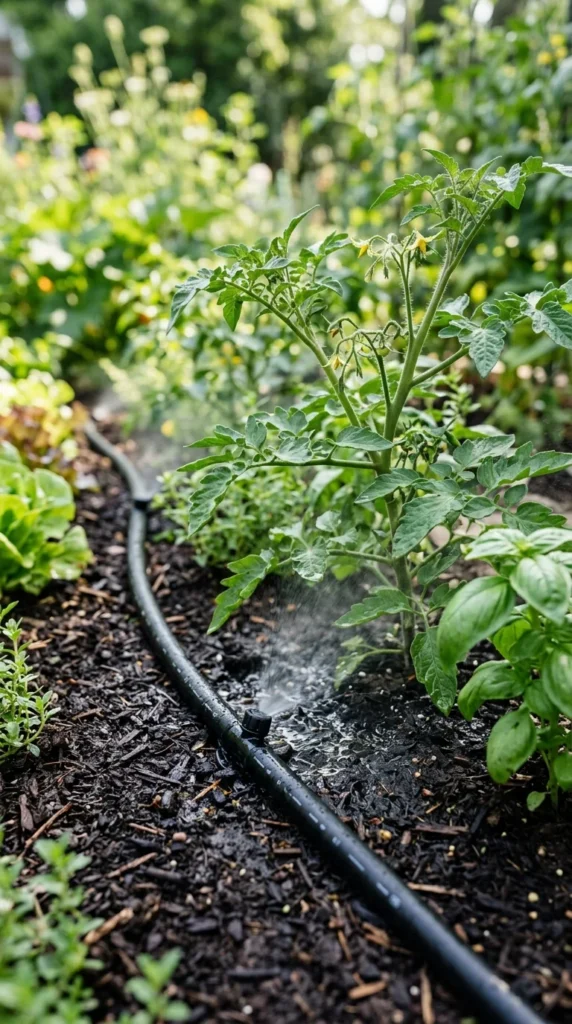
As the weather warms, your garden’s water needs will increase. Checking your irrigation system early prevents emergencies during a summer heatwave. If you use a drip system or soaker hoses, turn them on and walk the lines to check for leaks, clogs, or winter damage from rodents.
If you rely on manual watering, ensure your hoses are free of cracks and that your spray nozzles are functioning correctly. Consider installing a rain barrel to collect spring showers; this provides a sustainable, chlorine-free water source for your most delicate plants. Setting up your watering strategy now ensures that your plants will never face the stress of dehydration as they enter their most active growth phase.