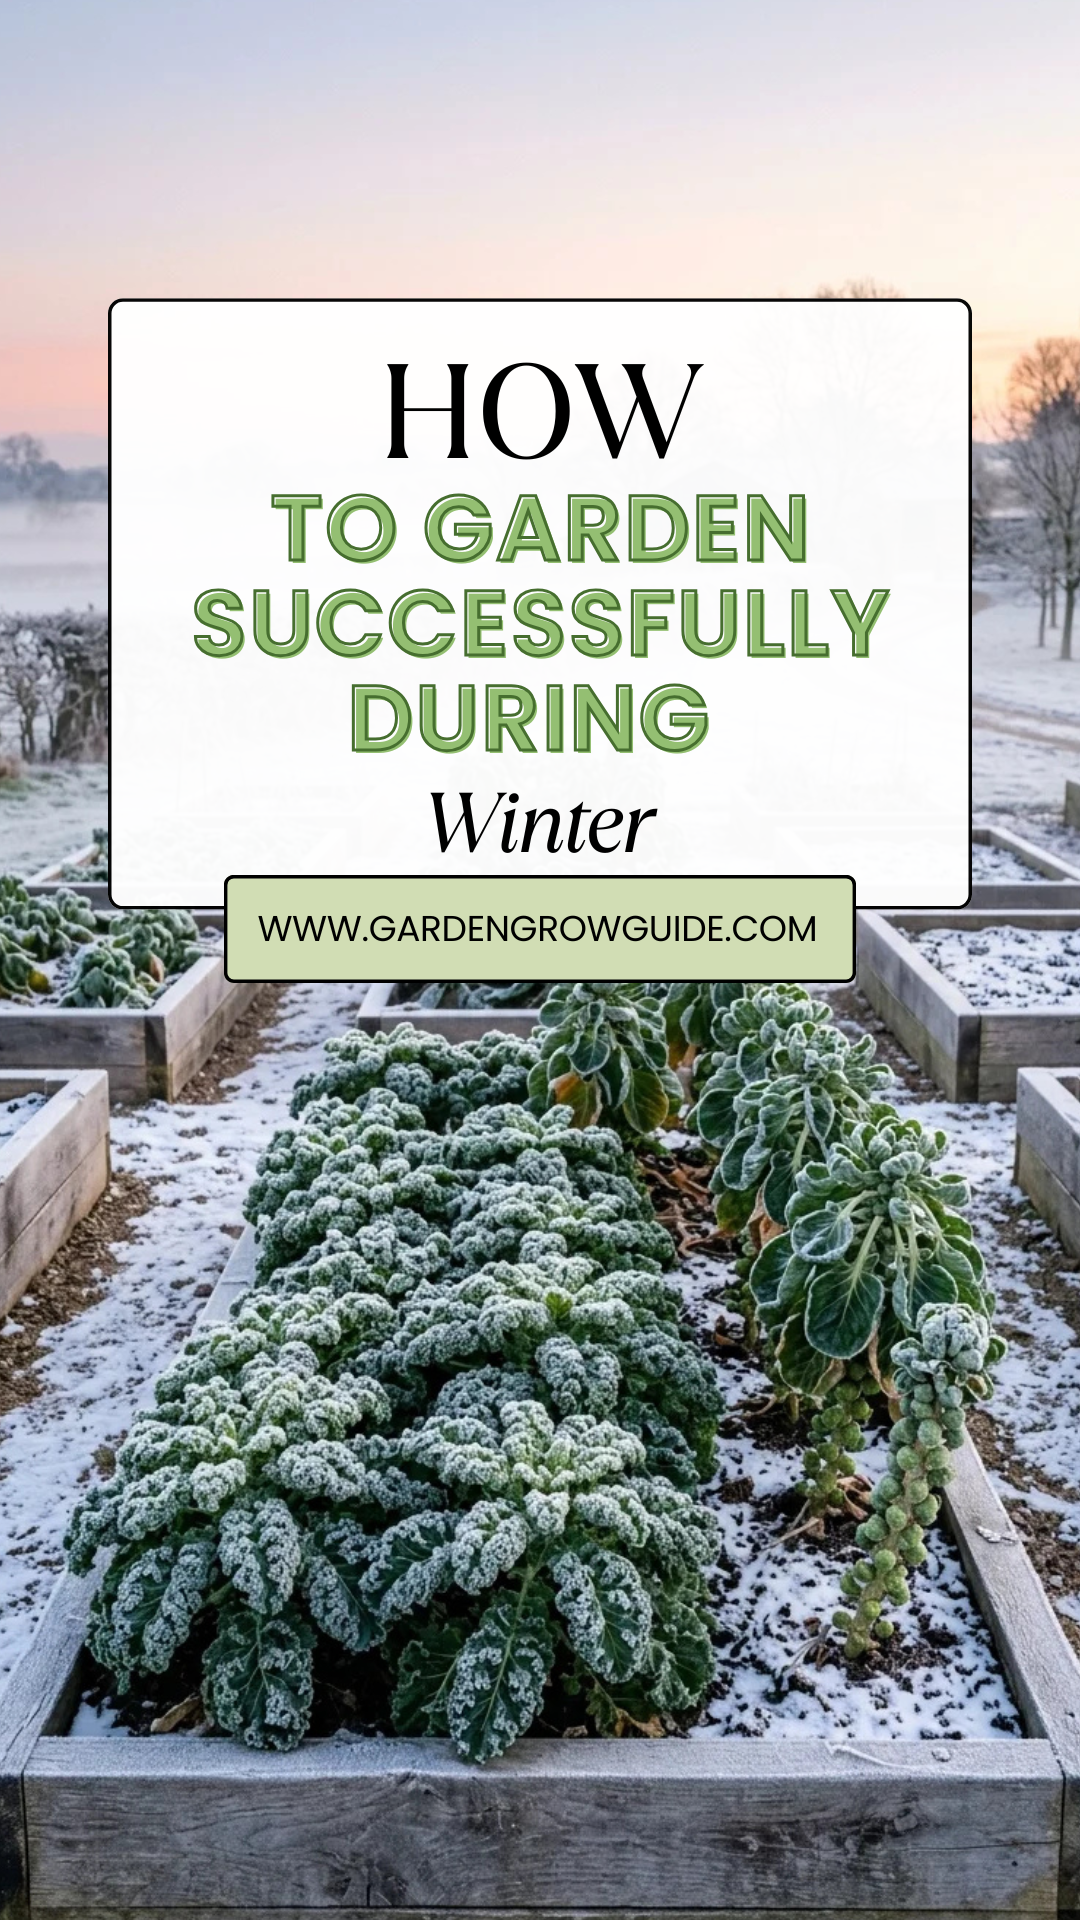
While many gardeners view the arrival of the first frost as the end of their labor, the winter season offers a unique and rewarding opportunity for those willing to adapt. Winter gardening is not merely about surviving the cold; it is about utilizing specific techniques to produce high-quality yields, protect perennial investments, and prepare the earth for a vibrant spring. By understanding the microclimates of your backyard and the biological resilience of cold-hardy species, you can maintain a productive garden year-round.
1. Site Selection

The success of a winter garden depends heavily on where you place your plants. During the winter months, the sun sits lower in the sky, casting longer shadows and providing less intense radiation.
- Maximize Sunlight: Identify the “hot spots” in your yard. South-facing areas typically receive the most sunlight during the day. Ensure that fences, sheds, or evergreen trees do not obstruct these precious hours of light.
- Thermal Mass: Position your winter beds near stone walls, brick pathways, or dark-colored containers. These materials act as thermal masses, absorbing heat during the day and radiating it back to the plants during the freezing nights.
- Wind Protection: Cold winter winds can desiccate foliage and cause rapid temperature drops. Use existing structures or install temporary windbreaks like burlap screens to protect delicate greens from “wind chill.”
2. Cold Frames
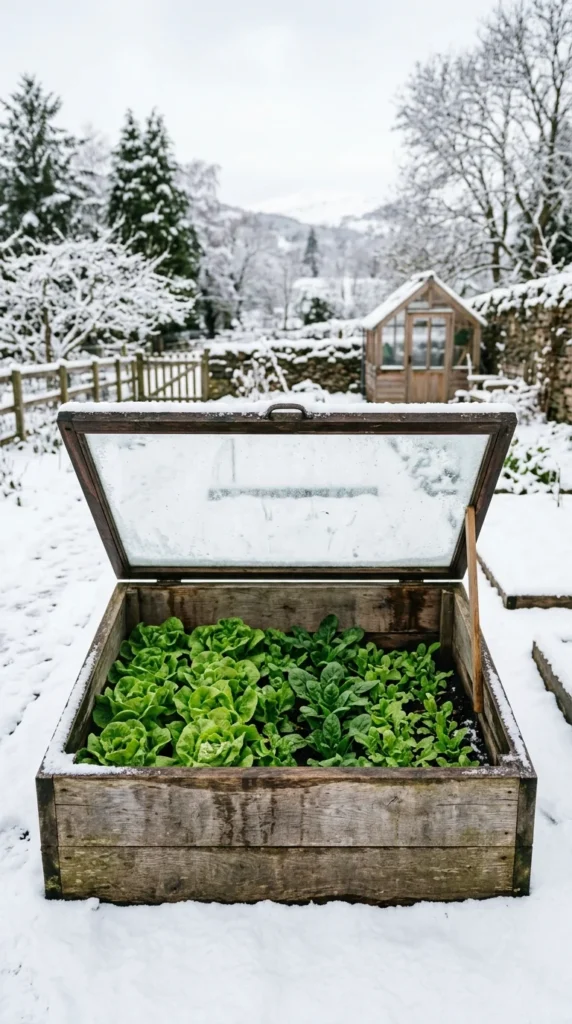
Cold frames are essentially miniature greenhouses that sit low to the ground. They are the single most effective tool for extending the harvest of salad greens and herbs into the depths of winter.
- Design and Placement: A standard cold frame consists of a four-sided box with a transparent top (usually glass or polycarbonate). It should be angled toward the south to capture maximum solar energy.
- Ventilation Management: Even in winter, the sun can heat a cold frame to temperatures that will wilt plants. On sunny days, it is crucial to prop the lid open slightly to allow for air circulation and prevent fungal growth.
- Insulation: During extreme cold snaps, you can cover the glass with old blankets or straw mats at night to trap the warmth gathered during the day.
3. Hardy Greens
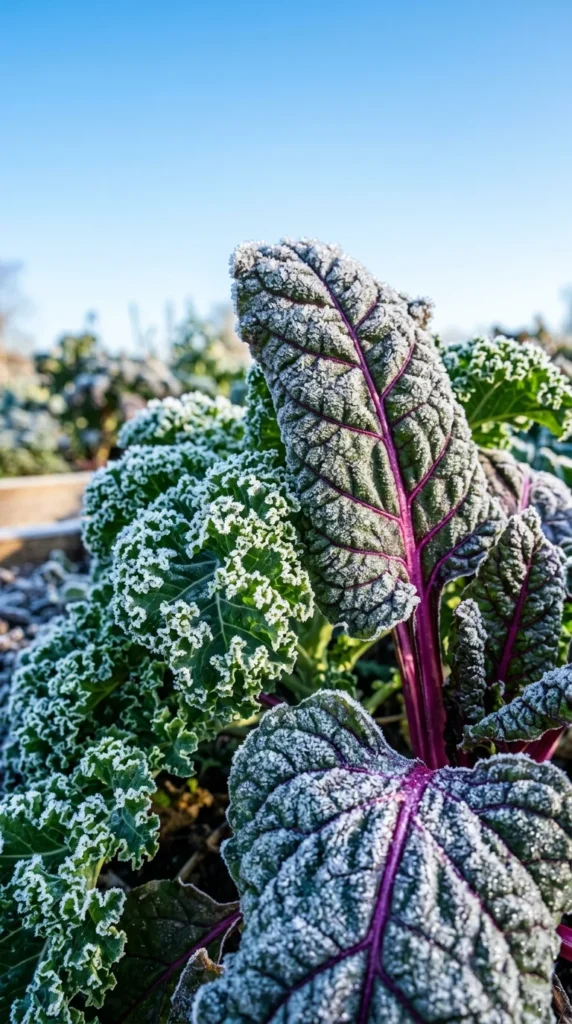
Not all vegetables are created equal when the mercury drops. Successful winter gardening relies on choosing “cold-hardy” varieties that actually improve in flavor after a frost, as the cold triggers the conversion of starches into sugars.
- The Superstars: Kale, spinach, collard greens, and Swiss chard are incredibly resilient. Some varieties of kale can survive temperatures as low as 0°F (-18°C).
- Salad Staples: Mache (lamb’s lettuce), claytonia (miner’s lettuce), and arugula thrive in the cool, moist conditions of winter.
- Flavor Profiles: Winter-grown greens are often sweeter and more tender than their summer counterparts because they grow more slowly, concentrating their nutrients and sugars.
4. Root Vegetables
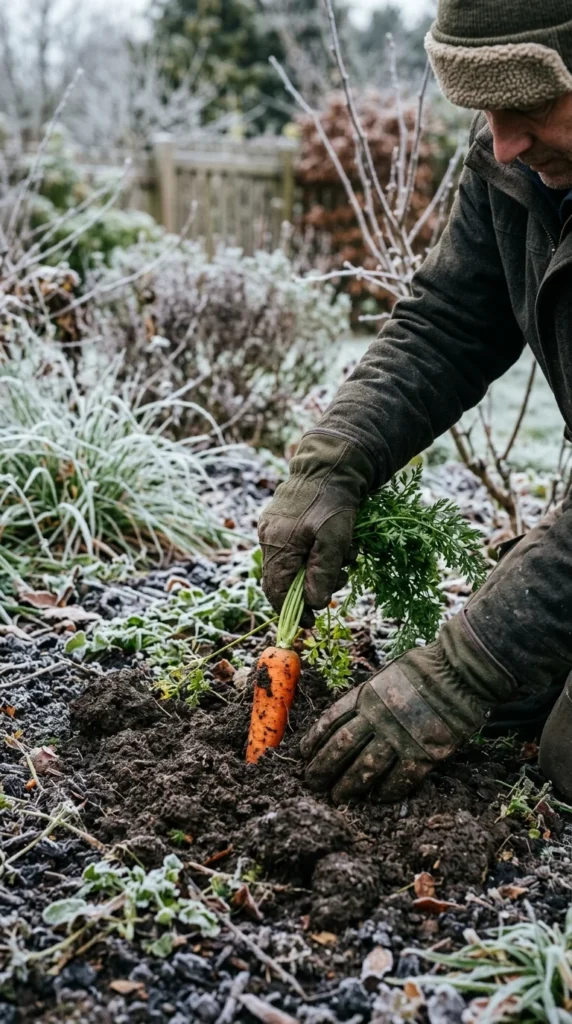
Root crops are the hidden treasures of the winter garden. The soil acts as a natural insulator, keeping the edible portions protected while the tops might wither or go dormant.
- In-Ground Storage: Carrots, parsnips, beets, and radishes can be left in the ground well after the first frost. In fact, parsnips are rarely harvested until they have experienced several hard freezes.
- Succession Planting: For a winter harvest, these crops should be planted in late summer or early autumn so they reach maturity just as the cold sets in. Once growth slows down in December, the garden essentially becomes a “living refrigerator.”
- Mulching for Access: The biggest challenge is often the ground freezing solid, making harvest impossible. A thick layer of mulch (discussed below) keeps the soil workable.
5. Soil Mulching
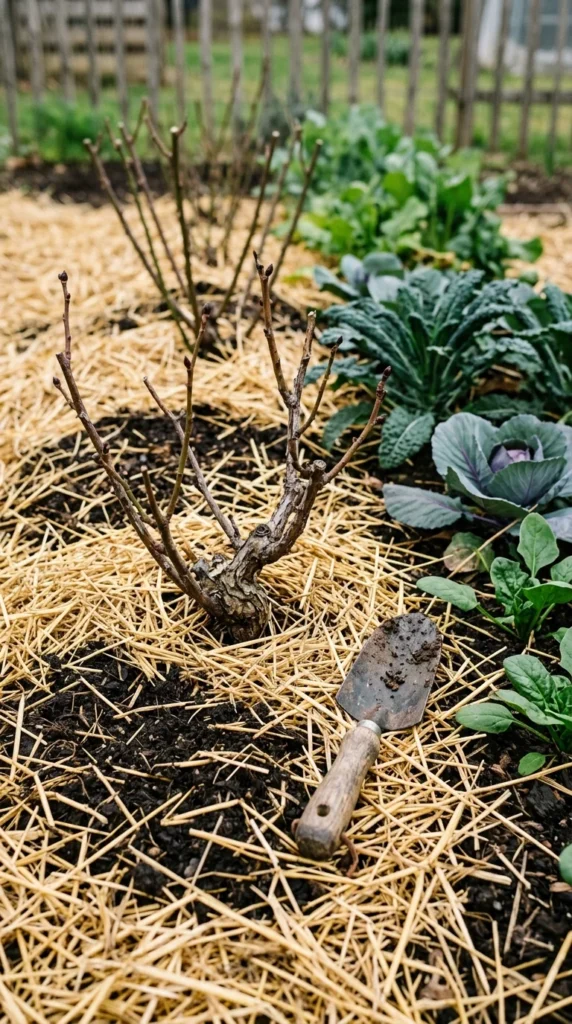
Mulch is the gardener’s best friend during the winter. It serves as a protective blanket for the soil biology and the root systems of your plants.
- Insulation: A 4-to-6-inch layer of straw, shredded leaves, or wood chips prevents the soil from fluctuating wildly in temperature. This stops the “freeze-thaw” cycle that can heave plants out of the ground and damage roots.
- Moisture Retention: While winter can be wet, cold air is often very dry. Mulch prevents the soil from drying out and protects the microscopic organisms that keep the soil healthy.
- Suppression: Mulch prevents winter weeds from gaining a foothold and slowly breaks down over the season, adding precious organic matter back into the earth.
6. Indoor Starting
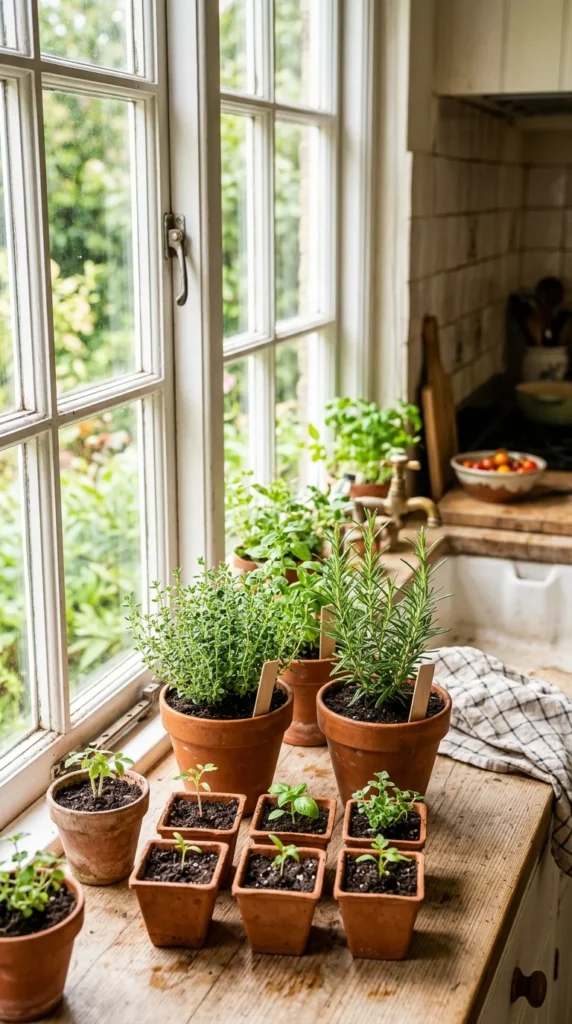
When the outdoor conditions become truly inhospitable, the successful gardener moves operations indoors. This allows for a continuous supply of fresh flavors and prepares you for the upcoming spring.
- Windowsill Herbs: Thyme, rosemary, and sage are hardy perennials that can transition to an indoor pot for the winter. Ensure they have a very bright window and be careful not to overwater, as indoor air can lead to slower evaporation.
- Microgreens: These are the ultimate winter crop. Growing them in small trays on a counter requires very little light and provides a nutrient-dense harvest in as little as 10 days.
- Pre-Season Seed Starting: Late winter (February) is the ideal time to start long-season crops like peppers and onions indoors under grow lights, giving them a significant head start before the soil warms up.
7. Hydration Needs
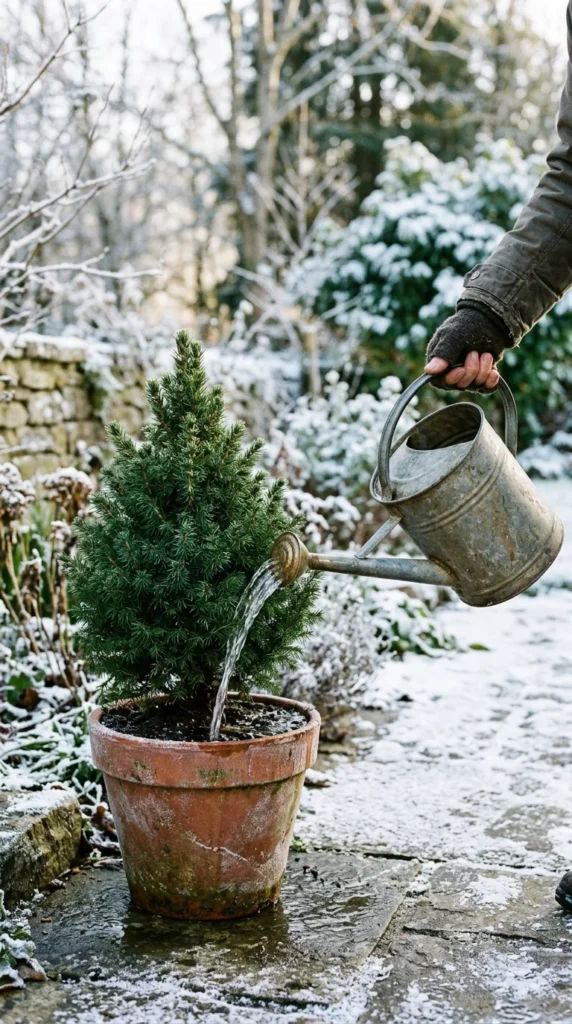
Watering in winter is a delicate balance. While plants grow slower and need less water, they are still biological organisms that require hydration to survive.
- Watch the Weather: Never water when the ground is frozen, as the water will simply sit on top and potentially freeze around the crown of the plant.
- The Midday Rule: Water your plants in the late morning or early afternoon. This allows the water to soak into the soil before temperatures drop at night, preventing ice from forming around the roots.
- Check the Soil: Stick your finger into the soil under the mulch. If it feels dry two inches down, it is time to water. Evergreens, in particular, need consistent moisture in winter to prevent “needle burn.”
8. Tool Maintenance
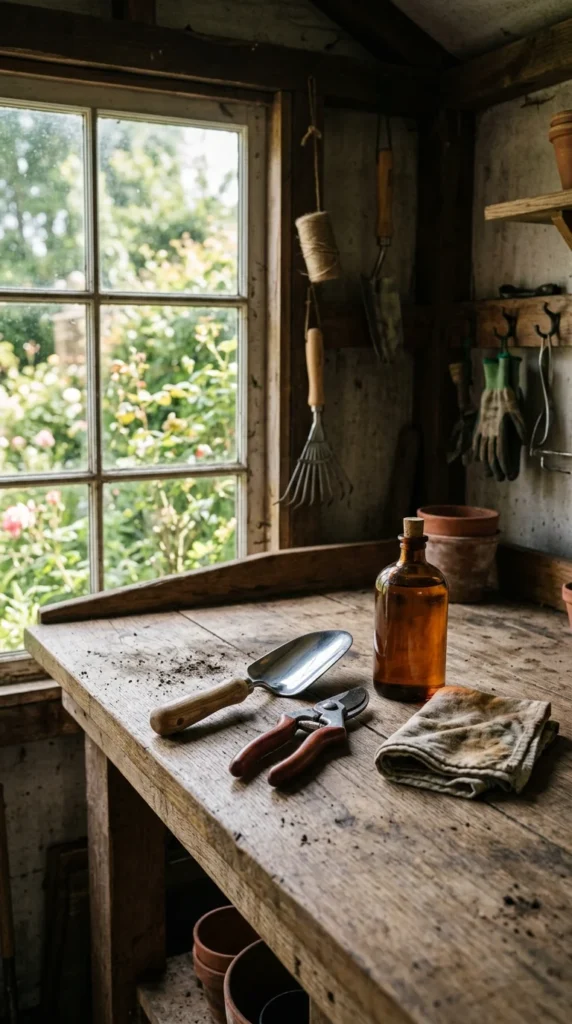
Winter is the perfect time for the “administrative” side of gardening. Proper tool care ensures that when the spring rush hits, you are ready to work efficiently.
- Cleaning and Sharpening: Remove all dirt and rust from shovels, hoes, and shears using a wire brush or steel wool. Use a whetstone to sharpen blades; sharp tools make cleaner cuts that heal faster on plants.
- Oiling: Coat metal parts with a thin layer of vegetable oil or WD-40 to prevent rust. Rub wooden handles with linseed oil to prevent them from drying out and splintering.
- Inventory: Check your hoses for cracks, organize your seed packets, and make a list of any equipment that needs replacing.
9. Spring Planning
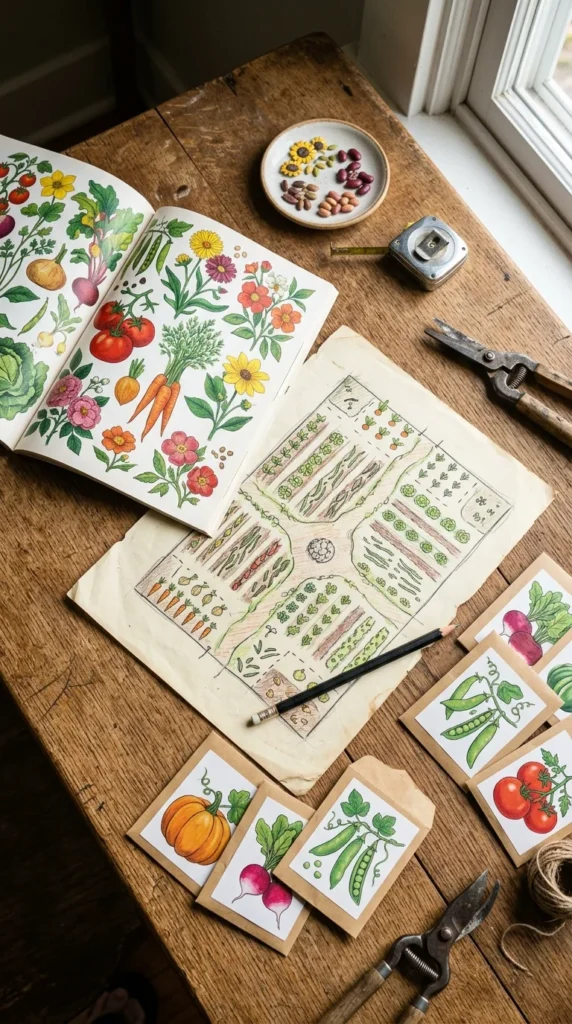
The most successful gardeners use the quiet of winter to reflect on the previous year and plan for the next. This mental preparation is just as important as the physical labor.
- Garden Journaling: Review what worked and what didn’t. Did the tomatoes get blight? Was the kale particularly productive? Writing these down prevents you from repeating mistakes.
- Crop Rotation: Plan your beds for the coming year to ensure you aren’t planting the same family of vegetables in the same spot, which helps manage pests and soil depletion.
- Ordering Early: Popular and heirloom seed varieties often sell out by early spring. Use the winter months to browse catalogs and place orders early to ensure you get exactly what you want for your garden’s future.