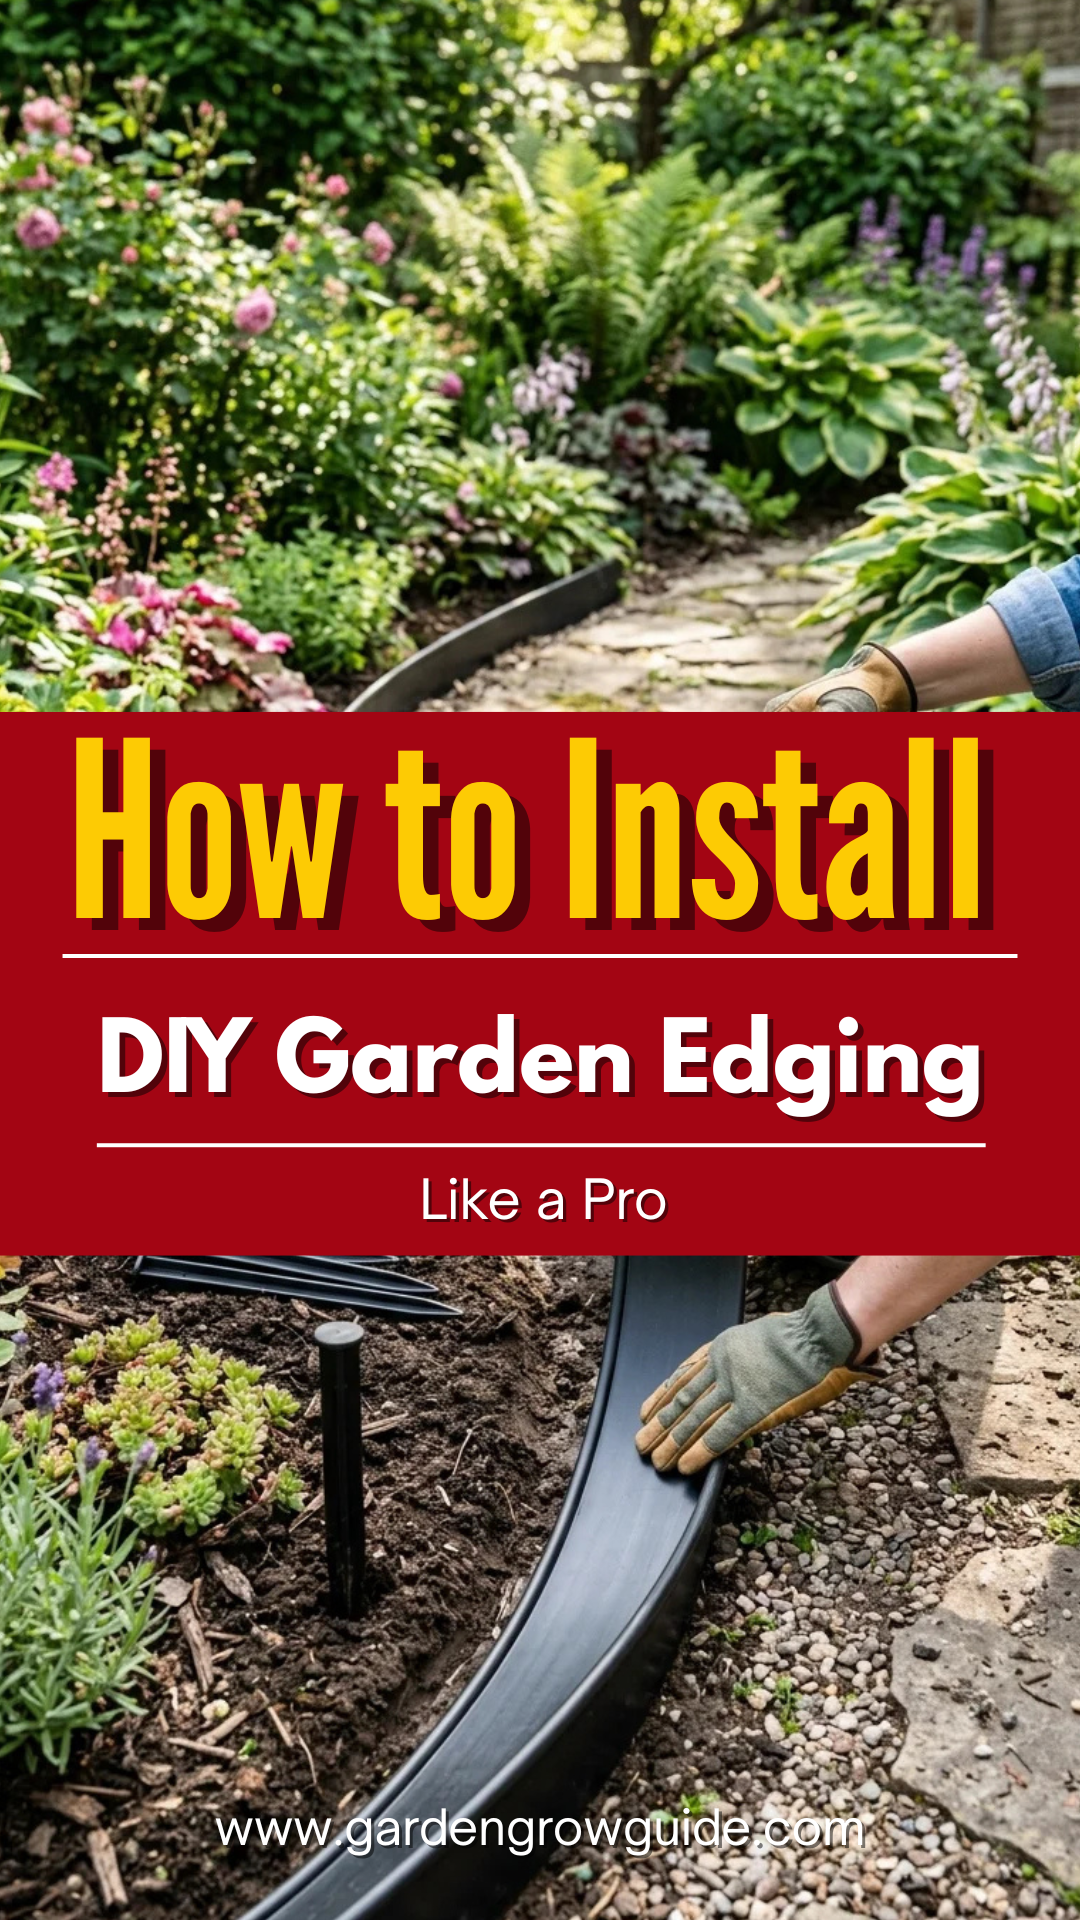
Garden edging is the secret weapon of professional landscapers. It is the definitive line that separates the wild beauty of a flower bed from the disciplined carpet of a manicured lawn. Beyond aesthetics, edging serves a functional purpose: it prevents grass roots from invading your garden beds and keeps mulch or gravel from washing away during heavy rain.
Installing garden edging yourself is one of the most cost-effective ways to increase your home’s curb appeal. However, the difference between a “DIY look” and a “pro look” lies entirely in the preparation and the choice of materials. This guide will walk you through the various options and the precise steps required to achieve a flawless finish.
1. Plastic Edging
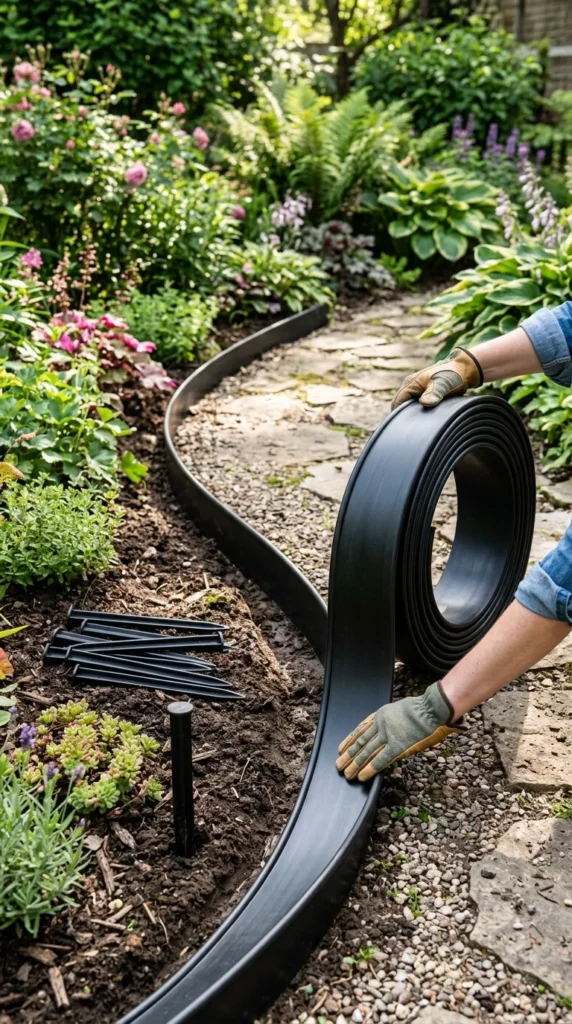
Plastic edging is the most common choice for homeowners due to its affordability and flexibility. When chosen correctly—opting for heavy-duty, commercial-grade rolls rather than thin, flimsy strips—it can last for a decade. The key to a professional plastic installation is ensuring the “bead” (the rounded top) sits just above the soil line, and using enough stakes to prevent “frost heave,” where the edging pops out of the ground during temperature changes.
2. Metal Edging
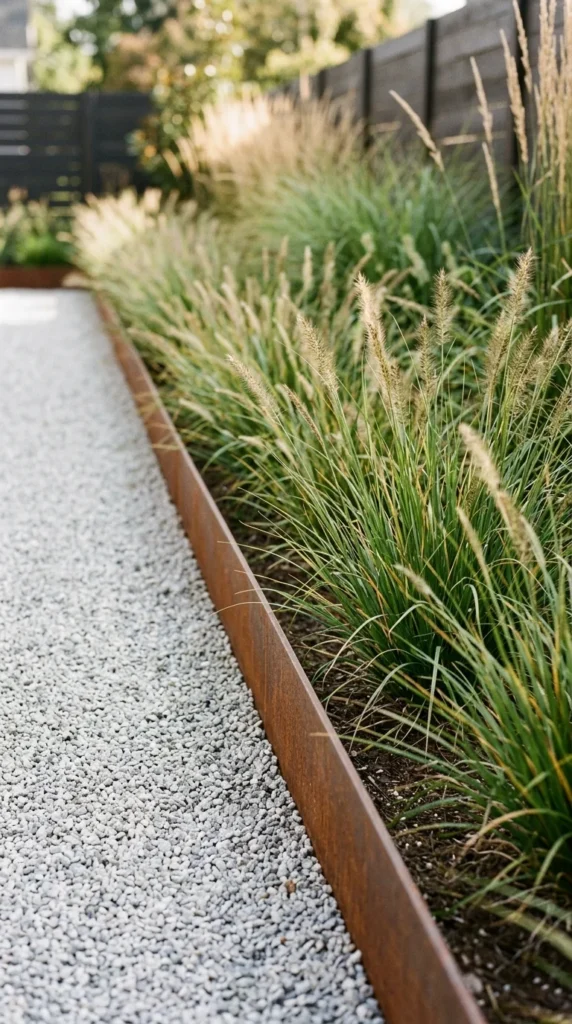
Metal edging, typically made of aluminum or steel, is the gold standard for clean, modern landscapes. It is incredibly durable and excels at creating perfectly straight lines or crisp, tight curves. Steel edging is heavy and permanent, often developing a beautiful rustic patina over time, while aluminum is lightweight and rust-proof. Pro-tip: Always use a wooden block when hammering metal edging to avoid denting the top rail.
3. Paver Stones
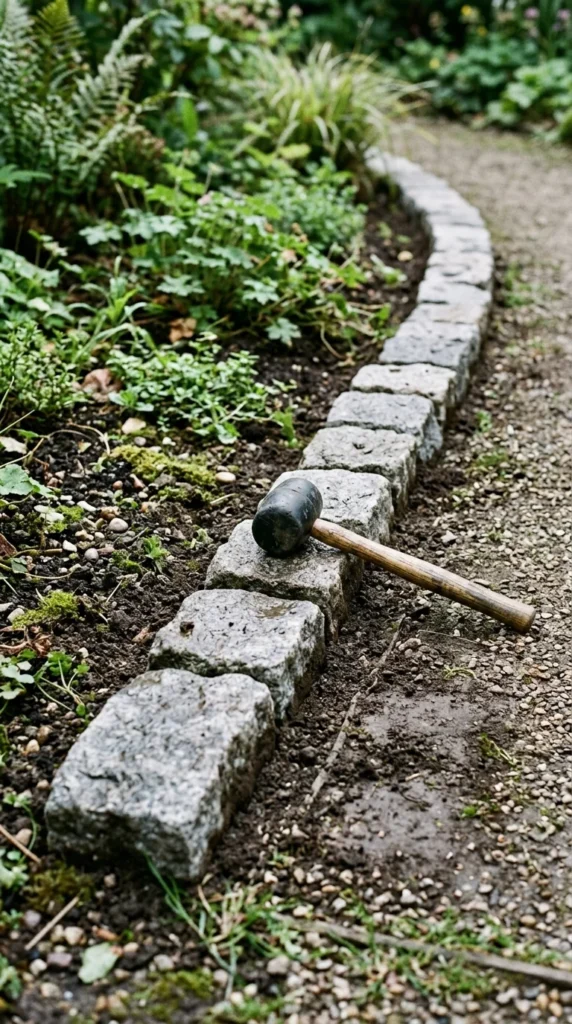
Stone or brick edging provides a classic, timeless look. It adds a sense of weight and permanence to the garden. Using pavers allows for a “mowing strip”—if you lay the stones flat and flush with the grass, you can run your lawnmower wheel right over them, eliminating the need for string trimming later. This is the ultimate “pro” move for low-maintenance landscaping.
4. Wood Edging
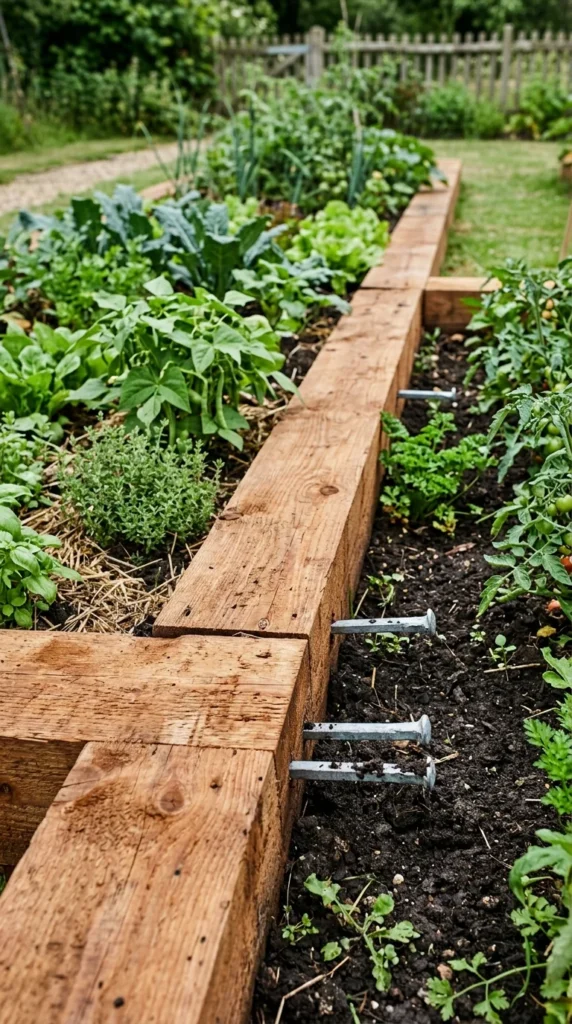
Wood edging, such as cedar or pressure-treated timbers, is ideal for straight lines and raised garden beds. It offers a natural, organic feel that blends seamlessly with rustic or cottage-style homes. To ensure longevity, always use rot-resistant wood and consider a gravel base underneath the timber to facilitate drainage and prevent the wood from sitting in constant moisture.
5. Natural Trenching
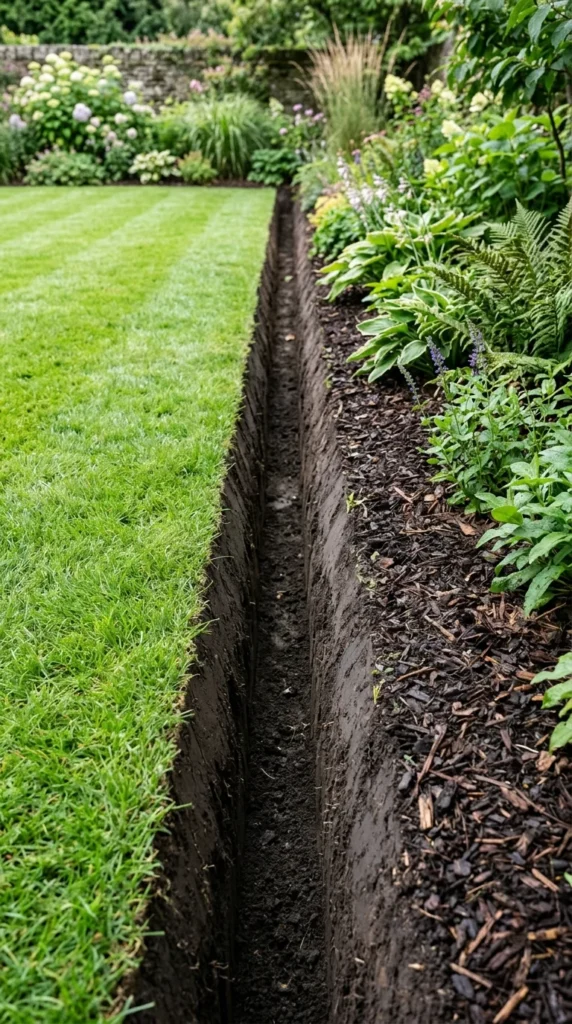
Often referred to as a “Victorian edge,” this method uses no physical material at all. It involves cutting a 3-to-4-inch deep trench between the lawn and the bed. It is the most cost-effective method and is used in many high-end botanical gardens. While it requires a quick “re-cut” once or twice a year, it provides the cleanest, most natural look possible.
Phase 1: Tools and Preparation
Before you strike a spade into the earth, you need the right tools. A professional finish starts with professional-grade equipment.
- Spade or Edging Knife: A square-ended spade is better for straight lines, while a half-moon edger is ideal for curves.
- String Line and Stakes: Essential for ensuring your lines are straight and don’t wander.
- Garden Hose: Use this to “layout” curves before digging. It allows you to visualize the flow of the garden.
- Marking Paint: Bright orange or white spray paint to trace your line.
- Rubber Mallet: For tapping edging into place without damaging the material.
- Level: Essential if you are using stones or wood.
Phase 2: The Step-by-Step Installation
Step 1: Layout the Design
Don’t wing it. Use a garden hose or a heavy rope to create the shape of your bed. Step back and look at it from your porch or the street. Once you are happy with the shape, trace the line with marking paint. For straight lines, drive stakes into the ground and tie a string taut between them.
Step 2: Clearing the Path
Remove any existing sod or weeds along the painted line. Use your spade to cut a “V” shape along the line. If you are installing physical edging, you need to dig a trench that is slightly deeper than the edging material itself.
Step 3: Setting the Foundation
For stone or wood edging, a 1-inch layer of leveling sand or fine gravel in the bottom of the trench is a professional secret. This prevents the edging from sinking unevenly over time and allows for minor adjustments to get the top perfectly level.
Step 4: Installing the Material
- For Plastic/Metal: Place the edging in the trench. Connect the pieces according to the manufacturer’s instructions. Use the provided stakes to anchor it every 2-3 feet.
- For Stones: Place the stones one by one, using a rubber mallet to tap them into the sand base. Use a level to ensure a consistent height.
- For Trenching: Simply clean out the trench with a spade, ensuring the grass side is a 90-degree vertical cut.
Step 5: Backfilling and Mulching
Once the edging is secure, fill the gaps on the “garden side” with soil and pack it down firmly. On the “lawn side,” ensure the grass is tucked tightly against the edging. Finish by adding a fresh layer of mulch to your garden bed, which should sit about an inch below the top of your new edging.
Professional Tips for Longevity
- Depth is Key: Always ensure your edging is deep enough to stop “rhizomes” (underground grass roots). A depth of 4 inches is usually the minimum required to keep invasive grasses like Bermuda or Kentucky Bluegrass out of your beds.
- Account for Drainage: Never create a “dam” with your edging. If your yard slopes, ensure there are small gaps or that the edging doesn’t block the natural flow of water, which could lead to puddling and root rot.
- The Mower Test: Before finishing, walk your lawnmower along the edge. If the blade hits the edging, it’s too high. Adjust it now to avoid ruined equipment and frustrated Saturday mornings later.
- Overlap Joints: If using plastic or metal, always overlap the joints by at least two inches. This prevents the sections from separating during the winter freeze-thaw cycles.
By following these steps and choosing the material that best fits your home’s architecture, you can achieve a landscape that looks professionally designed and meticulously maintained. Garden edging is a small project that yields a massive visual return.