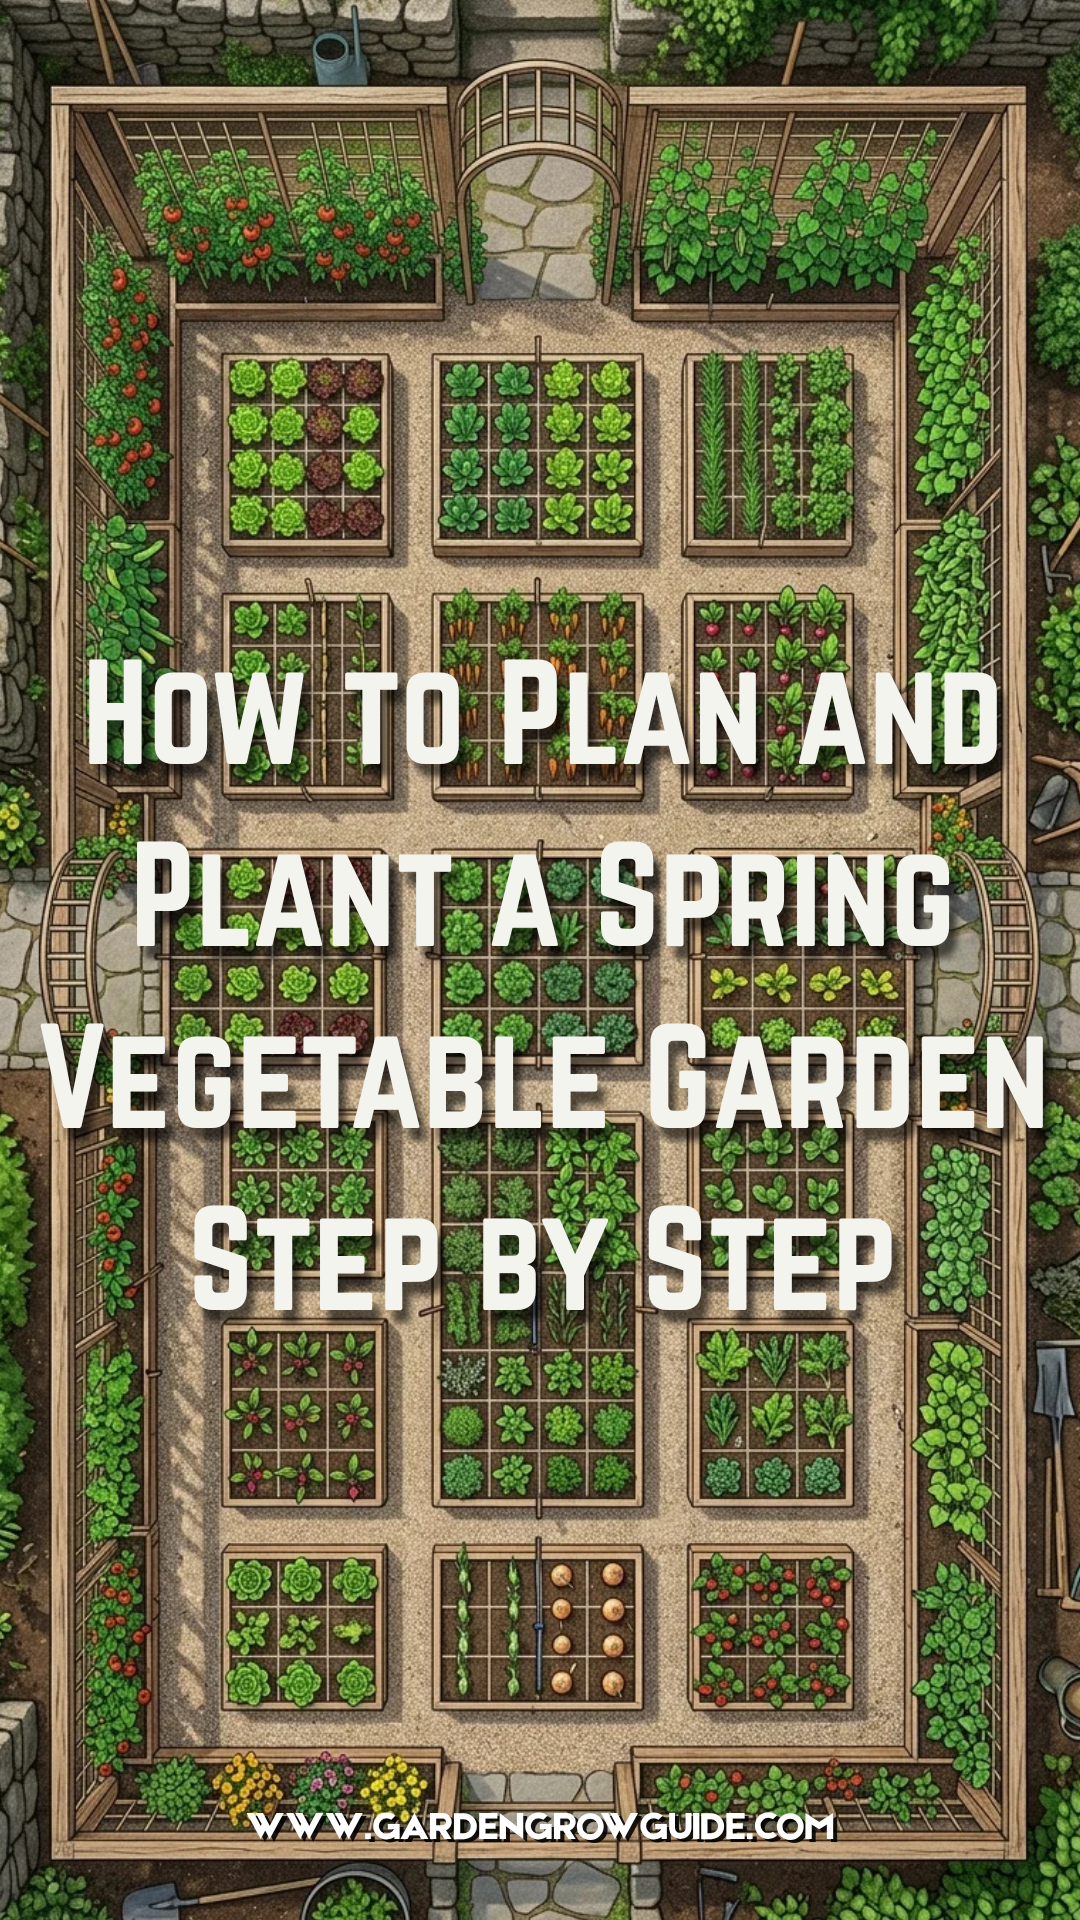
The arrival of spring brings a sense of renewal and the perfect opportunity to cultivate your own food. A well-planned spring vegetable garden not only provides fresh, nutrient-dense produce but also offers a therapeutic escape into nature. Transitioning from the dormant winter months to a productive growing season requires careful strategy, from understanding your local climate to selecting the right varieties of crops. This comprehensive guide will walk you through the essential steps to ensure your spring garden is a resounding success.
1. Site Selection
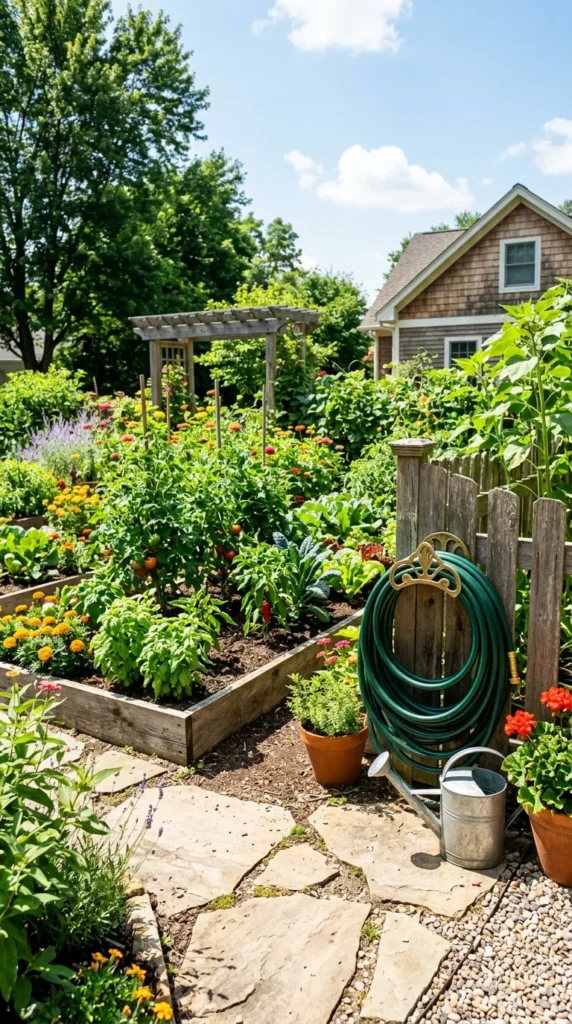
The success of your garden depends heavily on where you place it. Most spring vegetables, particularly those that produce fruit or large root systems, require a minimum of six to eight hours of direct sunlight daily. Observe your yard throughout the day to identify the areas that receive the most consistent light.
Beyond sunlight, consider the topography and accessibility. Avoid low-lying areas where frost pockets can form or where water tends to pool after rain, as “wet feet” can rot delicate spring roots. Proximity to a water source is equally vital; you are far more likely to maintain a consistent watering schedule if the garden is within easy reach of a hose or irrigation system. Lastly, ensure the site is protected from harsh, drying winds which can damage tender young seedlings.
2. Soil Quality
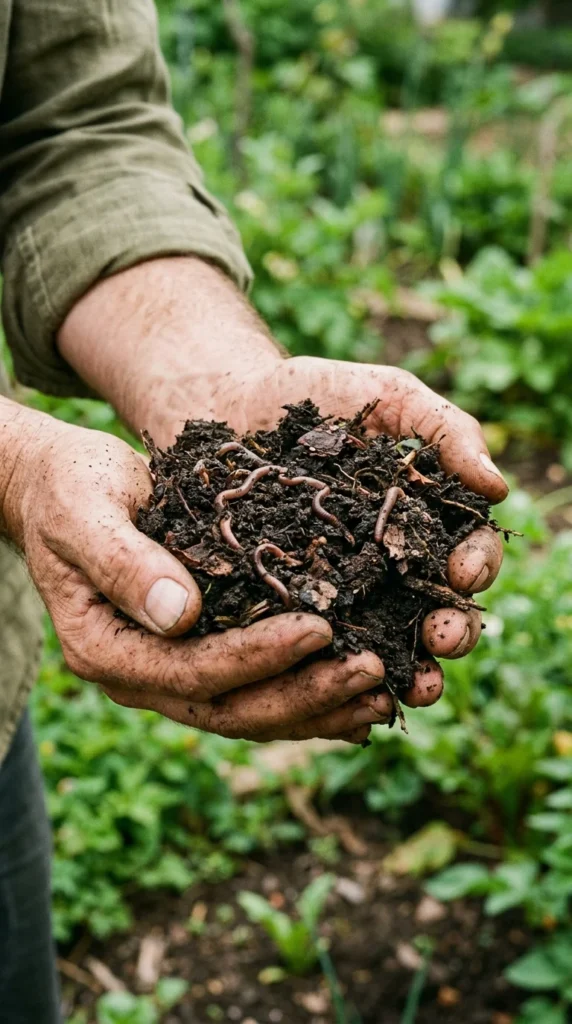
Soil is the foundation of your garden’s health. Spring soil is often compacted or depleted of nutrients after the winter. Start by performing a soil test to determine the pH levels and nutrient content. Most vegetables thrive in slightly acidic to neutral soil (pH 6.0 to 7.0).
Once you understand your soil’s composition, amend it with organic matter. Well-rotted manure, leaf mold, or high-quality compost improves soil structure, enhances drainage in clay soils, and increases water retention in sandy soils. If you are using raised beds, you have the advantage of starting with a perfect mix of topsoil, compost, and peat moss or coconut coir. Avoid working the soil while it is still soaking wet from spring rains, as this can lead to long-term compaction.
3. Garden Layout
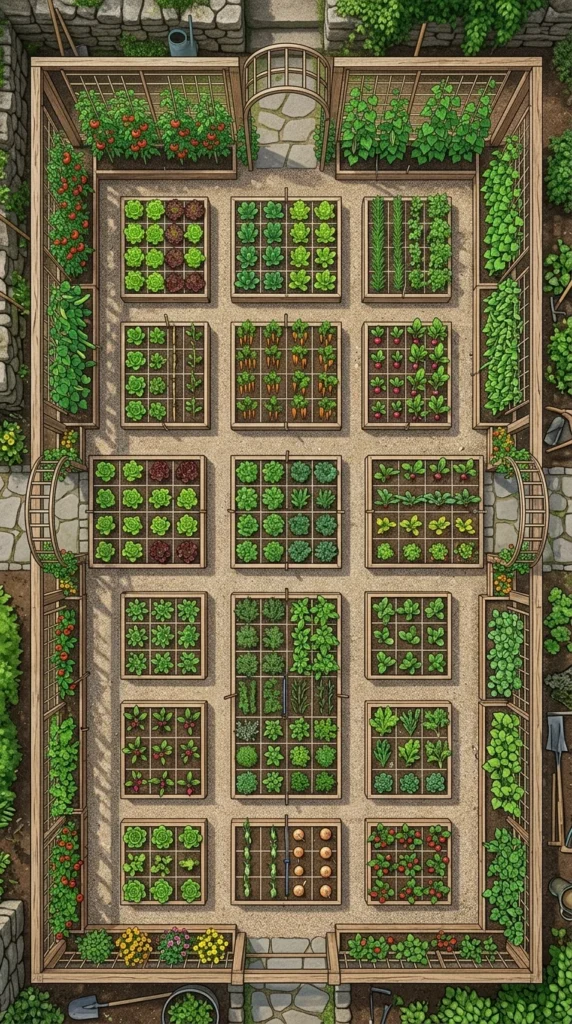
How you arrange your plants can dictate the ease of maintenance and the total yield. There are several popular methods for laying out a spring garden:
- Row Cropping: The traditional method, ideal for large plots where you might use a tiller. It involves long, straight lines of single crops with walking paths in between.
- Square Foot Gardening: This intensive method involves dividing a raised bed into small squares (usually 1×1 foot). It is perfect for small spaces and helps minimize weeds.
- Vertical Gardening: For spring crops like peas or pole beans, using trellises or teepees saves ground space and improves air circulation, reducing the risk of fungal diseases.
- Companion Planting: Strategically placing certain plants together to deter pests or enhance growth. For example, planting marigolds near greens can help repel aphids.
4. Crop Selection
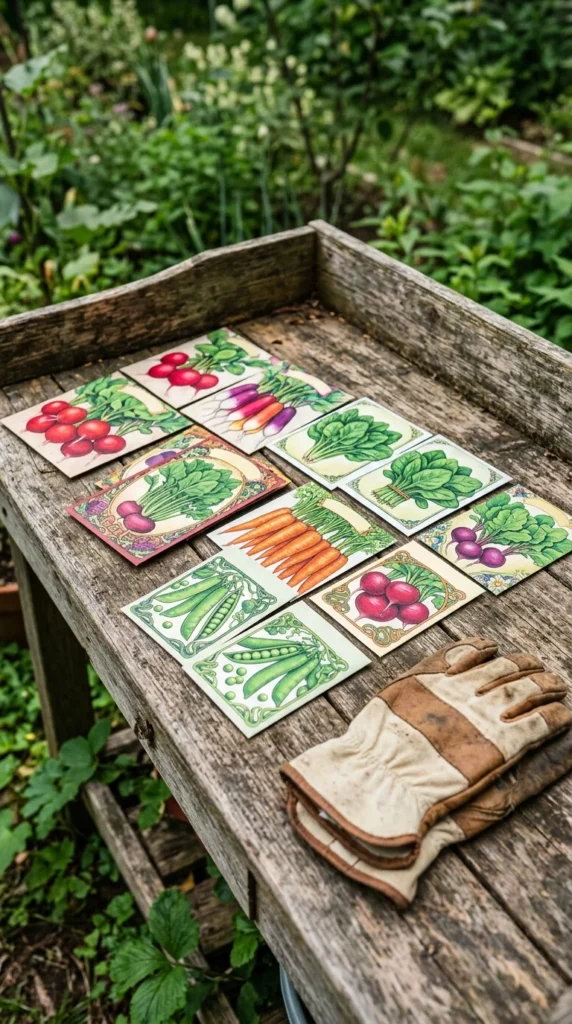
Spring is the time for “cool-season” crops. These are vegetables that can withstand light frosts and actually prefer the lower temperatures of March, April, and May. Selecting the right varieties for your specific USDA Hardiness Zone is crucial.
Key spring crops include:
- Leafy Greens: Spinach, lettuce, kale, and Swiss chard.
- Root Vegetables: Radishes, carrots, beets, and turnips.
- Brassicas: Broccoli, cauliflower, cabbage, and Brussels sprouts.
- Legumes: Sugar snap peas, garden peas, and fava beans.
When selecting seeds or starts, look for “early-maturing” varieties. This allows you to harvest your spring crop before the intense heat of summer arrives, which can cause many spring vegetables to “bolt” (go to seed) and become bitter.
5. Essential Tools
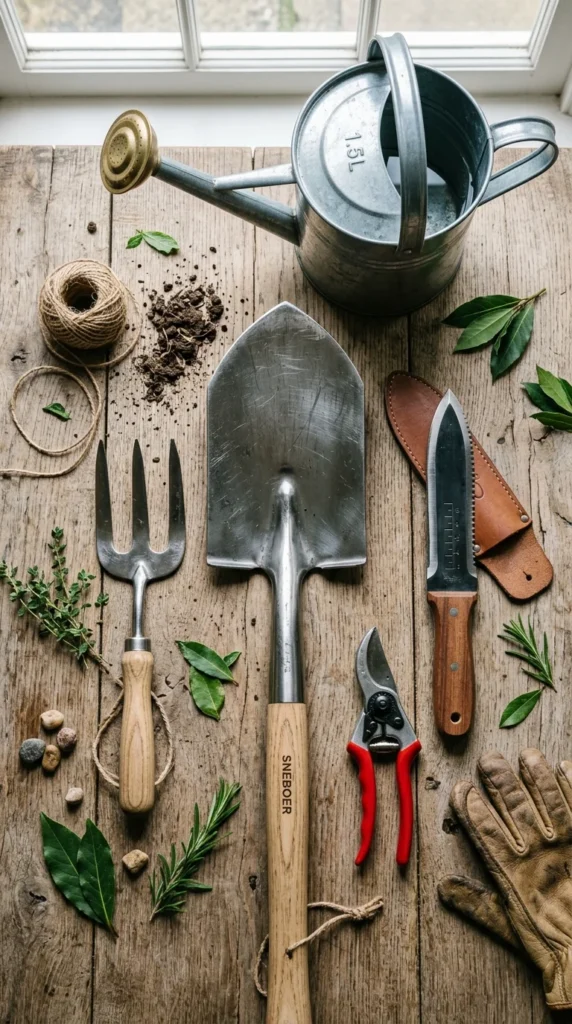
Having the right tools makes the labor of gardening more efficient and enjoyable. You don’t need a shed full of expensive equipment, but a few high-quality basics are indispensable. A sturdy spade or garden fork is necessary for turning the soil and incorporating compost. A rake is essential for leveling the seedbed and removing large stones.
For the actual planting and maintenance, a hand trowel and a weeding tool (like a stirrup hoe or a hand weeder) are vital. As the season progresses, a sharp pair of pruning shears will help you harvest and tidy up plants. Don’t forget personal gear: a comfortable pair of waterproof gloves and a wide-brimmed hat will keep you protected while you work.
6. Planting Methods
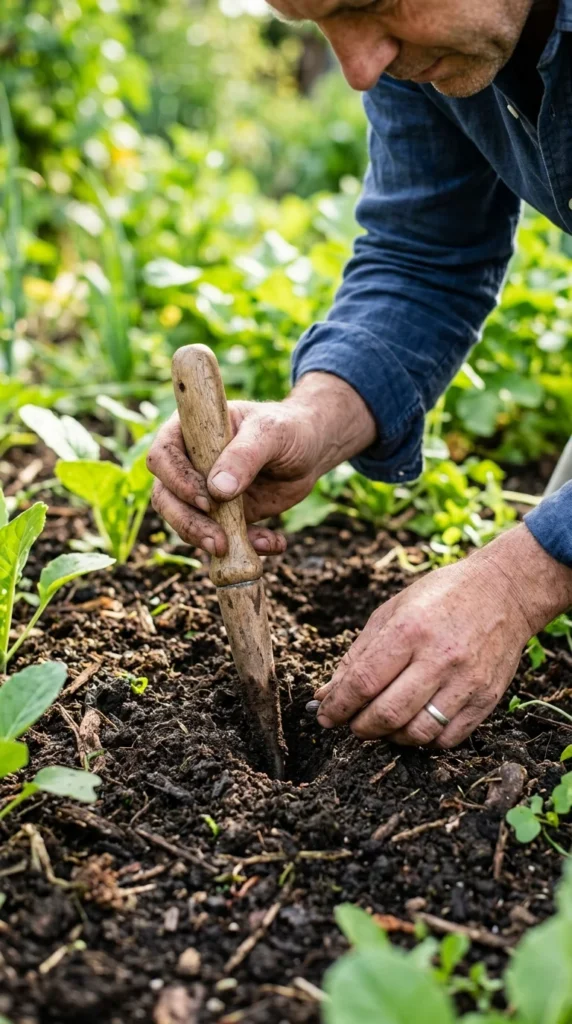
There are two primary ways to start your spring garden: direct sowing and transplanting.
- Direct Sowing: This involves placing seeds directly into the garden soil. This is preferred for root vegetables (like carrots and radishes) because they do not like their roots disturbed. It is also the standard for peas and many leafy greens. Follow the depth instructions on the seed packet—a general rule of thumb is to plant seeds at a depth of two to three times their width.
- Transplanting: This involves starting seeds indoors weeks before the last frost or buying “starts” from a nursery. This gives crops like broccoli, cabbage, and head lettuce a significant head start. When transplanting, ensure you “harden off” the plants by gradually exposing them to outdoor conditions over a week to prevent transplant shock.
7. Watering Systems
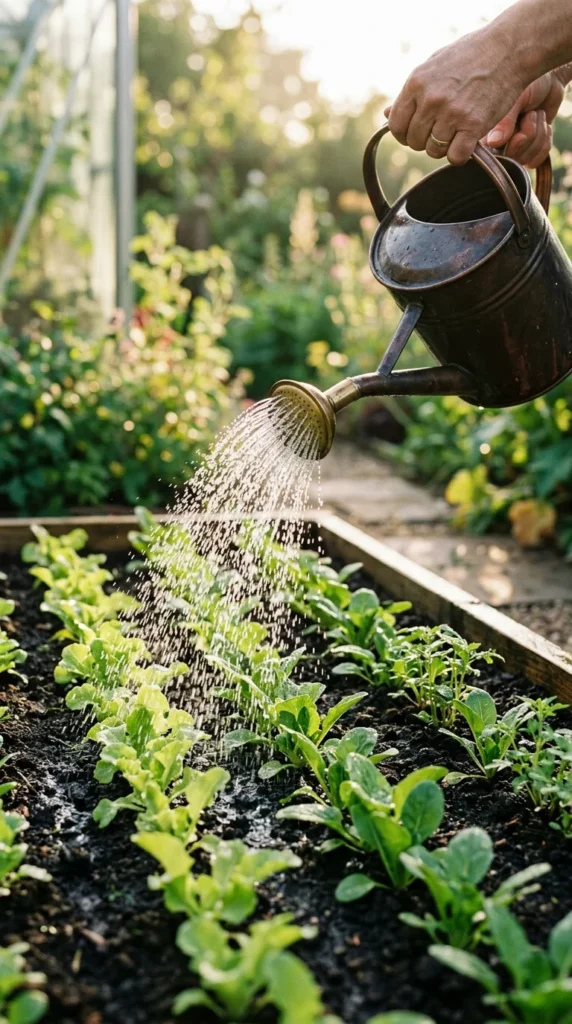
Consistent moisture is the secret to tender, sweet spring vegetables. Spring weather can be unpredictable, oscillating between heavy rains and dry spells. The goal is to keep the soil consistently moist but not waterlogged.
Watering in the early morning is most effective, as it allows the foliage to dry during the day, which prevents disease. If possible, apply water directly to the base of the plants rather than overhead. Drip irrigation or soaker hoses are excellent investments for spring gardens; they deliver water slowly to the roots and minimize evaporation. As the weather warms up, adding a layer of organic mulch (like straw or shredded leaves) can help maintain soil moisture and suppress weed growth.
8. Pest Management
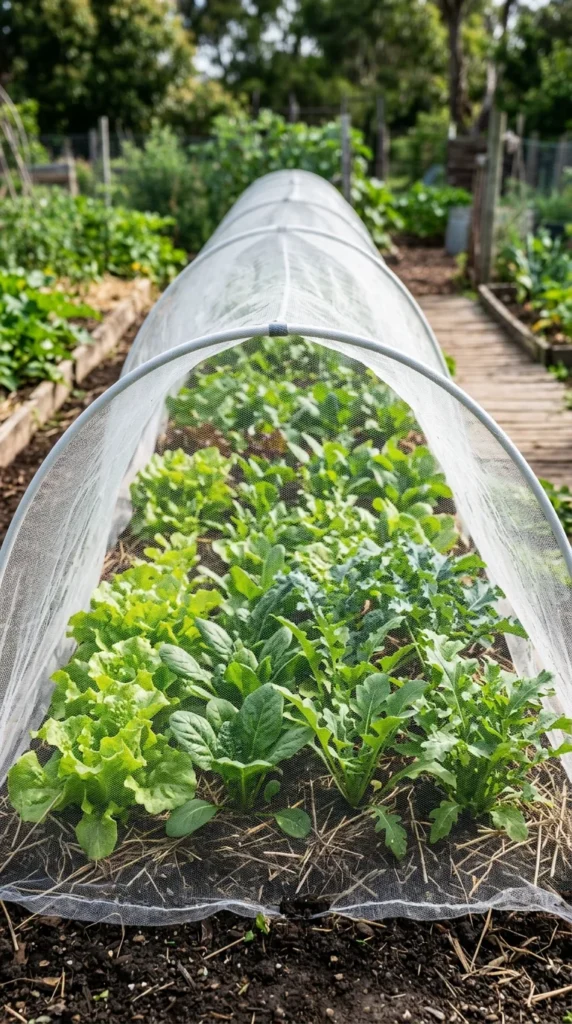
Even in the cool of spring, pests can be an issue. Slugs and snails thrive in the damp spring environment, while aphids often appear on tender new growth.
Instead of reaching for harsh chemicals, employ Integrated Pest Management (IPM) strategies:
- Physical Barriers: Use floating row covers to keep insects like cabbage moths away from your brassicas.
- Handpicking: For larger pests like slugs or tomato hornworms (later in the season), simply removing them by hand is often the most effective method.
- Beneficial Insects: Encourage ladybugs, lacewings, and predatory wasps by planting flowers like dill and alyssum nearby.
- Organic Sprays: If an infestation becomes unmanageable, use neem oil or insecticidal soap, which are safer for the environment and beneficial pollinators.
By following these steps, you create a resilient and productive environment. The effort you put into planning and planting during the early spring months will reward you with a bountiful harvest and the unparalleled satisfaction of eating food you grew yourself.