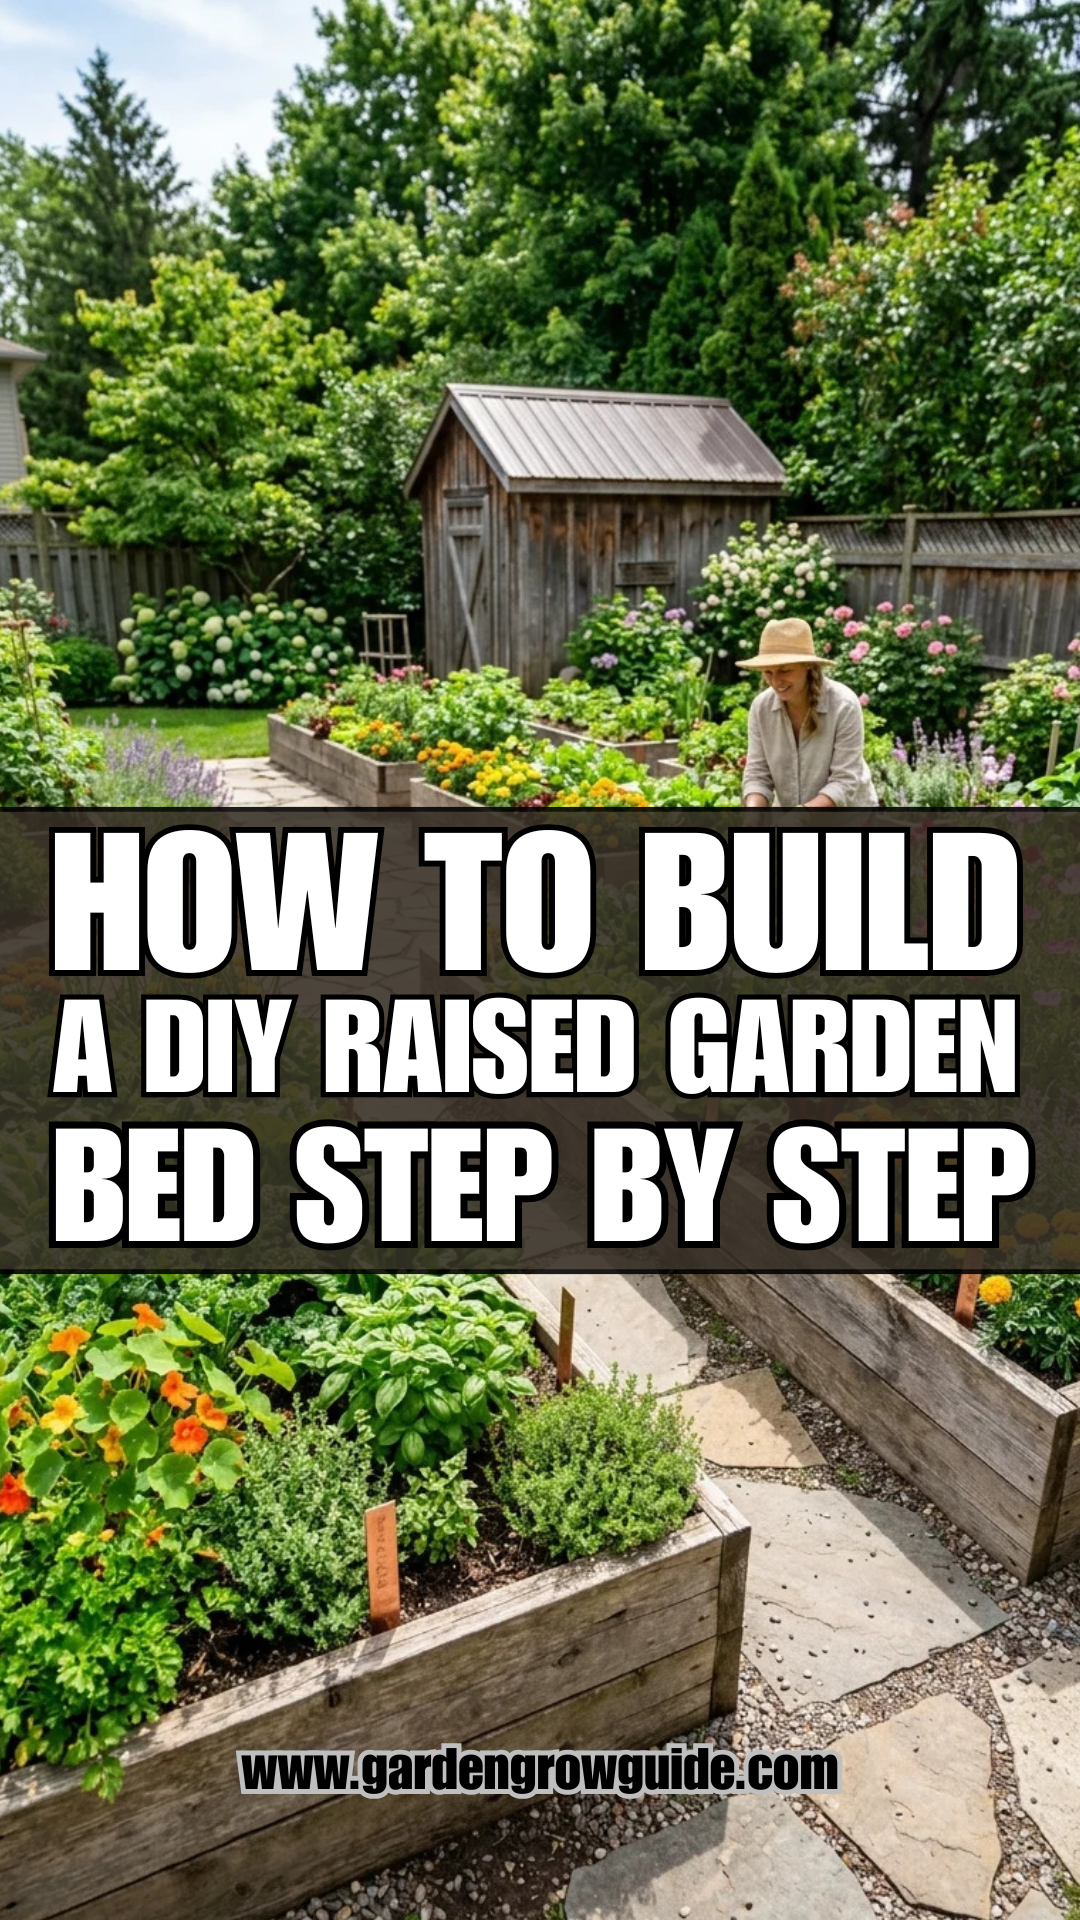
Growing your own food or maintaining a pristine flower display becomes significantly more manageable with the use of raised garden beds. These structures offer superior drainage, better soil temperature control, and a physical barrier against many common garden pests. Building one yourself is a rewarding DIY project that allows you to customize the dimensions to fit your specific landscape.
1. Materials Selection
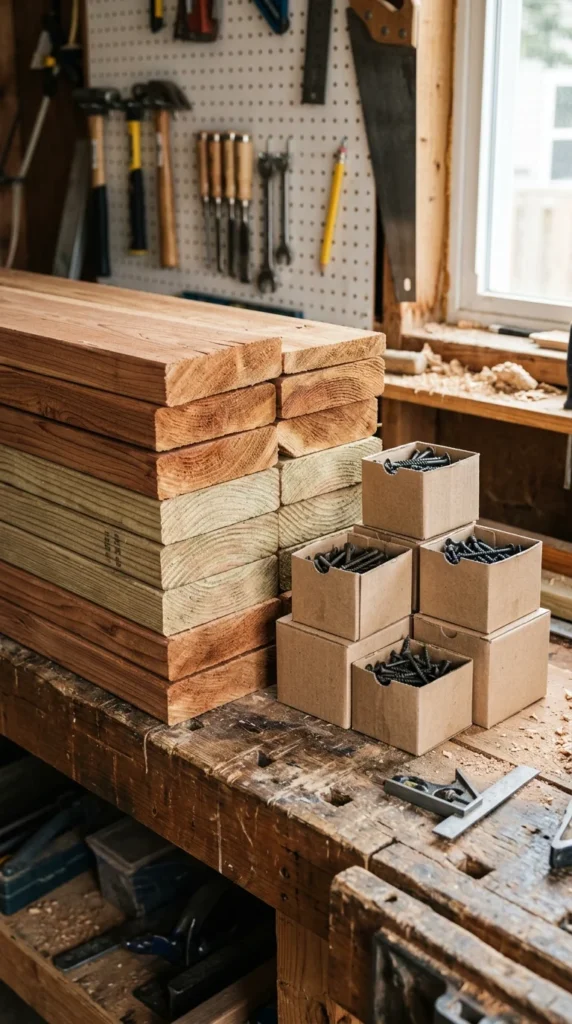
The longevity of your raised bed depends heavily on the wood you choose. Cedar and redwood are the gold standards because they contain natural oils that resist rot and insect infestation without the need for chemical treatments. If you are on a budget, heat-treated (marked “HT”) pine or Douglas fir are viable options, though they may only last 5 to 7 years compared to cedar’s 15+ years. Avoid older reclaimed wood that may have been treated with creosote or arsenic. For fasteners, always use galvanized or stainless steel deck screws to prevent rust and wood staining.
2. Site Preparation
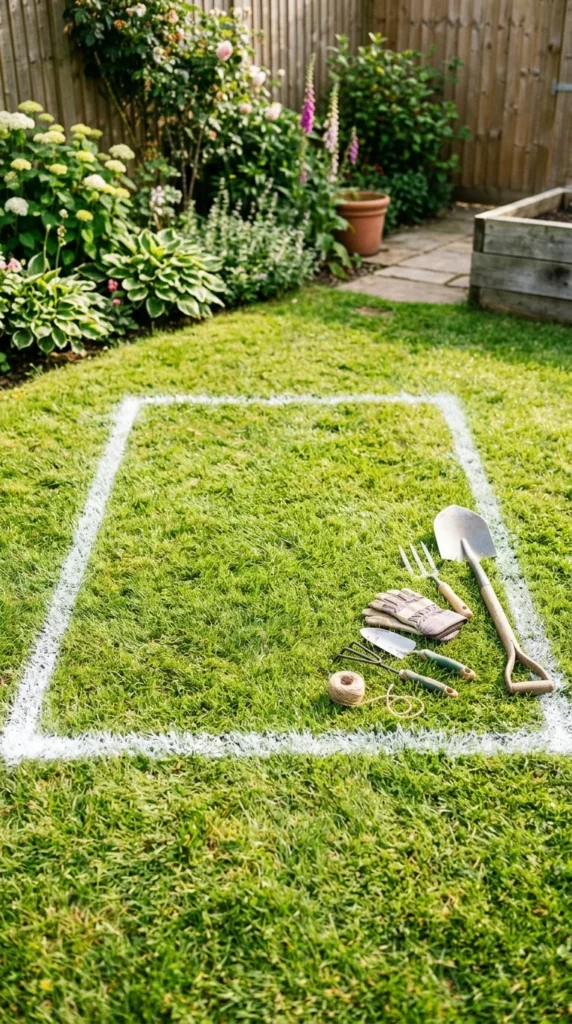
Before you pick up a saw, you must identify the perfect location. Most vegetables require at least six to eight hours of direct sunlight daily. Ensure the site is relatively level to prevent water from pooling at one end of the bed. Use a garden hose or spray paint to mark the footprint of your bed. While you can build over grass, it is often helpful to scalp the grass as short as possible or lay down a layer of cardboard to smother existing weeds before placing the bed.
3. Cutting Timber
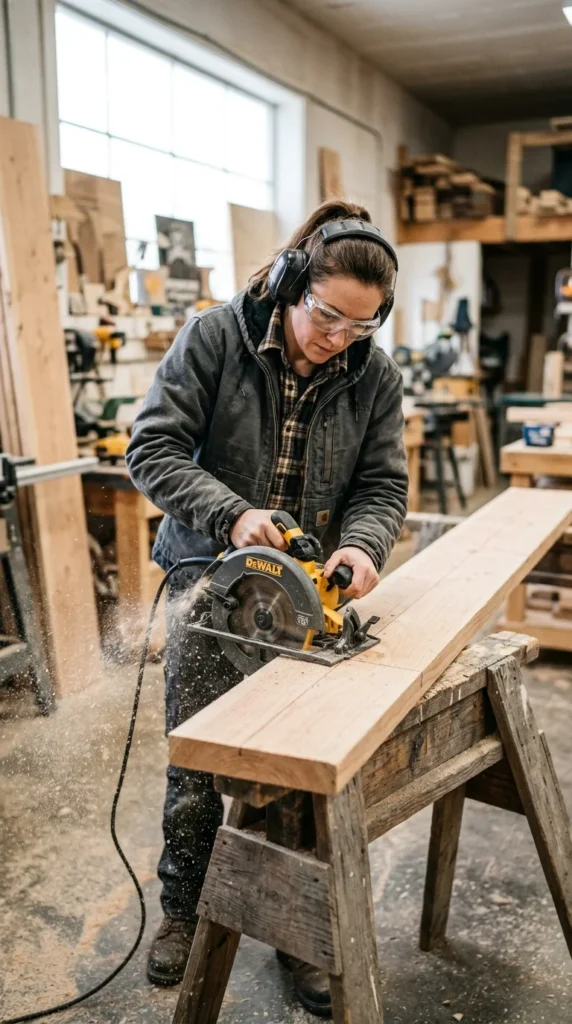
Accuracy during the cutting phase ensures a square and sturdy bed. For a standard 4×8 foot bed, you will need to cut your planks into four 8-foot sections and four 4-foot sections (if you are stacking two planks high). You will also need corner posts—typically 4×4 lumber—cut to the height of your bed walls. If you plan to sink the posts into the ground for extra stability, add an extra 6 to 12 inches to their length. Always measure twice and use a speed square to ensure your lines are perfectly 90 degrees.
4. Frame Assembly
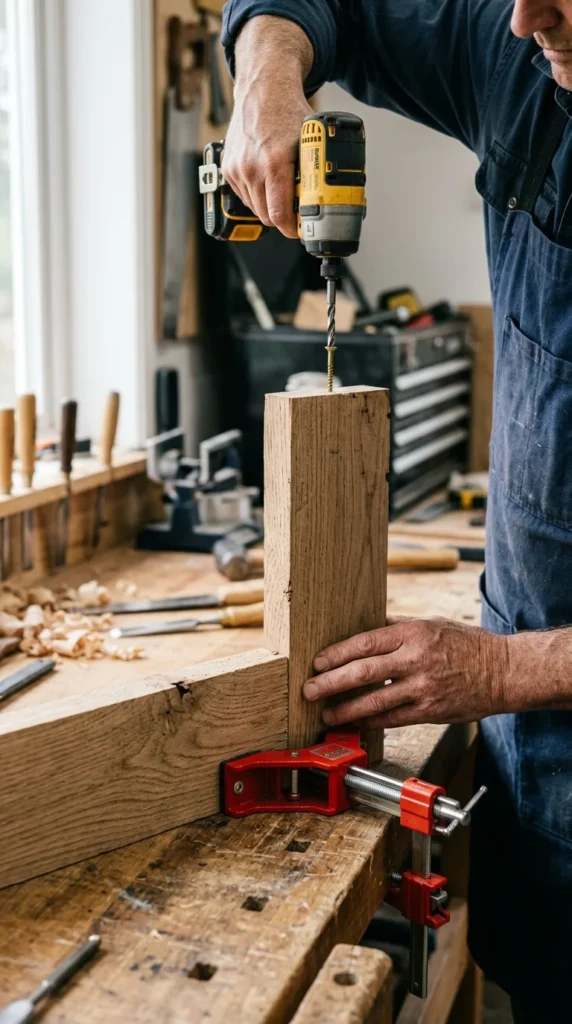
Begin assembly on a flat surface like a garage floor or driveway. Position your 4×4 corner posts at the ends of your shorter planks. Pre-drill pilot holes to prevent the wood from splitting, then drive two to three screws through the plank into the post. Repeat this for all four corners until you have two “end caps.” Next, attach the long 8-foot side planks to these end caps. If your bed is longer than 6 feet, consider adding a support post in the middle of the long side to prevent the wood from bowing outward under the weight of the soil.
5. Gopher Protection
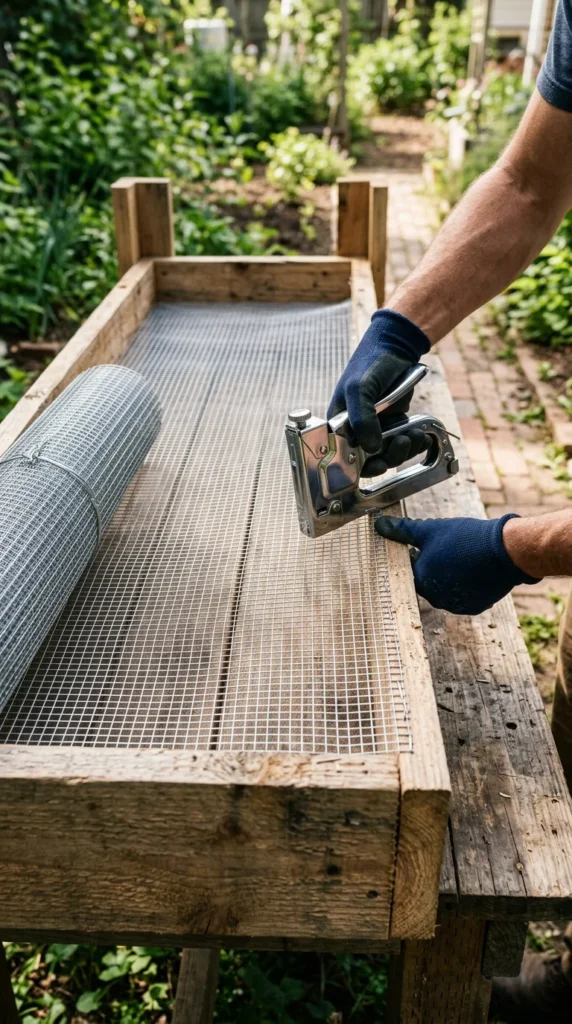
In many regions, burrowing pests like gophers or moles can ruin a garden from beneath. To prevent this, flip your completed frame upside down and attach a layer of hardware cloth (galvanized wire mesh) to the bottom. Use heavy-duty staples to secure the mesh every few inches along the perimeter. This allows worms and beneficial organisms to move through while keeping rodents out. If your bed is sitting on a hard surface or you aren’t worried about pests, you can skip this step and instead line the bottom with thick corrugated cardboard to kill off the grass.
6. Leveling Installation
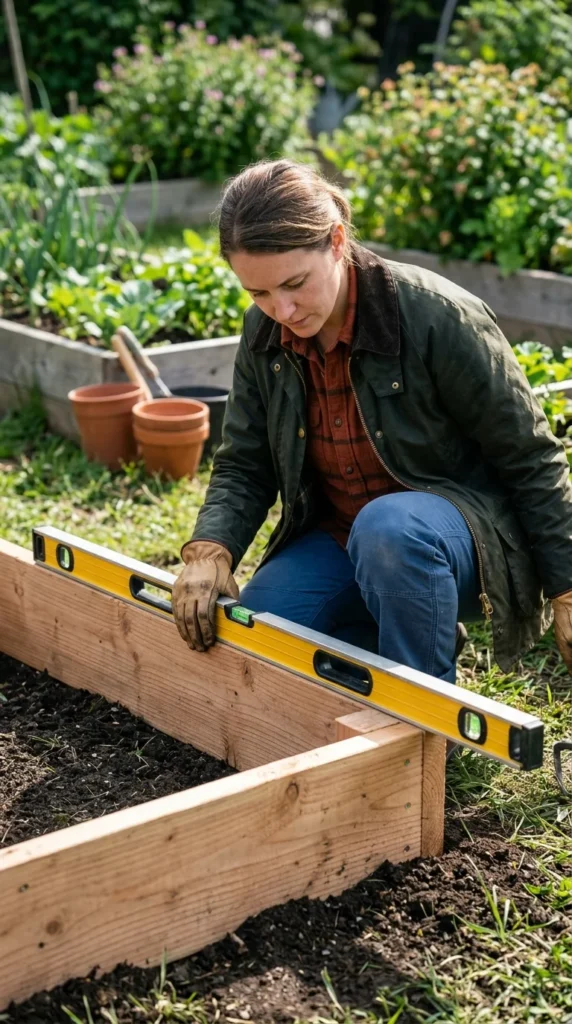
Carry the frame to its final location. If you used long corner posts, you will need to dig small holes for the “legs” to sit in. Once the frame is in position, place a level on each side. It is crucial that the bed is level; otherwise, water will run to one side, leaving some plants thirsty and others drowned. If one side is too high, remove a bit of soil from under the frame. If it’s too low, shim it with extra soil or flat stones.
7. Soil Filling
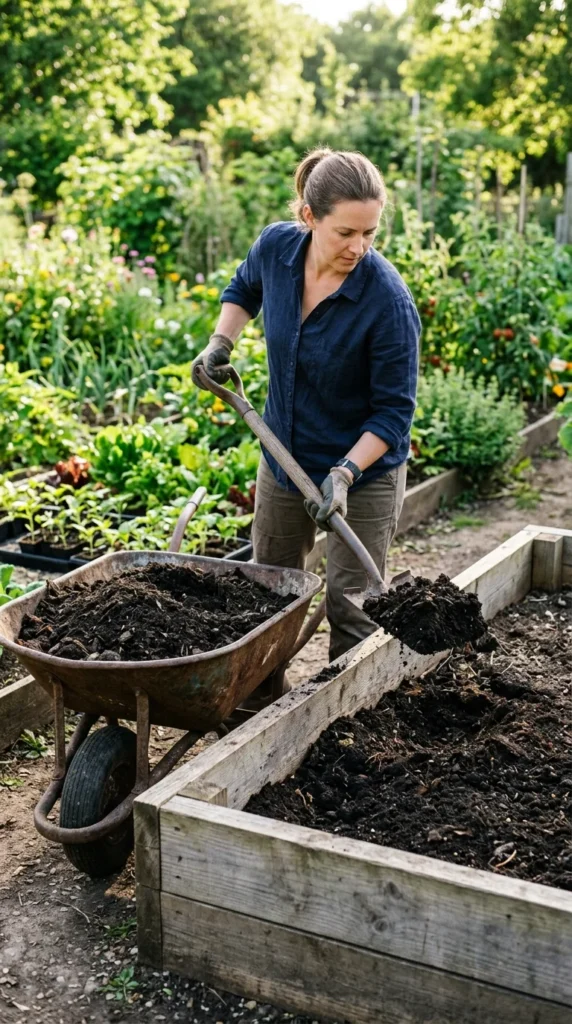
The secret to a successful raised bed is the soil quality. Do not use standard “topsoil” or “garden soil” from the hardware store alone, as these can be too heavy and compact. A popular recipe is the “Mel’s Mix” or a 50/50 blend of high-quality organic compost and topsoil, often mixed with vermiculite or peat moss for aeration and moisture retention. Fill the bed to within two inches of the top. The soil will settle over the first few weeks, so don’t be afraid to mound it slightly at first.
8. Irrigation Setup
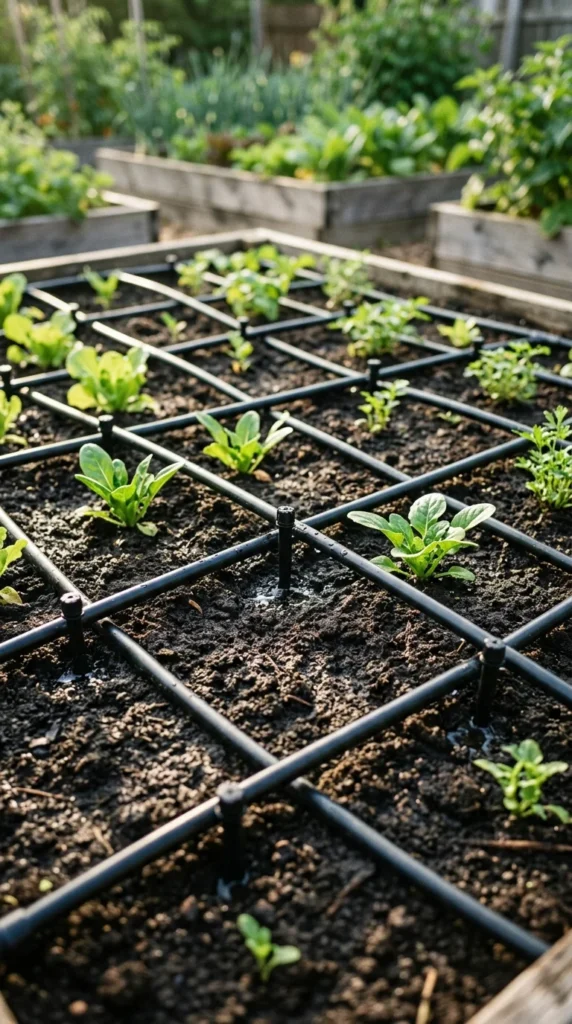
While you can hand-water, installing a dedicated irrigation system ensures consistency. Drip irrigation is the most efficient method for raised beds because it delivers water directly to the roots and keeps the foliage dry, reducing the risk of fungal diseases. You can easily connect a drip manifold to a standard garden hose bib and run the lines in a grid pattern. Use a battery-powered timer to automate the process, ensuring your plants stay hydrated even when you are away.
9. Planting Technique
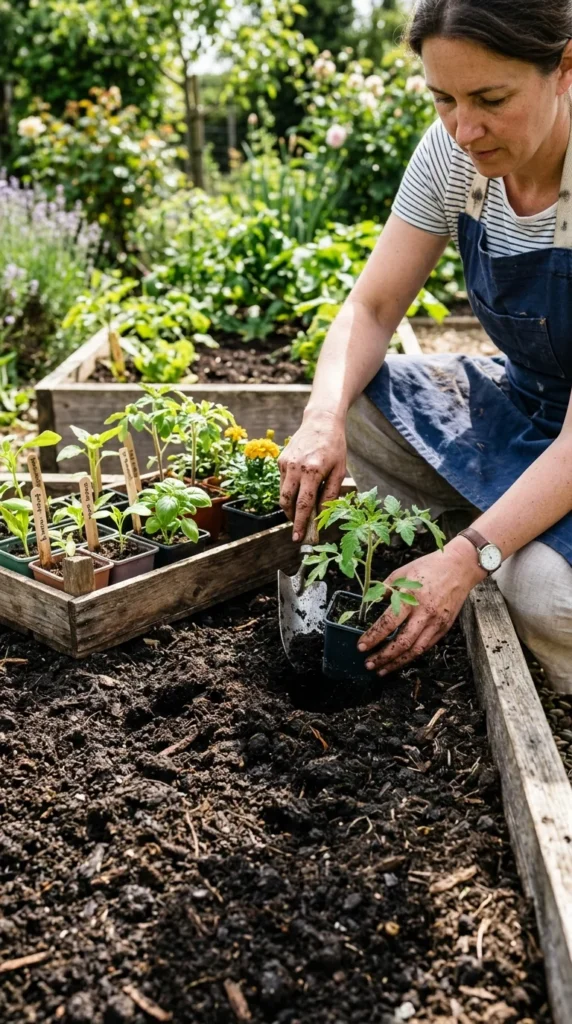
When you are ready to plant, consider “Intensive Planting” or “Square Foot Gardening.” Because you don’t need to walk inside the bed, you can plant items closer together than you would in a traditional row garden. Place taller plants, like tomatoes or corn, on the north side of the bed so they don’t shade out shorter plants like lettuce or radishes. Apply a thin layer of mulch (like straw or wood chips) around the base of the plants to further retain moisture and suppress any weeds that might try to take hold.