The transition from a barren patch of grass to a thriving edible landscape is one of the most rewarding projects a homeowner can undertake. Beyond the obvious benefit of fresh, nutrient-dense produce, gardening fosters a deep connection with the natural world, provides low-impact exercise, and offers a sense of food security. Creating a garden from scratch requires a blend of strategic planning, physical labor, and a bit of botanical patience. Whether you have a vast acreage or a small suburban lot, the principles of establishing a productive vegetable patch remain the same.
1. Site Selection
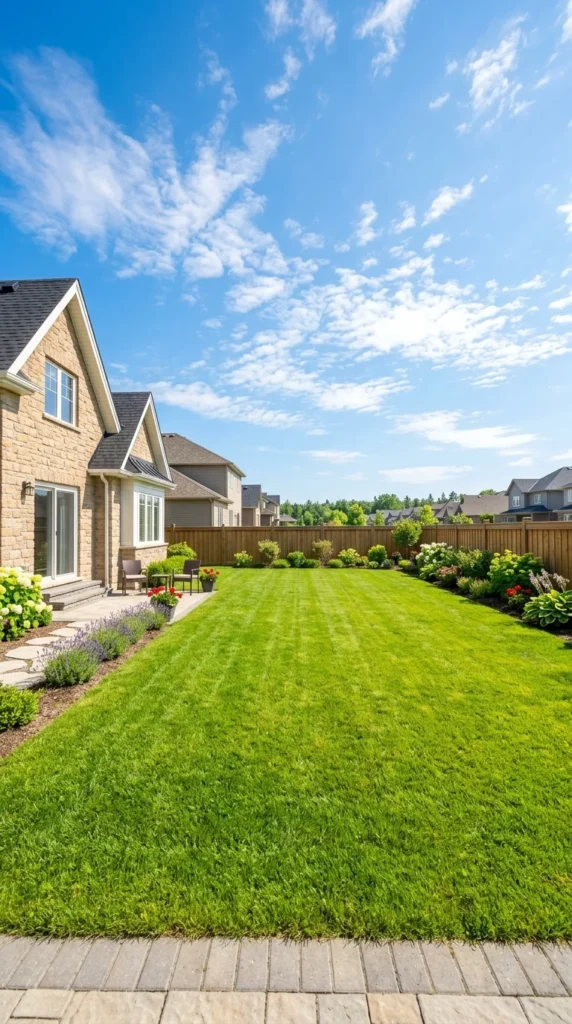
The success of your garden is determined largely by where you place it. Most culinary vegetables are sun-worshipers, requiring a minimum of six to eight hours of direct sunlight daily. Observe your yard throughout the day to track how shadows move. Areas shaded by large trees or your house will result in leggy, unproductive plants.
Beyond light, consider the proximity to a water source. Dragging a heavy hose across the yard every morning becomes a chore that may lead to neglect. Choose a spot that is level and has good drainage; waterlogged soil will rot roots, while steep slopes lead to erosion and uneven watering. Finally, ensure the site is protected from high winds, which can snap delicate stems and dry out the soil prematurely.
2. Garden Layout
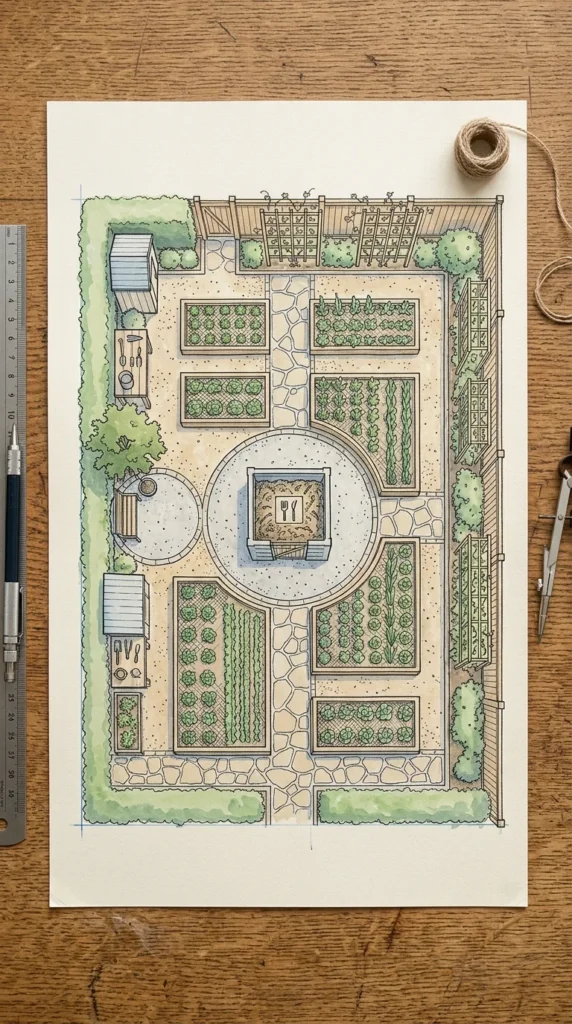
Once you have the site, you must decide on the format: in-ground rows or raised beds. In-ground gardening is the most traditional and least expensive method, but it requires existing soil that is relatively free of rocks and heavy clay. Raised beds, usually constructed from cedar or heat-treated lumber, offer superior drainage and allow you to control the soil quality from day one. They also provide a clear barrier against some crawling pests and are easier on the gardener’s back.
When planning your layout, don’t forget the “people space.” Paths should be at least two feet wide to allow for comfortable walking and the passage of a wheelbarrow. For vertical interest and space efficiency, plan for trellises or cattle panels along the northern edge of the garden so tall crops like pole beans or cucumbers don’t shade out smaller plants like lettuce or radishes.
3. Soil Health
Soil is the engine of the garden. Before you plant a single seed, you must understand what is happening beneath the surface. A soil test kit from a local university extension office can tell you the pH levels and nutrient deficiencies of your ground. Most vegetables thrive in slightly acidic to neutral soil (pH 6.0 to 7.0).
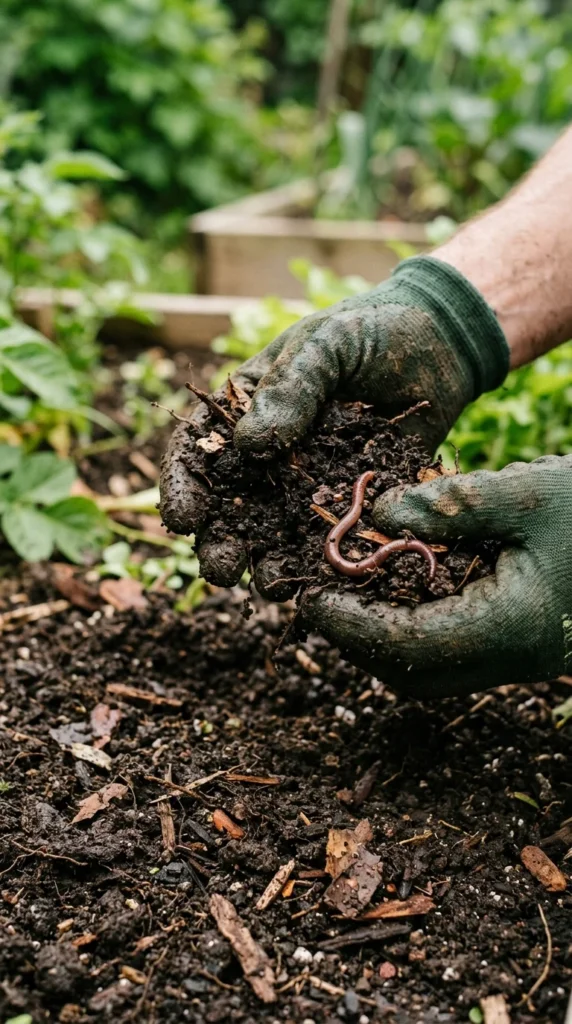
To build “black gold,” incorporate large amounts of organic matter. Compost is the ultimate soil conditioner; it improves the structure of sandy soil so it holds water and loosens heavy clay soil to improve aeration. Mix in well-rotted manure, leaf mold, or mushroom compost. Avoid using synthetic fertilizers as a “quick fix,” as they can damage the long-term microbial life of the soil. Instead, focus on feeding the soil, and the soil will feed the plants.
4. Essential Tools
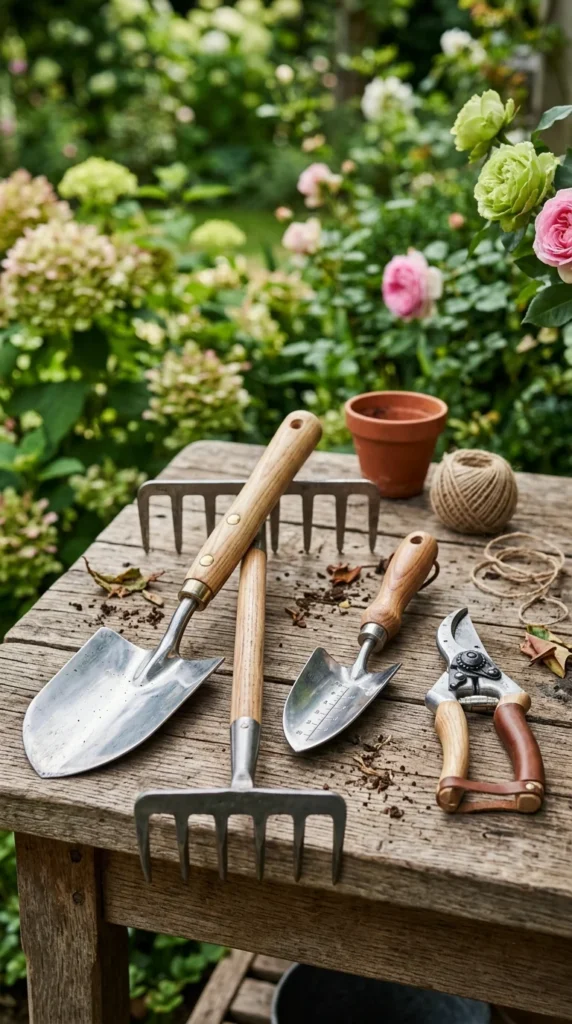
You don’t need a shed full of expensive machinery to start a garden, but a few high-quality hand tools are indispensable. A sturdy spade or garden fork is necessary for initial bed preparation and turning compost. A rake is essential for leveling the soil and creating a fine tilth for seed sowing.
For the actual planting and maintenance, a hand trowel and a “hori-hori” (a Japanese gardening knife) are the most versatile tools you can own. A high-quality hose with a multi-pattern spray nozzle is a must, though many gardeners eventually upgrade to drip irrigation. Lastly, never underestimate the value of a comfortable pair of gardening gloves and a wide-brimmed hat to protect yourself from the elements.
5. Crop Selection
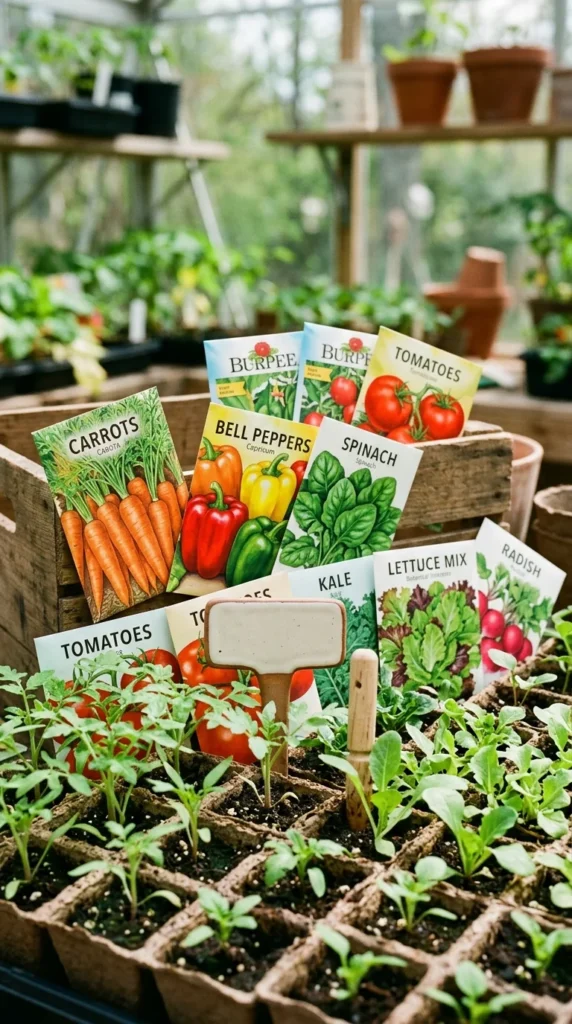
It is tempting to grow everything featured in a seed catalog, but for your first year, “less is more.” Start with vegetables that you actually enjoy eating and that are known to thrive in your specific USDA Hardiness Zone. Beginners often find success with “easy” crops like bush beans, zucchini, radishes, Swiss chard, and cherry tomatoes.
Consider the “days to maturity” listed on seed packets. If you live in a northern climate with a short growing season, look for varieties that fruit quickly. You also need to decide between seeds and “starts” (nursery-grown seedlings). Growing from seed is cheaper and offers more variety, while buying starts gives you a several-week head start and is generally more forgiving for novices.
6. Planting Process
Timing is everything when it comes to planting. Warm-season crops like peppers and eggplants will perish if hit by a late spring frost, while cool-season crops like spinach and peas will “bolt” (go to seed and become bitter) as soon as the summer heat hits. Consult a local planting calendar to find the frost-free dates for your area.
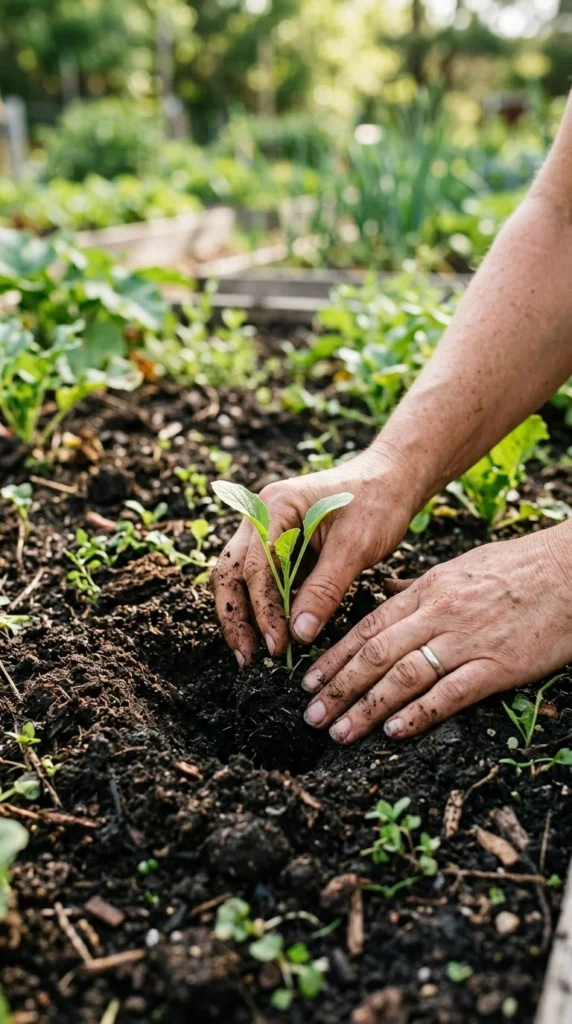
When planting, pay close attention to spacing. It is easy to crowd plants when they are small, but a tomato seedling that looks lonely in May will be a four-foot-wide jungle by July. Proper spacing ensures air circulation, which prevents fungal diseases. Dig a hole twice as wide as the root ball, place the plant at the same depth it was in its container (except for tomatoes, which can be buried deep to encourage extra rooting), and firm the soil gently to remove air pockets.
7. Water Management
Consistent moisture is the secret to heavy harvests. Vegetables generally need about an inch of water per week, though this increases during heatwaves. The best time to water is early morning; this allows the foliage to dry during the day, which discourages disease.
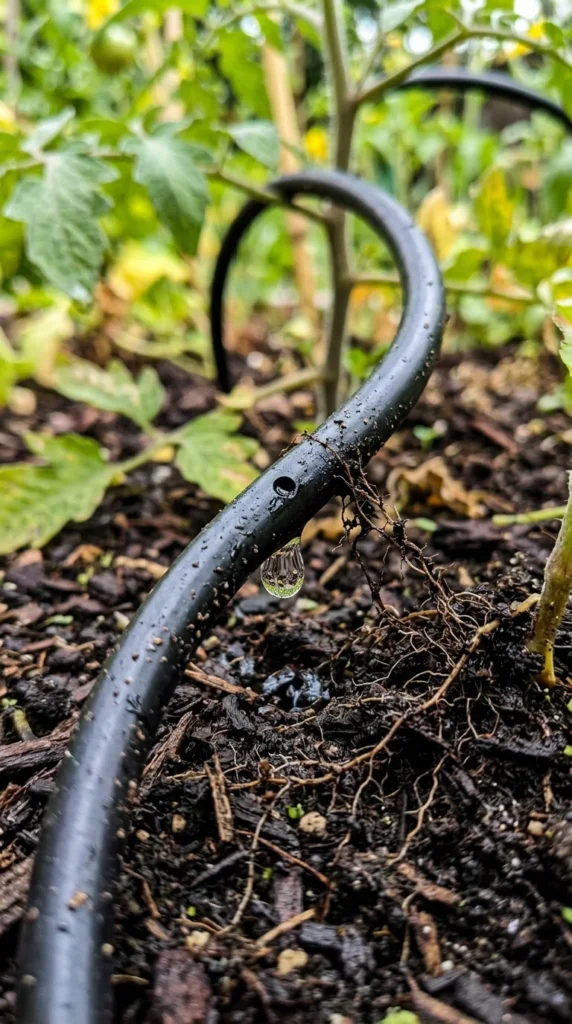
Avoid overhead watering whenever possible. Wet leaves are a breeding ground for mildew and blight. Instead, apply water directly to the base of the plants using a soaker hose or a drip irrigation system. This targeted approach saves water by reducing evaporation and ensures the moisture reaches the root zone where it is needed most. If you are watering by hand, use a “water wand” to reach under the leaves of bushy plants.
8. Pest Control
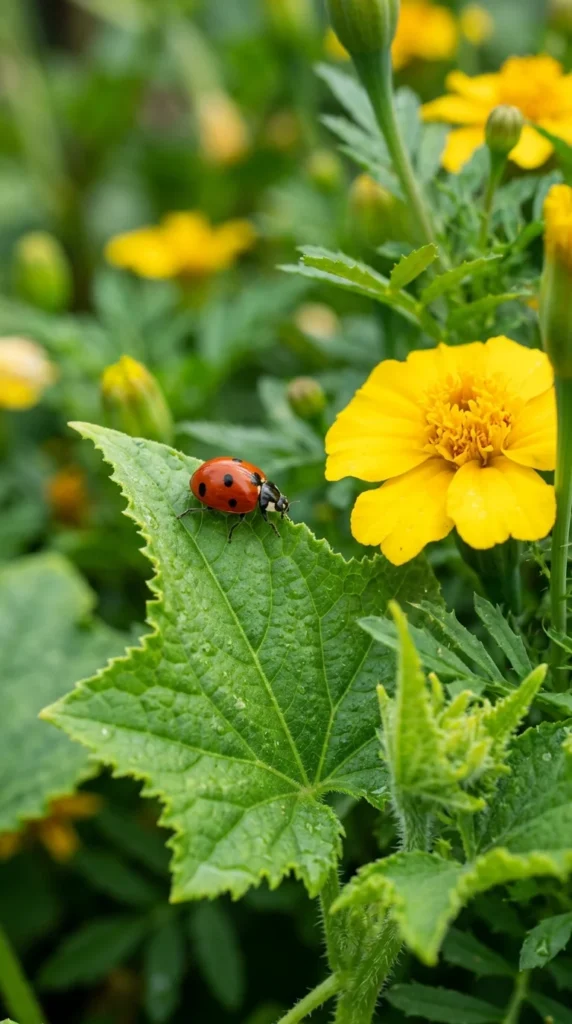
A garden is a buffet for local wildlife and insects. Rather than reaching for chemical pesticides, which kill beneficial pollinators along with the pests, adopt an Integrated Pest Management (IPM) strategy. Start by planting flowers like marigolds, calendula, and alyssum throughout your vegetable beds to attract “good bugs” like ladybugs and lacewings that eat aphids.
Physical barriers are also highly effective. Row covers (lightweight fabrics) can protect young brassicas from cabbage moths, and bird netting can save your ripening berries. For larger intruders like deer or rabbits, a sturdy fence is often the only permanent solution. Regularly “scout” your garden—walk through every day and look under leaves for eggs or larvae. Removing a few pests by hand early on can prevent a full-scale infestation later.
9. Harvest Time
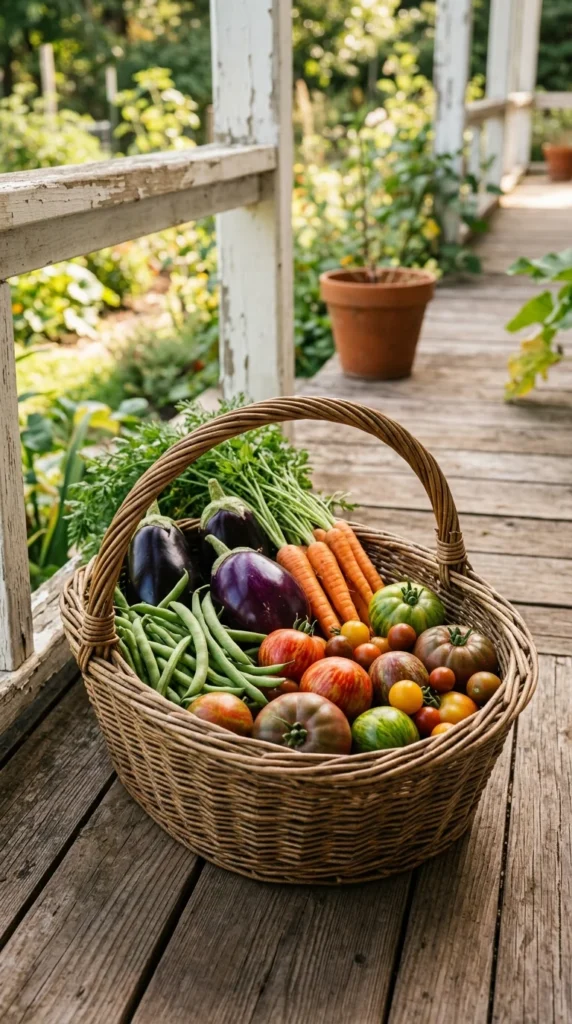
The final step is the most satisfying: the harvest. Knowing when to pick is an art. Most vegetables are at their peak flavor just before they reach full size. Zucchini, for instance, is tender and sweet when it’s six inches long but becomes tough and seedy when it grows to the size of a baseball bat.
Harvesting regularly actually encourages many plants to produce more. If you leave ripening fruit on a bean or cucumber plant, the plant receives a biological signal that its job is done and it will stop flowering. Use a sharp pair of scissors or pruners to harvest rather than pulling, which can damage the plant’s root system. Once harvested, most vegetables should be cooled quickly to preserve their sugars and nutrients, though tomatoes are best kept at room temperature to maintain their texture and aroma.