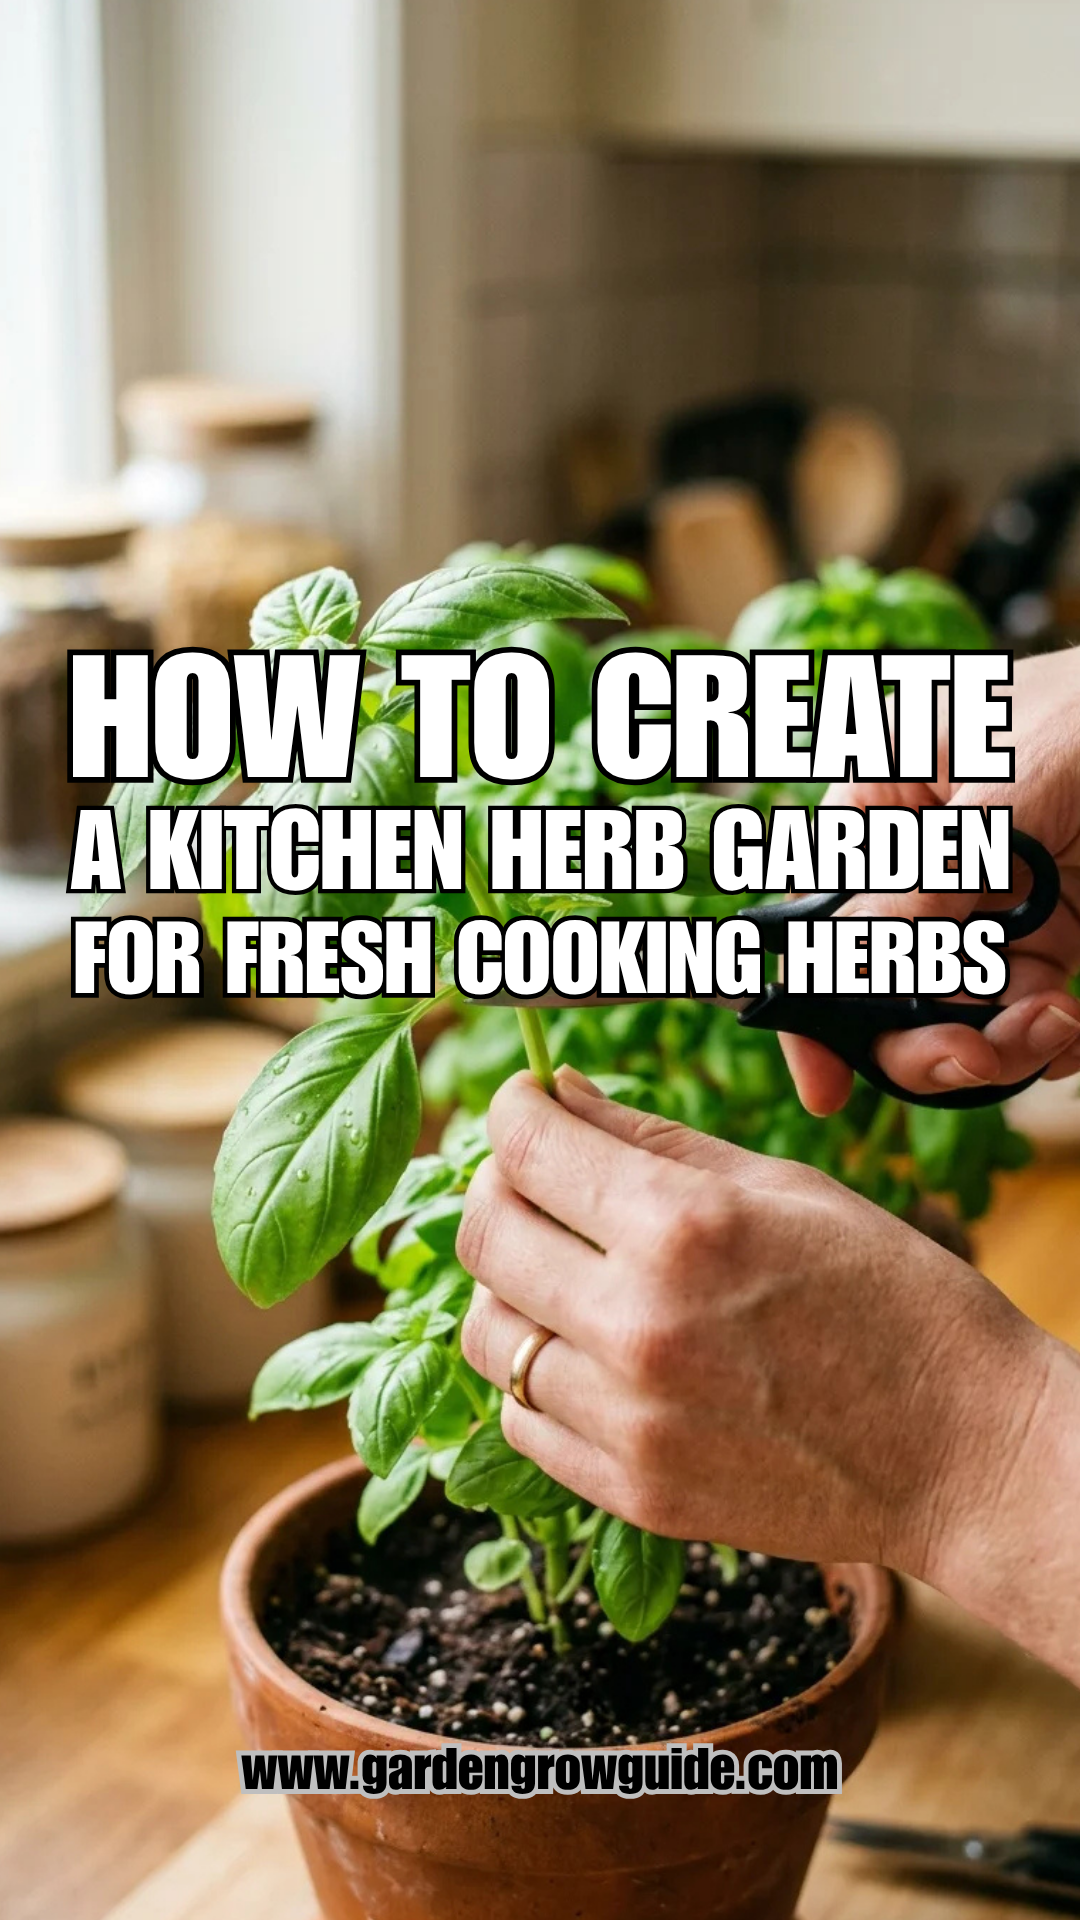
The transition from store-bought, plastic-clamshell herbs to a thriving kitchen garden is one of the most rewarding upgrades a home cook can make. Beyond the convenience of having fresh flavors within arm’s reach, a kitchen herb garden adds vibrant life to your interior design and fills your home with natural, aromatic scents. Growing your own herbs ensures that you have access to organic, nutrient-dense ingredients that haven’t spent days in transport.
Whether you have a sprawling culinary space or a compact apartment kitchen, cultivating a herb garden is remarkably accessible. By understanding the specific needs of these resilient plants, you can maintain a continuous harvest throughout the year.
1. Lighting
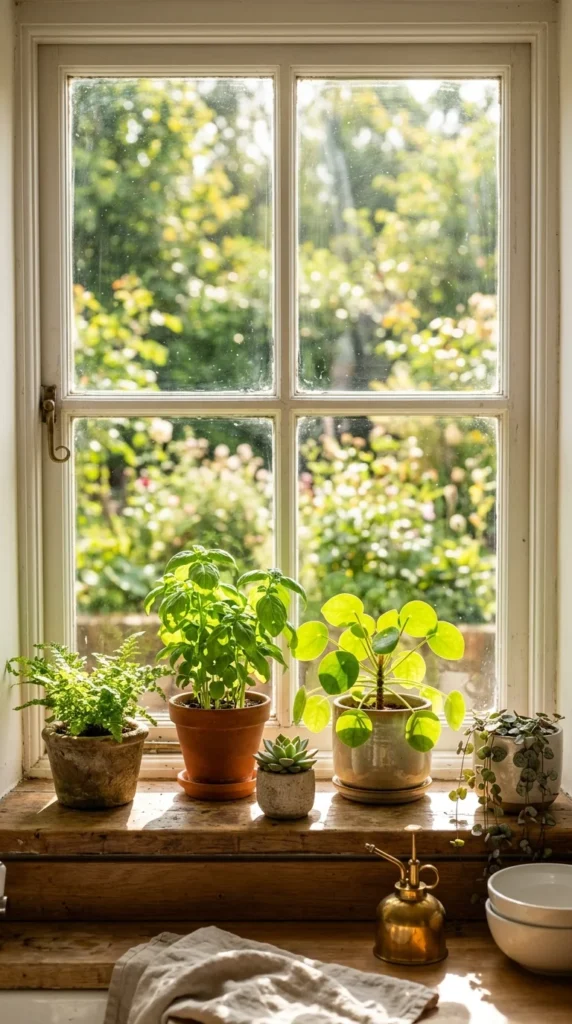
The most critical factor in the success of an indoor herb garden is light. Most culinary herbs are native to Mediterranean climates and require at least six to eight hours of direct sunlight daily.
- Window Orientation: A south-facing window is the gold standard, as it receives the most consistent and intense light throughout the day. West-facing windows are the next best option, though the afternoon sun can sometimes be too intense for delicate herbs.
- Supplemental Lighting: If your kitchen lacks adequate natural light, do not despair. LED grow lights specifically designed for indoor plants can provide the full spectrum of light necessary for photosynthesis. These can be mounted under cabinets or placed on adjustable stands.
- Signs of Low Light: Watch for “leggy” growth, where the stems become long, thin, and pale as the plant stretches toward the nearest light source. If this happens, your plants need more brightness.
2. Selection
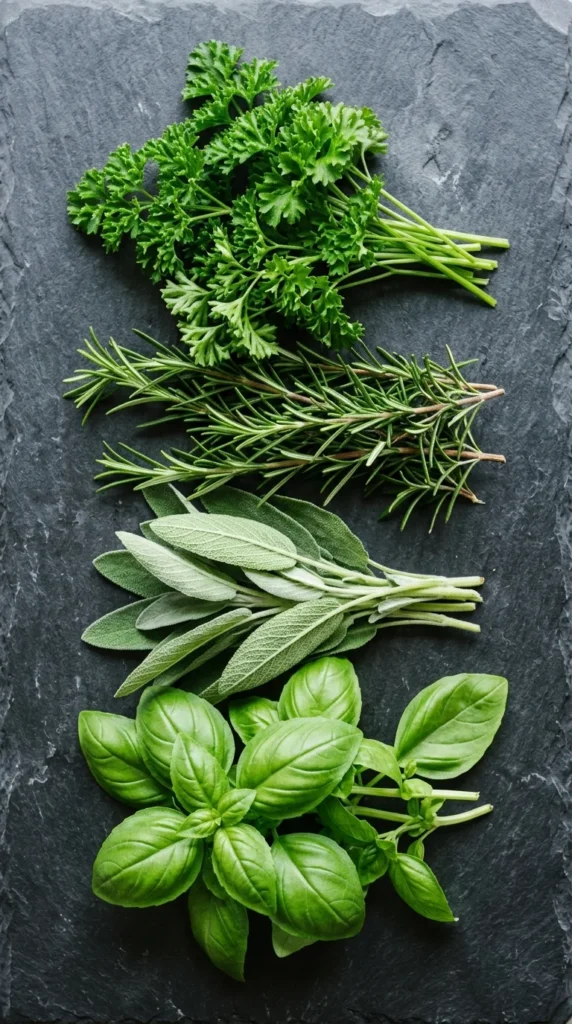
Choosing the right herbs depends on your cooking style and the environmental conditions of your kitchen. It is often best to start with “starter plants” from a nursery rather than seeds, as herbs can be notoriously slow to germinate.
- Top Indoor Herbs: Basil, chives, mint, oregano, parsley, rosemary, and thyme are the most resilient choices for indoor environments.
- Grouping by Needs: Mint is an aggressive grower and should always have its own pot to prevent it from choking out other plants. Conversely, rosemary, oregano, and thyme prefer drier soil and can often be grouped near each other.
- Perennials vs. Annuals: Rosemary, thyme, and sage are perennials, meaning they can live for several years. Basil is an annual and will eventually flower and die back, requiring you to replant it every few months for a fresh supply.
3. Containers
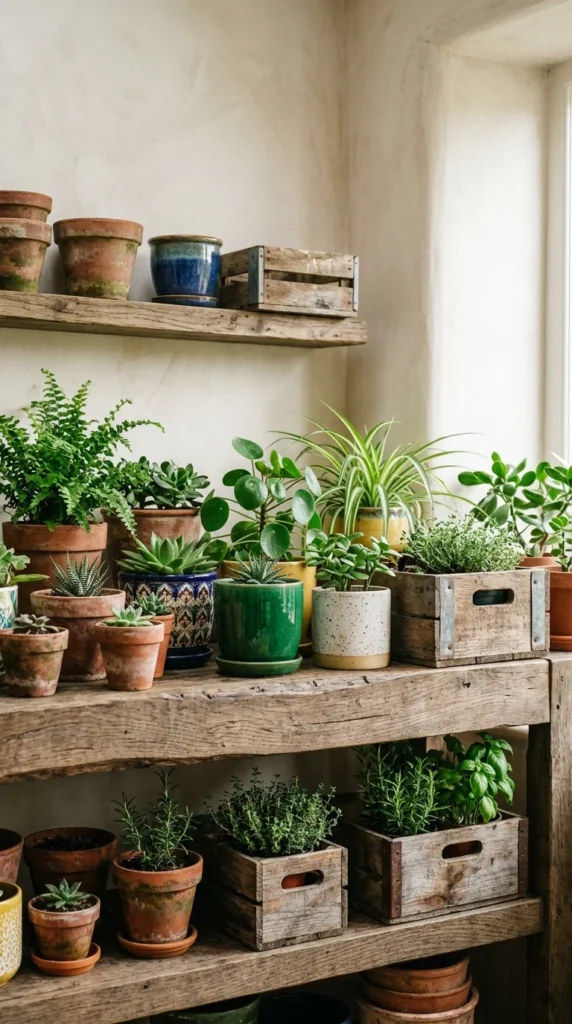
The container you choose is more than just an aesthetic choice; it dictates how well the plant’s roots can breathe and manage moisture.
- Drainage is Non-Negotiable: Herbs hate “wet feet.” Ensure every pot has at least one large drainage hole at the bottom. If you find a beautiful decorative pot without a hole, use it as a “cachepot”—keep the herb in a plastic nursery liner inside the decorative pot and remove it to water.
- Material Matters: Terracotta is porous and allows soil to dry out faster, which is excellent for Mediterranean herbs like rosemary. Plastic or glazed ceramic pots retain moisture longer, making them better suited for thirsty herbs like mint and basil.
- Sizing: Don’t start too small. A 6-inch diameter pot is usually the minimum size for a single herb plant to allow the root system to expand.
4. Soil
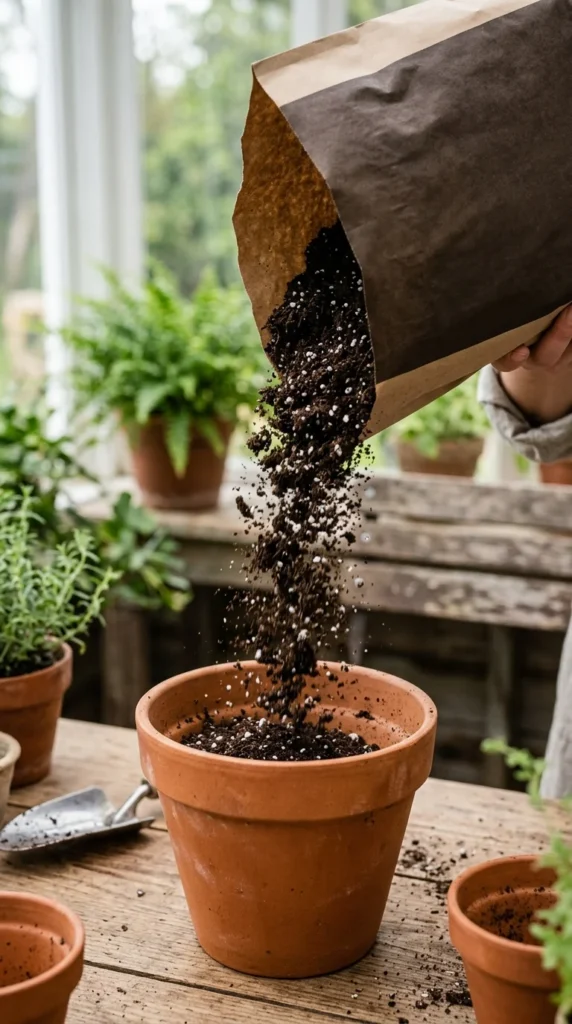
Using dirt from your outdoor garden is a common mistake. Garden soil is too heavy for containers; it compacts easily, preventing oxygen from reaching the roots, and may contain pests or fungi.
- Potting Mix: Use a high-quality indoor potting mix. These mixes are soil-less, typically containing a blend of peat moss, coconut coir, and perlite or vermiculite for aeration.
- Aeration: The soil should be light and fluffy. This allows water to move through the medium easily and provides the roots with the air they need to stay healthy.
- Organic Options: Since you will be eating these herbs, look for potting mixes labeled as organic or OMRI-listed to ensure no synthetic chemicals are leaching into your food.
5. Planting
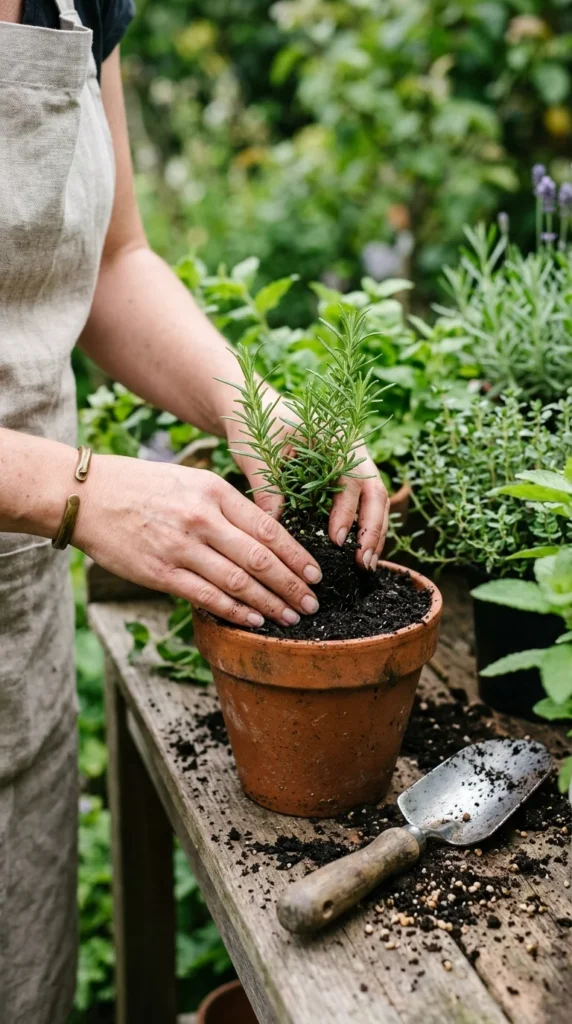
The way you transition a plant into its new home determines how quickly it will begin producing new leaves for your kitchen.
- The Transplant Process: Gently remove the herb from its nursery container. If the roots are circling the bottom (root-bound), gently tease them outward with your fingers to encourage them to grow into the new soil.
- Depth: Plant the herb at the same depth it was in its original container. Burying the stem too deep can lead to rot, while leaving the roots exposed will cause them to dry out.
- Firming the Soil: Once the plant is in place, lightly press the soil down around the base to eliminate large air pockets, but do not pack it so tightly that the soil becomes hard.
6. Watering
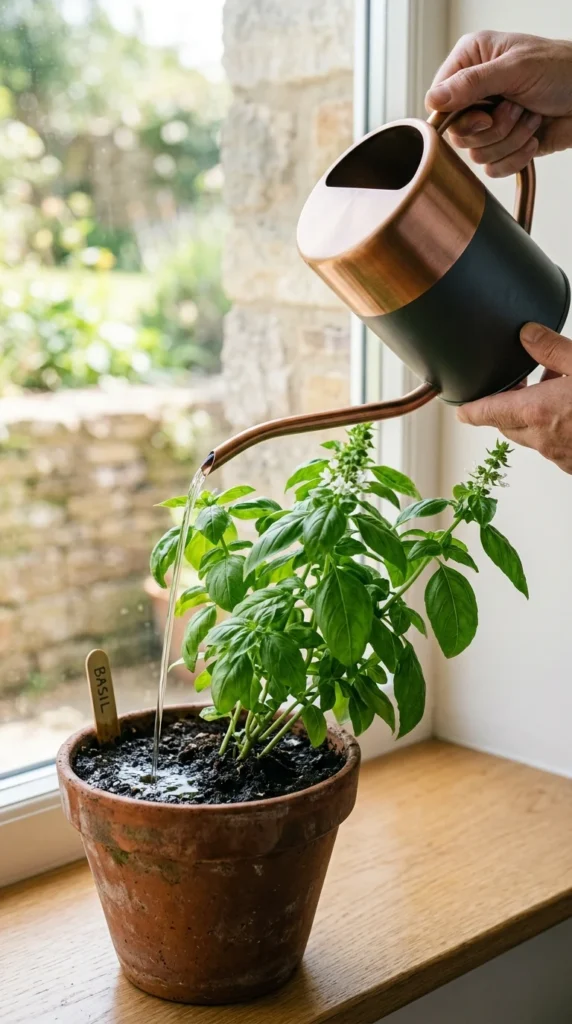
Inconsistent watering is the primary reason indoor herb gardens fail. Overwatering is actually more common and more deadly than underwatering.
- The Finger Test: Stick your finger about an inch into the soil. If it feels dry, it’s time to water. If it feels damp, wait another day or two.
- Watering Technique: Always water the soil, not the leaves. Wet leaves can encourage fungal diseases and mildew. Pour water until it begins to trickle out of the drainage holes at the bottom.
- Humidity: Kitchens are often humid, which herbs love. However, if your home is very dry (especially in winter), placing a tray of pebbles and water beneath your pots can help increase the local humidity around the plants.
7. Harvesting
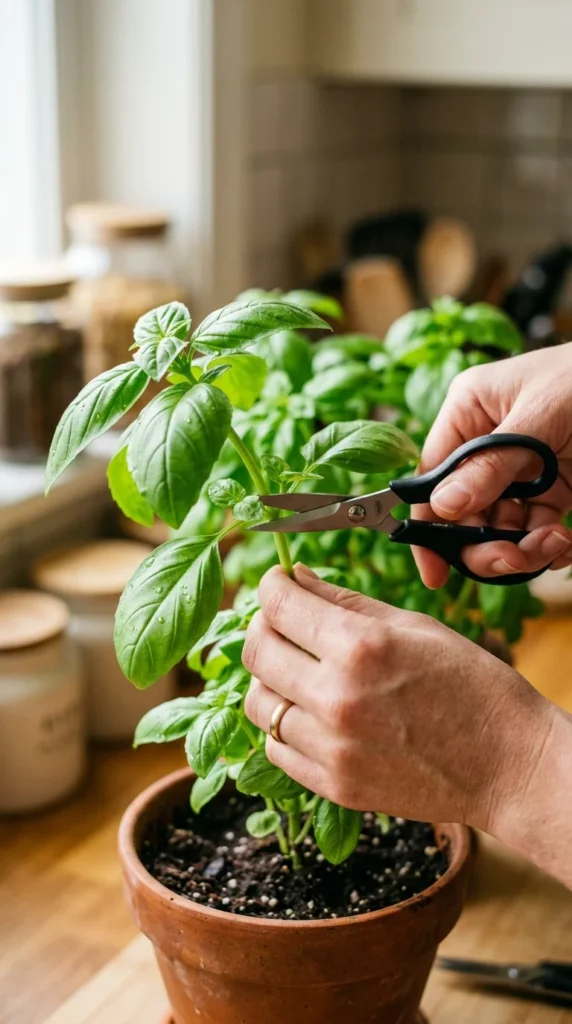
Frequent harvesting actually encourages your herbs to grow fuller and bushier. If you leave them alone, they may become tall and spindly or go to seed.
- The 1/3 Rule: Never harvest more than one-third of the plant at a time. The plant needs enough foliage left over to continue photosynthesizing and regenerating.
- Pinching for Growth: For herbs like basil and mint, “pinch” the stems just above a set of leaves. This encourages the plant to branch out into two new stems, effectively doubling your future harvest.
- Harvesting Time: The best time to harvest is in the morning when the essential oils are at their peak concentration, providing the most intense flavor for your cooking.
8. Maintenance
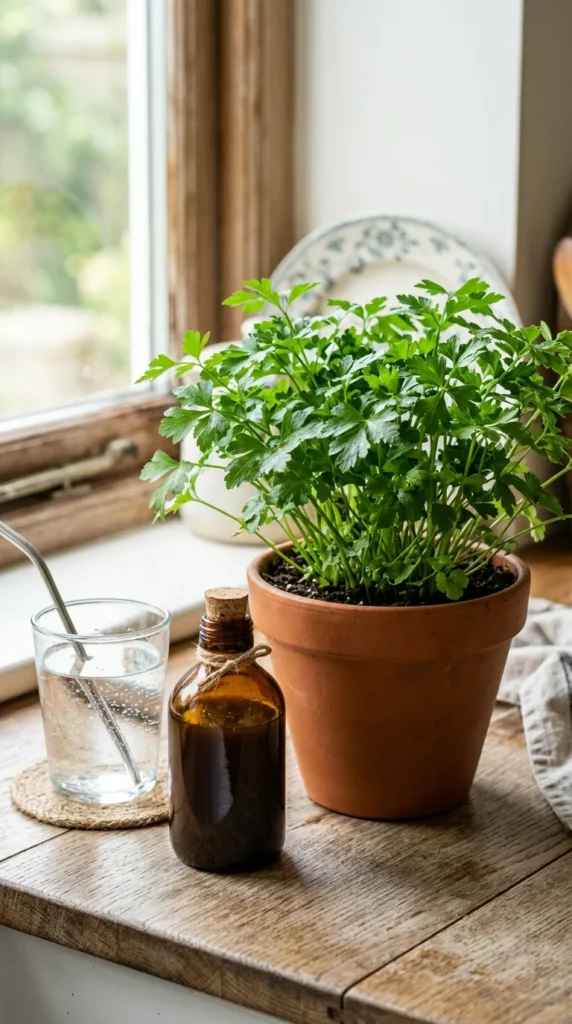
Like all living things, herbs require ongoing care and nutrients to sustain their growth over several months or years.
- Fertilizing: Because herbs in pots have limited access to nutrients, you should feed them every 4-6 weeks during the growing season. Use a liquid organic fertilizer diluted to half-strength. Avoid over-fertilization, as this can actually diminish the flavor of the essential oils in the leaves.
- Rotation: Plants will naturally lean toward the window. To ensure even growth and prevent the plant from becoming lopsided, rotate your pots a quarter-turn every few days.
- Pest Control: Keep an eye out for common indoor pests like fungus gnats or spider mites. If you spot them, treat the plants immediately with a gentle insecticidal soap or neem oil spray, ensuring it is a food-safe product.