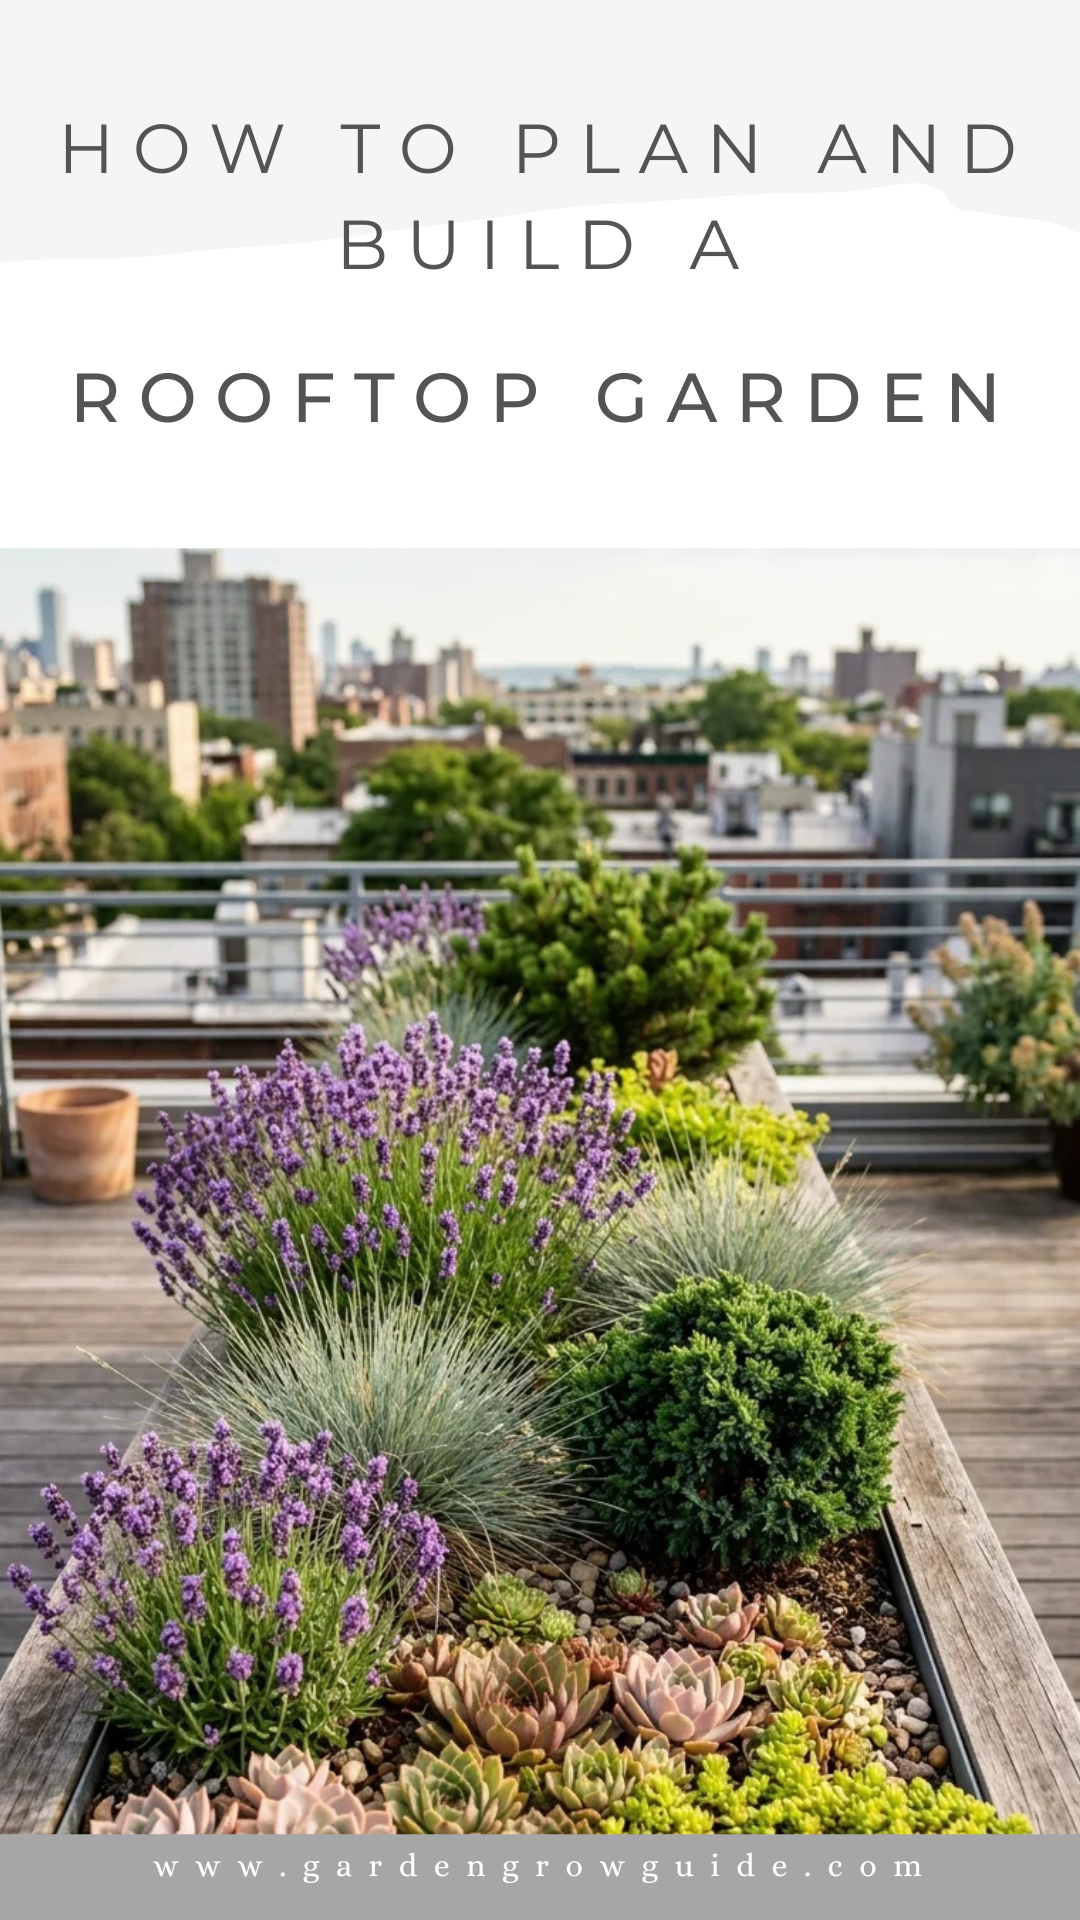
The concept of the “urban jungle” is being redefined. As metropolitan areas become more densely populated, the desire for private green space has moved upward. A rooftop garden is more than just a collection of potted plants; it is an ecological sanctuary, a thermal insulator for your building, and a serene escape from the concrete world below. However, creating a successful garden in the sky requires meticulous planning, structural awareness, and a deep understanding of the unique environmental challenges present at higher elevations.
1. Assessment

Before the first bag of soil is lifted, the most critical step is determining if your roof can handle the weight. This is known as “load capacity.” A rooftop garden adds significant “dead load” (the weight of the permanent structures like planters, soil, and decks) and “live load” (the weight of people, furniture, and temporary water accumulation).
- Consult a Professional: Always hire a structural engineer or an architect to evaluate the load-bearing capacity of the roof. They will provide a report on how many pounds per square foot the structure can safely support.
- Check Local Regulations: Building codes, zoning laws, and homeowner association (HOA) rules vary significantly. Some jurisdictions require specific fire escapes or railings (parapets) of a certain height for any occupied roof space.
- Access and Logistics: Consider how materials will get to the roof. Does the building have a service elevator? Will you need to crane in heavy materials? These logistical hurdles can significantly impact your budget.
2. Environment

Rooftops are extreme environments. They are subject to conditions that ground-level gardens rarely face, and your design must account for these microclimates.
- Sun Exposure: Most rooftops receive intense, unobstructed sunlight. While this is great for sun-loving vegetables and Mediterranean herbs, it can scorch sensitive foliage. Track the sun’s path throughout the day to identify “hot spots.”
- Wind Patterns: Wind speeds increase with height. Strong gusts can topple tall plants, dry out soil in hours, and even cause structural damage to lightweight furniture. You may need to install windbreaks like trellises or plexiglass panels that “sift” the wind rather than blocking it entirely.
- Temperature Extremes: Roofs can become “heat islands.” Dark roofing membranes absorb heat, potentially cooking plant roots. Conversely, in winter, the lack of ground insulation means roots are more susceptible to freezing.
3. Layout
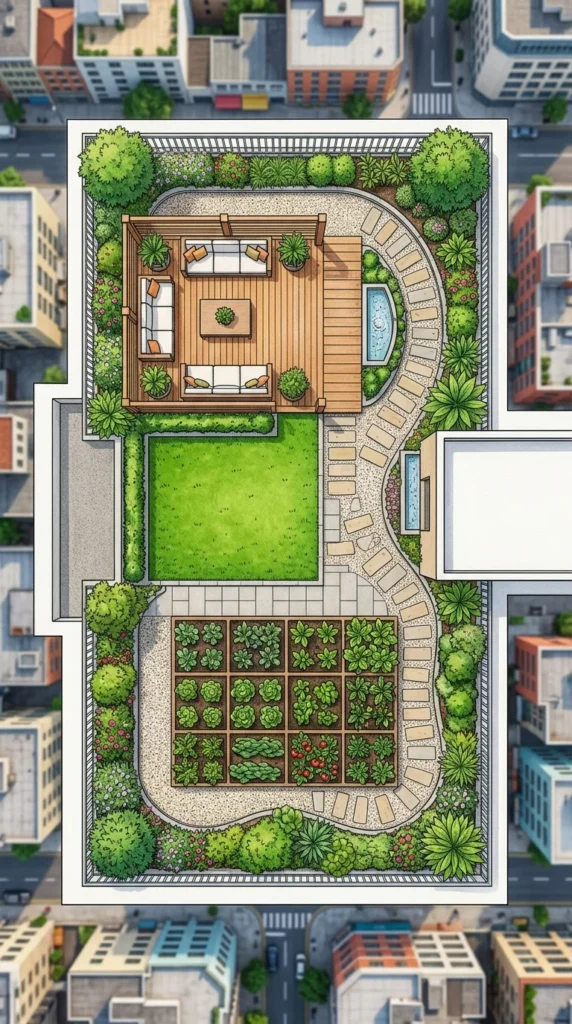
A well-designed layout ensures the garden is functional, safe, and aesthetically pleasing. Use the “zoning” method to organize your space based on usage and weight distribution.
- Weight Distribution: Place the heaviest elements—such as large planters or water features—over load-bearing walls or structural columns rather than in the center of a long roof span.
- Traffic Flow: Ensure there are clear, non-slip paths between the entrance and the seating areas. Leave enough space for maintenance access around the perimeter of planters.
- Focal Points: Create a sense of depth by using “layers.” Place taller plants toward the edges to provide privacy and smaller, more intricate plants near seating areas where they can be appreciated up close.
4. Protection
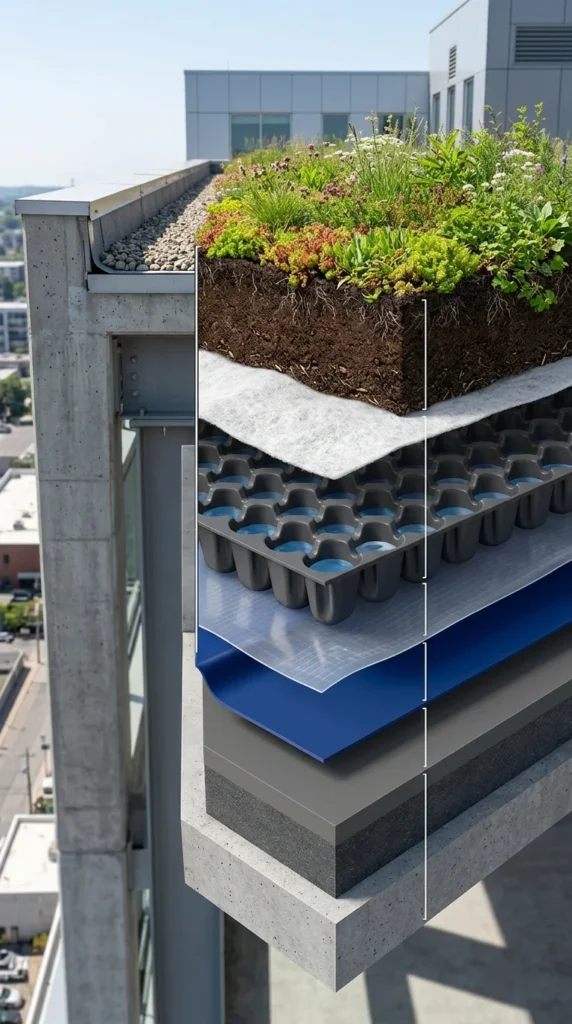
Water is the greatest friend of the garden and the greatest enemy of the building. Ensuring your roof remains watertight is the most important technical aspect of the build.
- Waterproofing: Inspect the existing roof membrane. If you are building a “green roof” (where soil covers the entire surface), you must install a high-quality, specialized waterproof liner.
- Root Barriers: Plant roots are incredibly strong and can penetrate roofing materials, causing leaks. A root barrier—usually a heavy-duty plastic or specialized chemical layer—prevents roots from reaching the building structure.
- Drainage Systems: You must ensure that excess water can reach the roof drains quickly. Use drainage mats or a layer of lightweight gravel to allow water to flow freely beneath the soil.
5. Materials
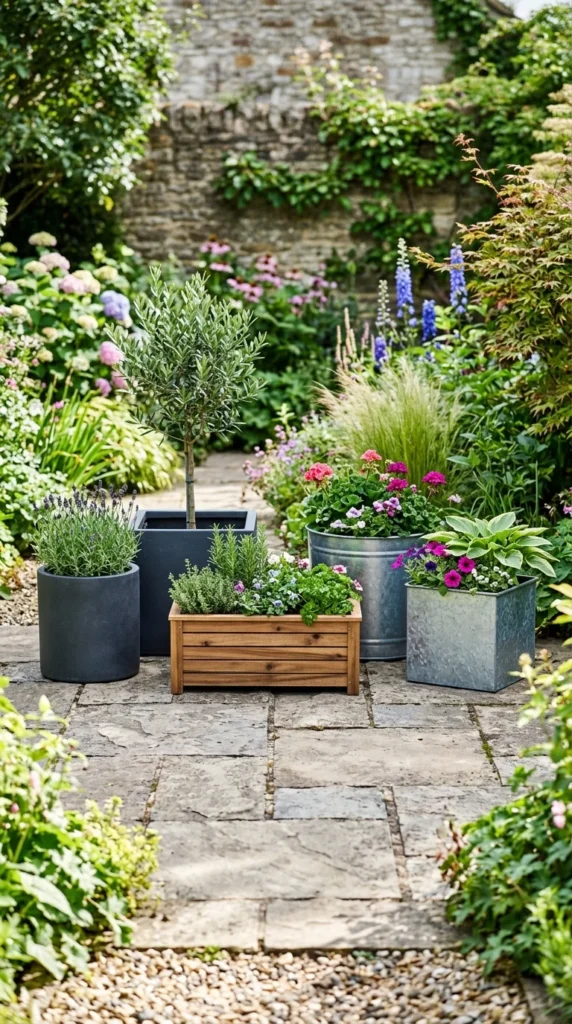
Weight is the primary constraint when choosing materials for a rooftop. Every pound saved in construction materials is a pound you can use for plants and soil.
- Container Choices: Avoid heavy terracotta or concrete pots. Opt for fiberglass, resin, or powder-coated aluminum. These materials are durable, weather-resistant, and significantly lighter.
- Decking: If you are installing a floor, use “pedestal” systems with lightweight composite or wood tiles. These systems allow water to flow underneath and can be easily removed for roof inspections.
- Furniture: Choose heavy enough furniture that it won’t blow away in a storm, but light enough to stay within the load limits. Often, built-in wooden benches that double as planters are the most space-efficient and stable option.
6. Soil
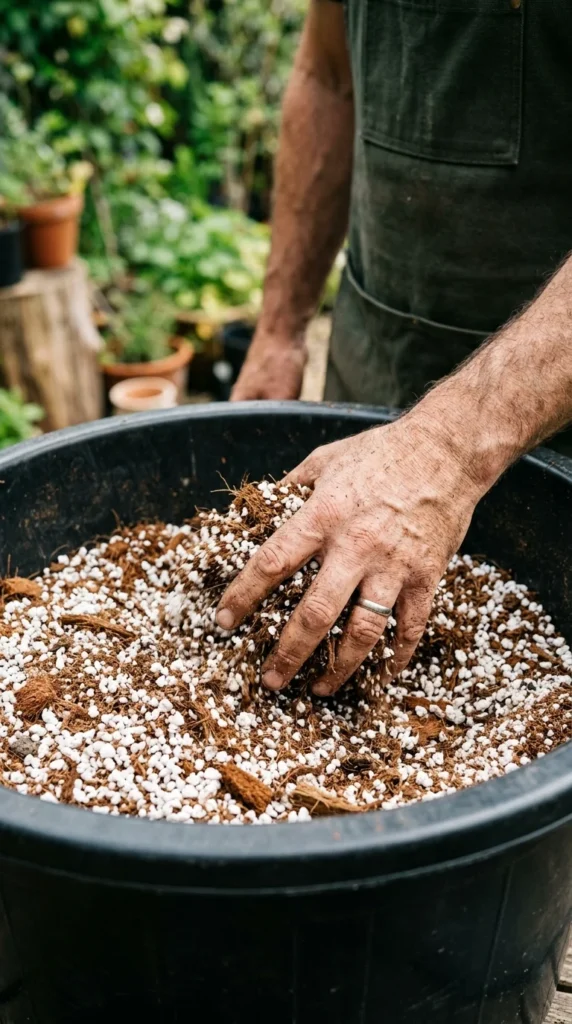
Standard garden soil is too heavy and dense for rooftop use. It retains too much water and can compact over time, suffocating roots.
- Lightweight Mixes: Use a specialized “rooftop soil” or a “soilless” potting mix. These are typically composed of expanded clay, perlite, vermiculite, and organic compost.
- Moisture Retention: Because rooftop plants dry out faster, look for mixes with high organic matter or add water-retaining granules that help bridge the gap between waterings.
- Nutrient Management: Soilless mixes are often low in nutrients. You will need to implement a regular fertilization schedule, preferably using slow-release organic fertilizers that won’t leach chemicals into the drainage system.
7. Vegetation
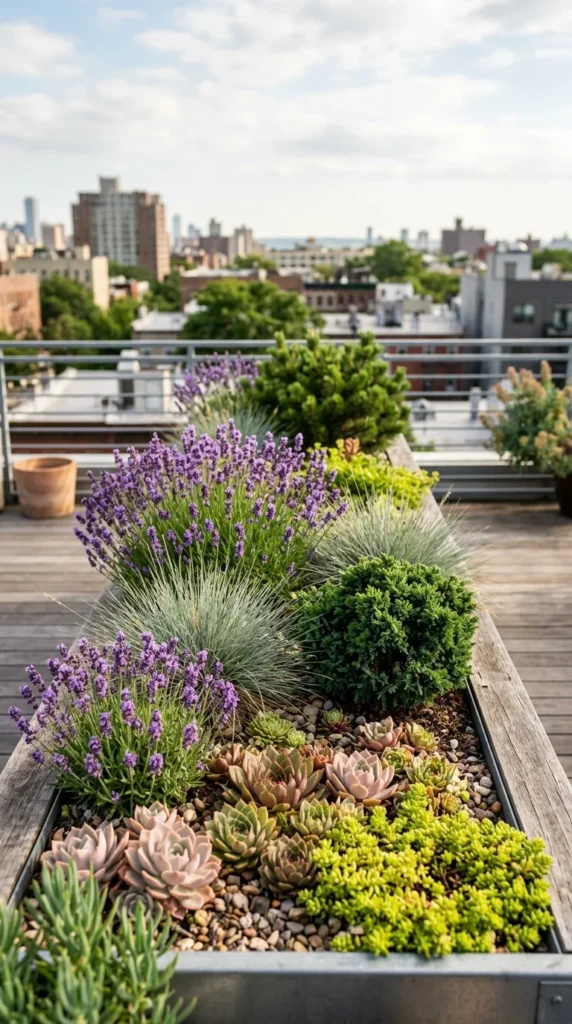
Plant selection determines the long-term success of your garden. You must choose plants that can survive the “cliff-side” conditions of a rooftop.
- Hardy Species: Look for plants that are naturally adapted to wind and sun. Ornamental grasses, sedums, and alpines are excellent choices.
- Dwarf Varieties: Since soil depth is usually limited (6–12 inches for most herbs and flowers, 18–24 inches for shrubs), choose dwarf species of trees and shrubs that have shallower root systems.
- Native Plants: Local flora is often better equipped to handle the specific climate of your region and will require less intervention to thrive.
8. Irrigation
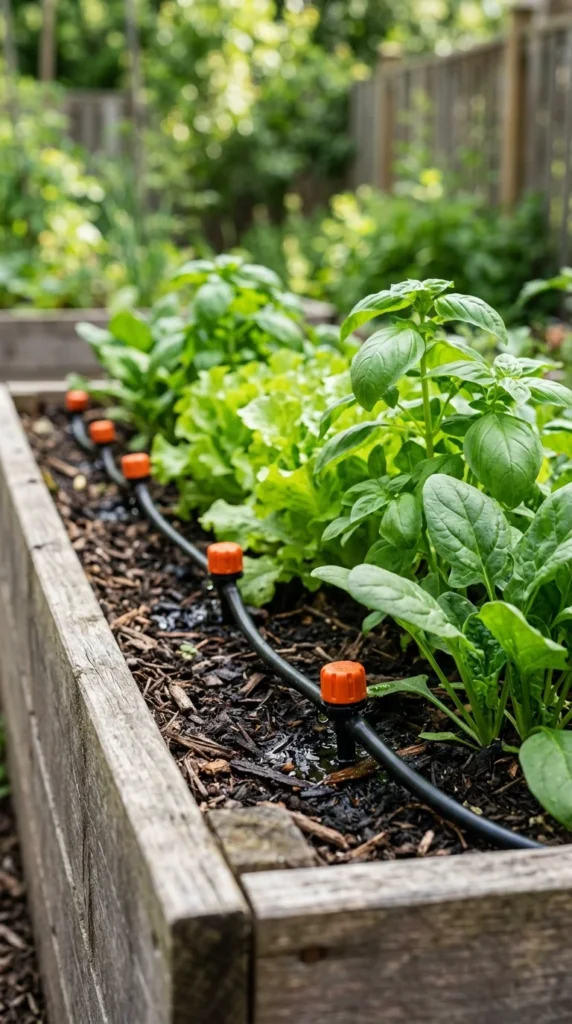
Manual watering on a rooftop is a daunting task, especially during the height of summer. An automated system is almost a necessity for a garden of any significant size.
- Drip Irrigation: This is the most efficient method. It delivers water directly to the roots, minimizing evaporation and water waste.
- Smart Controllers: Modern systems can be linked to weather apps, automatically skipping a watering cycle if rain is forecasted.
- Water Source: Ensure you have an outdoor faucet (hose bib) on the roof. If not, you may need to have a plumber extend a line from the floor below, which should be factored into the initial budget.
9. Lighting
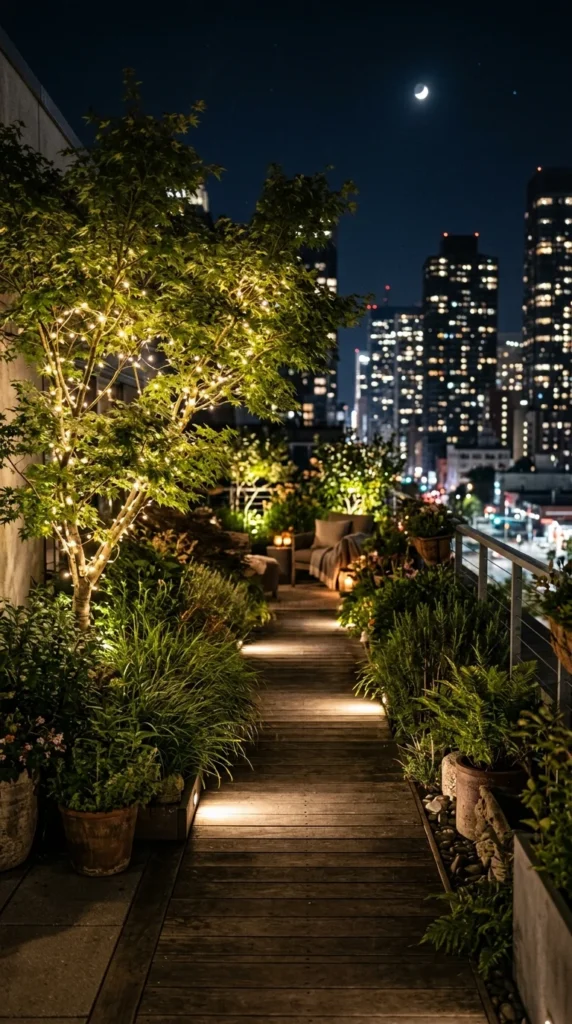
Lighting extends the usability of your rooftop garden into the evening hours and provides an essential safety element.
- Atmospheric Lighting: Use string lights or “fairy lights” to create a cozy, inviting atmosphere. These are lightweight and easy to install.
- Path Lighting: Low-voltage LED stake lights should be used to mark walkways and edges, preventing trips in the dark.
- Solar Power: Given the high sun exposure, solar-powered lights are an excellent, eco-friendly option that requires no electrical wiring.
10. Maintenance
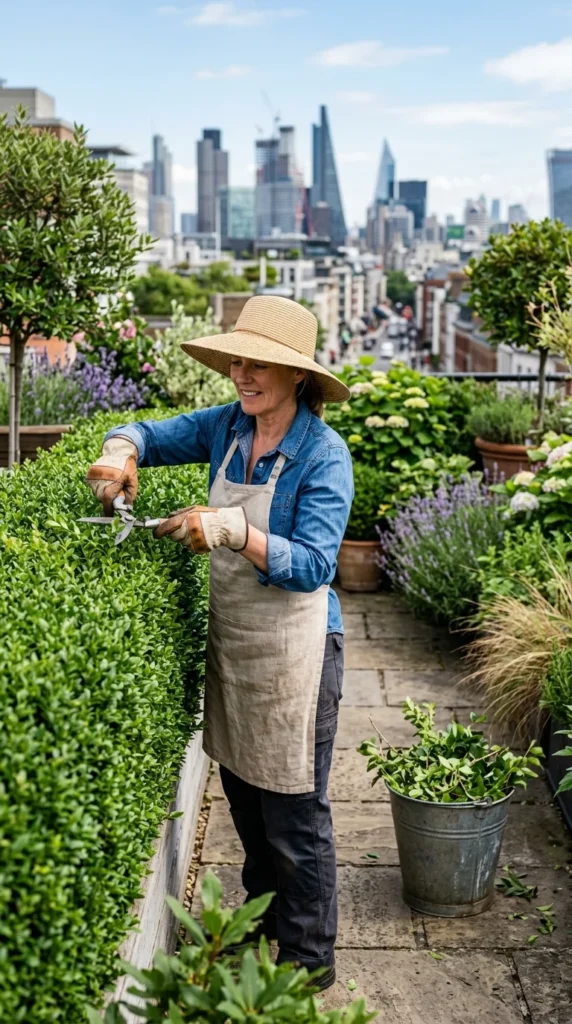
A rooftop garden is a dynamic ecosystem that requires consistent care. Because it is isolated from the natural ground, it is entirely dependent on you for survival.
- Regular Pruning: Wind can cause plants to grow leggy or uneven. Regular pruning maintains the desired shape and prevents plants from becoming “top-heavy,” which makes them more susceptible to wind damage.
- Seasonal Checks: Every spring and autumn, inspect your drainage points to ensure they aren’t clogged with leaves or debris. A clogged drain on a rooftop can lead to standing water and structural stress.
- Winterizing: In colder climates, containers should be wrapped in burlap or moved to sheltered areas of the roof to protect the roots from the freeze-thaw cycle. Heavy furniture should be covered or anchored down for the winter storm season.