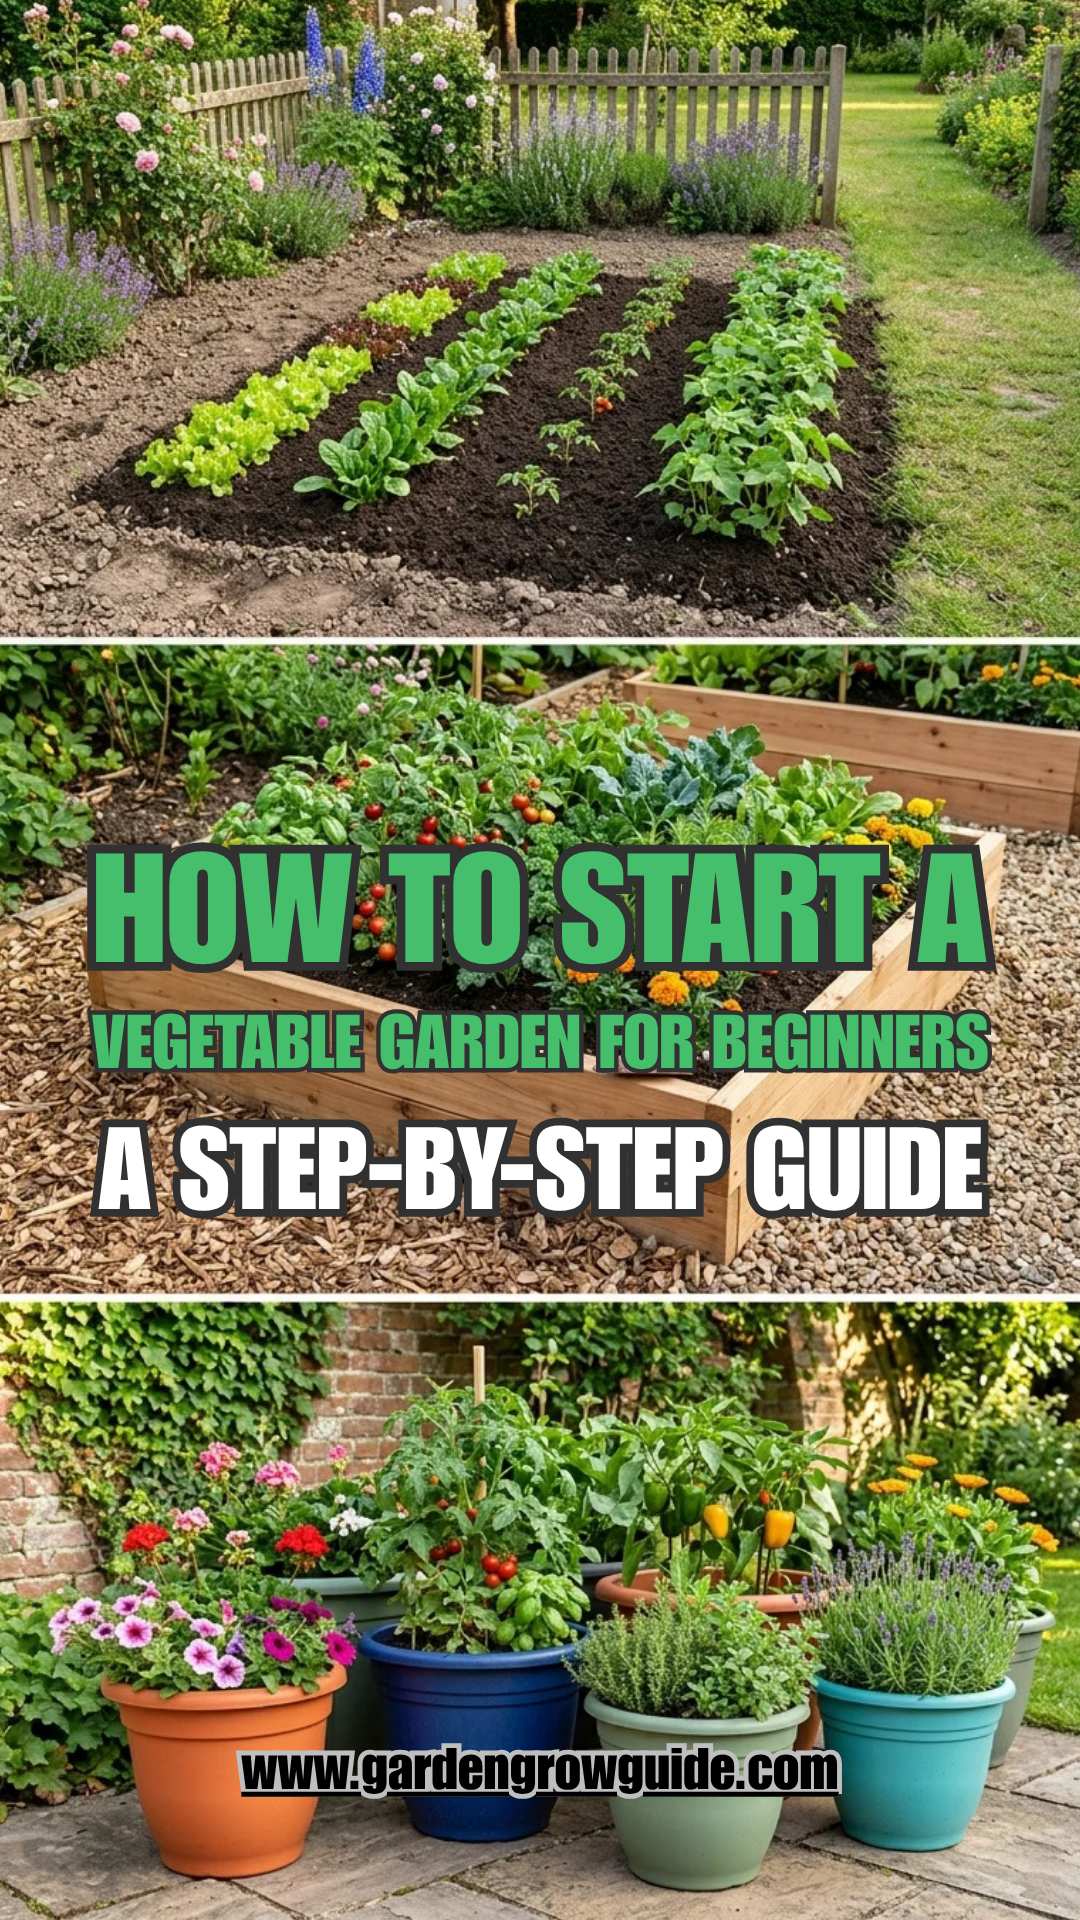
Starting a vegetable garden is one of the most rewarding projects a homeowner or apartment dweller can undertake. Beyond the obvious benefit of having fresh, organic produce at your fingertips, gardening offers a unique connection to the cycle of nature, provides gentle physical exercise, and can significantly reduce your grocery bill. However, for a beginner, the prospect of turning a patch of dirt into a cornucopia of food can feel overwhelming. This guide breaks down the process into manageable steps to ensure your first harvest is a resounding success.
1. Site Selection
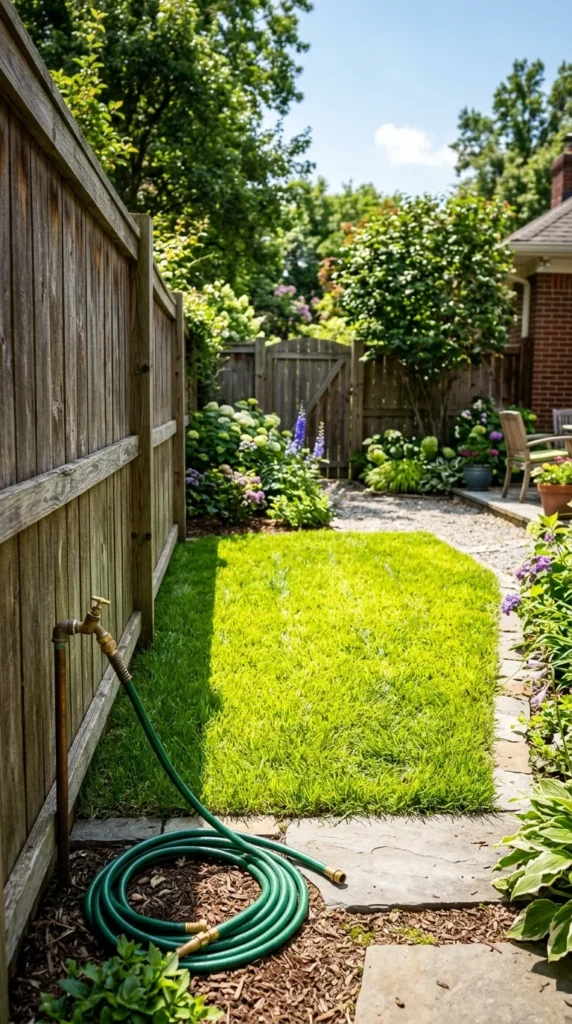
The success of your garden depends heavily on its location. Most vegetables, especially those that “fruit” (like tomatoes, peppers, and cucumbers), require at least six to eight hours of direct sunlight per day. Without adequate light, plants become “leggy”—stretching toward the sun—and produce little to no fruit.
Beyond sunlight, accessibility to water is crucial. You do not want to be lugging heavy buckets or dragging a 100-foot hose across the yard every evening. Place your garden within easy reach of a spigot. Additionally, ensure the site is relatively level and has good drainage. Avoid low-lying areas where water pools after rain, as “wet feet” can lead to root rot and fungal diseases.
2. Garden Style
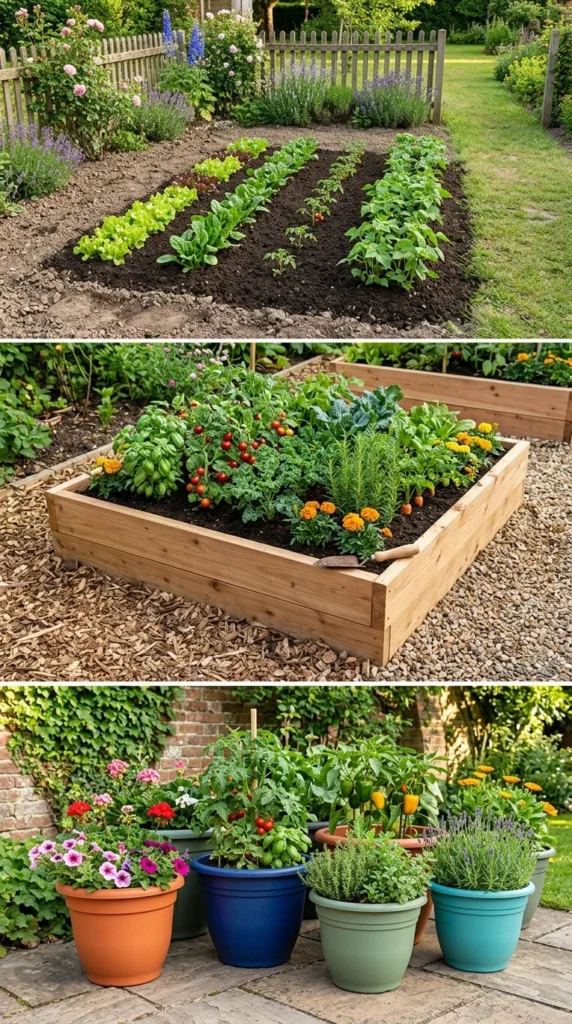
There is no one-size-fits-all approach to garden design. Your choice depends on your space and physical ability.
- In-Ground Gardens: The traditional method involves digging directly into the earth. It is the most cost-effective but requires the most labor in terms of tilling and weeding.
- Raised Beds: These are frames (usually wood or metal) filled with high-quality soil. They offer excellent drainage, discourage weeds, and prevent soil compaction because you never walk on the growing surface. They are also easier on the back.
- Container Gardening: If you have limited space, such as a balcony or patio, containers are ideal. Almost any vegetable can grow in a pot if it is large enough, ranging from five-gallon buckets for tomatoes to shallow troughs for lettuce.
3. Plot Size
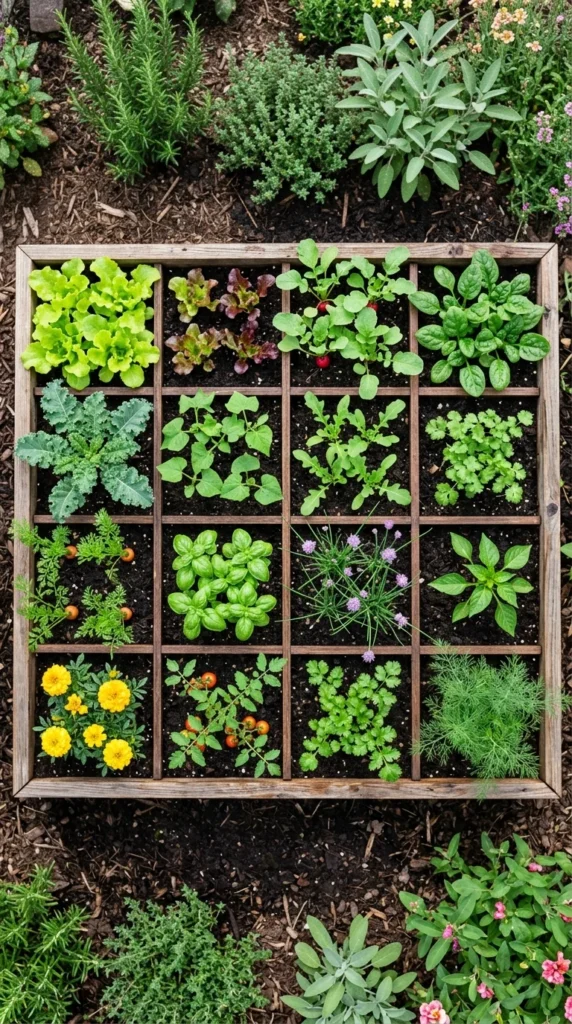
The biggest mistake beginners make is starting too large. A massive garden requires massive amounts of time for weeding, thinning, and harvesting. If the workload becomes a chore, you are more likely to abandon the project.
Start small. A 10×10 foot space (100 square feet) is plenty for a beginner. If you are using raised beds, a single 4×4 or 4×8 foot bed is a perfect starting point. This size allows you to learn the ropes without feeling overwhelmed. You can always expand next year once you have mastered the basics.
4. Plant Choice
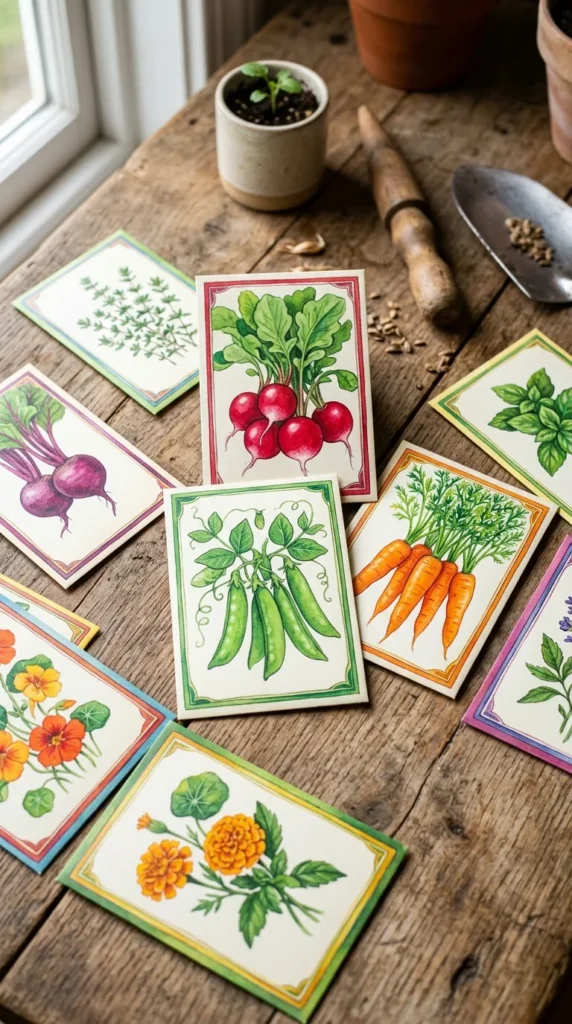
It is tempting to grow everything in the seed catalog, but for your first year, stick to “easy” crops and things you actually enjoy eating. Focus on high-yield, low-maintenance vegetables.
- Leafy Greens: Lettuce, spinach, and kale grow quickly and can be harvested multiple times.
- Root Vegetables: Radishes are the ultimate beginner crop, often ready to eat in just 25 days. Carrots are also rewarding if your soil is loose.
- Summer Favorites: Tomatoes and zucchini are notoriously prolific. One or two plants of each can often feed a whole family.
- Bush Beans: These are sturdier and easier to manage than pole beans, which require tall trellises.
Check your “Hardiness Zone” to see which plants thrive in your specific climate and when the last frost date typically occurs in your area.
5. Essential Tools
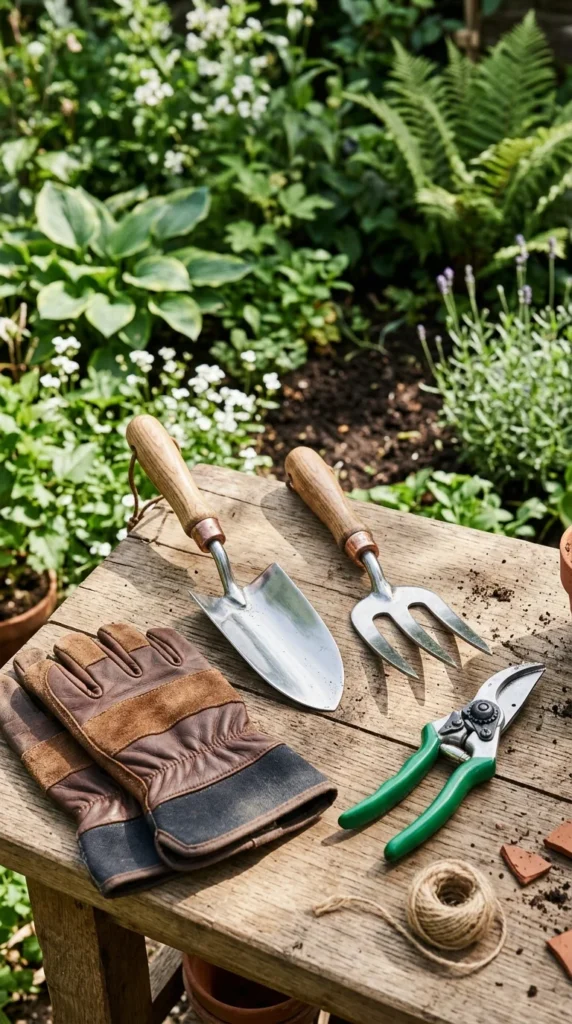
You don’t need a shed full of expensive machinery to start a garden. A few high-quality hand tools will suffice.
- Trowel: For digging small holes and transplanting seedlings.
- Garden Fork: Useful for breaking up clods of earth and mixing in compost.
- Hose and Spray Nozzle: Look for a nozzle with a “mist” or “shower” setting to avoid washing away seeds with a high-pressure stream.
- Hoe: Essential for slicing through weeds just below the soil surface.
- Gloves: To protect your hands from thorns, blisters, and soil-borne bacteria.
6. Soil Health
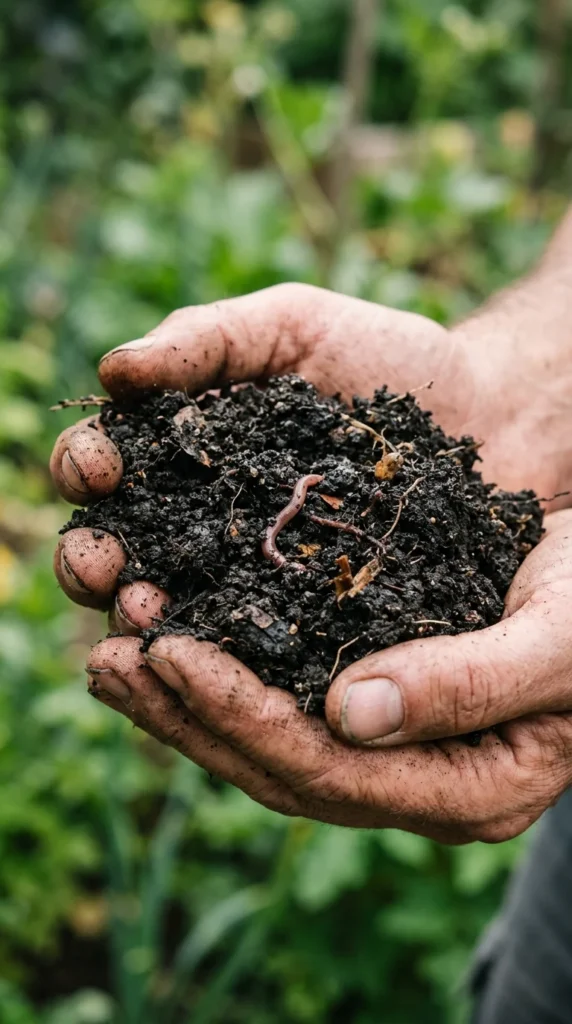
The secret to a green thumb is actually “brown thumbs”—it’s all about the soil. Most backyard soil is either too “clayey” (holds too much water) or too “sandy” (drains too fast).
The solution for almost any soil issue is organic matter. Mix in several inches of high-quality compost or well-rotted manure before planting. This improves the soil structure, adds essential nutrients, and encourages beneficial microbes and earthworms. If you are using raised beds or containers, buy a dedicated “Potting Mix” or “Raised Bed Mix,” which is lighter and more aerated than standard topsoil.
7. Planting Techniques
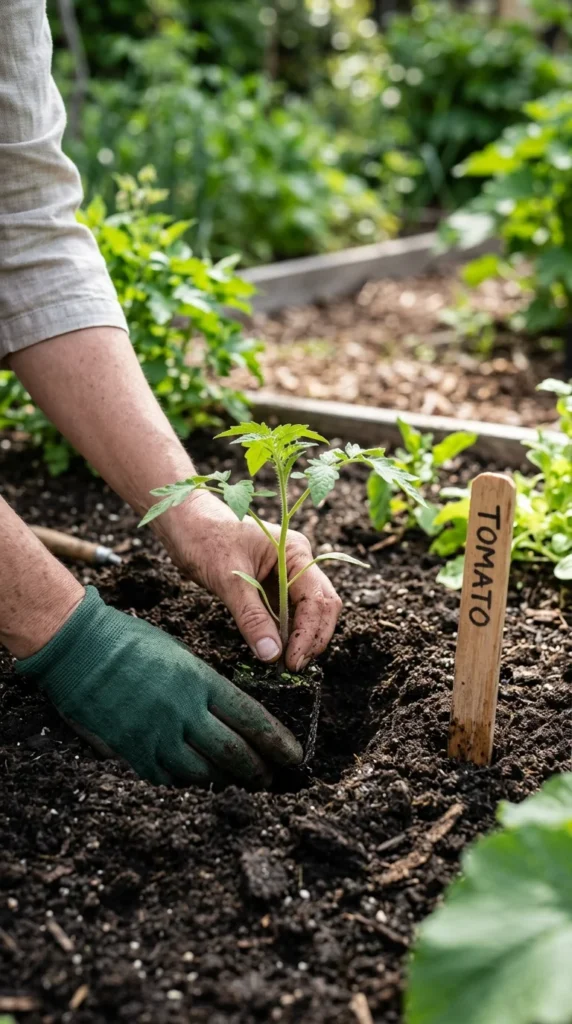
Once your soil is ready, you have two choices: seeds or “starts” (transplants).
- Seeds: These are inexpensive and offer more variety. Some crops, like carrots, beans, and radishes, must be sown directly into the garden because they don’t like their roots disturbed.
- Transplants: Buying young plants from a nursery gives you a head start of several weeks. This is recommended for beginners with tomatoes, peppers, and broccoli, which can be finicky to start from seed indoors.
When planting, pay close attention to the depth and spacing instructions on the seed packet. Planting too deeply may prevent the seed from emerging, while crowding plants leads to poor air circulation and disease.
8. Regular Care
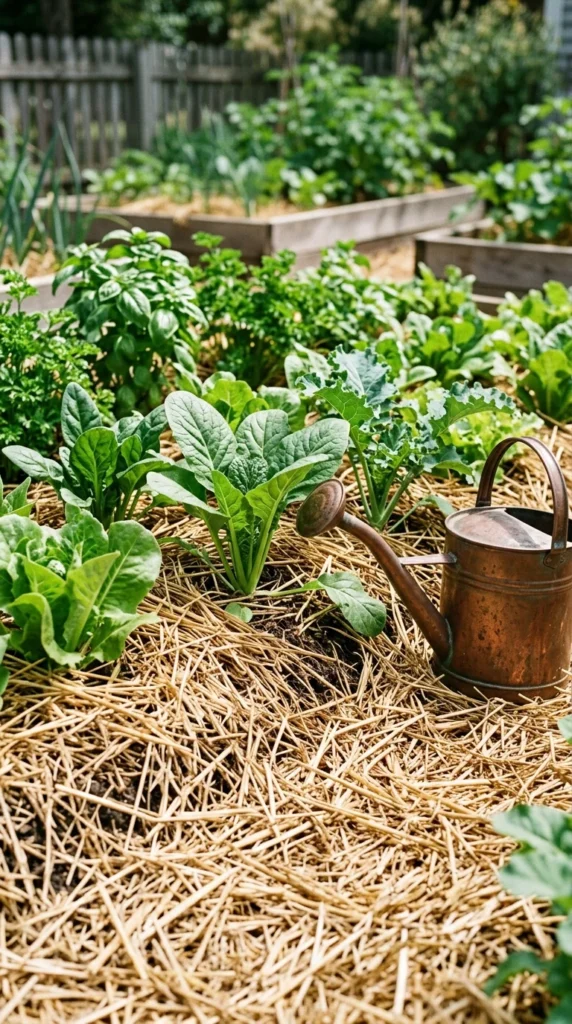
A garden is not a “set it and forget it” project. It requires consistent maintenance to thrive.
- Watering: The goal is to keep the soil consistently moist but not soggy. Water at the base of the plants in the morning to reduce evaporation and prevent leaf diseases.
- Mulching: Apply a layer of straw, shredded leaves, or wood chips around your plants. Mulch acts like a blanket, keeping the soil cool, retaining moisture, and suppressing weeds.
- Weeding: Pull weeds as soon as you see them. If they get large, they will steal nutrients and water from your vegetables.
- Pest Control: Keep an eye out for holes in leaves or wilting. Often, you can manage pests by simply picking them off by hand or using a blast of water from the hose.
9. Timely Harvest
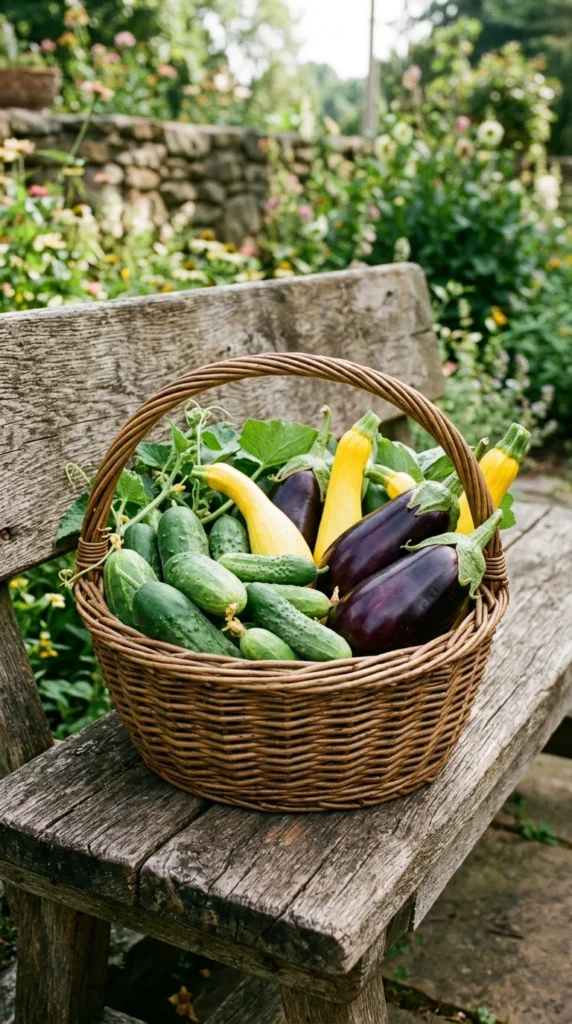
Knowing when to harvest is the final step in the journey. For many vegetables, the more you harvest, the more the plant produces.
- Greens: Harvest when leaves are large enough to eat.
- Root Crops: Usually ready when the “shoulders” of the vegetable pop up above the soil line.
- Tomatoes: Pick when they are fully colored and slightly soft to the touch.
- Zucchini/Cucumber: These taste best when they are young and tender. If you leave them on the vine too long, they become tough, seedy, and lose their flavor.
Harvesting in the cool of the morning ensures your produce is crisp and has the highest nutrient content. Once you taste a sun-warmed tomato or a snap pea straight from the vine, you’ll understand why millions of people find vegetable gardening so addictive.